Novica & Forum Members Tips & Product Reviews Pt 8
This discussion has been closed.
Daz 3D is part of 
Connect
DAZ Productions, Inc.
7533 S Center View Ct #4664
West Jordan, UT 84084
Licensing Agreement | Terms of Service | Privacy Policy | EULA
© 2026 Daz Productions Inc. All Rights Reserved.
Comments
Rich, wasn't there a similar thing with Fern Lake? Perhaps do a google thread search.
Woohoo! Thank you! What a wonderful surprise!
This is really stunning, RG! Definitely going on the wishlist.
I have this too and haven't used it yet. Thank you for reminding me! This is fascinating, and as always, I need to learn more. And actually use what I have.
Just one r for Forest but the Daphne is spelled Daphni. I keep doing it wrong because its an odd spelling.
Okay! Please change it in your list of Top 3, I'll go change it in the list of products per participant. You had two r's and Daphne. Appreciate it!
Much thanks Novica!

Every Diner I've been to has counter stools (yes, we have one on Scenic Highway) and that counter looks kinda silly without any seating. The Classic Diner just looks bare with that long counter. I do like that the tables are rectangular with a lot of room for food, but since when do tables have nothing on them? No menus, no salt and pepper, no ketchup or mustard. And is this a diner or a liquor store? Wow, talk about bottles in abundance!
On the flip side, the materials for the table seem nice from the promos, and the cushions have a good edge seam. The chairs seem a bit more like lounge chairs, than that of a diner.
So sorry, overall, this misses the mark with me. Below is a real diner, from Pensacola. I know every diner is different, but the one offered today just doesn't have the right "feel" for me with all the standard elements that are missing.
You're very welcome! Hope you can join us again for February!
Congratulations! :D
If you click on the number it should take you to apage with two buttons - one to redeem the card, the other to check its status and value. Using the latter should let you remove the $0 ones of each set (you may have tried that - I'm not sure what the Cloudflare error page is for).
All of the instances have an option to show up in preview, select the instance in scene hierarchy, then in the parameters tab, you choose "instancing" and there's a option "show in preview" turn it on. Depending if it is an individual instance you can also move the instance out of the way.
Depending on your system, those additional polies visible in preview can slow down the view port that why they're hidden in preview. Hope that helps.
You can also increase the intensity of the "sunlight" if you need it brighter.
I did the search, then found that it led to the Tips on page 1 of this thread. Indeed that's what was needed.
Thanks FirstBastion. I found the instances I was looking for (Details/midmaple-3) and can now turn them off and on as needed. I like the fact they are hidden at first but also glad to know how to turn them on for fine tuning. With them on, I could rotate the one tree so the horse and rider were free of the leaves.
I really like all the vegetation you have in the set. Well done as always!
Tried something new, a spherical lens render of Mid Forest Vale. I can't embed it in the forums but you can see it here. Attached is the image I uploaded to the 2VR site.
That very cool! How do you do a spherical lens render?
It's an Iray feature in the most recent 4.9 version. It's under Camera/Lens/Lens Distortion Type/Spherical. I then found the 2VR.in site to host it (free).
That is awesome!. I did not know about this feature. Thank you! I'm trying out a render right now to see it in action.
Oh goodness, Fast Grab changed again. Take a look at Fabiana's materials, even if you have other satin or knit shaders, the patterns in both of those are really nice. I think I'm grabbing Amisi. THERE ARE 4 BROW OPTIONS, including no brows. Also two stores in flash sales in the rotating banner.
Look forward to seeing it! I'm trying out a few more myself. They recommend a 2:1 ratio which is not what I did on the one I posted (it was 1.25:1 1600:1280), I tried a 2:1 but it looked fuzzy - probably because it was too low resolution. I'm rendering one at 4096x 2048 (which will take forever) but that's the resolution most commonly recommended online. I'll also try one at half that resolution.
I already have the knit shaders and now I bought the satin shaders.
I just added an image to my gallery a couple days ago that uses the Fabiana knit shader.
@RGcincy That is so cool! I'm definitely trying that out soon. FB's Mid Forest Vale looks amazing in 360 mode! :)
@Novica Thanks for the heads up. Those knit shaders were on my wishlist. Now in the cart.
Hi Just gonna ask here,dont want to make a new thread.so i have this hair http://www.daz3d.com/sporty-ponytail-hair-and-oot-hairblending-2-0-for-genesis-3-female-s
and i have genesis 3 for genesis 2 female...and when i use autofit so i can use this hair on my genesis 2 female, morphs that affect ponytail, wont work..
is there something i can do,or is this just the way it is,that autofit sometimes works and sometimes it doesnt..
Genesis 3 Female for Genesis 2 Female is the product (linked so folks can check it quicker to see if they have it) and I think there was a thread on this. I googled several things, including hair morphs not working with (product) and losing morphs using (product) and I'm not getting any results. But I'm pretty sure this was discussed. Let's see if anyone else comes up with something, I didn't want you to think you were being ignored. :)
Here's another try at a 360 render. The setting is 1stBastions Mid Forest Vale with Daz 2 Horse, Western Saddle for DAZ Horse 2 and G3M wearing Western Outlaw for Genesis 2 Male(s). Sky is SunnyD from Skies of iRadiance - Sunny Sky HDRIs for Iray. I used the spherical lens option under Camera/Lens/Lens Distortion Type and upped the resolution to 4096 by 2048 (took 4 hr 15 min to render). I sharpedned the image in GIMP and uploaded the finished render to 2VR.in. You can find it here. You can also use the same url in a phone's browser and can change the view just by walking around. If the image comes in fuzzy, just wait a minute and it will sharpen as the higher resolution loads.
So to do a spherical render, it's super easy. Just pick that option for your camera, render as you would normally do, then find a site to host your image. I was thinking some of those Peaceful House scenes with ghost lights that Novica and I did at the end of thread 7 would be a good choice for a 360 render since they make a complete surrounding environment. I'll also have to try one of my city scenes.
EDIT: Here's the Peaceful House 360 render. A lower resolution that the one before but still works well I think. Here is the link to the same scene as a 2D render.
Instead of autofit, you might just parent the hair to the figure and adjust the hair's scale and position to fit. That's needed for intergenerational hair sometimes. Then the hair morphs might not be affected.
Oh my, what fun. Now a question- when you say render like you normally do, don't you have to render several, moving your camera around? Or are you saying one render will do all that? And I did a double take when that horse swung into view, I guess it's from owning one and you never want to see one moving toward you without being alert LOL.
One render is all it takes if you use the spherical camera. Render, upload, look around. The first time I used the 2VR.in site, it took a while (10-15 minutes) for the verification email to arrive (you have to click a link to activate the posting), but after that, the emails arrive pretty much instantaneously.
Love that you created a thread for those 360's! (here in Art Studio.)
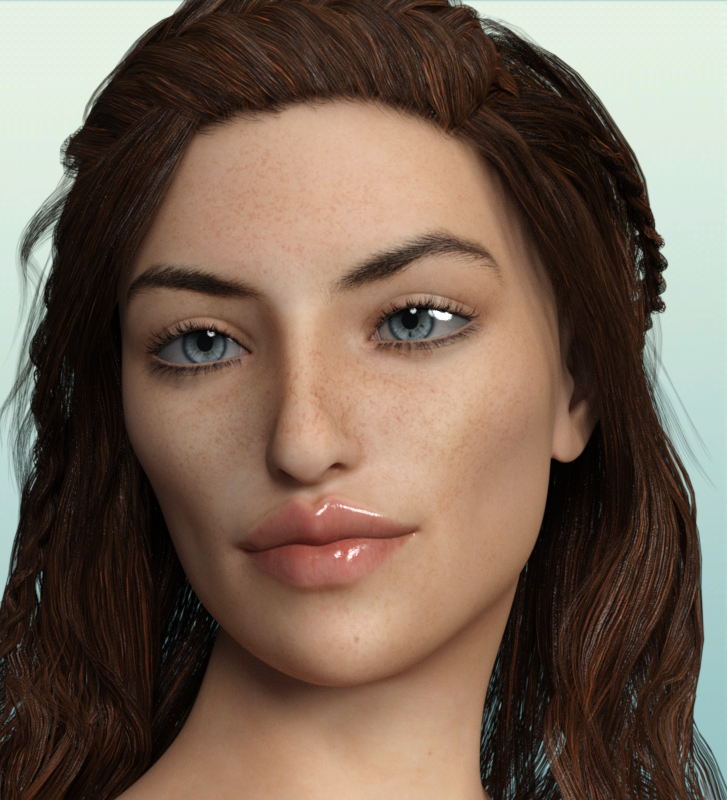
Okay, I mentioned I might get Amisi. I have to do more tests, but my initial ones, I do not like the mouth on our right side. That line on the bottom lip (to the far right of it) just isn't good. To check it, I substituted other mats in to see how the mouth handled those- and they were fine. So this is the Amisi mouth with a few tweaks, but even with the default mouth, that material area isn't up to par with my other gals.Is the map slightly off or something? (And am I the only one mentioning this, when this has been out for ages, or has there been comments already?)
Amisi (tweaked lips)
Amisi (tweaked lips)
Look at the promos and you'll see it. So I can't give this a "gotta have it" review, I think it will depend on your lighting and your morphing. I'm going to load her up again without any morphing of the mouth, and see how she does- but that will be tomorrow. Just in case the Fast Grab changes though, here's what I tested this evening.
I tried to keep the lighting tone mapping the same, but some had to have adjustments just to look kind of close. So this isn't the optimal lighting, it's the "try to get it the same or close to it" lighting. So these are my tweaked Amisi faces, with other characters' materials. Compare the mouth lines of the right hand side/outlining of the bottom lip.
If you like any of these combinations, then you may want to consider Amisi while she's still in Fast Grab. Mouse over the images to see who I tested. I will post some, not all, of these within the post.
So these all had the EXACT SAME MORPHS- no problems with that lip line. Did not show Olivette.
Angel and Brook
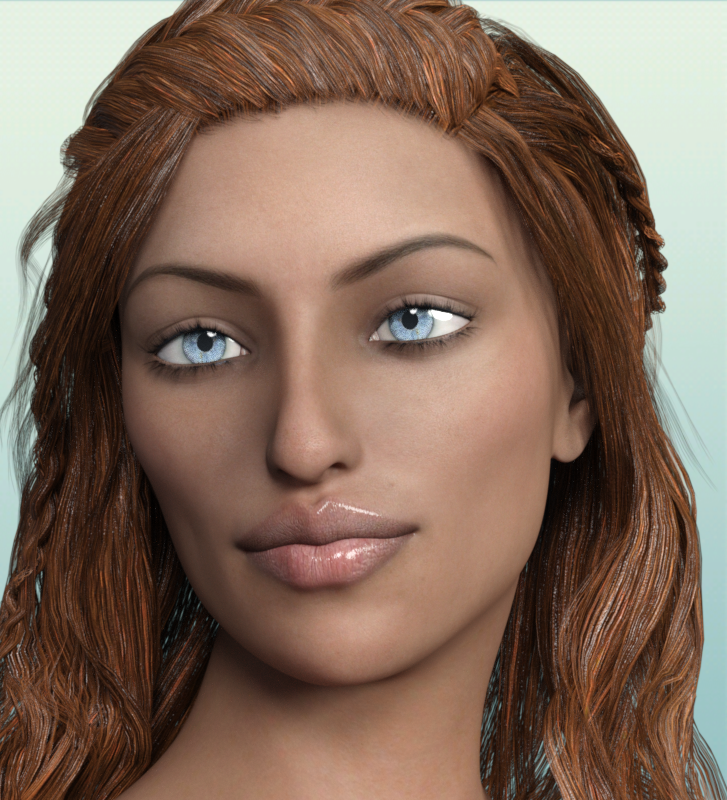
Fukiko and Mynx
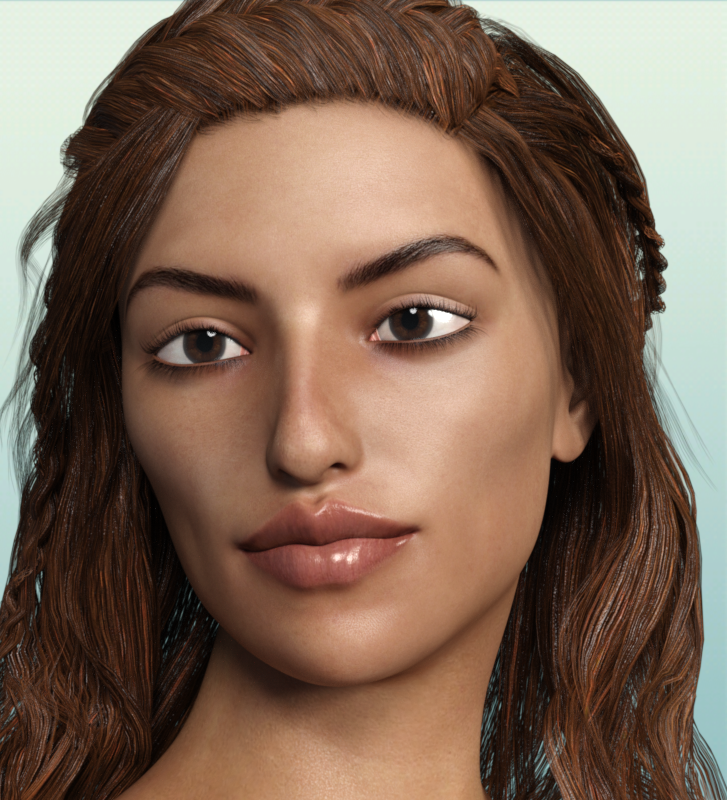
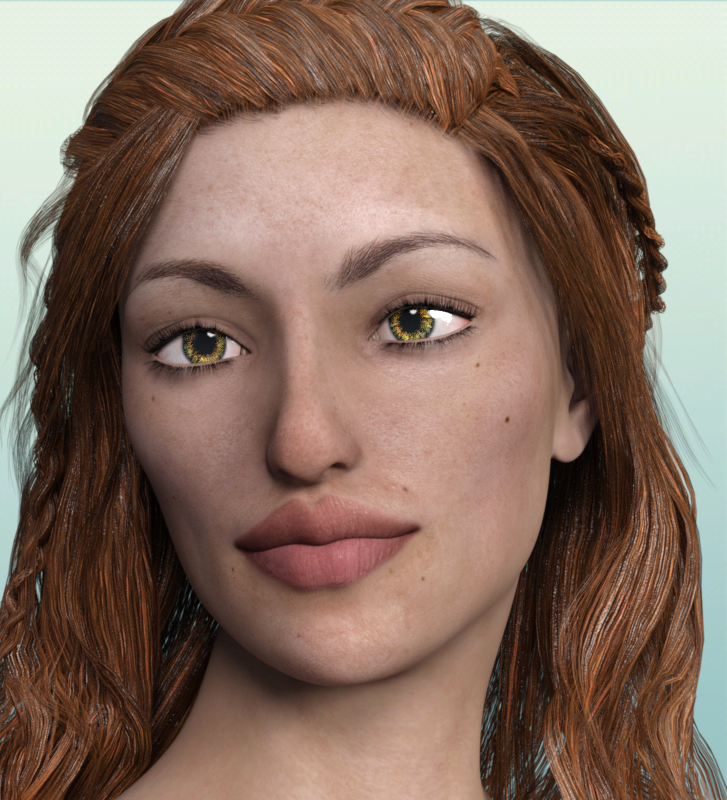
Skipping Olivette. Really like Poppie. Last, Princess Leila
This is Amisi, the original morphs. That line is still very visible.
Here is an image that uses The Shader Plan - Iray Satined Textiles that we picked up in Fast Grab recently. The Casual Style shirt was retextured with the satin shaders. The basic morph combination for this guy was invented by @xyer0 over in the Elijah 7 thread. I added played around with a few more morphs. The used products are listed in my gallery image.