October, 2023 - Daz 3D New User Challenge - Atmosphere, Ghosts and Special Effects
 Leana
Posts: 13,147
Leana
Posts: 13,147
New User's Challenge – October, 2023
Are you new to the 3D World? Are you at the beginning stages of learning 3D rendering? Have you been around for a little bit but feel you could benefit from some feedback or instruction? Have you been around awhile and would like to help other members start their creative journey? Well then come and join the fun as we host our newest challenge.
We are breaking down each month into 2 different challenges. A Beginner Challenge and then also an Intermediate Challenge.
So which "Challenge" should you choose?
Follow the Beginner Challenge if you are:
- New to the New User Challenges
- New to Daz Studio
- Newer to 3D Rendering in General
Follow the Intermediate Challenge if you have:
- Participated in the New User Challenge for awhile
- Know the basics of Daz Studio and would like to learn more in depth topics
- Been using 3D Rendering Applications for awhile and feel comfortable with learning Intermediate Topics
*Please be sure to list in your post which Challenge level you are participating in*
Closing date for both is October 31, 2023
For a list of the current challenge rules, please see this thread: Challenge Rules
They apply for both versions of the challenge.
Daz 3D is part of 
Connect
DAZ Productions, Inc.
7533 S Center View Ct #4664
West Jordan, UT 84084
Licensing Agreement | Terms of Service | Privacy Policy | EULA
© 2026 Daz Productions Inc. All Rights Reserved.
Comments
Beginner challenge - "Atmosphere"
Creating atmosphere in art is more than simply using some godrays, fog or dust in an image. It is creating a feeling; a sense of place or time. It needs to enhance and bring attention to the subject matter.
Tutorials
for DAZ Studio Iray:
http://sickleyield.deviantart.com/journal/Tutorial-Creating-Dust-And-Atmosphere-in-Iray-522291773
http://rawart3d.deviantart.com/art/Raw-FogCam-535959358 free product
https://www.daz3d.com/forums/discussion/334586/tutorial-adding-atmosphere-with-a-depth-canvas - this tutorial explains how to use a Depth Canvas
https://www.moonscapegraphics.com/post/2016/02/11/adding-an-atmosphere-in-iray - includes a sample scene you can download via Dropbox
DAZ Studio 3Delight:
http://www.omnifreaker.com/index.php?title=UberVolume
Linwelly's Simple Atmosphere Tutorial for 3Delight ( may also work in Iray ): https://www.daz3d.com/forums/discussion/comment/1654176/#Comment_1654176
for Carrara:
Atmosphere Test Scenes for Carrara: http://www.sharecg.com/v/33708/related/5/3D-Model/Atmosphere-Test-Scenes-for-Carrara
https://carraracafe.com/atmosphere-tutorial/
for Bryce:
Artist’s guide Sky Lab page 759
Bryce: https://www.youtube.com/watch?v=ahiyabdeUBI DOF in Bryce by David Brinnen
Bryce 7.1 Pro Easy - Spooky trees in Dan's fog https://www.youtube.com/watch?v=x-lDcqH78Is
Bryce Basics - Free content cloud over Big Sur https://www.youtube.com/watch?v=bs9490Co-XE
Atmospheric Basics:
https://www.youtube.com/watch?v=VyLOZWevi8g A Blender tutorial but the first 46 seconds really give you an idea of what atmosphere can be like.
What are some other elements for creating atmosphere:
https://prezi.com/dmvb-nlsj_wr/creating-mood-in-art/
http://www.zevendesign.com/mood-lines-giving-designs-attitude/
An article in DS Creative Magazine (Page 40-41)
Don't forget to look at previous themed contests where information and hints are available.
October 2015's contest
October 2016's contest
October 2017's contest
October 2018’s contest
October 2019’s challenge
October, 2020's challenge
October, 2021's challenge
October, 2022's challenge
There are many products in the DAZ store which can be of help. You are not required to purchase any of these products to create your images. They are simply being listed for your convenience and/or inspiration. The promo images are also excellent examples of atmosphere using props and/or lights. Below is just a small sample.
DAZ Studio - Iray
Iray Distance Mist
Iray Distance Fog
Atmocam2
Iray Storm
Plane Easy Atmospheres
Fast Fog Iray 2: Electric Fogaloo -
IG Iray Dawn to Dusk 2 Atmospheric Lighting
FSL Rigged and Morphing Atmosphere Props and Shaders
Fog Camera
Time Inside Light Gels Bundle
Cinematic Light FX plus Atmosphere
Epic Props: Godrays & Volumetric Light for Iray
Atmospheric Smoke Camera
Iray Dust
SY dForce Rain Iray
DAZ Studio - 3Delight
Above the Fog for Iray and 3Delight
Simple Godrays
Expanded Godrays - Celestial Bodies
Heavy Rain for 3Delight and Iray
Daz Studio - Filament
Atmosphere for Filament
SY Atmospheric Blur Filament
Poser
Widow’s Woods: Forest
RDNA Atmospherics – Fog Vol 1
Spooky Light Gels for Poser
Bryce
Bryce ATMO
Some other items that may be of help in this Challenge:
The Golden rules of rendering can be found:
Bryce http://www.daz3d.com/golden-rules-composition-helpers-for-bryce
DAZ Studio http://www.sharecg.com/v/67783/browse/21/DAZ-Studio/Golden-Rules-Camera-Prop-v1.5
Also, DS has a built in thirds golden rule.
Here are various links to other things that may help you in this month's challenge. Credit is given to Szark for this wonderful thread.
Tutorials by Szark https://www.daz3d.com/forums/discussion/2765/time-for-sharing-what-i-have-no-idea/p1
Here are some examples of images using "Atmosphere" provided by CV L'Adair.
Heart Of Winter
In The Misty Moonlight
The Night Watch
Dubious Shelter
Nocturnal
Here are some examples of atmosphere using lighting.
Strange Discovery
Yuzuru Full
Yuzuru
This was my home once
Intermediate Challenge - Ghosts and Special Effects
Working with Magical Elements and Forces
In this challenge you can use lighting, effects, atmospherics, special effects and volumetric effects to bring your artwork to the next level whether it is adding magic to your favourite witchy scene or turning your favourite beloved characters into a ghost set to haunt people’s dreams
You Tube Tutorials
Daz 3D Shader Tutorial : Introducing Volumetrics in 4.20
Creating Atmospheric Ground Fog with Daz Studio 4.20 Volumetric Effects
Creating Volumetric Fires and Explosions in Daz Studio 4.20
Erste Schritte mit VDB Volumetrics in Daz Studio 4.20
Getting Started with Volumetrics in Daz Studio 4.20
Written Tutorial
Daz Tutorial new Volumetric Feature in DS4.20
Various Products that may be of help:
Muelsfell Storm of Magic Iray FX
Jepe's Effects - various products
Special FX for Daz Studio
Soldiers of Magic: Serpio
Ultraviolet Shaders, Lights, and Props
Iray Ghost Shaders
Vengeful Spirit for Genesis and Genesis 2 Female(s)
SY Real Fog Iray VDB and SY Real Fog VDB 2
Oso VDB Magus Effects Volume 1 and Oso VDB Magus Effects Volume 2
Special thanks to L'Adair for creating an example image containing ghosts.
Got a quick start fired off here. I dug out an old pre-Iray set that I had and converted the torch flames to emissives, and converted the walls/floor/cealing to Iray. I also added some water for reflections using a geomatry shell of the floor. Final I've got an older monster that I converted to Iray on the one side partly lit by the one torch and with it's eyes set to glow a forbonding red.
Basicly what I'm going for is we see something's there, but we can't tell what it is clearly.
Nice start!
Monster with glowing eyes hidden in the shadows, a great classic which fits the theme perfectly.
The reflections on the water look good. The flames do look identical, though, so if possible maybe try rotating one of them a bit so that they look less like a copy-paste of each other.
Here's version B giving a shot at tweeking the flames some. At least the one on the right is different, though I can't say clearly on the one closer to the monster even though I did tweek it as well.
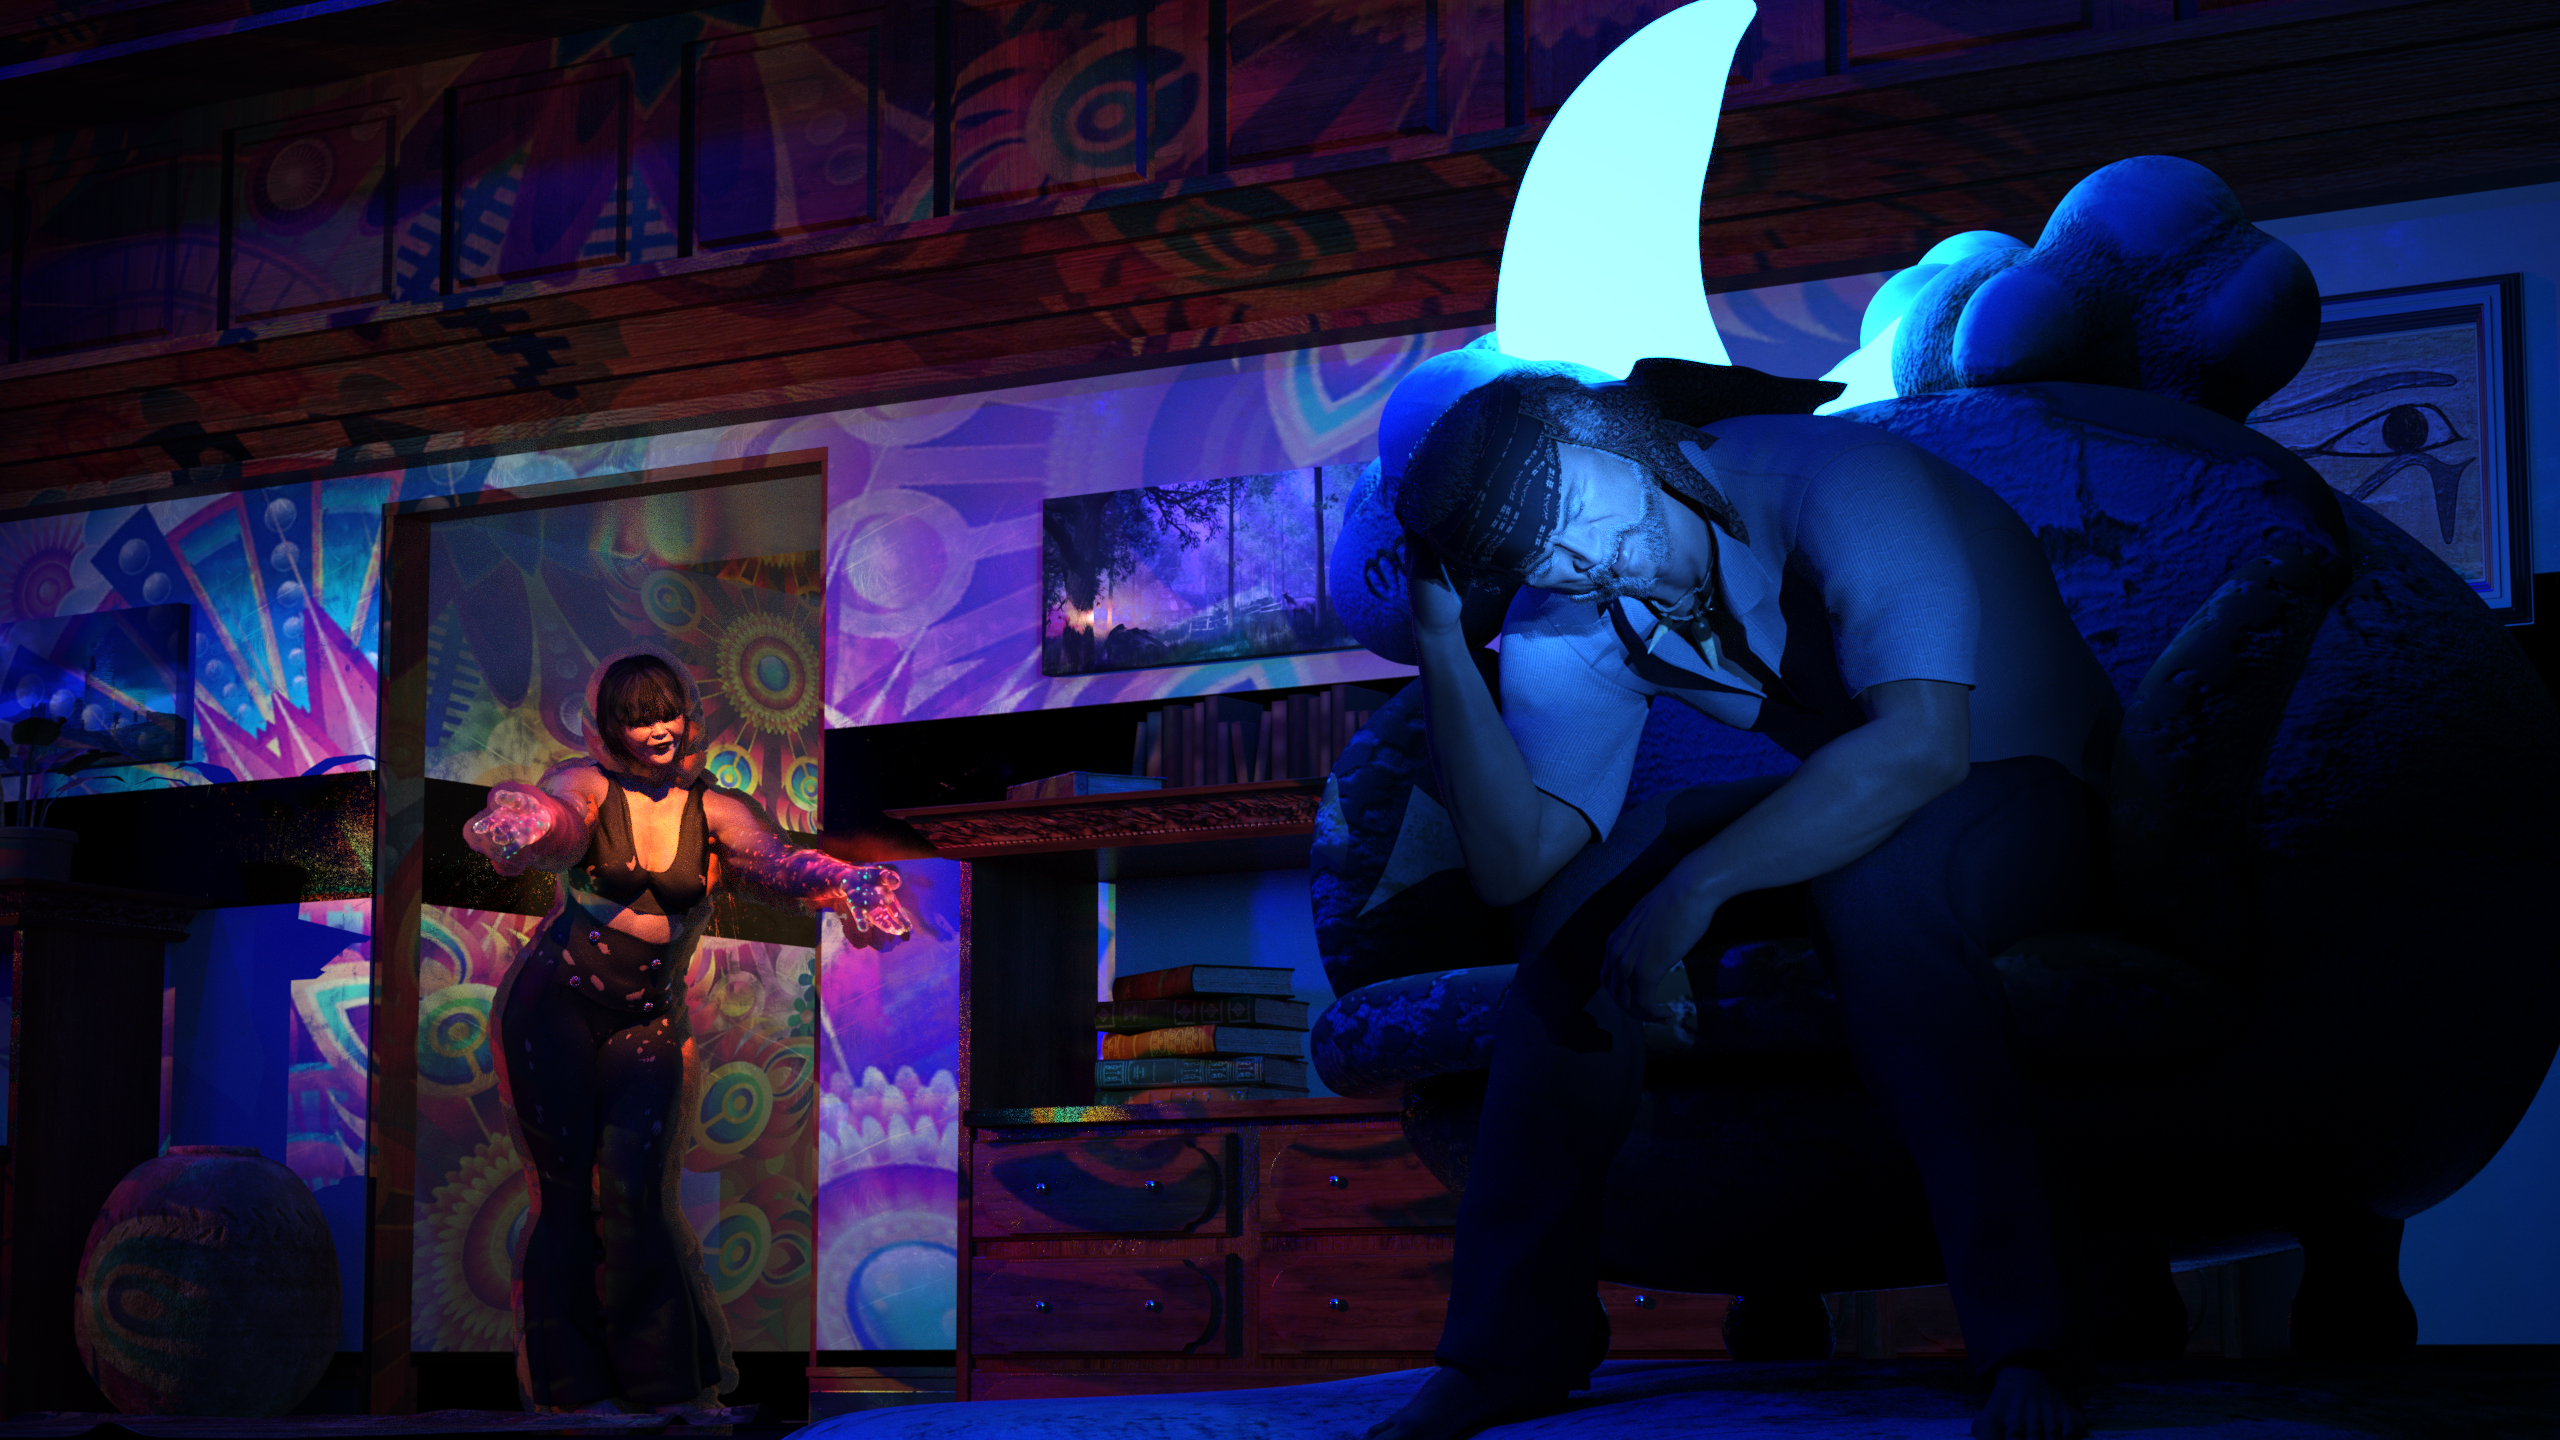
Got an idea for a potential second project for this month. We've found a Shadowrunner and are getting a fireball right in the face for our trubbles.
Get Out Of My Head (wip)
inspired by Elle Kings - Can`t Be Loved
This is my current project. Thought i should post some wip-pictures.
While i am not anywhere close to finish, i feel pretty good about the progress made.
In particular regarding the lighting.
If you have a look ar rhe first quick render to the actual one, you might get an idea, what i am aiming for.
Still got to figure out how ro create a decent ghosting effect. The first texperiments, as seen in the first iteration,
were done with "mesh to volume" and "volume to mesh", then experimenting with different surface settings.
However, it is still to dense and looks more like marshmellow men standing behind the figure.
I need to figure out, how to gradually change opacity to zero towards the outer rims. might work with a gradient opacity texture mask?
Gotta try it out, but first i will try to experiment, if i can`t get a less dense ghost mesh with the current method. Probably need to increase turbulence and allow expansion beyond the borders.
While the final scene is kinda set now, i had to split it up for these experiments. Otherwise my outdated gfx card doesn`t handle the workload too well.
Better to do those experiments on smaller scale settings.
(EDIT: regarding the ghosting... ofc i could try and render layers, then adjust the ghosting layer in photoshop.. However, my goal is to achieve a better effect without postwork. Its all about trying to improve the base render. Not having to fix that much afterwards.)
This is the first version of my image for this contest in the Special Effects category
Constructive Feedback welcome.
I like the overall scene. As its just a first iteration, it is hard to tell what the next version would look like.
As i am just a beginner, take my feedback with a grain of salt. But as you specifically asked for it, i will give it regardless:
While the overall scene looks interesting to me, i got the feeling the picture does need a much more delicate lighting setup.
A spotlight + backlight for the character in particular. To have him stand out more. Or maybe the fairy (or magic butterfly?) or whatever it is on his hand, does emitt some light?
As you see in my example, i am still struggeling myself, setting up proper lighting. Thats why it is a main focus for me for this months challenge.
I found this tutorial very helpful. https://www.daz3d.com/the-magical-8-point-light-set--daz-studio-tutorial
While there are many free tutorial out there, this one really showed the options and a shot setup, step by step, within daz studio.
Apart from the questionable audio quality at the end (and within the second tutorial that he had published), this one is a real treat.
Helped me a lot to be more concious while doing lighting.
This is the first tutorial i purchased, where i feel "that was really worth every penny spent"
---------------------
btw.: ofc, everyone is welcome to give feedback on my piece(s) too
some progress. i think that does look pretty decent.
maybe a bit less emission? but i need to check how it impacts the scene so far.
its more close to what i had in mind when setting up the first render iteration with those marshmellows
maybe render it as a vignette canvas layer and add a slight wind effect in photoshop.
but first i am goanne try to play a bit more within daz surfaces
Midnight Coach to Hell
My first render for the Intermediate Challenge.
Version 2 of my image
I have changed the light in his hand to a ball with little specks of light. I have added a point light to his hand to illuminate his face.
I have also toned down the green light on the floor.
i like the lighting much better on this one.
if there were things to point out, it would probably the following:
i find the flat bottom of the light source in his hand disturbing. maybe it could be fixed by changing its x rotation angle a bit? though it could be eased in postwork, i guess.
that line on the floor.. has it any particular purpose? i would probably rotate it, so that it moves from left bottom corner to the right corner horizon line. that way it would lead the viewers eye towards the main protagonist.
or maybe just move it towards the horizon line with a more horizontal rotation? currently, i feel it collides/interferes with the interesting shadows your figure casts, while not purposely adding a lot to the scene.
Please understand, that i do give my feedback from my beginners point of view. Its just what i feel i would try to do, if it was mine, and get an impression how it would work out.
By no means it is meant to criticize your work.
The thing is... when i (we) post images in these threads, its most likely because of the wish for some feedback. and if there is none given, it might feel like there is no purpose in doing so.
Therefore i decided to give my 2 cents, despite the fact, that i am very limited in my expertise and one should not give too much on what i feel and say about anything regarding rendering.
The line on the floor is part of the texture so perhaps I should think about changing or rotating the texture.
This is my next version of my image
I have changed the floor texture and altered the light in his hand
GREAT!
Please explain. How did you go about to change these parts?
Now i gotta get back on track with my work to keep up with yours. ;)
Been lying ill for about 2 weeks now.
Probably going to do an entire new render that will be less demanding for my system.
Hi Everybody,
So i am really really new to this challenge and actually very new to rendering 3d ...so do i just attach a file (my image) ? and if so what size? as i render pretty big on the ones I save for my best works. Is there anything else i should say or do besides that for the beginner challenge? Any help would be greatly appreciated.
@dreamcatcherp Welcome! Lots of good questions here. First, yes, attach a file. That being said, you might have to size it down to less than 8 MB. These forums struggle with very large image sizes, as you can imagine. Generally, what I do, is just convert it to jpg and it sizes it down. A few times I've had to do other work to get it down in size, but hopefully you won't have to. My renders can get quite large as well.
If you want the file to show up visually on here - in addition to attaching and without someone clicking on it - then you'll have to attach the image link from your gallery within the "Image" option just above where you type and post in here. Then, within there, you can size the preview down manually. I usually make the width of my image about 800-1000 pixels wide because youi never know what kind of screen someone might view it on. Attaching it this way is probably extra, and not required, but I like to do it this way. (My post will be coming up soon... come on render, hurry up!)
Oh, and I put way too much detail in my post... you really don't have to do that either, lol
Intermediate Challenge
Title: Phantom Express
About: In a desolate, overgrown railway station, the villainous conductor relentlessly drives his spectral train through the night, collecting lost souls bound for an eerie destination. Passengers aboard his ghostly locomotive are condemned to an eternal journey on the cursed track, their agonized screams echoing through the dark, twisted, tunnels as they become part of the conductor's sinister spectral orchestra.
__________________
There's a lot to unpack here, so away we go. I started with putting several layers of characters on top of each other. The bottom most layer is a LoREZ Skeleton. Followed by Grimskull, then Cursed HD at the outermost layer. I had to mess around a ton with the opacity and emissions of this stacking idea to get things visually appealing. In addition to stacking them, I added smoothing modifiers so they would interact with each other to get the idea of the bones sticking out. To complete the ensemble... the conductor is wearing dForce Lighthouse Keeper, Old Jeb HD Hair, and M3DZ Zombie Hair Set. I adjusted the symbol on the conductor's hat to be an upside-down pentagram. In the background, I used three Parkside items. Parkside Cargo and Parkside Passenger Car make up the train and the tracks (side note, had to go and purchase the Passenger Car because the Cargo section didn't have a track... heads up!). There is a gate just to the left of the conductor from Parkside Heath. In the far left and back, is the model Reparation. Finally got to use this one, had it for a while. The terrain is just the hilly and flat sections from Mega Terrain: Swampland. The trees are from Goresskull Copse Halloween Trees. Creepy buggers. Building the character was the hard part, the background pieces were quite simple. Just plugged them in, got the depth, size, and spacing, then added depth of field and fog.
These Halloween/Ghost challenges are my favorite; unfortunately, this is the only one I'll be able to submit this year.
__________________
Nice entry!
Very interesting with the stacking idea. However, i do not understand the need for smoothing.
Did you parent the figures to each other and then set collisions amongst them?
This is my Submission for the Beginner challenge ..In attempts to create an overall atmosphere using lighting and posing and enviromental as well as compsition
Title: Succubus Chained
I have to set up my gallery I will try to edit this post with the link to my gallery and a larger version when completed but here is the submission for beginner. I think i covered the concept or concepts you were looking for ..if not i can always make adjustments or submit another..fingers crossed. I made this charachter to go with my original charachter which is my version of a warlock in the game World of Warcraft...this is her minion "Minx" a succubus. I am trying to attach a version big enough to see clearer so bear with me.
You could open the picture you uploaded, copy its adress and then edit your post to add a picture... enter the adress you had just copied.
Thats how i do it most of the time when the picture is not uploaded to my gallery yet.
I think i did that right...lol sorry the process here is new. Thank you so much for your help.
well... no picture in your post, apart from the attachements. therefore ...
Ok there that seemed to work on my end ...are you seeing it now in the original post?
yes.
btw.: nice picture, well done.
EDIT: you probably need to add info on what category you wish it to enter..
I edited the info on the submission ...hopefully thats correct as to what i was entering ...I have never posted and i started using 3d rendering about 2 weeks ago by getting the daz 3d program then some add ons. If you think there is a better category I sure could use some direction as I am clueless on entering challenges here. Thank you so much for the kind words and thank you so much for showing me how to set up my posts better.