Daz 3D is part of 
Connect
DAZ Productions, Inc.
7533 S Center View Ct #4664
West Jordan, UT 84084
Licensing Agreement | Terms of Service | Privacy Policy | EULA
© 2025 Daz Productions Inc. All Rights Reserved.
Comments
I got the fancy shoes instead of the jacket lol. I picked up a bunch of Carrara stuff and put Provence on my wishlist. I have Medieval Docks, but haven't used it yet. It looks gorgeous though.
The shoes were my other choice.
I'll see if I can do a render from the docks. At first glance, it seemed a little washed out, but that was probably my lighting.
It's been a long time since it was posted in my thread, so let me mention it to you- if you render any of Faveral's sets in 3DL, use Progressive for the rendering to get the water looking just like the promos. (Lake Village) I tried a Google search but can't find the post. It was back in or before 2015 as I found a post referring to the post. Faveral was nice enough to come onto my thread and assist. So thoughtful!
Thanks for the insight! I'm doing all my work in Iray, so I'll be converting stuff as I go. Luckily, the Uber conversion is relatively decent. Most of what I end up doing is changing metal, glass, and liquid to MEC4D's shaders and leaving most of the painted textures alone.
Quick Iray render of the docks, just changed out the water and glass.
Looks pretty good. I have these, too. I think I used them in one render in 3DL before I really knew what I was doing in DS. I managed to pick up some more Medieval stuff during the sale so I'm going to have to try setting up a whole Medieval town. It looks good in Iray. :)
That looks pretty good. Going to have to dig it out soon and give it a try.
Today's experiment was with storm clouds and lightning in Vue.
Rain, clouds and lighting in Vue. The bolt itself is in Photoshop, using Ron's brushes. Also used layer masking and different exposure layers to get the ground lighting.
Nicely done! Love the lightening. I'm still trying to work with some of those brushes. It's getting better, not anything as good as yours yet. I don't think I've tried out the lighting yet. My biggest downfall so far are the water brushes. I haven't been able to get them to actually look like water yet. If you happen to know the trick for that, I'd love to know your secrets. :)
Today's experiment was with storm clouds and lightning in Vue.
Rain, clouds and lighting in Vue. The bolt itself is in Photoshop, using Ron's brushes. Also used layer masking and different exposure layers to get the ground lighting.
I haven't used his water brushes. I picked up the waterfall set in a recent sale, but haven't had a chance to use it yet.
I've had pretty good luck with his smoke and fog, using size and angle jitter and about 5-10% opacity. Change brightness every so often,and use the same brushes with the eraser as well.
Looks really good! The water brushes have a bit of a learning curve for sure. Still working on that myself. Mostly, I start with a darker grey or blue or whatever color the water is and work my way down in lightness, experimenting with sizing down or moving the brush a hair to the side or above or below the first stroke and lots of experimenting with brush angles and opacity. I erase a lot lol.
Cool. I'll have to give that a try.
I love those clouds- so much intensity and you can feel that they're really charged up! Very nicely done.
Keeping in practice with all of the tools in the toolbox.....
Votive candles and candleholders modeled in Blender.
Rendered in Iray using light group canvases.
Lighting adjustments and other postwork in Photoshop.
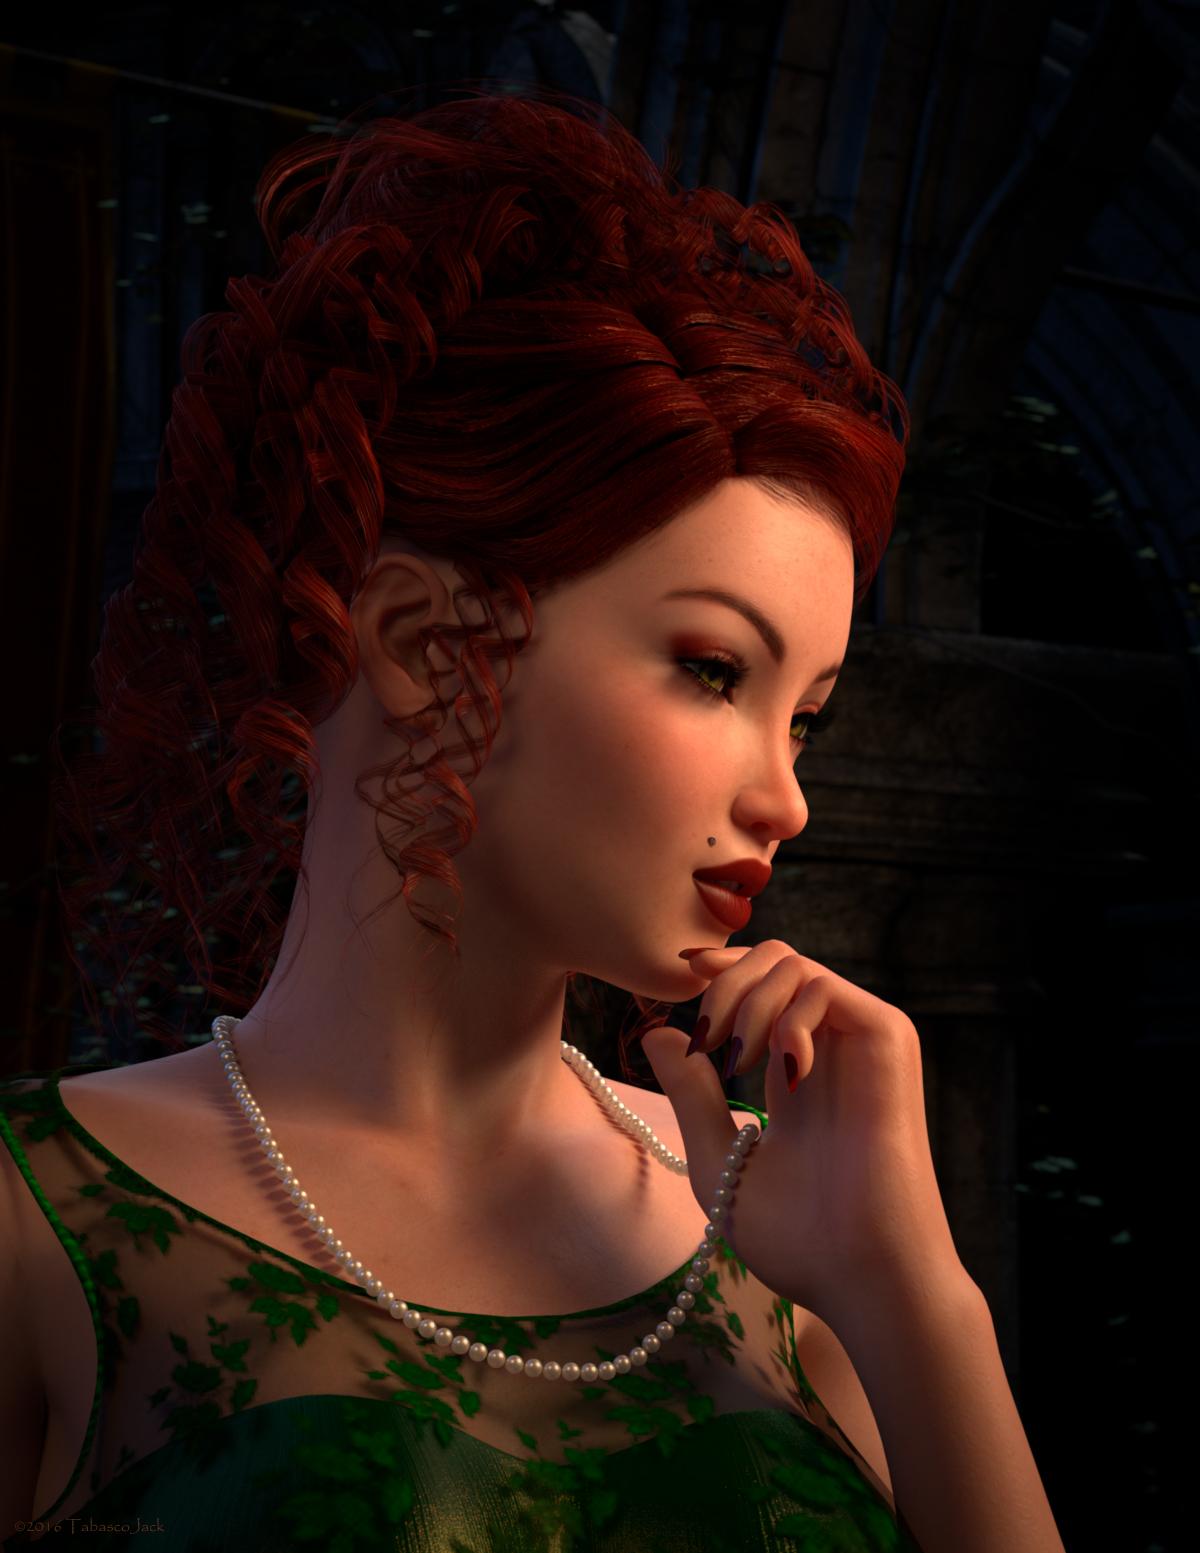
Beka by Candlelight
An alternative version can be found on my DeviantArt page.
Lovely. Both versions
Thanks! I actually think the DAZ ToS compliant one came out better, primarily due to different tweaks in postwork.
My renders always look slightly different (usually darker) once they've been uploaded - maybe due to file compression?
Kewl! Very good lighting. Do you model in Blender? Wondering how you like it if so. Are the candle flames objects or FX?
They're both lovely. What were the differences in postworK? I have found that some images I've done look darker once posted, too, than what the original is. I have no idea why that is.
I do model in Blender. I've done a few things, mostly jewelry (rings and necklaces).
Once you get past the initial learning hurdle (it's not even a curve, it's more like a 90 degree bend) I think it's realtively easy to use. But that initial step is tough. There are a couple of good video tutorials out there that can help a lot. You also have to get used to keyboard shortcuts. Luckily you don't need to memorize more than a few. Once you start going with it, there's so much you can do with it. I use the rigid body physics engine to drape necklaces and chains to get some nice effects. The pearl necklace in the render below came out of blender.
As for your other question, the candle flames in the render are actually part of the object, set to an emissive shader.
The main difference in the postwork tweaks were slight adjustments in lighting and exposure. I think I had more rim lighting in the one here on Daz. Also some postwork to highlight the eyes and hair that I didn't do in the one on DA.
Thanks that neclace looks great... very good draping.
The votive candleholder is now on sharecg and is linked in the Freebies section in the forum.
Oh... BTW... I've had Blender for quite awhile but have never cranked it up yet. Playing catch-up in learning more in Carrara this past year finally setting up scenes and creating more models. Note that no matter what modeling program anyone uses they are always welcome in my Modeling Objects in Carrara - Q&A - Come One and All thread... modeling is modeling.
Speaking of jewelry... that is one thing I've been planning on learning... but keep getting sidetracked by other models.
Today's experiment is one around creating complete content - modeling, creating UV maps, creating surfaces, texturing, and rigging.
The render content is fairly simple - a light switch and wallplate. Created the mesh in blender. Discovered that boolean operations can cause weird things to mesh geometry when I created the hole in the center of the plate. Had to do some vertex and edge editing to clean it all up. The screws are actually flattened spheres on which I used a boolean subtraction to carve out the slot in the head. The switch itself was the hard part - getting the geometry right (which is still not all that good).
Then set about creating the UV maps in blender. Found some good tutorial videos on YouTube. Unwrapped the switch itself. Didn't bother with UV maps for the wallplate or screws.
Using the exported UV Maps, went into Photoshop and created both the diffuse texture (using FilterForge) and the bump map for the "ON" and "OFF" imprints on the switch.
Then, following SickleYield's rigging tutorial on DA, rigged the mesh so that the switch can be set to the on/off positions and the screws can rotate.
Nice!
That's cool. Um, but what I found cooler was the fact that your switches were red! A very nice, pretty red, too. :) I havn't gotten into rigging yet. I have a couple of projects that are ready for rigging, but haven't managed to give it a try yet. I do think it's cool that you managed to do that, though. :)
Very good switch plates. I applaud your effort of detail rigging etc you've done. Are they silent or do they make a clicking noise when you switch them on/off? :) Looks a lot like the one I thought about modeling but keep getting busy with something else and forgetting.
Boolean is powerful but it can create a huge mess. 3DAGE explained that in order not to it needs vertices that will match up in what you use to cut with and the main mesh where you want the cutout.
Tell me are these 3 separate objects or 3 separate polymeshs of one object?
Please let me know where to find SickleYield's rigging tutorial. I recently learned how to set up constraints and add morphs in Carrara.
Please excuse my crazy questions. UVmapping and UnWrapping are next on my list of things to learn.
@Knittingmommy, thanks! I was going to go with a basic red plastic material from MEC4D (which looked cool and more realistic), but wanted to do something involving textures also. So I picked a random monochrome pattern out of Filter forge and modified the base diffuse color.
In blender it's multiple meshes, with each one assigned to its own vertex group.
It was exported as one object with polygroups enabled.
When rigging in Daz (as laid out by SickleYield: http://sickleyield.deviantart.com/journal/Tutorial-Rigging-A-Door-In-Daz-Studio-607711029) you import the geometry using the Figure Setup window. That brings in the polygroups as bones for the object.
For UV Mapping in blender, I followed:
and
Today's experiment in blender was with edge splits. Necessary to insert cuts into the mesh to create the directional vents.
....and I'm sure there's nothing to worry about with that glow coming out of the heating vent, right?
Thanks TJ, Very informative.