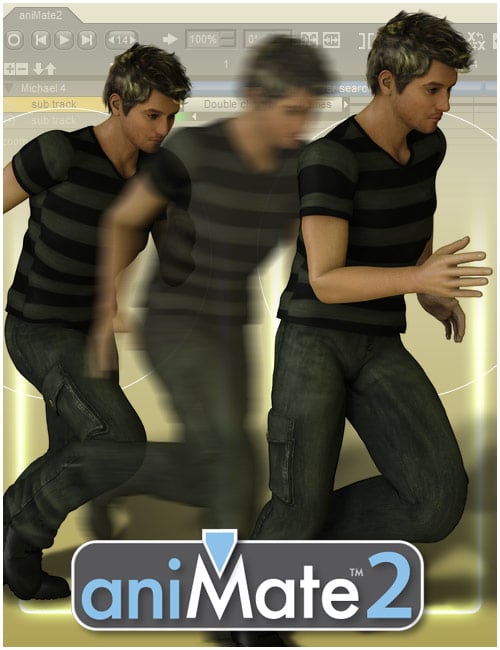
►►► aniMate 2 - Real aniMating Power for Daz Studio!
 Dartanbeck
Posts: 22,148
Dartanbeck
Posts: 22,148
aniMate 2 is a great animation tool for Daz Studio that I like to think of as "Carrara NLA (non-linear animation) for Daz Studio", but with some really fun automated features built into it.
 Of course we all know that we can use it to add aniBlocks to our figures to have them... well... move around. aniBlocks are very much like the NLA Clips of Carrara as they contain whatever motion data we decide to store into them. We'll get more into that later, but the paid version of aniMate 2 allows us to write data from our Daz Studio Timeline into new aniBlocks that we can conveniently store to our libraries. These can be whole-figure animations or just - what I like to call "Partials" - aniBlocks that only contain motion data for, say, arms or legs or head and neck or... well, you get the idea.
aniMate 2 +, which is the paid version available at the store (now simply called aniMate 2) and was introduced somewhere around 13 years ago in it's newer form - has a Lot of additional functions and features that are often overlooked. I'm not entirely sure what the free version has or doesn't have because aniMate 2+ was one of my very first purchases at Daz 3d.
In the next many posts we'll explore some of these "hidden features and functions" so that we can all start getting more beneficial workflows toward making our characters really stand out as something special - breathe life into them.
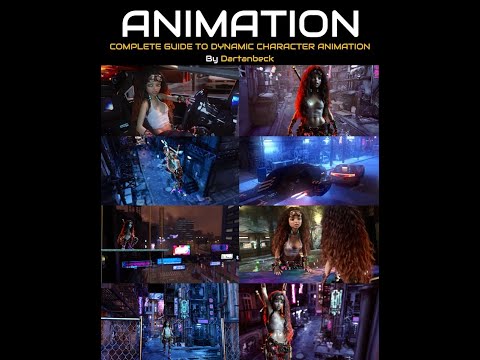
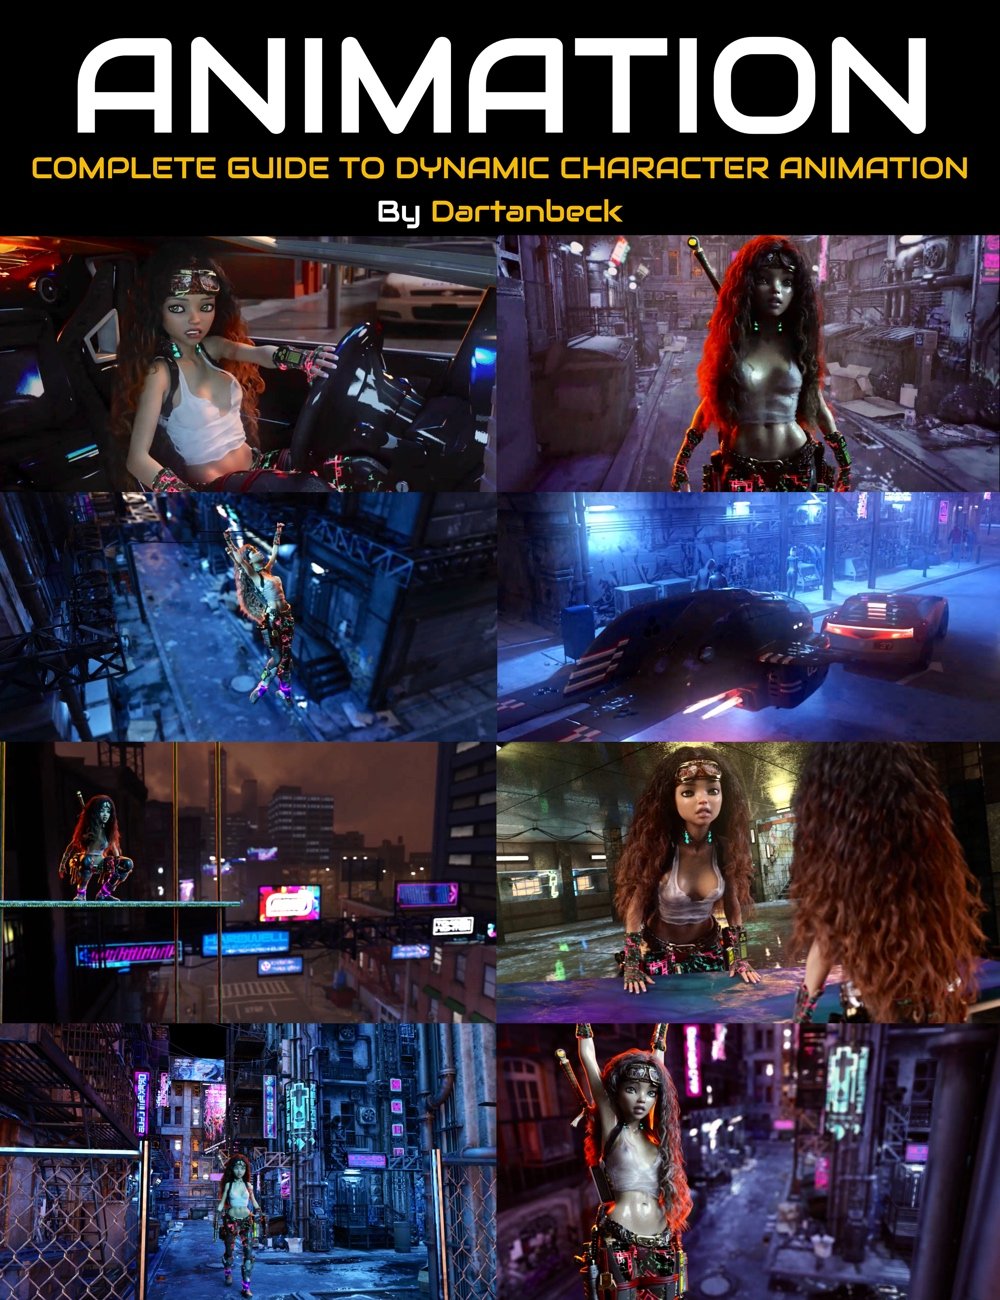 In my Dynamic Character Animation Course for Daz Studio, I go through an entire workflow of my typical customized animation process from start to finish. So if you want to see how I work between aniMate 2+ and the Daz Studio Timeline to get my custom "Living" animations set up, that's been put together in a way that drives us through an entire workflow first - a process that spans three full videos from an unposed character through the entire animation workflow in both aniMate 2+ as well as Daz Studio's Timeline, setting up for dForce simulations, rendering the whole thing out and a basic job compositing the character render over a separate rendered backdrop (using DaVinci Resolve's Fusion - Free version).
After the three workflow videos are a second set of six videos covering these techniques in greater detail and two Bonus Behind-the-Scenes looks at the making of this video:
I did the course in that order because I felt it would be the quickest way to grasp how to Easily Animate in Daz Studio - since it really isn't set up like any of the other traditional animation solutions. My workflow takes the unfriendly aspect of animation woes out of the equation and actually makes animating fun, efficient and powerful.
Why? Because I like Daz Studio and all that it offers for Daz 3d content. Being able to Enjoy animating is paramount for me because I don't really render still life images, but moving pictures.
Being able to have fun animating and rendering those animations using Daz Studio is really powerful! No more compatibility issues with content - it's all made to work in Studio!
-
dForce Rocks!
-
Iray Rocks!
-
OctaneRender Free Tier for Daz Studio - with the OctaneRender ToolKit ROCKS!!!
So let's take a look at our friend aniMate 2 and have some fun doing things on a bit more of an advanced level, without having to hurt ourselves with crazy workarounds!
Buckle up my friends!
►►► Handy Helpful Links
Dartanbeck's workflow tips:
- Creating Partial aniBlocks
- aniBlock Importer for Carrara
- Using aniBlocks for entirely different motions
- Cross-Generation Animation Translation using Bone Minion
- LimbSick and Bone Minion videos
- Animation Four Wheeler Template Promo and Tutorial Videos
- My Mixamo Workflow
Added the User Guide to my aniMate 2 page
Using zaz777's amazing animated pose conversion script along with the necessary rsg's "Updated: Daz Studio Posing Scripts (now for G3F)" available on sharecg.com has brought great results for me over the couple years I've been working in Daz Studio for animation.
If using Mixamo animation FBX
3D Universe's Daz Studio Animation Tools Set 1 includes a tool called Body2Hip
Run this on the FBX result Before saving the animated pose, and you'll enjoy Massive Improvements!!!
Use is simple: Select figure (I just select the imported FBX figure) then run Body2Hip
I had converted a lot of my Mixamo FBX downloads to Victoria 7 using Zaz777's conversion script (see below), and they work great. But they're for Victoria 7, so to use them on Rosie 8, I'd either use the G3F to G8F World's Greatest Pose Convertor pose dials or run a Bone Minion. (there's also G3M to G8M World's Greatest Pose Convertor for our male figures)
Rather than using the Victoria 7 conversions I already made I decided to just use my new Genesis 2 Pose Bone Minion to start from scratch with the original Mixamo FBX downloads. (I purchased the Genesis 2 Pose bone Minion Bundle so that I can easily translate my Mixamo FBX downloads to Any of my Daz 3d Figure generations from M4 and V4 through Genesis 8.1)
LimbStick is a Great Way to get even more custom, believable edits to your aniMations!
Linday's amazing aniMation four-wheeler template system brings Life into our vehicles in Amazing Ways!!!
Some Daz 3d aniBlock/Animated Pose Vendors
Visit Dartanbeck.com for a Whole World of CG Filmmaking topics and articles!

The Power of aniMate 2
A new page at my website
A truly wonderful experience of animating in Daz Studio awaits, and this page will help you delve right in with ideas, links, images and videos
Along with the actual User Manual for aniMate 2 viewable/downloadable right on the page!
Links to products specifically designed with animation in mind as well as direct links back to this forum thread if you need help with any of it - I monitor this thread manually and I also get an email if someone responds - so you can expect to get answers in a timely manner.
I'll also be adding subpages to this one that will expand our learning experience within the realms of aniMate 2 and animating in Daz Studio in general - because in my world, animating in Daz Studio almost Always involves aniMate 2.
The Power of aniMate 2
A new page at my website - Come on in an Join the Fun!!!
Daz 3D is part of 
Connect
DAZ Productions, Inc.
7533 S Center View Ct #4664
West Jordan, UT 84084
Licensing Agreement | Terms of Service | Privacy Policy | EULA
© 2026 Daz Productions Inc. All Rights Reserved.
Comments
aniMate 2 Timeline Guides
A useful little feature that can help us to visually line things up in the aniMate 2 timeline and can also give us the power to align multiple aniBlocks to the nearest guide.
This can be very handy - especially if we really need to line things up precisely!
aniMate 2 Trim and Blend aniBlocks
Joining motion capture data without having to painstakingly rework positioning and rotation in a graph editor between the subsequent data is Truly Magical!!!
Multiple Start Circles
Being able to actually manipulate where the whole animation begins in 3D space is an excellent feature to have.
Did you know that we can add new Start Circles for any given aniBlock? Check this out!
A word from our Sponsor
Pose Splines
In my course, we'll be making wonderful Control Dials that allow us to manipulate the outcome of Any joint rotation, shape, or morph.
GoFigure has added Amazing functionality to aniMate 2+ that actaully allows us to manipulate the path of motion of the major joints of our figures - visually, directly in our viewport!
I agree with him: That IS Magic! :)
Parent Constraints
Speaking of Magic:
Did you know that we can actually control whether a prop is parented or not throughout time? Like in this example - pick up a phone, talk on it for a while, and slam it back down!
Since I've discovered this feature (Parent Constraints) I use it a lot. It can really add a whole extra level of 'Awesome' to an animation! :)
Working with Subtracks
Subtracks are what allow us to stack motions over one another. Some of the features of this tool are not supported on generations newer than Genesis 2, so for that to work smoothly, we'll need to make our own Partial aniBlocks. You'll see what I mean.
Splitting Cropping and Mirroring
I prefer to work in a more "Hollywood Studio" sort of fashion, so I tend to keep my animations short. It makes for a more efficient workflow and we just stitch the various animation renders together later in a movie editor. So I only make each animated scene as long as it needs to be to get the point across and, even then, I may use more than one saved animation scene to convey a single point.
We probably already know how to edit when an aniBlock starts and ends, but I see that many folks are unfamiliar with Cropping them - which, as you'll see has more power to it than one might expect
Likewise, I'm sure we all know how to mirror our motion capture data. But just in case...
This is how I work with the limitations I have with having a low VRAM on my GPU - creating multiple renders to be layered in Fusion or HitFilm, PD Howler... whatever compositing tool you use
Speed, Direction and Positioning
Some of this may seem trivial at first. But to me, especially using the Split/Crop functions, being able to edit the speed, direction and positioning of the motion capture data Before I send it to Studio's timeline can have Profound effects on the entire outcome of the animation
Speed
Reverse
Position and Direction
High Heel Offset
The title says it all. This feature allows us to shift the height of the character by lifting or lowering the heels while keeping the ball of the foot in the original position, automatically bending the toes at the same time. This feature applies to the entire aniMate 2 timeline - not just individual aniBlocks
Editing Keyframes
Now this is cool and very powerful. Not only that, it's easier than what the title may suggest in your mind! ;)
aniMate 2's wonderful "Cubic Interpolation" tweener!
Editing Splines
More on editing the motion paths of aniBlock data
Foot/Leg
Hip - This one shows the cool trick of "pinning" the feet while altering the position the hip
Preferences
Working with some of the behaviors of aniMate 2
Import BVH
Cool little demo includes correcting the messed up first frame
Export Options
Nice man, looks like a comprehensive course.
Thanks! I certainly put heart and soul into it :)
Rather than join in the moan and groan that animation is troublesome at best in Studio, I put my thinking cap on and found a way to make it work. Using these methods it not only works, but it's fun and very efficient! I'm anticipating that I'll never go back to my old ways!
Special thanks to all of the Daz 3d devs that put their heart and soul into making Studio what it is today! Love It!!!
And a Special Thanks also to GoFigure for creating aniMate 2+ and all of the amazing motions you've captured in your studio for us to apply to our cool characters!!!
►►► Back to the top of Page 1 ►►►
The aniMate 2+ videos shown above were made a l o n g time ago. 13 years. So some of the ways to get around Studio have changed since then. Namely, instead of using the Tabs menu, which no longer exists, we'd use Window > Panes, for example.
But it's the information about aniMate that's special to note!
IIRC the partial limb filtering feature was not supported by G3 & above has that changed?
Nope, and I mention that above. However, a great workaround is to make Partial aniBlocks. I have a full video dedicated to making those in my course.
Creating a Partial aniBlock:
and you have a nice Partial.
Now you can use that new aniBlock in a Subframe without the parts you didn't want.
It's all very quick and easy to do, and makes for a powerful catalog of partials as you save more and more of them. Trust me. It's worth the tiny bit of extra effort.
To me, just because that minor inconvenience hasn't been fixed in aniMate doesn't in any way diminish it's incredible aniMation power!
Hope that helps, my friend!
►►► Back to Main Menu ►►►
You rock !
In some of the generation 4 aniBlock packs I have, there are motions for touching the face, stretching arms, rubbing the head, etc.,
I made partial aniBlocks of just the arms, sometimes just one of the arms, sometimes the arms and the neck and head, etc.,
It was one of those that I chose to use to get Rosie 7 to put her hair back behind her ear in the course.
These partials get me close, then the added Control Dials I made help me finish it all off in the timeline easily without having to hunt down keys to edit in the graph editor. Nothing against the graph editor, I just don't really need it with these dials, and the dials have the added benefit of being adjustable anywhere along the timeline with a selection of tweeners for the transitions.
It's a very elegant way to work. I love it!!!
You can see some ofd the dials in action in this promo - taken from the course but, for the promo it's playing at a Very High Speed.
You ROCK!!!
Just a small tokken of appreciation for someone who makes things happen! ;)
Thanks again, Saxa -- SD. I really appreciate it :)
A fun little behind-the-scenes look at GoFigure recording the motion capture for Martial Arts packs
►►► Back to the top of Page 1 ►►►
Nostalgic Fun!
This is a wonderful little promo that JonnyBravo created for the aniBlock Importer for Carrara
And this is JonnyBravo's aniBlock Importer for Carrara tutorial
As a total newb back then, I contacted JonnyBravo and started a conversation with him regarding which movie editor I should buy. Going from WinXP Pro to Windows 7 was a nice move, except that the free MovieMaker in XP was replaced with MovieMaker Live, which I never got used to.
I ended up getting the 30 day trial of Sony Vegas 9 and made this video with a pile of test renders that were on their way to the Recycle Bin. By the time I finished uploading it to YouTube, Sony had my money and Vegas was mine! Vegas is now developed by Magix and is a very powerful, yet easy to learn movie maker solution, though I've now switch to DaVinci Resolve.
Ladies and Gentlemen, test clips of a newbie - Just for Fun, by a very green Dartanbeck
As a complete newbie to movie editing, Vegas Movie Studio was Fantastic! I'm sure they still have these features, but back then the button was called "Show Me How". Clicking on that brought up a drop down and we could pick a topic we needed to learn about, and a really nice tutorial would start presenting itself directly within the working space - and even if we have changed our interface around, the tutorial was smart enough to know where everything is anyway, so it always just worked.
I was amazed with how easy it was to learn how to do techniques that I've never even knew to exist.
DaVinci Resolve's Free version is incredibly complete for a home filmmaker solution and has extensive training freely available as well.
►►► Back to Main Menu ►►►
I like to make time for "Partial Creation Sessions", where I browse through my aniBlock collection looking for things like:
When I'm on these creation sessions, I categorize the partials into folders that match which limbs are used, like Head_Neck, Arms_Only, Arms_Head_Neck... that sort of thing - all within a single folder that I call "Partials".
I capture the entire motion capture for these partials, even when my initial intent might only be to use part of it.
So when I have a bunch of these, the fact that I have them sticks in my head, much like they way my purchased aniBlock packs do. This makes it easy for me to quickly decide to do a particular action for the story. My first thought is always the main motion that the character has to partake in. Is the character moving to or away from something? Backward, Forward, to one side or the other? Jumping, standing still... etc.,
As soon as I know that, I almost always know the rest. And I almost always think of several base motions that would get me there, which in turn tells me exactly what sort of Partials I want to try.
To get this job done, I collect as many aniBlock packs as I can get my hands on - whatever the subject matter of the pack. For example, I am entirely tired of seeing freaking zombies everywhere. I mean... I don't mind them, but the last thing I want to render... yeah... Zombies.
So for the longest time I didn't collect any of the many various Zombie packs. But I did have some packs that had Zombie motions. When I tried them out, huh... I can use these!!! And not for Zombies, but for my characters when they're injured or trying to pass through a force field, or...
As I started collecting the Zombie packs I was previously ignoring, I started to realize how valuable the motions are for characters that are nothing similar to a Zombie. Even regular people can benifit from these motions in part or even in whole. Our Control Dials can do wonders for changing up and entire motion's behavior and effect - story wise... as can Partials!!!
I'm also not really wanting to make a presentation on dancing. But dance moves of all types are really handy to have. Sometimes a bit of dancing is exactly what the scene needs. Other times just a bit of dance motion combined with an entirely different torso, arm, head and neck partial won't turn out to be dancing at all, but a really cool action that has some real attitude about it - something that's also quite unique and looks really good.
Office actions are captured office moves. Plain and simple. But they don't have to end up as the character being in the office. Sometimes a typewriter motion on the arms, head and neck can work really great for something entirely different, like playing a guitar (using dials to rotate the arm sections around correctly according to the instrument model) or standing at star ship controls.
The point I'm trying to convey here is that we shouldn't think about the action that aniBlocks are captured from, but rather, what motion they 're making and what else we can do with it.
One aniBlock I have is for chugging down a drink, cocking the head back.
I made a partial of just the arms through the fingers. So this patial has one hand by the side, moving but only enough to look "alive" and the other hand just goes up to the face. Into it actually.
This is one of my main partials for tucking the hair back behind the ear - one of them.
This was taken using GoFigure's "Calling a Pet" for V4/M4. After the hands get to the knees, I delete all the rest of the key frames for both collars when they're collapsed, which also deletes the keys for the entire limb and all fingers. Keeping that set of key frames when the hands reach the knees, I delete all the rest of those collasped collar keys between that and the first frame of animation.
Then I go to the point in time where I kept the keys - the point where her hands touch her knees, and I adjust the various joints to place the closed fists aggressively on the table. While on that frame, I Crtl+Select each hand and then the table top and run LimbStick - setting it to run from that frame to the point where she stands back up. Worked perfectly the third try.
Finally I work out the final resting place for the limbs and work out the beginning and end transitions to and from the LimbStick work.
The whole process didn't take long at all.
Rosie wanted me to buy something small to test out a new credit card - make sure it works before we need it tomorrow.
When not on sale, this pack is over $40 and worth every penny. But with the Wishlist sale, I got a Massive discount!
I couldn't take it anymore. I paused the animation I was rendering, cleared the scene and built a really cool animation. It's nothing like the actual motion anymore but it looks Fantastic so far. Simulating the hair as I type this.
Seriously, after reading through the above post, check out the SketchFab preview of this pack. While you're in 3D mode watching these motions, try thinking outside the box. Imagine that it's not a Zombie, but one of your favorite characters. Now what could you do differently to the motion (if anything at all) to make it work on that character? Thinking along these lines... you'll start to see something. The more you start putting these techniques to use, the more your mind will open up as you look at motions.
You'll start seeing partials in the motions that could really benefit you - so you'll take a break from what you were doing, save your work, load in a base figure and start applying the aniBlocks, Bake to the Timeline, select all of the keys for the partial you want to make and copy them. Clear the figure - Paste. Go back to aniMate 2 and Create New aniBlock from Timeline. Get rid of the original aniBlock, re-enable the aniMate timeline, right-click > Save As New, and put it in your Partials folder! Harder to type and/or read than it is to do!
You don't have to be working on a superhero movie to find good use from a superhero pack. Just saying! ;)
Using aniBlocks for Entirely Different Motions
I'll show it once I get it rendered, but I just used one of the Zombie Walks (Walk In Place - no forward movement) from my new pack, and made a "Rough Ride" on a motorcylce animation out of it.
Watching this animation both through the render camera and from a distance through Perspective view, it looks Fantastic!!!
►►► Back to Main Menu ►►►
By happy accident, I was able to line up the perfect situation for the bumpiest part of the ride - how it turned out after manipulating Rosie with the bike parented to her. She bumps into the air and lands. Following the speed of the bike and where I began in the Silo, she hits a big mass of giant wires which knocks her off the track she was on into the concrete channel that surround the water. Turned out really cool!
So that's also where I got the idea to use the Zombie Walk for this. That cool Aldecaldo-style Cyberpunk motorcycle - another asset I've been dying to get my hands on. It has "Run me on rough terrain" written all over it.
Previewing those cool new Zombie animations, I immediately has ideas for using them as "Rosie is beaten and exhausted" starter motions and other action hero style animations. The idea of using them to make a bike ride never entered my mind - until I decided that I wanted to see this cool bike in my Studio for the first time.
So before I even loaded the motorcycle, I ran Rosie through all of the "In Place" walk cycles in the pack. There were quite a few good ones - and the one I chose works absolutely perfect!!!
Wait till you see this!!! :)