
Daz 3D is part of 
Connect
DAZ Productions, Inc.
7533 S Center View Ct #4664
West Jordan, UT 84084
Licensing Agreement | Terms of Service | Privacy Policy | EULA
© 2026 Daz Productions Inc. All Rights Reserved.
Comments
Great, @AsuCafe
If you find a good method, please post here.
If you are going to paint your own skins, perhaps you could create a new UV map in Blender or some other program.
This is driving me crazy. I consulted AI and watched videos, and they suggested many methods: re-creating UVs, baking, making the headpiece, and so on. Usually, the second step stumps me. The only feasible method is to create a full-body GEOSHELL and save it as WEARABLE. I used G8 MALE, and everything went smoothly until I dressed Lowpi in the GEOSHELL and all I got was a white patch. I don't know what's wrong; maybe the textures are incompatible. Because when I dressed G8.1 MALE in the GEOSHELL, the body turned white, only the head and limbs were normal. I'm really at my wit's end. I should have finished that donut back then...
I have very successfully used the geoshell wearable method. I hide the LowPi under the geoshell. Have you applied materials to the geoshell? Without materials, a geoshell will be white. I usually reduce the materials from 4K to 1K, because I'm not rendering closeup portraits of these people. I think I discussed this method earlier in this thread, but I don't have time today to go look for that message. Maybe you can search for it. I don't remember how much detail I posted back then.
Wrong - I didn't use a geoshell. - see below.
I think my previous post was WRONG. I don't think I used a geoshell at all. I'll dig up some notes I made at the time I did this. Sorry for the confusion. I'm packing for a trip and scatterbrained today.
These are just personal notes, not intended to be shared as a tutorial, but they might help you.
Create skin wearable for LowPi:
Load LowPi and dial the hidden clone morph of the skin you want to use (G9, for example)
Load the base character of the generation of skin you want to use (G9, for example)
Pose, scale, morph the character to match LowPi as closely as reasonably possible.
Set character to Mesh Resolution Base.
Export the character (only the character) to OBJ.
Import the OBJ
Use transfer utility to rig the character OBj to LowPi. From LowPi Current Shape to Character OBJ, no template, Reverse Source shape from target, parent to source figure.
Select LowPi and dial out clone.
Since importing an OBJ with materials doesn't really import the Iray Uber channels completely, copy all surfaces from the original character (Genesis 9, for example) and paste those surfaces onto the new character rigged and parented to LowPi.
Select rigged character now parented to LowPi.
Run V3D Scene Optimizer to reduce the 4K skin Maps to 1K.
Save as Figure/Prop Assets
Delete rigged character now parented to LowPi.
Select LowPi and load the asset just saved.
Click the visibility eye icon to hide LowPi hip and all hip children in the scene.
File/Save As/Wearable(s) Preset.
Choose a folder to save in and a name for the wearable.
(A Wearable(s) Preset Save Options dialog pops up) Make sure that the Genesis 9, and nothing else, is checked on the Wearable tab (it should be by default).
Activate the Other tab in the Wearable(s) Preset Save Options Dialog.
Check "Include Other Settings in Preset".
Uncheck LowPi and click the triangle to expand the LowPi hierarchy.
Click the triangle to expand the Display hierarchy.
Check the [P] Visible box.
Click Accept.
To create various character skins (not shapes) apply a G9 character skin material to the G9 wearable. (If it is a hierarchical material preset, you will have to load a real G9 and apply the skin to it and then copy all the surfaces and paste all the surfaces to the G9 wearable.)
Run V3D Scene Optimizer to reduce the 4K skin Maps to 1K.
File/Save As/Material(s) Preset. Select a folder and filename for the character skin preset and Accept.
Notes:
Sometimes the saved skin asset needs to be helped in Blender or other modeling app, to fix distorted fingers (G8 had this problem pretty bad.)
Sometimes LowPi geoshell clothing doesn't fit over the wearable skin, because the wearable skin is a little larger than LowPi in certain places. A modeling app like Blender can be used to fix that.
Sometimes with female conversions, the breasts are a problem. I used Blender to shrinkwrap the converted G8F to LowPi and tweaked the size from there.
When reimporting as a morph I create a dformer to attenuate the shrinked OBj so it doesn't import the head, hands or feet changes.
This is very helpful, thank you so much! Although there are still some issues with posture and fingers, I think I can figure it out with a little more time. This is the first time I've successfully loaded so many characters into a scene and rendered it. I wish an artist could develop such a tool. Thanks again, and have a nice trip.
@AsuCafe I'm glad you found the notes helpful. Yes, fingers get mangled. I think it is because the Transfer Utility is trying to map individual Genesis fingers to the LowPi "mitten hands". I had to do quite a bit of fiddling in Blender to move vertices around and smooth things to get reasonable fingers. Your image looks really good, though.
Thank you for the good trip wishes. I'm still not completely packed. I get easily distracted. Like this thread. But at least it proved to be useful time spent for your progress with the task.
Creating a G9 skin for LowPi does unfortunately lose a lot of its technical advantages, because you're now using much more geometry and multiple textures.
Personally, I preferred to create new morphs for them that were linked into their existing shapes so that they more closely matched the look of Genesis (in fact, I shrinkwrapped them in Blender to G8M and G8F), and gave them normal maps based on the same to help make up for their limited geometry (one normal map shared by all of them is a negligible VRAM increase).
Original:
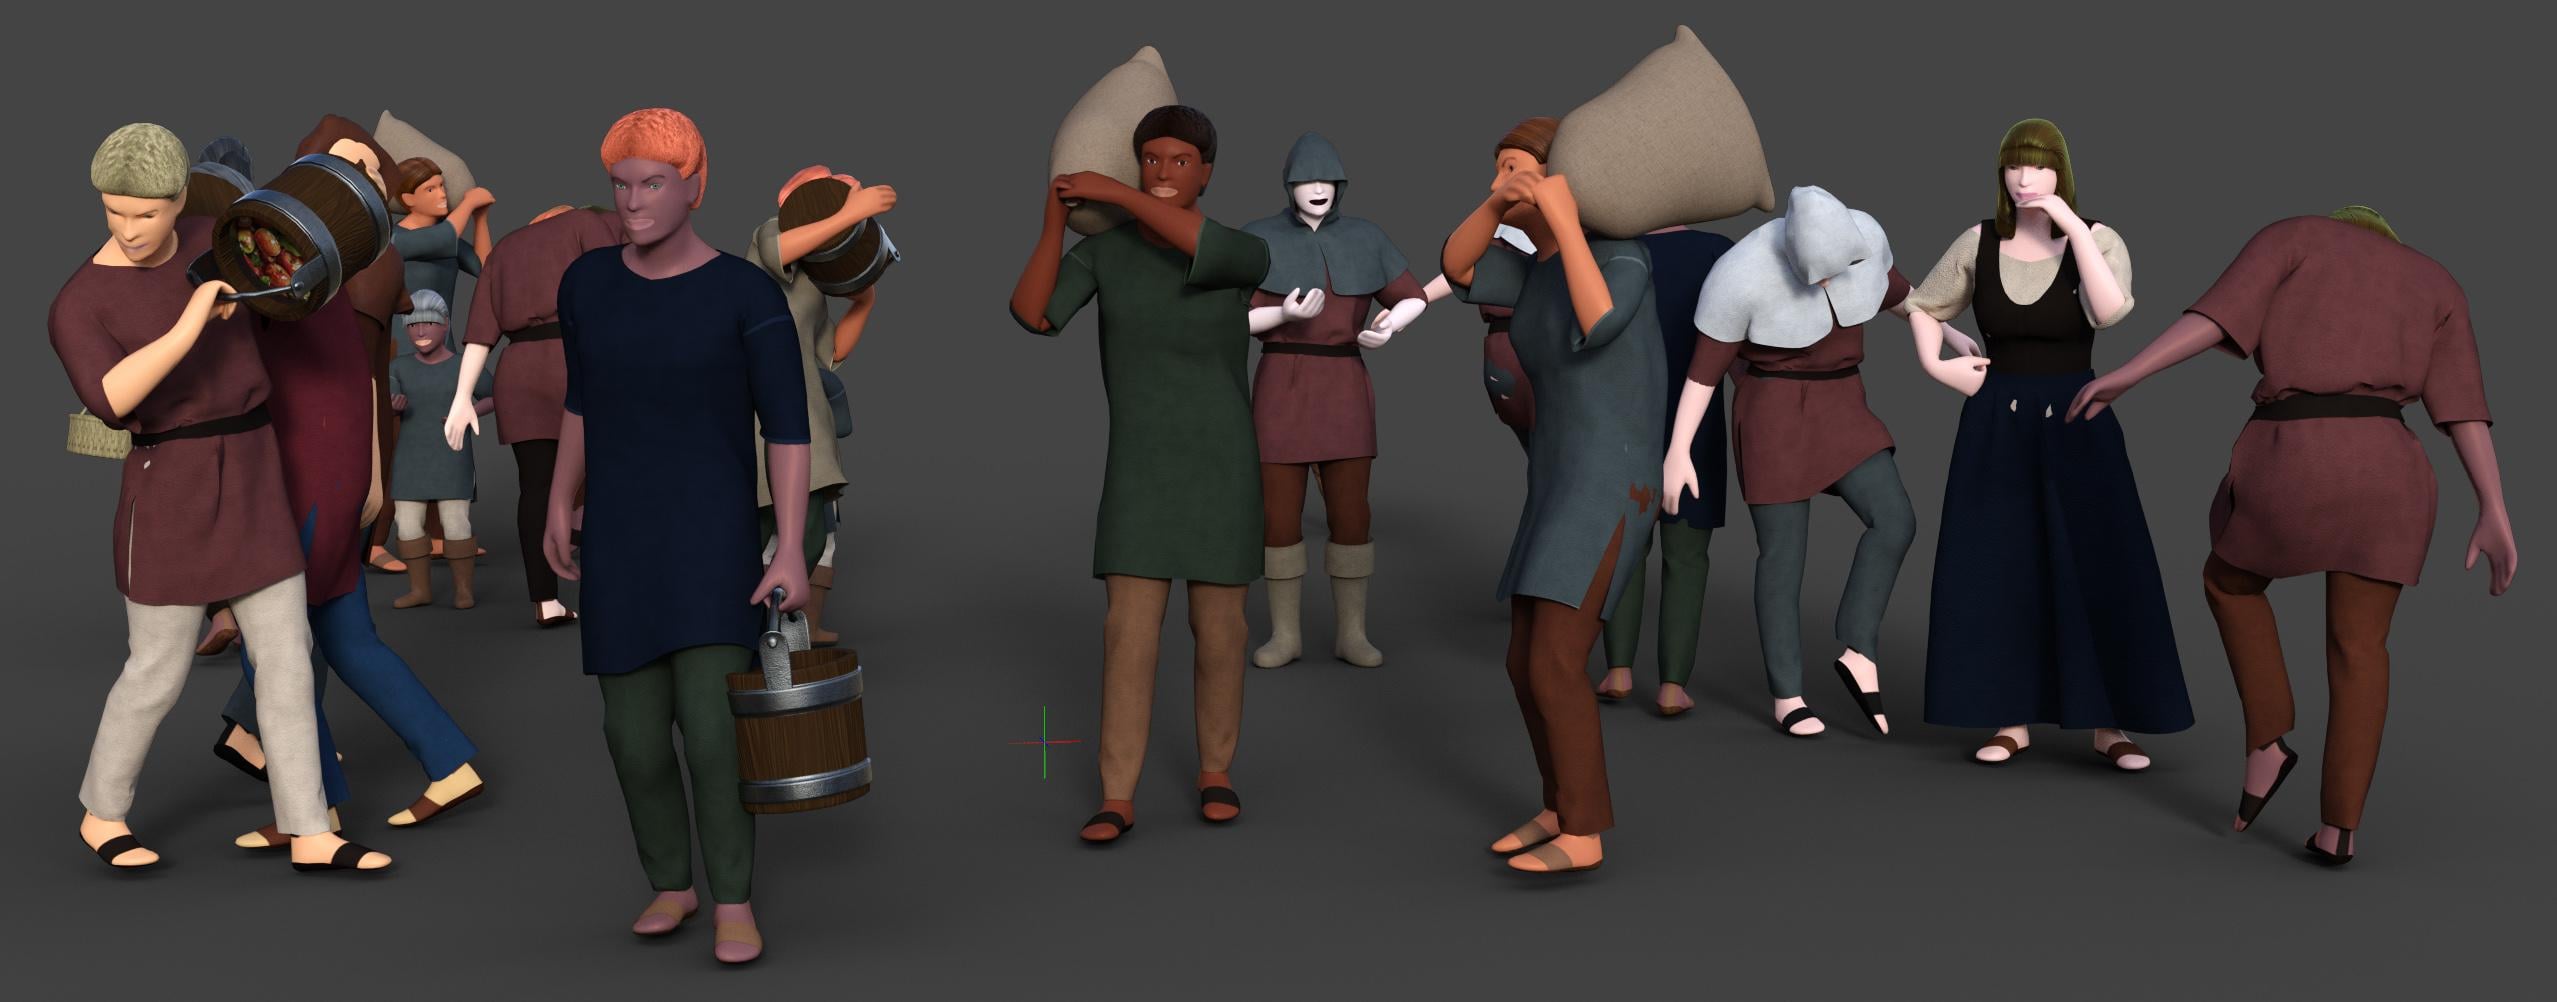
Modified:
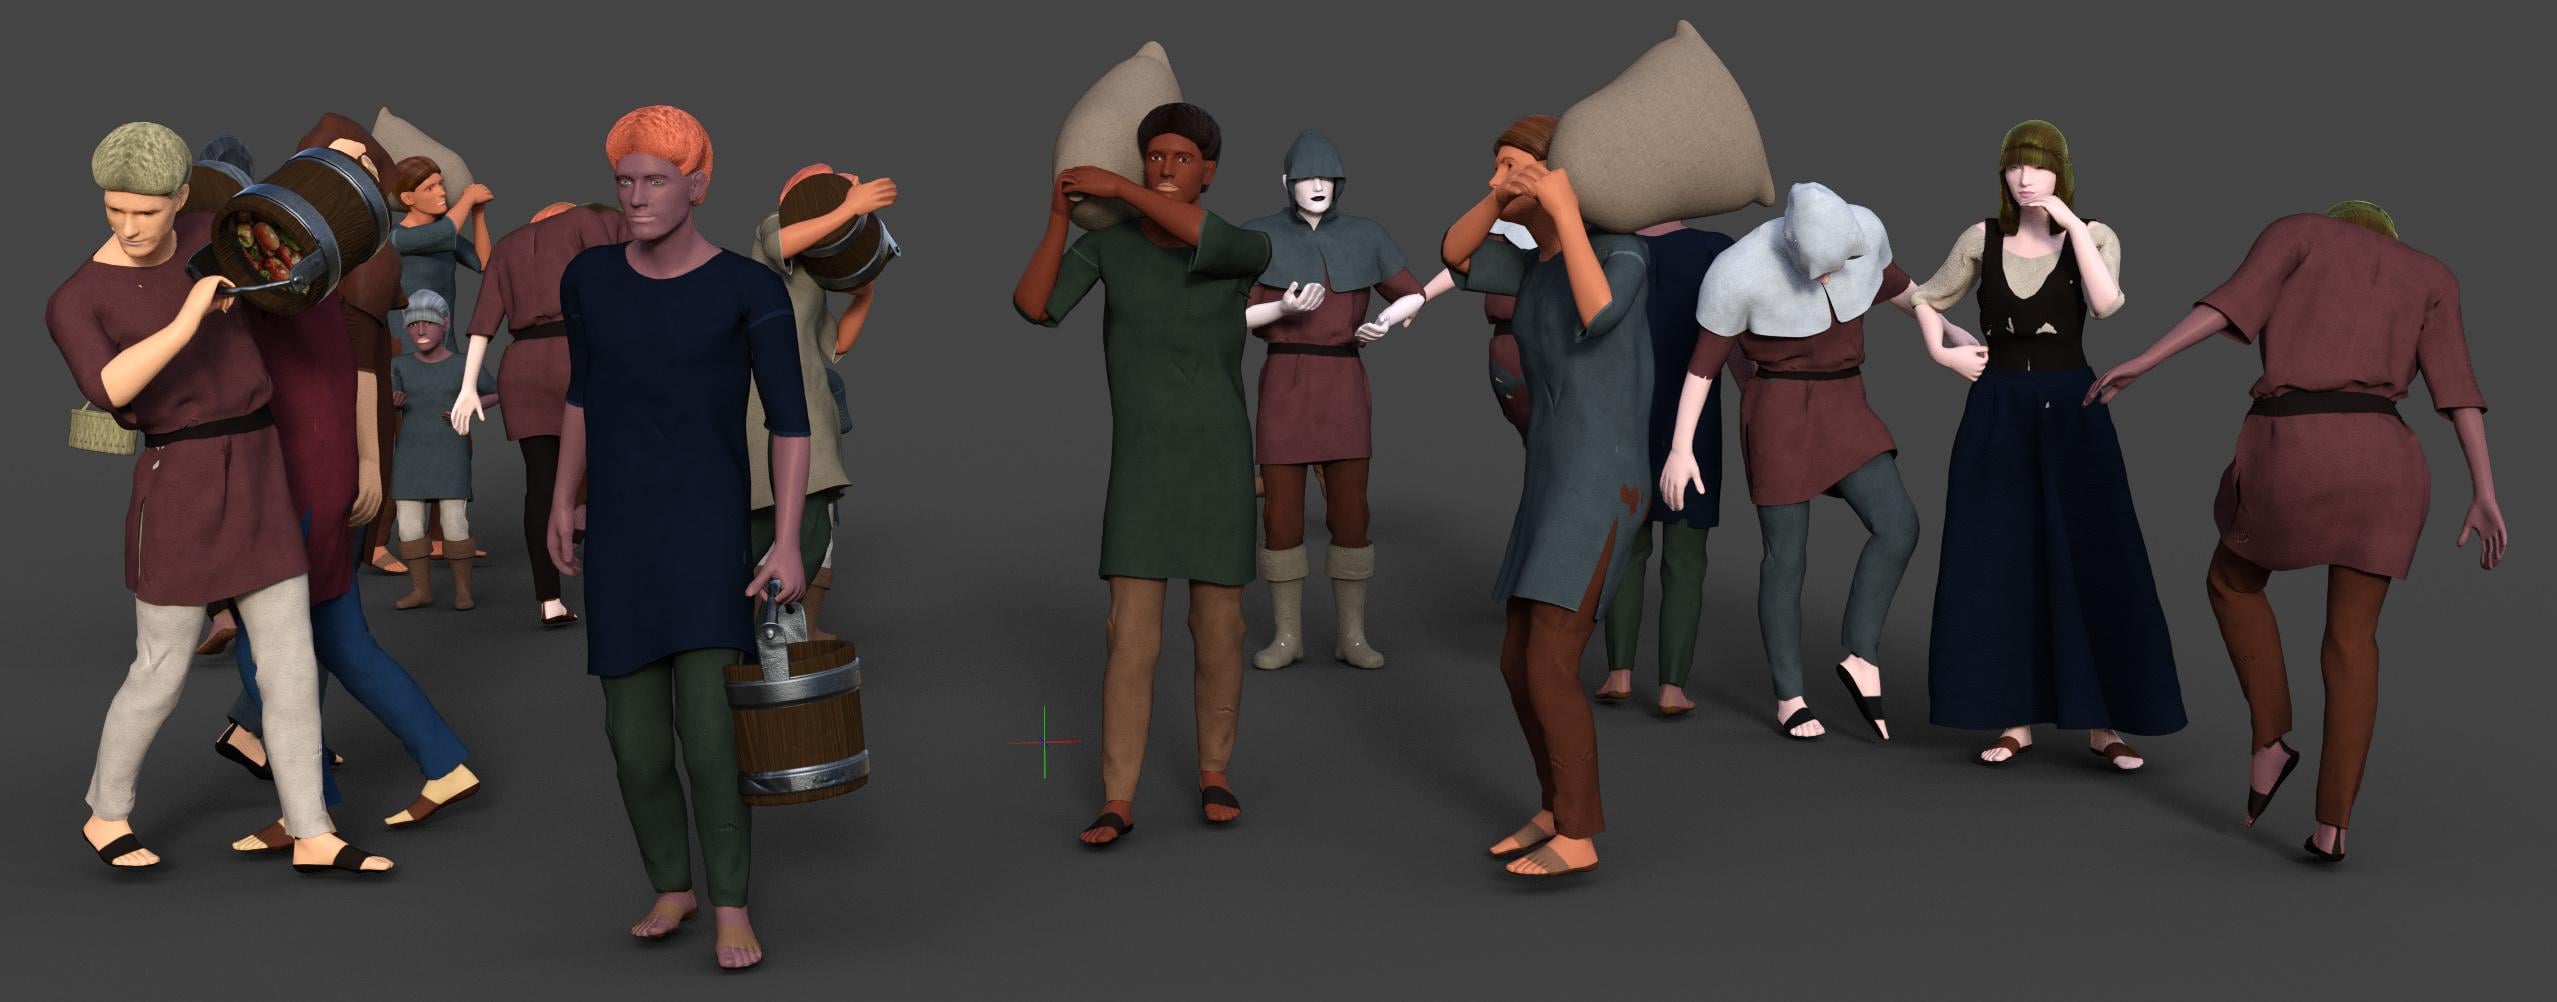
In the long run, I also overwrote their material presets to get skin colours that were more consistent with my existing looks. (Also allowing those materials to use things like SSS, which makes them a little slower to render, but has little VRAM impact).
And I've now used those in several of my scenes:
So I don't think it's necessary to lose their low-poly nature by trying to make G9 skin suits for them. They're not supposed to be foreground assets.
Although yes, for mid-ground assets, I feel they benefit from tweaking, but it's not actually unusual to have to adapt character materials to match the rest of what you're doing - it can be a very common issue when using character skins from different vendors.
Yes, these fully work with the crowd generation tools.
I've configured my new unisex, male, and female morphs to be shapes that are linked into the existing ones (with a master controller that I can disable if I need to restore the base functionality), and as I've replaced the material files that the script is calling (to have my preferred skin tones and the new normal maps), these will directly generate in my modified version.
In terms of my edits being derivative of the G8 mesh, I'm not sure I can release my version as it currently is, but if there's enough interest, I might be able to bash together something more redistributable (perhaps using the CC0 MakeHuman mesh as a starting point so I'm not working completely from scratch).
Tried these not so long ago. Sorry, but I wasn't that impressed, they look too cartoonish. I think NowCrowd is a much better product.
Those are very different - NowCrowd gives you a limited selection of high detail "figures" which can be viewed from any angle but with a fixed pose and design, LoPi if far less detailed but it gives posable and shapable figures (and some hair and outfits) which can be modified freely. Both have their places but I wouldn't regard them overall as competing options for the same purpose.
I only use Lowpi where they can get a bit blurry in depth of field. And I think that's their purpose.
While I obviously felt I wanted to make changes to the look of the LowPi figures, I am massively more interested in them than I am in the NowCrowd billboards.
NowCrowd:
For these reasons, I much prefer a posable figure solution such as LowPi (or Predatron's old LoRez figures); I feel that the premise is a better and more flexible approach to the problem (albeit a harder one to execute).
I also prefer to be able to place multiple characters in the scene on my laptop, like LowPi or LoRez.
I don't like the look of Low Pi heads and hands at all, so I stopped using them.
The only reason I bought LowPi was for the accompanying scripts, which offer a lot of flexibility in Daz Studio.
I also agree that it'll be nice to mostly adopt LowPi's advantages but bringing better morphs as well as textures to LowPi could be even better.
I ever experimented wrapping a LowPi on Victoria 9 and projecting V9's diffuse + normal maps to LowPi by using Texture Atlas UV. The result seemed pretty acceptable, like the attached Ss. Small size diffuse + normal maps just consume a little bit more VRAM.
I did the process in Faceform Wrap but I believe the process can also be done in Blender by creating wrap and texture projection templates (though texture projection in Blender is not 100% perfect but should be good enough for LowPi). The templates can be reused for wrapping any Genesis characters as well as converting their texture maps ~~
Looks much better, @crosswind Thanks for posting your results.
Yeah ~ No problem !
Not sure if this has been addressed yet or not, but it would appear that the scripts don't work in DS6. I went back to DS4 and had no problems.