Iray Ghost Light render and support thread (Commercial)
 KindredArts
Posts: 1,353
KindredArts
Posts: 1,353
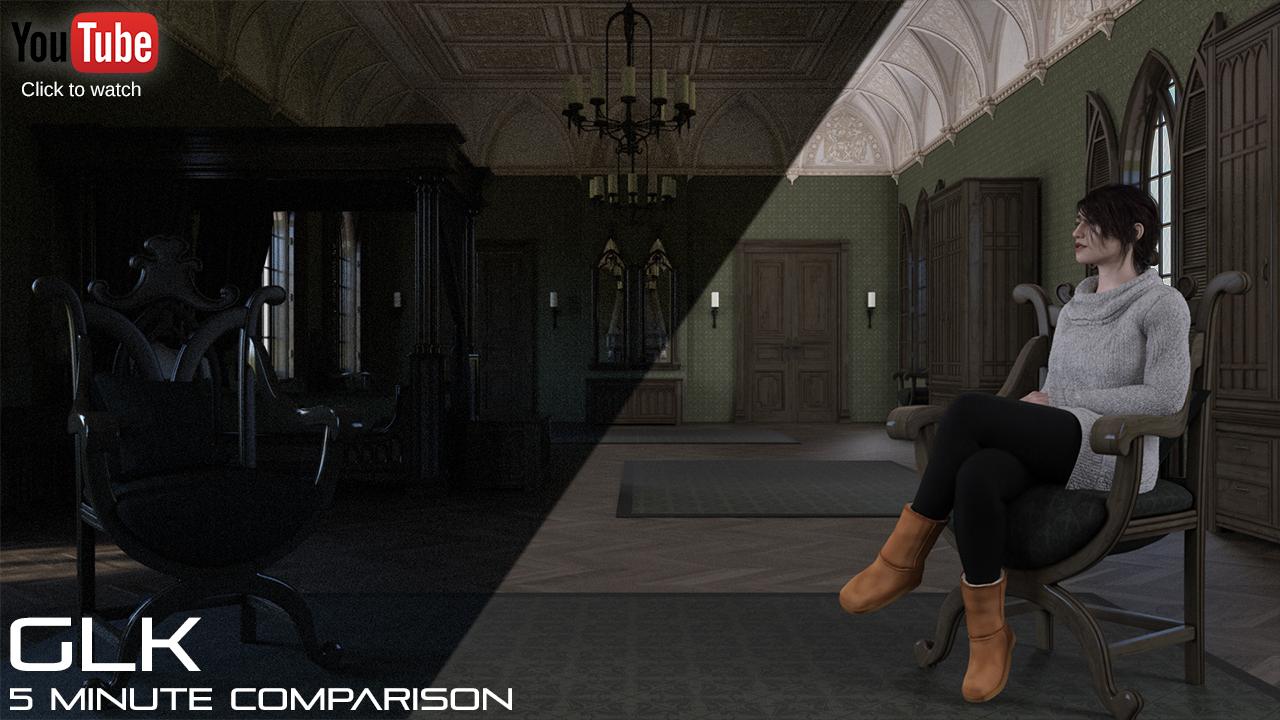
Since a load of threads popped up on the subject, this is a render and support thread for Iray Ghost Light Kit. If you've tried the product and would like to post or discuss the results, i'd be glad to hear some feedback. Otherwise, if you are having any issues and would like support on lighting set ups, or even general queries about the product, let me know! I'll try and do my own benchmark comparisons over the next few days, but here are some already baked renders:
https://www.youtube.com/watch?v=tWBK4XgTS0Y
Daz 3D is part of 
Connect
DAZ Productions, Inc.
7533 S Center View Ct #4664
West Jordan, UT 84084
Licensing Agreement | Terms of Service | Privacy Policy | EULA
© 2026 Daz Productions Inc. All Rights Reserved.
Comments
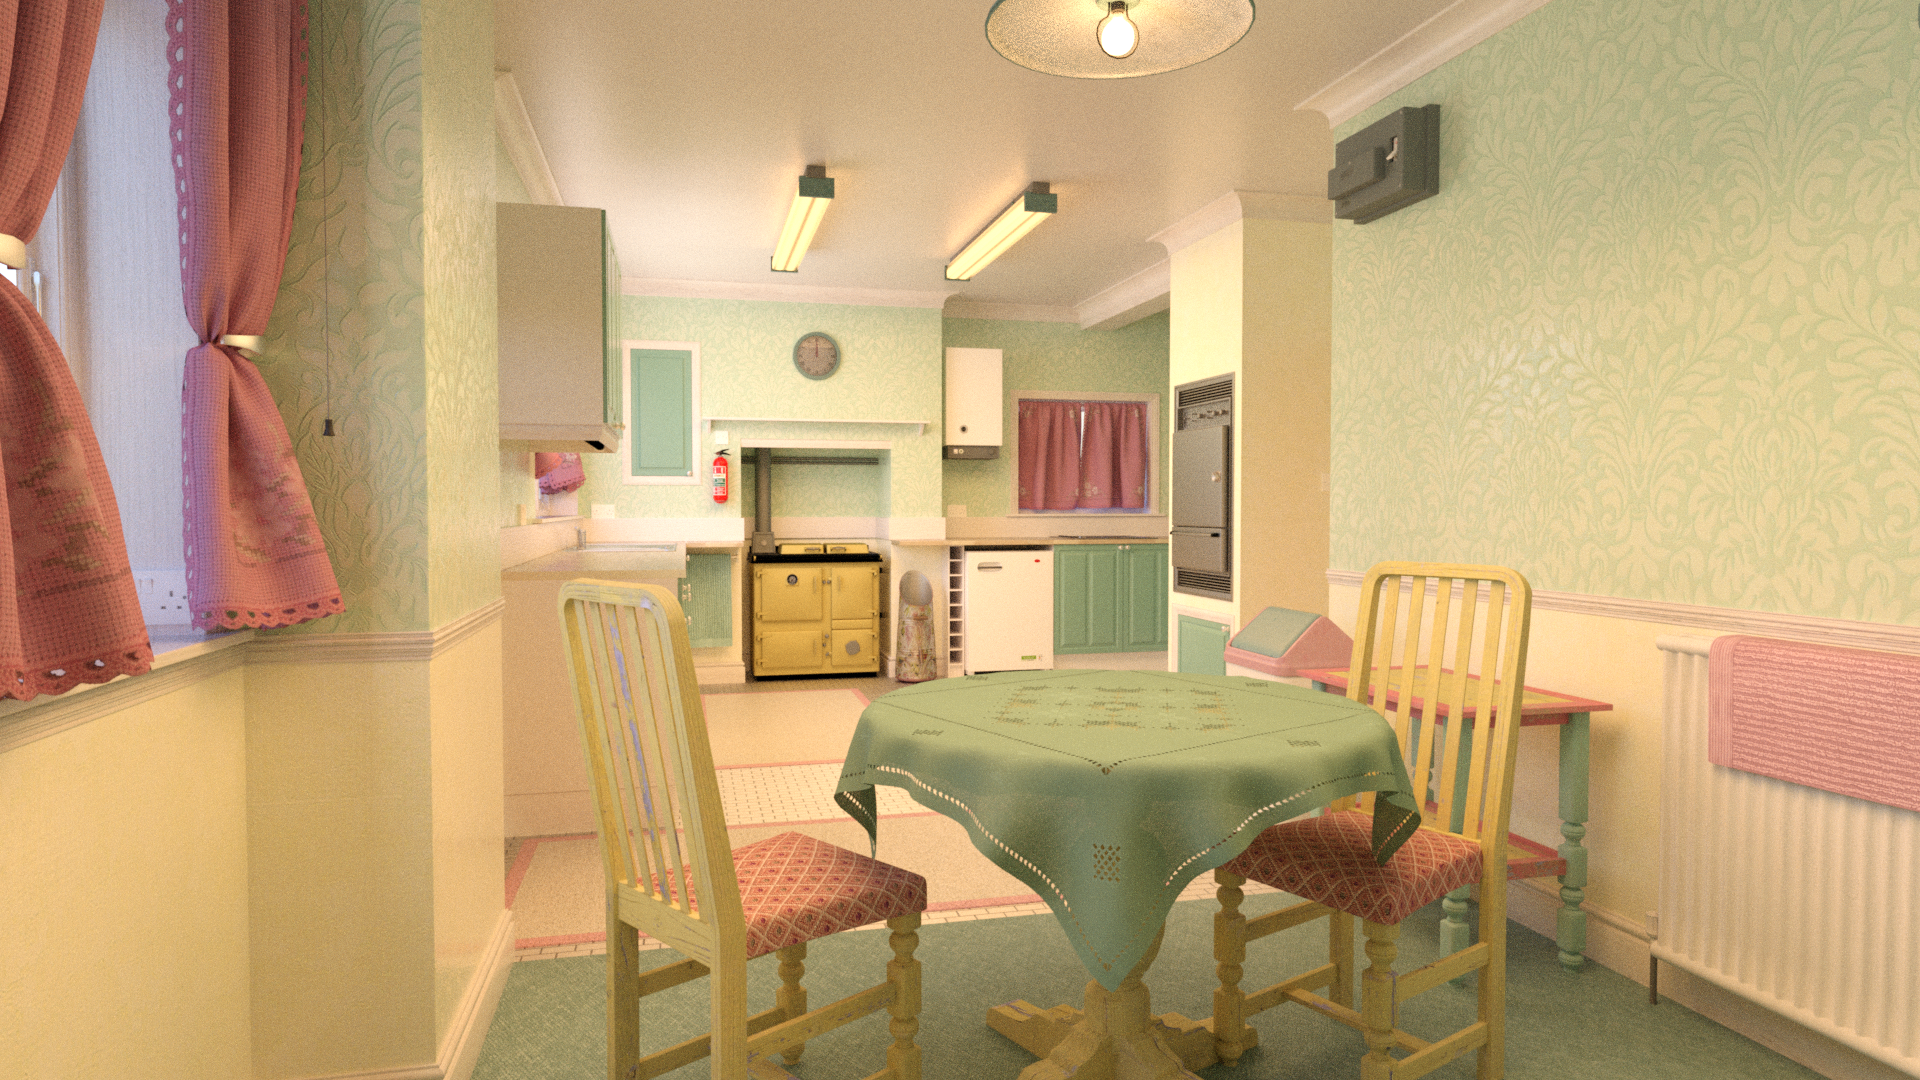
Used it as a subtle ambient lighting in this; one of the planes sized to cover the ceiling above the figure from ceiling light to ceiling light, set to 200K to assist the lighting already in the scene. There is an outdoor "sun" setting as well as an HDRI map. Other than those, no lights.
For lighting indoors scenes, is the ghost light plane supposed to be on the inside of the glass or the outside?
...from what I saw on the promo pics, inside.
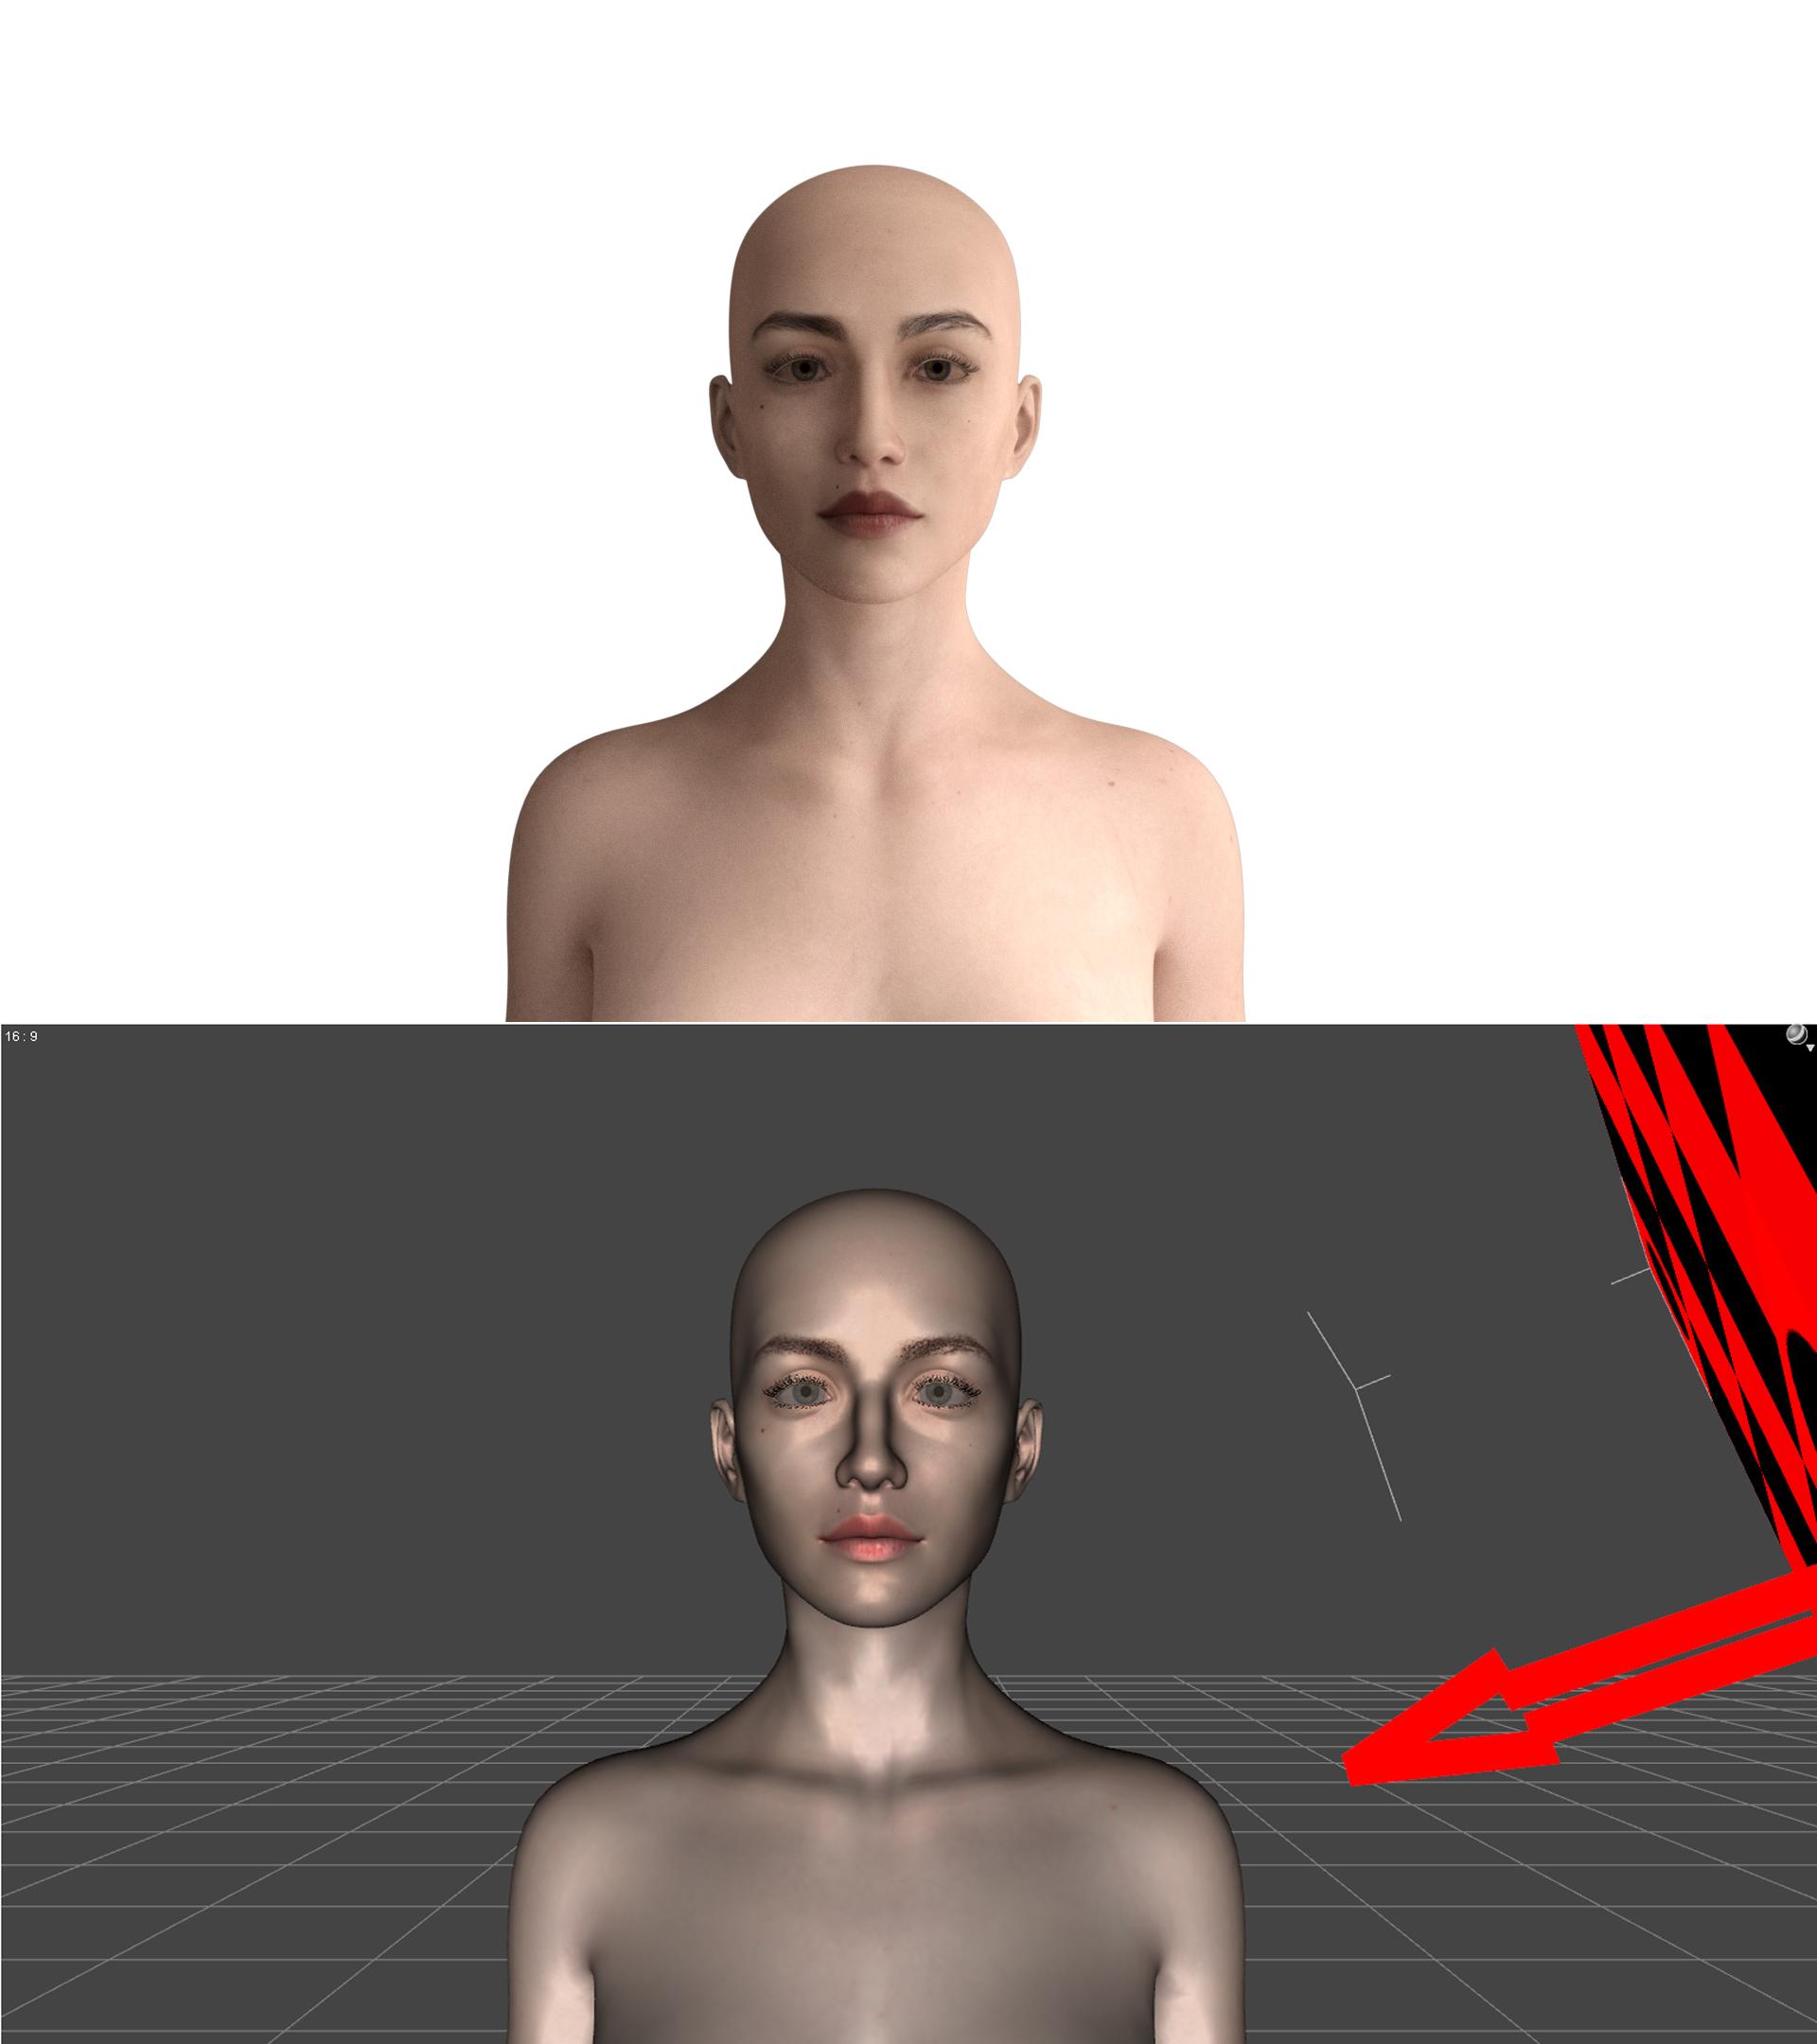
Is there any documentation on how to use this, other than the promo images on the product page? Are there any presets for your architecture products?
Outside will cause shadows from things like the frame of the window. There will be some attenuation through the glass and probable slowdown due to the refraction of the glass being calculated, before the room is lit.
Inside will just provide the light, not the shadows, the glass won't factor into the particular light (window) calculation.
I loaded the ghost light, and applied the APPLY BEFORE PRESETS setting, then applied a color and intensity. I wanted to move the ghost light, so I applied the DEBUG Material so I could see it. After moving it, how do I get it back to the invisible state while retaining the color and intensity I had set before? If I apply the APPLY BEFORE PRESETS, it resets all that.
As it was also asked for in the other thread 'Iray Ghost Light Kit'
here is my sample for 'before' and 'after' (adding 2 ghost lights)
1. without ghost, 1 ceiling lamp as a main light source. Render stopped after 200 iterations after 3:40 minutes. Result: noisy
2. adding two Ghost Lights in the windows
3. Render with the ghosts, ceiling lamp dimmed to 5% to remain visible, stop after 200 iterations after 3:42 min.
Iray says after the 200 iterations that it only has finished 2% of the image.
This is the most impressive 2% render result i have ever seen so far....
@barbult
I used a screen copy (attached) of the product page as my guide and was familar with it within 5 minutes. It's straight forward and really easy to understand.
The help could be to save the selected ghost light as a material preset prior to move it around/modify it. Would give it a try. On the other hand: setting brightness and colour temperature again is a matter of seconds.
A matter of seconds, if you remember what settings you had settled on! A long re-experimentation if you forgot. I would have preferred that the visible and invisible settings be toggled without disturbing other settings. Maybe it would work to copy the surface setting and paste it back later, as long as I don't copy and paste any other surfaces in between.
Depending on the scene adding these can dramatically change the render time. I had one indoor scene that would grind for hours and not progress in convergence and adding two lights allowed me to get to 60% convergence in 15 minutes. A different setup, adding them improved the render output but upped the render time by two minutes (a fair tradeoff for how much better the output was).
Hey guys! Thanks for dropping by, and an even bigger thanks for helping each other out! I know people still have questions, so i'm going to try and do a timelapse video of my setup. Also, barabult mentioned a seperate transperency switch - i'll try and get this done later on as a quick hotfix. Keep those renders rolling!
I was going to say to set opacity to 1, rather than use the debug tool, but I really like your idea of there being settings for that. Looks like KA liked the idea, too.
Had a little test run of this....all i can say is THANK YOU!
This little set i had kickin around for awhile, last time i rendered anything with it, it took nearly 14 hours to reach 75% convergence. This took only 35 minutes to reach the same point...and with far better results....cant wait to start messing with this gem again! Ease of use is incredible too...only took me about 3 minutes to set up the lights.
Daniel
You are very welcome buddy! I honestly thought i would get a bit of a luke-warm response to these lights, but everyone seems to be super happy campers. As i've mentioned before, i've got some videos in the pipeline to cover different lighting scenarios and comparisons against traditional methods. Keep popping back, you wont regret it!
Of course we are happy campers! Anything that cuts down on render times...as well as work flow especially with Iray is gonna be golden! Just the movement parameters you added for them are worth the ticket of admission.
No more futzing about with movement handles and rotation tool only to not get it exactly where you want it when creating a mesh plane. Then getting everything with the right temps and lumen values.
This is gonna be a great tool!
Ok gang, as promised, i've spent all morning in perilous combat with my video editor in order to produce ... well, something! This is a quick comparison of two five minute renders - one with standard HDR lighting, and the other with added ghost lights. I've included a time lapse of my setup, and also included my desktop clock so you can see i'm not cheating. No trickery, no smoke and mirrors, just HDR vs GLK. If you have a particular setup you'd like to see, let me know and i might be able to do a short video showing my setup. Questions, concerns, comments, critique, RENDERS?! Post them here, and let me know.
Edit: I think it's encoding, so some of it isn't in HD yet, bare with it, we'll get there!
https://www.youtube.com/watch?v=tWBK4XgTS0Y
I'm curious, and a bit skeptical... I've been a PBR artist since Reality was introduced five years ago. I switched to Iray when DS 4.8 came out. As part of my learning experience with PBR, I've taught myself a few fundamentals about photography. One of the first things I learned about PBR (and, by extension, photography) is that, when there isn't enough light in a scene, the first thing you should check, instead of adding more light sources, is your tonemapping (Film ISO, shutter speed, f-stop, Exposure in Iray).
This question is for those of you who were experiencing slow render times before trying this product. Were you checking your tonemapping and adjusting it as needed?
Tone mapping has only a limited effect on render time - the issue is mainly the amount of light so adding a new light source can help enormously (and tone-mapping can then be used to get the look you want).
Tonemapping will assist with brightness, that's true. If we're speaking about photography though, let me pitch a question to you - What do you do when you're shooting a dark scene? You change the shutter speed and iso to allow more light into the lens right? But that produces noise, so how do you counter the noise? You add more light to the scene, it's a balancing act. Tonemapping will allow for a brighter/duller image, and is important for a balanced result (No blowouts/blackspots). If we're talking about scene convergence though, tonemapping isn't going to go very far. Heavy computational path-tracing is the reason that scenes reliant on in-direct light bounces are incredibly resource intensive. Changing the primary lighting solution to a low-value direct lighting method will result in a clearer, quicker render. The camera utilities can manipulate the amount of light entering the lens, but not the amount of light entering the scene. Someone rendering on a cpu can't achieve Titan x level render speeds and frame convergence by filtering the ISO.
That's my take, and since this such a complex and nuanced topic, all i can do is share methods that achieve practical results. If i'm wrong, i'm more than happy to learn why, but in terms of practicality, this is the best solution i can offer.
Ps: OT, did you ever use frankenlux? Good golly, those were the days!
That particular product is one I also had trouble with, especially when I used Reality/Luxrender before I had a GPU to enable me to play with Iray. But even with Iray I had to resort to hiding walls and roof and adding emissive planes.
@KindredArts can you describe your PC setup used for the video? Are you still rendering with CPU only?
Sure - I7 Skylake 6700 oc 4.2Ghz, 32GB of DDR4 3200Mhz lpx Ram, and for the sake of disclosure i have two Titan x's BUT i only used one card in the video. I was going to use my Gtx 970 (runs the monitors) to do a more consumer-grade test but there wasn't quite enough VRAM. I'd say clock-wise that scene probably would have reached the same level of quality in 9-10 minutes on a mid-tier card (970-980). It was mainly the VRAM limitations that made me go with the Titans.
What card do you have in your new rig? Are you running cpu only?
I rendered 4 images. (In case the forum messes with my order)
1) Render Settings = Default
2 ) Adjusted Tone Mapping (ISO, Shutter Speed, Exposer etc...)
3) Added Ghost Lights and left Render Settings at Default
4) Combined the settings from 2 & 3
Here's the Final (#4) - Letting it go about another 15 min would probably get rid of the noise. I used a decent graphics card. CPU times were only about 5-10 min off the GPU.
LOVE the Ghost Lights!
What a very concise overview Kat, thank you! I can't say i've messed with the tonemapper much - i tend to keep everything stock whilst testing because i imagine 90% of users do the same. I think your biggest noise issue in the scene is that corner. Not only is it quite reliant on indirect light, there is also the lamp causing fireflies. A low-lumen light on the other side of the room, pointing towards that corner probably would have cleared the area a bit faster.
I know, i'm a nitpicky nightmare! Thanks again though Kat, some great sleuthing here. :)
Yes, I totally agree, there are definitely ways to clear those up. I wanted to keep it as close to load and go as possible, while also applying the Tone Mapping solution mentioned earlier. :) I am pretty patient and a 30 min render wouldn't drive me nutty, but adding a bit of light to the corner would definitely speed it up! :) This was just a quickie test.
Edit to add - That corner of fireflies is also dealing with real glass in those frames....so the fireflies were a bit more stubborn there. LOL
Oh absoluetly, i can see what you were going for. I just wanted to throw in my 2c that's all, it's a great test.
As someone who has messed with tone mapping a lot lately, since I discovered how powerful it could be, I have to say that tone mapping can add as much as ten minutes to a render depending on your settings. Admittedly, I am a CPU only renderer with Iray, but still, if I can shave off 10 minutes, I'm happy with that. One of these days, I'll put my comparisons up on my thread. I'm hoping that using these lights will shave down even more off my render time. Only time will tell as I use it. I'm setting up a few scenes that I know had extremely long render times on my system and will be doing side by side comparisons with these lights. I'm very hopeful that I can shave off even more time on some of my renders.
I'm good with 2 cents. It adds up!! LOL
The only time I mess with tonemapping is to correct it to be realistic (turn off burn and crush blacks, set highlight to 1).
In Iray, I prefer to do a canvas and tone map in photoshop.
Grabbed this product after reading through this thread. It looks as if it will be a "fix" for some props and scenes I have not been able to light the way I wanted to. Cant wait to get home from work and try it out!
.....nice, so you not only can resize them but use them as a soft box as well.