Tutorial: Adding Atmosphere with a Depth Canvas
 chris-2599934
Posts: 1,971
chris-2599934
Posts: 1,971
Here's a tutorial about the technique I used when creating this image in my gallery, I thought it would be good to share.
Introduction
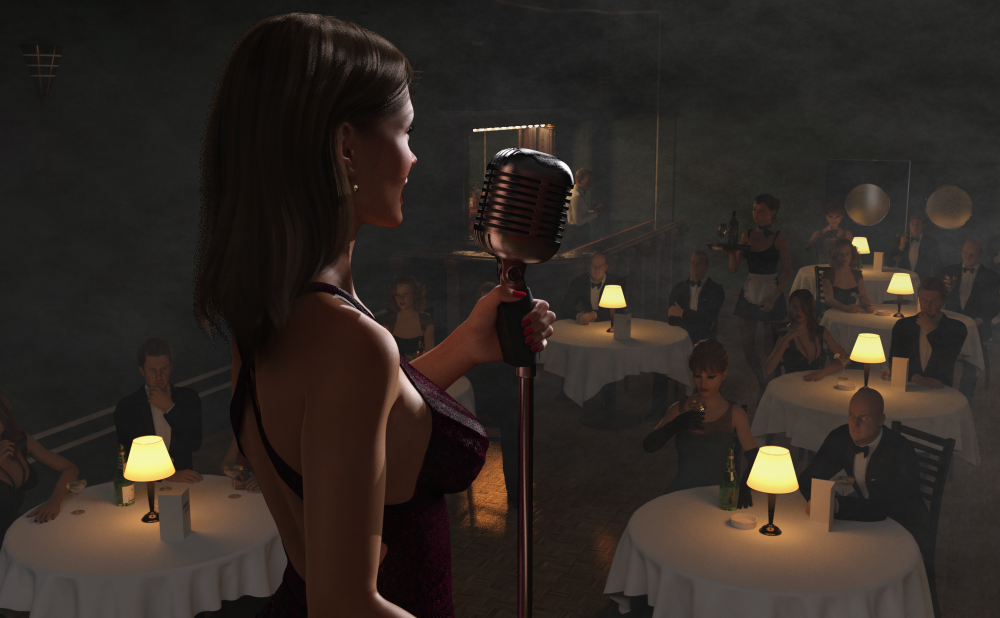
So, you've been rendering all night to produce this image of a jazz singer:
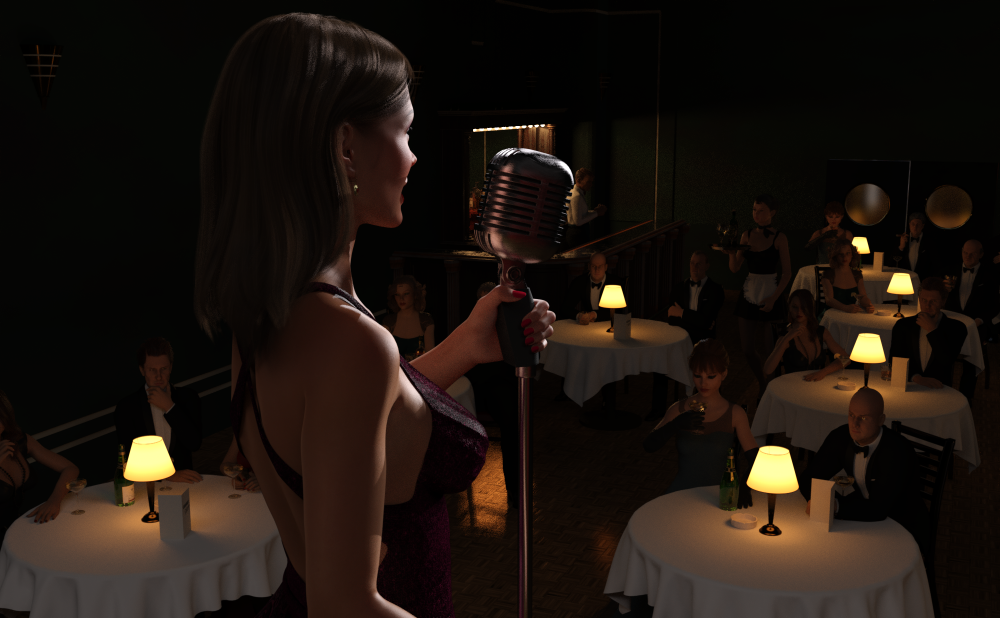
It's OK, but it lacks something: the smoky atmosphere of a nightclub.
There are many excellent products in the store that will add smoke/fog/clouds to a scene - but they can make the render time really slow, and you've already been rendering all night to get this far, you don't want to start all over again. Here's a postwork technique to get a similar effect in a fraction of the time!
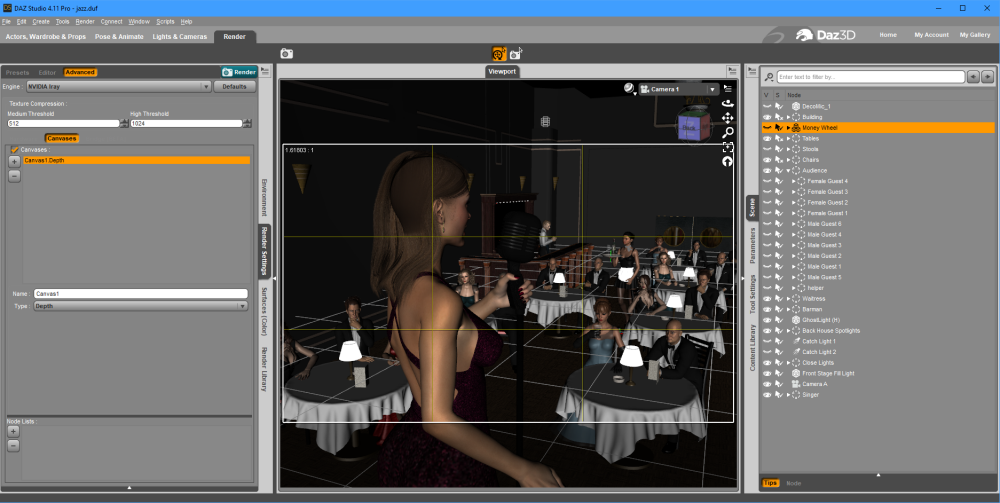
Step 1: Generate a Depth Canvas
First we need to go back to Daz and generate a file which contains information about the distance between the camera and each pixel in the finished image: a depth canvas.
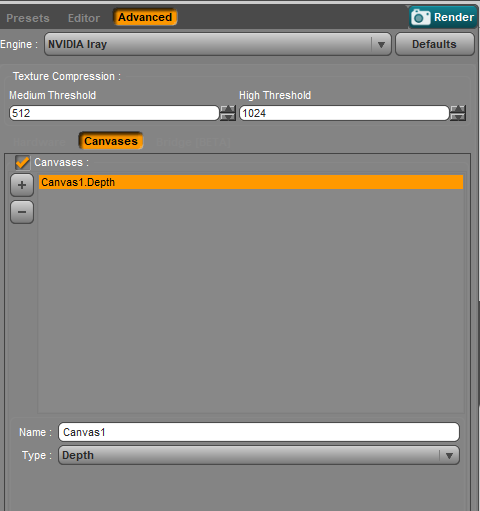
Go to your render settings tab and select "Advanced" from the boxes along the top, the select "Canvases" from the options part-way down. If the only option you can see there is "Hardware," that's because the default Daz colour scheme displays the other options in grey on an identical grey background (thanks guys). Move your mouse to the right of the Hardware option and the Canvases option will appear for you to click.
Click the check box in the panel which opens, and the + button to create a new canvas. Change its type from "Beauty" to "Depth".
Now you can hit render to generate the file. It will render a lot faster than the full image did, because it doesn't have to care about textures - all it needs is the depth. The results, though, are initially pretty underwhelming:
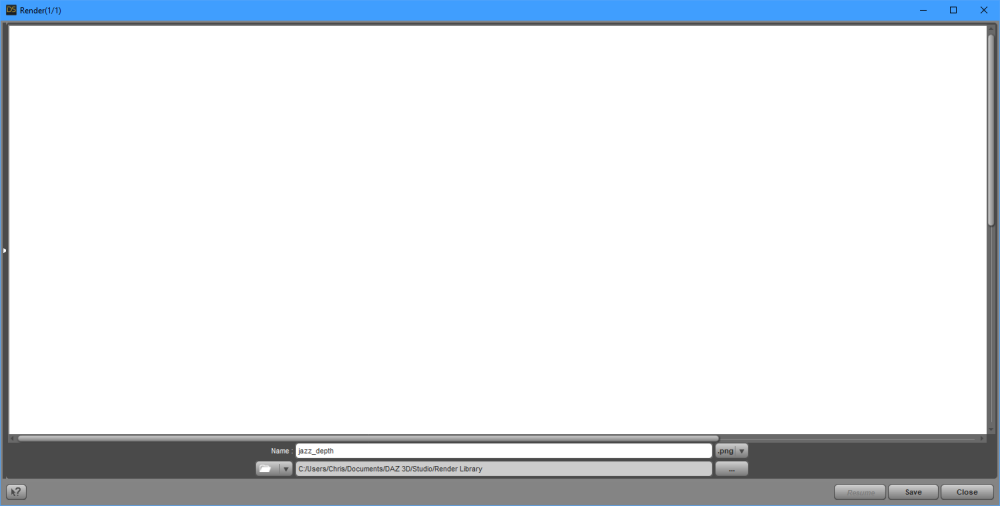
Don't worry, save the image in your render library, we'll produce something more interesting in the next step.
Step 2: Producing the Components
The previous step produced a plain white image - jazz_depth.png in my case. This file is useless and can be deleted. What it also produced was a new folder in your render library containing an exr file:
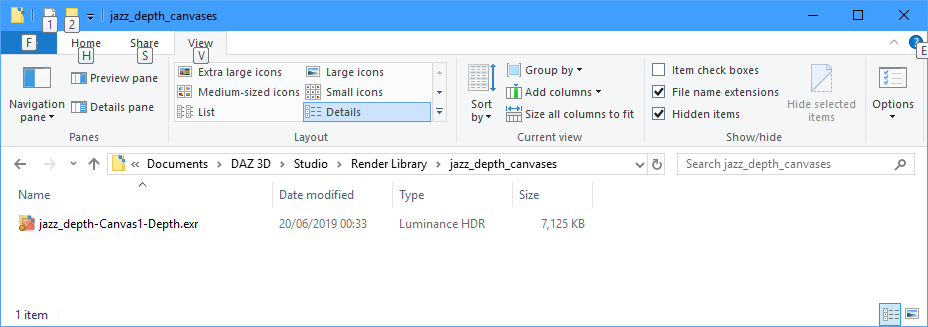
Now, this file is a pain to work with - a lot of graphics programs won't work with it at all. If you have Photoshop you're in luck, but a lot of people don't, and I'm one of them! Fortunately, one program that can deal with this file is also free: GIMP. Open GIMP and drag the exr file into it. The result is another blank image:
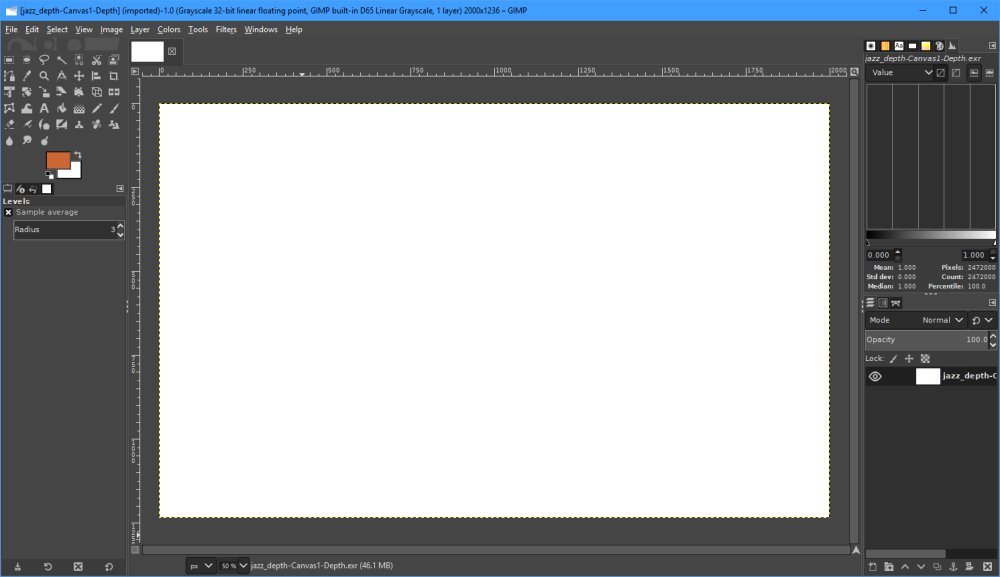
But this image has a hidden secret! The next step takes my breath away every time I do it. Select "Colors > Exposure..." from the menu, and give it an Exposure value of -11 or so (use the histogram to ensure that nothing is clipped). A magical misty image appears:
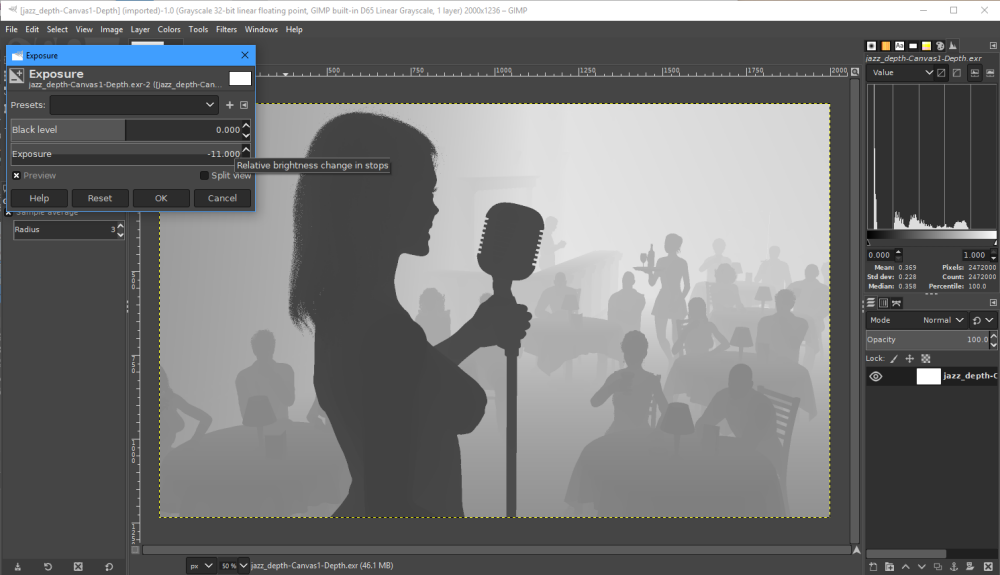
This is the depth canvas image: the whiteness of each pixel is set according to its distance from the camera.
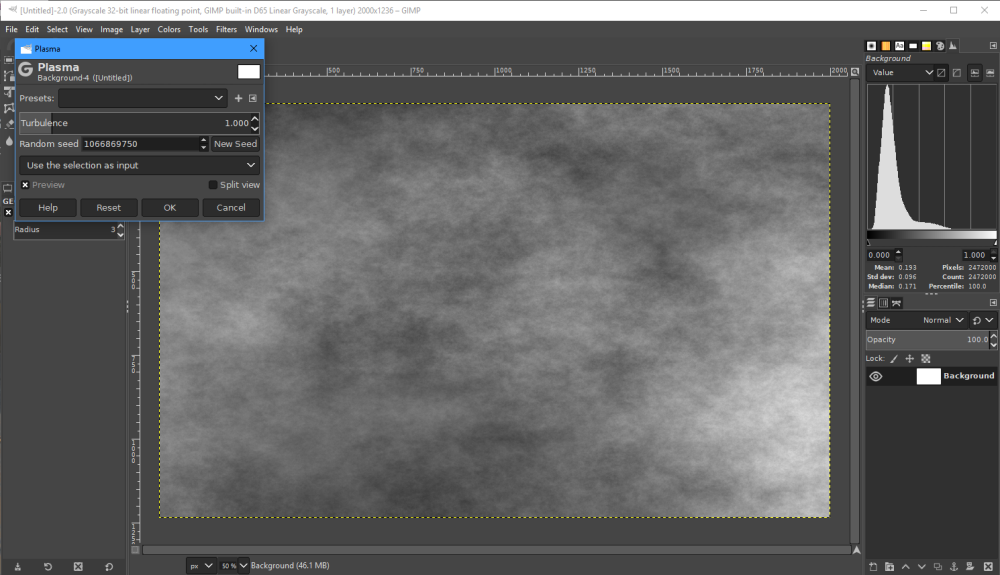
While we're in GIMP, we can also make some smoke. Create a new image the same size as the first, using the "Advanced Options" to make it grayscale instead of RGB colour. Then choose "Filters > Render > Noise > Plasma..." from the menu. Click on "New Seed" until you get a result that you like, you want one with fairly even coverage:
Step 3: Putting it all Together
Now, we could continue on in GIMP to produce a finished image from the components we have. However, I find the GIMP interface difficult to use (my fault, not theirs), so I'm going to use my usual graphics package: Corel Paint Shop Pro X7. You almost certainly use something different, but you should be able to do the same things, albeit with different ways of getting there.
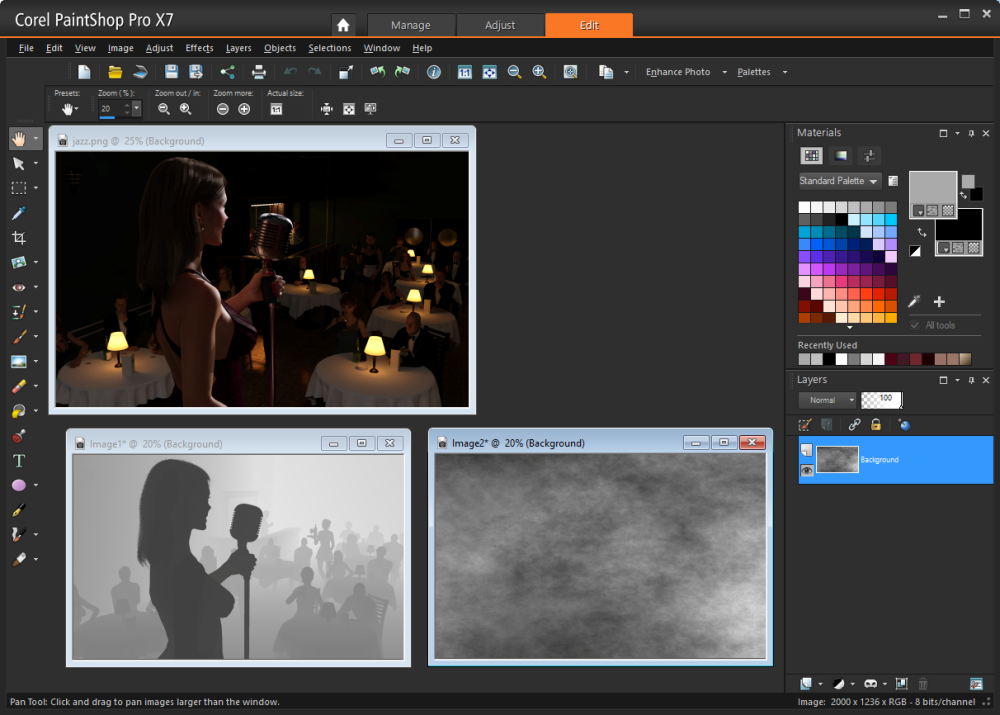
So open PSP (or whatever) and load your original render. Copy and paste the images created in GIMP to beome new images in PSP:
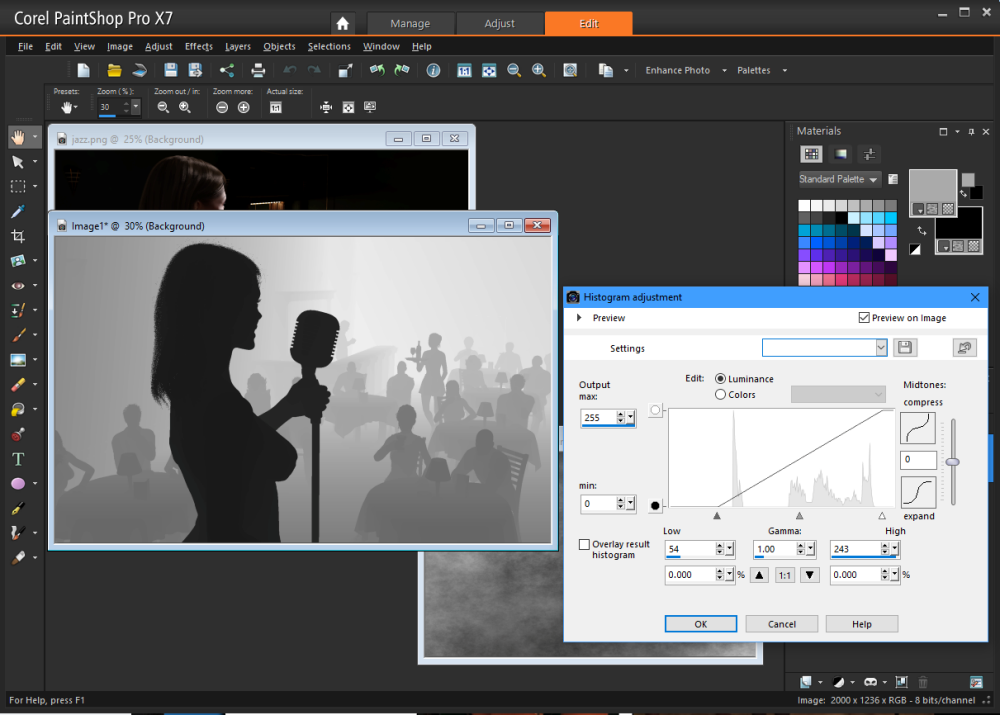
Now, before we go any further, I want little or no smoke between the singer and the camera, so I'm going to tweak the depth image accordingly. Open the Histogram Adjustment window ("Adjust > Brightness and Contrast > Histogram Adjustment..." in PSP, YMMV). Drag the left hand arrow up to make the girl blacker and hit OK:
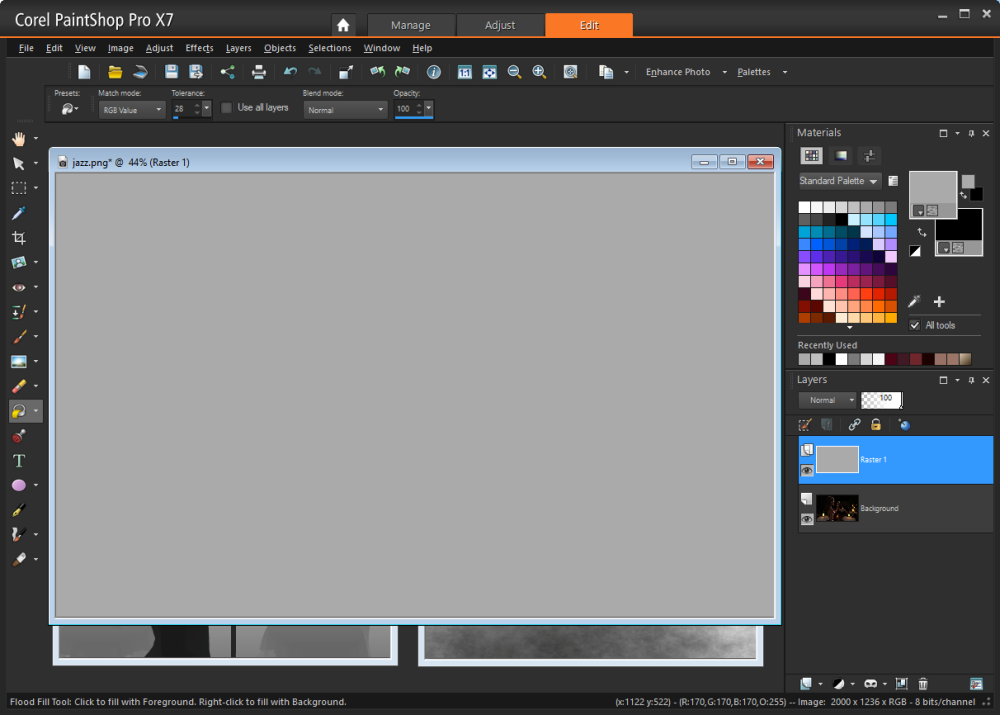
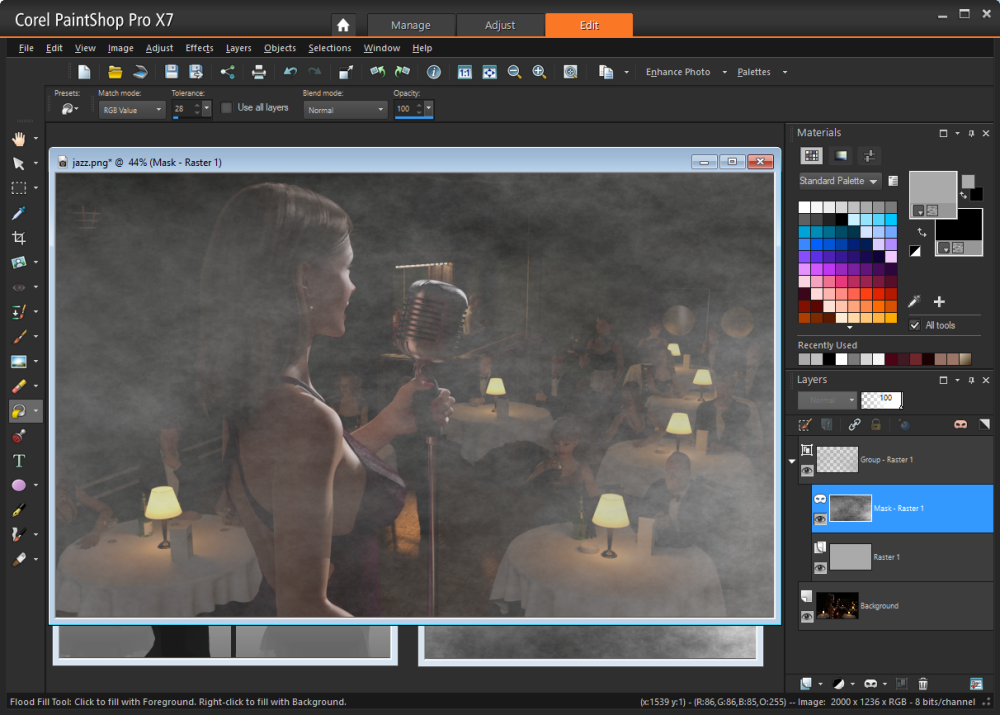
Now it's time to start adding smoke to the original image. Select it, create a new layer above the render, and flood-fill it with grey:
Now select the new layer and create a mask ("Layers > New Mask Layer > From Image..."). In PSP you get this dialog:
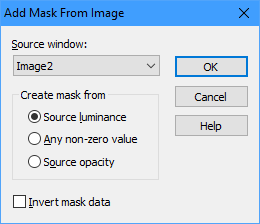
Choose the smoke image we generated in GIMP and click OK. We now have smoke in our nighclub, but it looks like our singer really ought to be making for the fire exit!
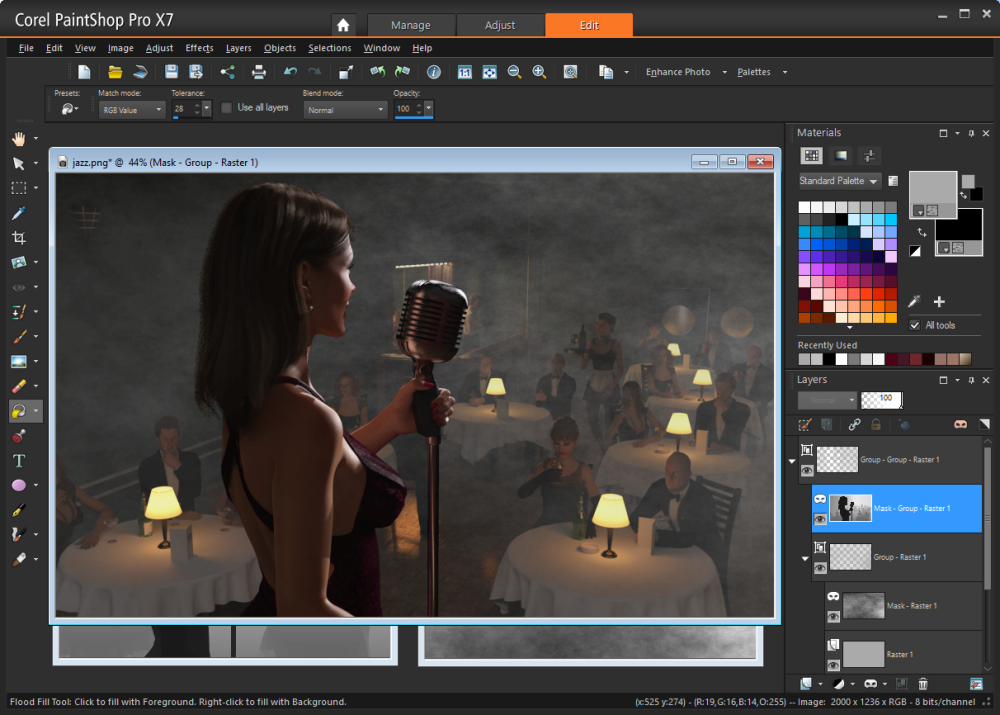
Now to deploy the depth canvas. Select the newly created layer group, and use the same process as above to create another mask layer, this time based on the depth image:
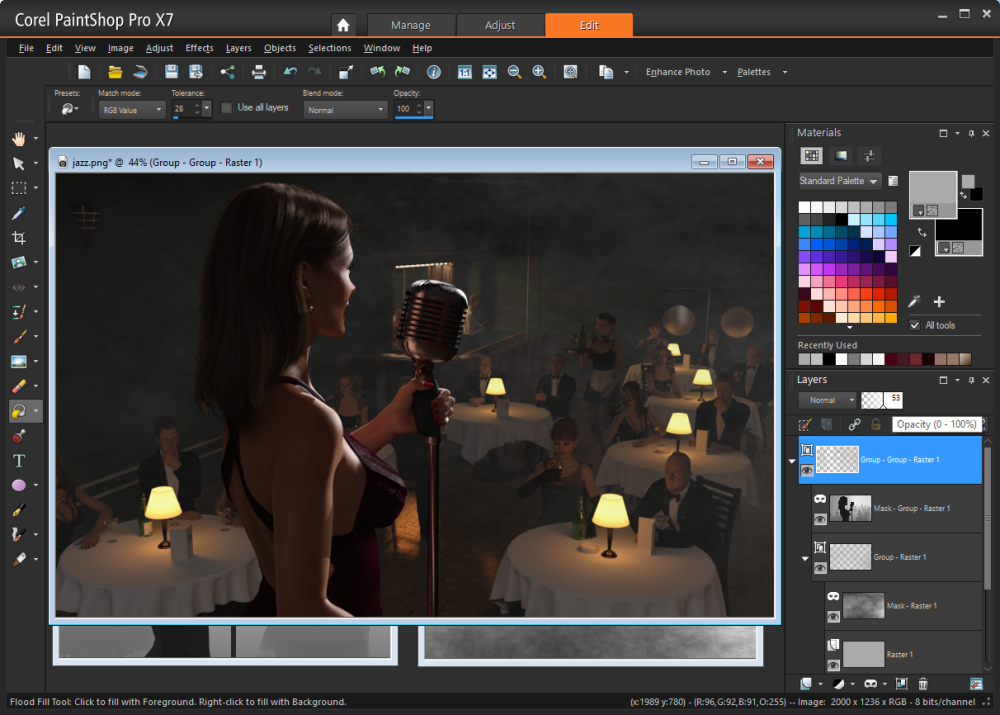
Magic! Now the smoke is thicker the further you look into the room. It still has something of a "call the fire brigade" look about it though. We can fix that by adjusting the overall opacity of the smoke layer till it looks about right:
Conclusion
The finished image: a smoky nightclub scene created without any extra products and with only one short extra render:
The version of this image in my gallery also used depth canvases to create a depth of field effect. Instead of smoke I created layers copying everything except the singer, applied some gaussian blur, and used the depth canvas to control their opacity. I usually do DOF in-render, but the depth canvas method can give you more control at the cost of some realism.
Daz 3D is part of 
Connect
DAZ Productions, Inc.
7533 S Center View Ct #4664
West Jordan, UT 84084
Licensing Agreement | Terms of Service | Privacy Policy | EULA
© 2026 Daz Productions Inc. All Rights Reserved.
Comments
Thank you, great tutorial.

I often use Carrara which has a depth pass. Had been wondering how to get the same pass out of Studio. Never knew about the exposure trick. Really made my day.
Yes, a great tutorial. I use Gimp so helpful to see how it handles the exr file. Thanks!
I put a link on the first post of my thread under Depth Canvas in tutorials, in case this thread gets buried a few pages back (or more.) What a wonderful explanation! I also put it in the Art Studio sticky for Tutorials.
Great tutorial, thank you.
Very cool technique! Thanks for making such a detailed tutorial.
^__^
Wow thanks for sharing!
Learned something new again!
Brilliant result. So there really is something GIMP is good for. I'm used to PSP5, and the GIMP interface & terminology irritates the heck out of me.
Regards
Richard
Maybe I did not see it if you mentioned it but can this work with an image series in gimp? Could you use an animated smoke loop as the overlay?
I don't know enough about Gimp to answer your question with any authority, but I don't see why not.
The depth mask provides a mechanism for determining the strength with which some other layer (or layers) is shown. If that layer contained animated content (if that's possible in Gimp), then the same effect should apply to the animation.
Does this work when rendering in 3DL?
I think it's an Iray only thing (though there's probably some other way to do it in 3DL). However, since it doesn't have to do the ray tracing work that a normal Iray render does, you may find that you can produce an Iray depth canvas image using the process above even if iray normally works very slowly for you. You can then do a normal 3DL render using the same camera and combine the two.
Chris, thanks for directing me to this link, I will ty this later, it looks fantastic.
For photoshop users, the GIMP option said: <<Select "Colors > Exposure...>> equals to Image -> Adjustments -> HDR Toning. Select Equalize Histogram from the method list
Thank you so much for this tutorial!! I want to really study it. Definitely and awesome, realistic effect.
Your art is amazing!!!
Bumping this on the release of Basic Depth Map Maker for Daz Studio, which you can use instead of an iray canvas to get the depth map. You can still use the rest of my tutorial to get the smoky club effect.
Thanks again.