Facebook 3D photos how to Carrara
 WendyLuvsCatz
Posts: 40,693
WendyLuvsCatz
Posts: 40,693
https://www.facebook.com/1653360584/posts/10217543133844220?sfns=mo
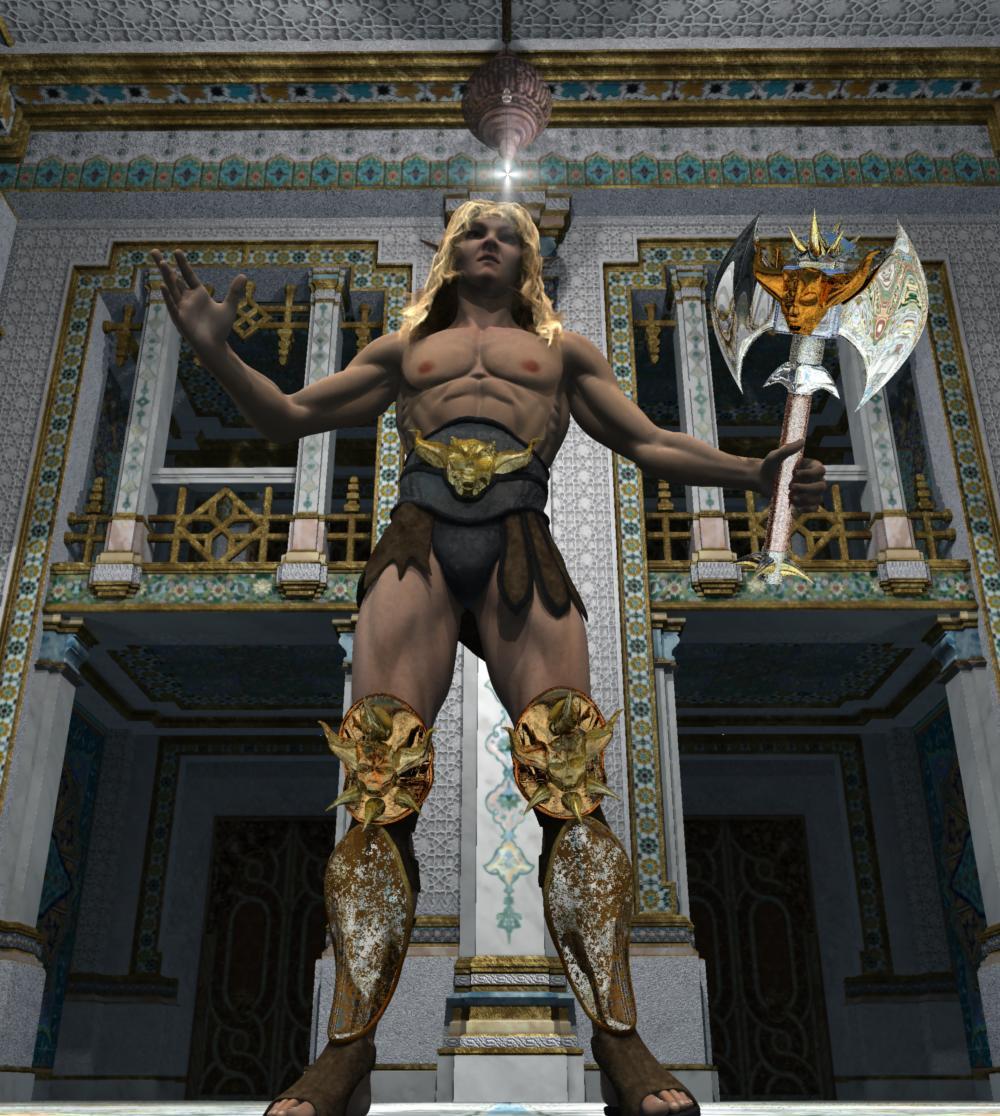
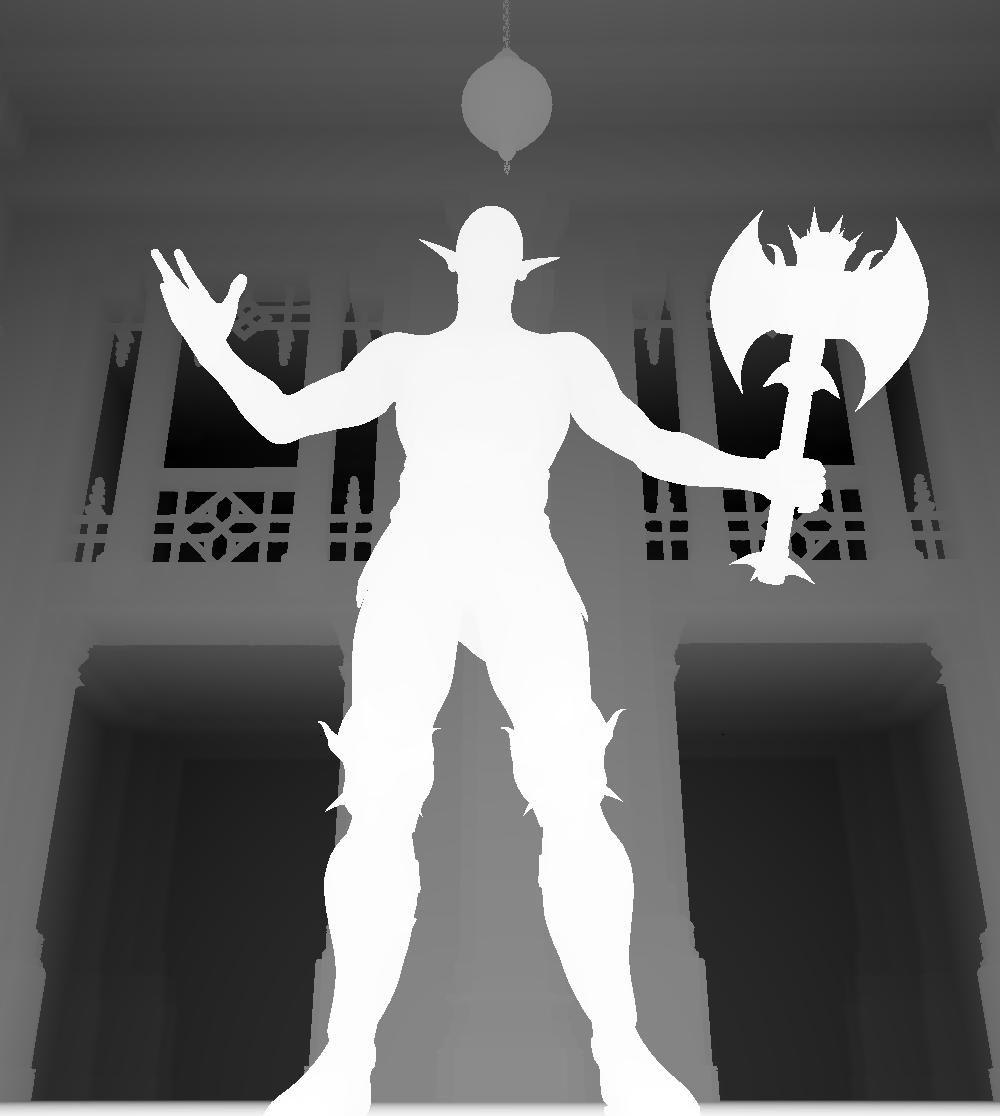
This is a different photo to the example because I deleted that one from Facebook due to it’s annoyance having no hair in the depth map
you need a depth pass and name it lowercase d _depth not capital D as Carrara does
then invert it, I used irfanview to create a negative
then just upload them together to facebook
Post edited by WendyLuvsCatz on
Daz 3D is part of 
Connect
DAZ Productions, Inc.
7533 S Center View Ct #4664
West Jordan, UT 84084
Licensing Agreement | Terms of Service | Privacy Policy | EULA
© 2026 Daz Productions Inc. All Rights Reserved.
Comments
As a technology, that's kind of an effective 'cheat'. If you don't look too closely at the layering edge detail, it's pretty neat.
I could imagine having a foreground item in front of a non-busy background (like a consistent sky or DOF-d or bokeh-d background) would blend the edge artifacts to where it would be an even more subtle blend than it already is.
thanks for the post - neat.
--ms
https://www.facebook.com/wendy5/posts/10217542978040325
a scene without close foreground objects works better
this was Octane
https://www.facebook.com/wendy5/posts/10217543133844220
https://www.facebook.com/wendy5/posts/10217543129284106
in Octane you can change the depth too
Carrara depth maps I am unsure if one can maybe in post?
https://www.facebook.com/wendy5/posts/10217543258087326
Octane sees the hair but this is rather terrifying
With the right sort of scene, it works well. The jpg/png blow-out in the forest looks like a light background at the end of a forest might look.
These are pretty neat.
"rather terrifying..." lol!
In general, I am amazed at how much depth perception is 'available' via the 3d stereo 'wiggle' technique without any additional image/eye separating viewing aids. What you are doing here (@Wendy_Carrara) seems to be a much more subtle and user-controlled version of that technique. It speaks loudly to our built-in human edge detection processing algorithms for perceiving depth - well-beyond the binocular stereo that we tend to attribute our depth perception to.
This is to say that even with one eye closed, your posts/images on FB still communicate meaningful and navigable depth to my senses (but only when they're moving, of course).
very slick,
--ms
https://www.facebook.com/wendy5/posts/10217546588890594
an iray one but I had to use OrDS to do the depth map, dunno how studio users can otherwise as getting a canvases depth map to work is illuminate secrets
an evil genius Wendy looking forward to logging in on FB to see this :)
You should be able to see mine without logging in but yes everyone is doing it except the DAZ studio users are having to make theirs manually using Photoshop we haz the best proggy even if it does then negative and with a capital D
I will add Octane you can adjust the Z depth which is extremely useful
otherwise as I noticed Stezza has on Facebook go the Photoshop, Gimp etc route of just filling your foreground stuff with white and back ground black and greys on things between, you can even render them those colours with a camera headlamp casting soft shadows for a gradual gradient on the nearer ones blending it nicer, I must try this.
https://www.facebook.com/wendy5/posts/10217549557004795
my kitty Lynx and a Gimp masking job
cat one looks terrific !
Wow, this is cool Wendy.
You can make your own Depth Matte in Carrara and control the values using Distance Fog, it just takes some steps to set up and tweak. This method also allows you to control the render quality. I set the AA to Best and Object Accuracy to 1. We aren't rendeing shadows, so I left it default 4.
Here we go:
1 - Turn off ALL your Lights, including any Ambient Light
2 - In the Scene Effects Tab, turn on the Backdrop and set it to pure white
3 - In the Scene Effects Tab, under Atmosphere, turn on Distance Fog and set it pure white.
4 - Set your Start Radius to 0 and Extent Radius to whatever is the furthest point in your scene. These are the controls you use to adjust the values to taste.
5 - Render.
The first Depth Matte example goes from 0 to 15 meters. Second one goes from 5 to 15 meters. You'll have to 'guestimate' based on the distances in your scene and what kind of value range you want.
The result goes form dark to pure white. It looks like you need the reverse here. Easiest way is to bring it into your favorite image editor and simply invert it and save it out. But since this Carrara, we can do it internally with a few more steps.
Turn the visibility of all your objects in your scene off. Turn off the Distance Fog. Set your Backdrop to Map, import the image you just rendered, and check 'Invert Color'. Render.
@DesertDude, does your technique result in occlusion (the effect is most obvious under the furthest ball), or is it a visual/perception artifact?
I ask because this would sort of pollute (is there a better word?) the accuracy of the depth info, right?
That said, a big thanks for posting this technique. I've PDF-d and archived it in my cool-tricks folder!
... and @Headwax_Carrara, as I think you've found, you can view Wendy's FB posts without logging in - very few things will draw me to that site (no account - ever), but Wendy's work warrants my clicks.
(eta: the cat pic is indeed cool, and a beautiful creature, that one.)
tnx,
--ms
ah I try to stay off face book :) heh
Hmmm, I'm not sure... Are you talking about how each sphere is a little bit lighter as they curve away from the camera? I just did a quick render using Carrara's native Depth Matte and I think I see someting similar. This is a super old school technique I picked up from 'another software'. It really just allows more control of the range of values without having to use an external editor.
I see this fog trick as a great depth mechanism, but if scene 'light' is doing light-ray like things in concert with the fog effect, I could see it having an impact on the 'purity' or accuracy of the depth info we'd be looking for. In this 3D/stereo effect, it might matter.
The occlusion effect helps make 'corners' look more correct as the light is absorbed differently in corners. It also occurs where two things meet, like the balls and the plane. In the negative result, you can see a slight 'glow' right near the bottom of the ball, and if it were pure depth information, I don't think that would be there. It's probably a mix of fog/light(?) in this case. It could be an optical illusion though - hence my question for anyone who might know.
In DS you have to fight to even get real occlusion, so I bet in Carrara, you can turn it off (in the lights or the renderer?) and the issue goes away. Anyone know? If so, we can add that to your recipe for an even more accurate depth gathering hack!
(I still like the technique - just for the visual effect!)
cheers,
--ms
(edits to tweak wording)