Valley of the Shadow of Death or Size does matter at least for Iray
 jag11
Posts: 885
Be advised that in this thread you might read disturbing things, not the usual disturbing things, but Iray disturbing things. Also this thread is not for blaming others for what you read here. Or blaming yourself if you don't understand some things I say.
Lights always have puzzle me. In real life we are used to Whatts and Lumens, so, why in the world lights in Iray do not match real world values. Same thing with tone mapping settings, EV. Same thing with volumes, why so difficult to create fog when you know the volume dimensions(maybe you don't remember but I was the guy that first rendered volumes in Iray in the form of god rays).
Also, why so hard to achieve realistic skin if we have tons of excelent textures, why everything so dull.
After creating the first volumens I never ceased fiddling with settings, I knew something was wrong with something.
I read the Iray documentation and came to the conclussion of what is wrong, measure units. DAZ Studio works with centimeters, Iray works with meters.
When you understand this, then you realize why you have to boost the light values of emissives and why volumes do not behave as they should.
The advantage of working with the correct measure units is that you get a boost of speed in Iray and also better images quality. Made some tests, I rendered the same scene, first without corrections, image took 114 seconds to renders, the with corrections, image took 60 seconds, an improvement of almost 60%.
The test scene includes Izanami. I will be posting more tests and results.


Comments
I'm interested in what you have to say.
When Using consistent measure units, lights, distances and exposure values give better images almost naturally, very low effort. I noticed that if I adjusted an EV and later added another light to the scene I had to re adjust EV. Now I add more lights and I can keep my EV the same, no need to readjust.
Try creating a 800 lumens light placed at 240 centimeters from the ground, also place a ground, add a camera and set your EV at 13 and ISO as 100.
in real world you would get a nice clear image of the ground, but Iran gives a black image, Now if you do the same and only change the units to 1%! You get a nice clear image. The proper way to test this is create a group node to wrap the objects and the camera. Now, selecting the group node, apply change scale from 100% to 1%. Render. You should see the clear image, the inverse square law is working as expected.
Try adding more 800 lumens lights separated by say 200 centimeters, your EV should still be valid.
By the way, I advice googling some light equivalence charts to use real world lumens values in your scenes.
Why is that you ask? Like I said. DAZ Studio works with centimeters and Iray in meters. So, where do the confussion start between these two?
If you create a 100 centimeters box, when you render, Iray sees it as 100 meters box. That’s the reason lights attenuate so bad. And that’s the reason volumes fail to scatter light appropiately. Also, as Iray sees the geometry very big it causes unnecessary math processing.
Thank you for this insight. I will be following closely. I am a Studio newbie, despite my post count. The lighting has perplexed me, and I look forward to more of your observations.
The scale down does not correct Uber Shader settings. So they keep being way out of proportion. They have to be corrected manually. For example, Scatteringg measurement distance, if you need to scatter at 2.5 millimeters you convert first to centimeters, the to meters. Now light entering a volumen gets scattered at 2.5 millimeters and after that lights gets absorbed.
Be advised also that after the mu-correction DS has trouble handling geometry. So, only mu-correct or scale down just before rendering, revert back after rendering to keep DS happy.
The scale should be converting, I know this is something daz did pay attention to. Please subm,it this in support ticket so the developers can look at it and either address it (if it's a DS problem) or explain it (if not).
I am a new user, also, and find this to be very interesting stuff.
Do you know if there is a way to set a preset that keeps adjustments in DAZ to use the iRay meter instead of the DAZ centimeter? So you could just set it and forget it? Or is this something that should (must?) be set for each render?
Please pardon my noobishness, I'm pretty new to this stuff and trying to learn all I can. Posts like yours help loads, thanks!
I'll sumbit a ticket and keep you posted.
As for the shader presets once you set them considering the units, they don't need to be changed and can be shared between renderers, for example if you share settings between Substance Designer/Painter and DAZ Studio, but for the geometry that still need to be adjusted before rendering and after unles DAZ decided to apply and internal fix trasparent to the user.
With Genesis 8 and DAZ Studio 4.10, I am getting bad transparency problems on (DAZ 3D supplied) geographs by the time a render finishes the transparency completely erasing the base figure it is attached to and leaving just a 2-tone grey checkerboard alpha channel transparency pattern behind on the base figure where the geograph and base figure overlap.
There are also problems with noise filtering at the teeth in the mouth with Genesis 8 & DAZ Studio 4.10.x. Maybe it is related to your bug finding of incorrect conversion of scale.
Are you sure it's the geoGraft and not the coloured scattering that is the issue?
Is the light supposed to be in the group that gets scaled to 1%?
Every object in your Scene. Here is a test scene.
Test Scene
What do you mean by colored scattering? I didn't change any colored scattering is that the 'Base Color Effect' = 'Scatter Only', 'Scatter Transmit', 'Scatter & Transmit Intensity', it is set to 'Scatter & Transmit Intensity'.
The actual texture images are unchanged originals supplied by the PA in the DAZ Store. I got a definate alpha color dark grey & grey checker board pattern that actually get stronger & clearer as the render progressed to completion. The checkerboard pattern basically is everywhere the geograph and the base figure intersect/overlap. I also set the Translucency Color to a salmon pink, the Transmitted Color to a deeper salmon pink, and the SSS Color to a light dingy yellow. Then I set the bump strength for all skin surfaces to 1.0. I changed nothing else.
I was very surprised. On this particular model there is a 'Diffuse Strength' that is set to 0.70 so maybe that is the cause of the alpha channel being rendered as a checkered surface.
I am going through several models & rendering them also including re-rendering this texture set with no color changes to those three changed colors in the sufaces but really that shouldn't be happening. After I figure out which ones work correctly I will compare them surface setting by surface setting I suppose is the reasonable thing to do.
So this error would apply to the BOSS light sets too?
I don't have that product, but HDRI images work perfectly.
We don't know if this is an error but something is wrong and changing sizes gives consistent results.
OK, thanks.
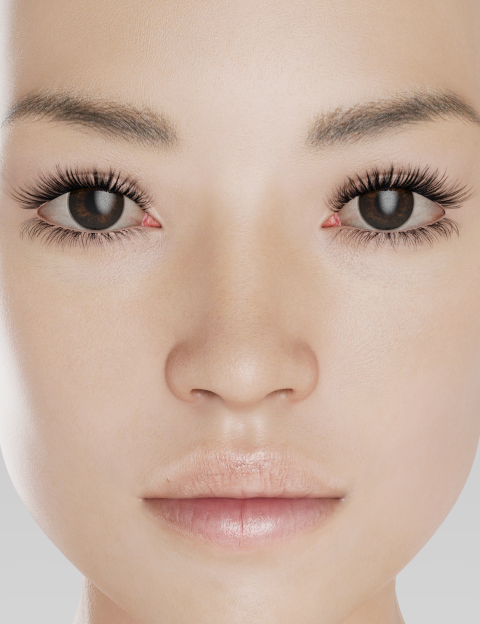
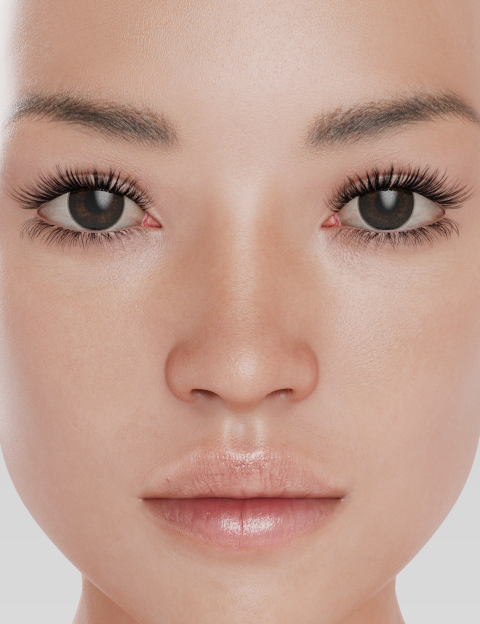
The images below share the same settings, ISO 100 EV 13, the image to the left looks dull. Lights are 1200 lumens.
Make sure you are working in linear space, yay, gamma-correcction!
And also check your Pixel Filter Radius by default is at 1.5
How do I make sure I am working in linear space in Iray? Tone Mapping shows gamma 2.2. Is that not what I should be using?
The two hallways are better illustration of the difference. Unity lets the developer choose between gamma & linear space for colors but I have only seen a gamma scale in DAZ Studio. Is a gamma scale of 1.0 equal to linear space?
Not that gamma.
You suspect an image is gamma corrected when you open it a looks perfect on your screen, those images will give bright and dull renders. If the texture is gamma corrected you are not in linear space. You have two options, fix it on Photoshop or applying a Image Gamma value of 4.4 in the Image Editor.
I used the test scene and added a character. I attempted to modify the character's Transmitted Measurement Distance and Scattering Measurement Distance by dividing them by 100. I'm not sure if that is right or not. I rendered larger than the test scene was set up for. The tone mapping gamma in the test scene is 2.2. It looks pretty good to me.
The "black" images are the same test scene rendered at 100%.
Linear space is tight to input textures, check previous answer.
I divide by 100 if my required distance is in centimeters by 1000 if working with millimeters.
Probably that dress texture is fine otherwise it would have look desaturated.
Not that gamma.
You suspect an image is gamma corrected when you open it a looks perfect on your screen, those images will give bright and dull renders. If the texture is gamma corrected you are not in linear space. You have two options, fix it on Photoshop or applying a Image Gamma value of 4.4 in the Image Editor.
OK, I will do that when I take your test scene & do some renders.
Not that gamma.
You suspect an image is gamma corrected when you open it a looks perfect on your screen, those images will give bright and dull renders. If the texture is gamma corrected you are not in linear space. You have two options, fix it on Photoshop or applying a Image Gamma value of 4.4 in the Image Editor.
--------------------------------------------------------- Quoting is messed up -------------------
The images I rendered above with your test scene did not change the gamma on any of the character's textures. I rendered it before I saw your reply.
I think understand now what you are referring to with the gamma in the Image Editor. I think you are saying to change the colored textures from gamma 2.2 (or 0) to 4.4. Is that right? Do the RGB colors that are used in the various channels also have to be modified (like Translucency color, Transmitted Color, etc.)?
Have you ever been able to save a Materials Preset that keeps your Image Editor gamma changes? That has never worked for me.
Here I used the Image Editor to change the colored image textures on the character and dress from gamma 0 to gamma 4.4. I forgot to do the hair textures.
Yes, you’re right, from 2.2 to 4.4
RGB colors might have to be adjusted in case you gama correct.
I’ll try saving a Material preset to see what happens.
Thanks. Here I fixed the hair textures to use gamma 4.4.
EDIT: Oops! I discovered I didn't get the torso texture gamma set to 4.4 in my render. I thought the dark arms were just because of shadows from the lights, but that was not it. I updated the image. Now her skin is more uniform.
The dress looks better, if you boost the light settings a little bit the dress texture should perform better, without correction as it is more bright at more light color degrades faster. Try it.