

I am removing a few of my other images in this thread and updating 2 images that I intend to keep for the contest.
I have updated my first image "Daughter of the Wind" removing the Arabic text (it does not display correctly in Photoshop and is a known issue).
Title: Daughter of the Wind
Software: Daz 3d Studio 4.9 Pro
I created a new scene with action pose for the same character. This sunset backdrop is to illustrate that the character's unusual outfit (Austrani) appears to some utility in desert environments and sunset lighting. As I kept the background of the second image in focus, the character is slightly muted but that is by design.
This scene is the first time I have manipulated the full set of lighting, environment, and tone mapping functions to achieve a desired result. Playing with the white balance to make the render require little to no post processing was fun!
Title: The Other Marik Gunfighter
Software: Daz 3d Studio 4.9 Pro
And a bit of background fluff I wrote today for her to use in my Battletech RPG Campaign.
Title: The Other Marik Gunfighter
Background:
Carmen had a violent and tumultous upbringing on her homeworld of Alula Australis where her family was responsible for a modest but significant percentage of the world's agricultural exports. She was raised a rancher and fared poorly at it. She tells openly about being the victim of various targeted crimes for her religious beliefs until 'rescued' with the favor of a well to do relative who enrolled her into Princefield Military Academy's Aerofighter Program where in the second year she decided to switch to the MechWarrior track for undocumented reasons despite being naturally gifted for the then-experimental concept of electronics warfare and electronics intelligence; she offers a 'Mech unit the capability of passively observing enemy electronics emissions and calculating firing solutions for indirect fire with target motion analysis equations; a technique traditionally associated with maritime and space combat.
Prevailing in the MechWarrior Program against nearly-impossible odds she graduated and enlisted in the FWLM where she was deployed to Les Halles on the Capellan border for several years before seeking her own fortune as a freelance mercenary on Galatea where she markets her 'Mech and herself as The Lady Feuerschwinge, a rare HER-2M variant that she refuses to explain how she obtained.
She does not currently have a piloting assignment but avails herself in the darker areas of town for personal contracts; wetwork and social escort duties do pass the time and keep the bills settled until such time potential employers overlooked her poor 'Mech Gunnery score...
In terms of protray render I prefer you daughter of the wind render. That faded out background is a nice touch and you try to sty true to the colour palette. Still she looks a bit pasted in as the cames rider in the back got nothign to do with the story that seems to go on in the front, but we learn nothin more about that story. For the portrait I woudl suggest to keep the character a bit more whitin herself, now she points and looks outside the render, driving attention away from her. For example you could let her hold the pistol upwards, let her look at the nozzle with a winning smile stuff like that. lots of possibilites, what you do is up to you.
The second work is similar, about that she is reaction to something outside, while in a portrait the character is the focus.
This is the first time I've posted anything for the competitions. It's a fairly simple portrait study with a HDRI background and a large light plane with an IES profile for the softer key lighting. I'm pretty happy with it but I realise that there's something off with the eye shaders - I must have tweaked one setting too many at some point.
Welcome to the new user challenge then and a very nice start on the portrait! I like the use of DOF here and the light works nice and fitting for the character. Somethimes the best thing is to reset the shader to the original and start again, I'm sure you will manage. what I would like to suggest to you is to move away from the square frame and tra some other formats from wide to classic protrait. I think that would give the render the final touch.
My first try to do smth that isn't a Tutorial Project. ;)
Scene in DAZ with a 3P lighting setup and rendered with IRay. I don't know why it doesn't come out as bright as I hoped for.
Additionally Ive done a little bit GIMP Postwork to brighten the scene somewhat up. And again it didn't come out as bright as expected. But for a first go, I like it and I've decided to keep it as a reminder.
Very nice start and I actually kind of like the softer lights here as you already got the contrast of red and blue, so you dont need a light dark contrat that much.
To you I would as well suggest to use the thirds guide tool and move the camera frame to better fit her in. Take care to not cut off hands or other body parts at their last bits. We had a link floating thoughthe older portrait contests with a description wher to best cut off body parts in a portrait. I need to find that again, but its worth lookg though the older challenges to see that described.
So I have two renders I can't decide between now. The first is the first one I made and I'm done fiddling with it for now until I figure out what else I want to do to it. The other is one I made and showed to my DeviantArt first because I couldn't decide if I wanted to enter it or not. Finally decided I'll just post both and see which one looks best here. Did some custom texture work for a birthmark on the new one to make my friend's description of her character:
Care for a Drink?
Shadowed Killer
I like both works you present here and I like how different you approachd the topic with them.
Let me start with the dark one. Nice use of a spot in darkness theme and it suits the character. Still I think your character would win with a touch of backlight pushin his putlines a bit
With the other one you went a bit too monochrome with the tones and the light. You have a niceh use of DOF and thw overall lighting on the character seems nice, but I would like to see him set off the backwall a bit more ( darken the backwall / reduce the light hitting the backwall there are always several options)
Yeah that wall has been pissing me off this whole time. XP What would you suggest for a better way to make the central figure pop against it? Maybe change it to a dark mahogany wood or just darker stone or just fiddle with the lights some more?
So I have two renders I can't decide between now. The first is the first one I made and I'm done fiddling with it for now until I figure out what else I want to do to it. The other is one I made and showed to my DeviantArt first because I couldn't decide if I wanted to enter it or not. Finally decided I'll just post both and see which one looks best here. Did some custom texture work for a birthmark on the new one to make my friend's description of her character:
Care for a Drink?
Shadowed Killer
I like both works you present here and I like how different you approachd the topic with them.
Let me start with the dark one. Nice use of a spot in darkness theme and it suits the character. Still I think your character would win with a touch of backlight pushin his putlines a bit
With the other one you went a bit too monochrome with the tones and the light. You have a niceh use of DOF and thw overall lighting on the character seems nice, but I would like to see him set off the backwall a bit more ( darken the backwall / reduce the light hitting the backwall there are always several options)
Yeah that wall has been pissing me off this whole time. XP What would you suggest for a better way to make the central figure pop against it? Maybe change it to a dark mahogany wood or just darker stone or just fiddle with the lights some more?
Looking back at what I've written, I'm surprised you could even read that with all the typos...;)
First thing I would do is check the lights, I assume you use iray? What kind of illumiation do you have, is is possible to reduce the spread angle? Tilt the direction or move it a tad foreward? Can you just put up a plane out of sight blocking the light from hitting the back wall?
If all that is not working because of the sort of light setup you use, I would go to the backwall surface and turn the diffuse colour to a medium grey and see what it looks like. If you like the tone but not the appearance the next step would be a different shader like you suggested.
So i was playing around with DS this evening and thought i'd make a contribution to the new user challenge. I've been using DS for a couple of months, and needless to say i am still learning and honing my skills. At the moment i'm away from my main rig, so i decided to do some rendering on my laptop. Iray renders were out of the question (business laptop), so i decided to play around with 3Delight. I'm positively surprised with how capable 3Delight actually is. This is what i came up with.
"Cosmic Spin"
Software used: DAZ 3D Studio 4.9. Model: Victoria 7 with Adriana hair for G3F by Wolfie. All of her clothing is from Little Secret II for G3F by Pretty 3D.
My idea with the render was to capture a clockwise spinning/dancing motion that slows down throghout the image series, and something that also gives the image noticable depth (love working with DOF!). I made 6 renders in total and included 2 of them here in the contest.
Really happy with this new found hobby; finally i can release my creativity through something. Any and all unput much appriceated!
... The girl in your render is doing a yoga pose, its about balance, you placed her to one side which tilts the balance. ...
I'll be honest, the pose was mostly there to get her out of that T-pose. Those right angles are very eye-catching, so I wanted something a bit more relaxed, not super-sexualized, and to not spend the time and attention on manual posing yet. Oh, and not spend too long searching for something that'd probably be temporary anyways... Most of my efforts had been on balancing the meshlight, background, and oops that's a headlight! So glad I found out about Ctrl-L, editing would be head-desk inducing without it.
... unfortunately you render link doesn't work for me so I cant look at it in large ...
Oops! I hadn't noticed the link tab in the image dialogue. I'll keep that filled going forward. How do you normally do the target field? Anyhow, new version finished baking; time to post it!
17-7-mk1-portrait
Setup details:
The little spheres are a fancy way to make sure the character's eyes point through the camera. The hexagons are meshlights, at this point providing the entirety of the lighting. The left one is warmer, with a temperature of 3000K. The right one, on the other hand, has a temperature of 9000K, while the keylight has a temperature of 6000K. The rimlights each have a luminance of 1500kcd/m^2, whereas the keylight has 1000kcd/m^2.
Current plans for the future:
Move the keylight farther from the camera, so she doesn't just have white pupils.
The posing could use a good deal further tweaking.
More lighting improvements. I don't know what exactly these will entail, just that there's definitely room for improvement. Maybe just tweaking, maybe more substantial changes.
Each contest, my post setup gets more and more complicated, as I try to cram more in. I'm trying to hit the balance between small enough to not overwhelm the screens of people scrolling through, while big enough to be readable for those who want to engage. If you spot any more glaring errors, call them out, cuz I'm probably not the only one who has the problem.
So I kind of messed around with the colors of the walls and the tables since messing with the lights just wasn't getting me anywhere even scrapping them and starting from scratch.
I hope I could take care of the crop issue. Also I tried to make use of the third grid and the space next to the edges of the picture. I've also changed the light again to a defuse hair light, and a reduced value in the lumen flux within all three lights.
And Again I've used GIMP to bring som glow to the highlights.
Edit: I never mentioned the title, didn't I? "Eine angenehme Erinnerung" (a pleasant memory)
Grabbed a new set of shaders today which led to this. I'm thinking that he's thinking about something while a cyber-reality (matrix?) loads around him.
I still don't really know what I am doing, but I am enjoying doing it!
Sunshine
Genesis 3, model: jasmine . Advanced spotlight, flooring piece from random house kit I can't remember and DOF. No postwork. DAZStudio 4.9 PRO IRAY render.
I still don't really know what I am doing, but I am enjoying doing it!
Sunshine
Genesis 3, model: jasmine . Advanced spotlight, flooring piece from random house kit I can't remember and DOF. No postwork. DAZStudio 4.9 PRO IRAY render.
Looks like she's about to cry out of her open eye.
Grabbed a new (at least for me) morph for g2m off of the fast grab last night. I have yet an 8th idea rendering using him, but it'll have to wait until I get home from work for things to be posted. Have to be heading out the doof in about 10 minutes is the thing. So like I said I'll be trying to post when I get back.
In terms of protray render I prefer you daughter of the wind render. That faded out background is a nice touch and you try to sty true to the colour palette. Still she looks a bit pasted in as the cames rider in the back got nothign to do with the story that seems to go on in the front, but we learn nothin more about that story. For the portrait I woudl suggest to keep the character a bit more whitin herself, now she points and looks outside the render, driving attention away from her. For example you could let her hold the pistol upwards, let her look at the nozzle with a winning smile stuff like that. lots of possibilites, what you do is up to you.
The second work is similar, about that she is reaction to something outside, while in a portrait the character is the focus.
Thanks for your commentary!
The off-focus and ridiculously unrelated backstory is deliberate. All my co-writers recognize that I am quite good at going into battle with what they call a gaudy monstrosity of a dress and I wear bright-colored Indian dresses to work. Perfectly in-character that I handle high technology with traditional fashion. Slug-throwing revolvers are also common in the BattleTech universe as the galaxy is in some sort of technological dark age. House Marik, which my character belongs to, is some sort of futuristic Arabian/Centrial Asian culture at least in some provinces.
I have never looked into the camera when taking photos. I find that odd and conventional. Glaring at something / someone off-screen is just so much more badass to me like photographing someone in her native habitat.
Daz Studio / Iray (No postwork except exporting png -> jpg)
Genesis 3 Female
Scarlett Hair by EmmaAndJordi
Selina for Genesis 3 Female (shape and eyes) by DemonicaEvilius and Silver
Maliah for Genesis 3 Female (skin) by VincentXyooj
Vigilante Outfit for Genesis 3 Female (pants) by Nikisatez and Shox-Design
Hongyu's Tank Top for V7/G3f
Hongyu's Maiden 5 Lingerie for Genesis 3 Female (bra)
Pd Iray Shader Kit 1 (tank top material) by parrotdolphin
DAZ Uber Iray Emissive shader (lights)
If I had more time plans:
Posing could do with more fixing. I need to figure out what gets lost between me acting out a motion and when I position the model likewise. Probably just going to take more practice.
I go back and forth on which side the catch/keylight should be on. Right now I'm convinced it'd be tons better to the right of the camera. On the other hand, I felt similar about the left after last render...
As a second Entry, next to "Eine angenehme Erinnerung", I've worked to this madame here.
Träumerin
DAZ Studio for the scene. Model used is Rebekah varied by a view morphs. For the lighting I only used a Key and a Fill Light. The Daylight, provided by the basic HDRI of IRay, worked as the Rim-/Hairlight. I also used a DoF camera with a focus on her face. So the degrading sharpnes of her body is intended. But not as strong as I hoped for.
I tried a new Software, called "Krita", for the Postwork. With Krita I brought the highlights and the glow into the picture.
Late second post from me. I've been tweaking some settings on characters after reading through some forum posts and managed to get one that seems to have gone well. Pity I didn't get round to this earlier in the month because a lot of this picture is luck and I'd like to have tried to replicate it deliberately. And something just feels not quite right about the eyes still.
very good art here. This is for noobs so I am right here. Dry to the bone I just started with 3D, but here is my contribution 'Sunshine and rain' featuring Stephanie 6 in two shots. Honestly both are no real portraits cause Steph proudly exposes herself in total.
Stuff used:
Bus Stop
Charm hair
Early spring outfit for Gen 2 female
Heavy rain for 3deligth and iray
Wet, sweat & rain for Gen 2 females
Production: DAZ 3D Studio 4.9 (no post production)
For the sunny I used 3 Spots with different colours and postions near ground for ambience, one distant light working like sun to cast shadows and one Linear point light as a sphere for overall brightness. Althoug iray does well on hot summer days outside it does not help in the rainy one. So I rendered both pics with 3Delight. The rainy one was hard work. I kicked all lights not to have a white wall, only had one spot left simulating the lights of an approaching vehicle. Also the DOF I used in the sunny worked somehow with the rainy. I am not quite satisfied with that but my approach was to get into that lightning thing. I guess it is a question wether you want to have a natural realistic or a photo realistic picture. Humans dont care about DOF but analog cameras do.
Late second post from me. I've been tweaking some settings on characters after reading through some forum posts and managed to get one that seems to have gone well. Pity I didn't get round to this earlier in the month because a lot of this picture is luck and I'd like to have tried to replicate it deliberately. And something just feels not quite right about the eyes still.
Did you do the "eyes follow camera' thing? I've noticed whenever I do that and it is looking to the side, that the farthest away eye always seems off to me. When I have the camera set, I undo the follow camera on that farthest away eye and then adjust it.
Comments
In terms of protray render I prefer you daughter of the wind render. That faded out background is a nice touch and you try to sty true to the colour palette. Still she looks a bit pasted in as the cames rider in the back got nothign to do with the story that seems to go on in the front, but we learn nothin more about that story. For the portrait I woudl suggest to keep the character a bit more whitin herself, now she points and looks outside the render, driving attention away from her. For example you could let her hold the pistol upwards, let her look at the nozzle with a winning smile stuff like that. lots of possibilites, what you do is up to you.
The second work is similar, about that she is reaction to something outside, while in a portrait the character is the focus.
Welcome to the new user challenge then and a very nice start on the portrait! I like the use of DOF here and the light works nice and fitting for the character. Somethimes the best thing is to reset the shader to the original and start again, I'm sure you will manage. what I would like to suggest to you is to move away from the square frame and tra some other formats from wide to classic protrait. I think that would give the render the final touch.
Very nice start and I actually kind of like the softer lights here as you already got the contrast of red and blue, so you dont need a light dark contrat that much.
To you I would as well suggest to use the thirds guide tool and move the camera frame to better fit her in. Take care to not cut off hands or other body parts at their last bits. We had a link floating thoughthe older portrait contests with a description wher to best cut off body parts in a portrait. I need to find that again, but its worth lookg though the older challenges to see that described.
Yeah that wall has been pissing me off this whole time. XP What would you suggest for a better way to make the central figure pop against it? Maybe change it to a dark mahogany wood or just darker stone or just fiddle with the lights some more?
Looking back at what I've written, I'm surprised you could even read that with all the typos...;)
First thing I would do is check the lights, I assume you use iray? What kind of illumiation do you have, is is possible to reduce the spread angle? Tilt the direction or move it a tad foreward? Can you just put up a plane out of sight blocking the light from hitting the back wall?
If all that is not working because of the sort of light setup you use, I would go to the backwall surface and turn the diffuse colour to a medium grey and see what it looks like. If you like the tone but not the appearance the next step would be a different shader like you suggested.
Hello all you guys!
So i was playing around with DS this evening and thought i'd make a contribution to the new user challenge. I've been using DS for a couple of months, and needless to say i am still learning and honing my skills. At the moment i'm away from my main rig, so i decided to do some rendering on my laptop. Iray renders were out of the question (business laptop), so i decided to play around with 3Delight. I'm positively surprised with how capable 3Delight actually is. This is what i came up with.
"Cosmic Spin"
Software used: DAZ 3D Studio 4.9. Model: Victoria 7 with Adriana hair for G3F by Wolfie. All of her clothing is from Little Secret II for G3F by Pretty 3D.
My idea with the render was to capture a clockwise spinning/dancing motion that slows down throghout the image series, and something that also gives the image noticable depth (love working with DOF!). I made 6 renders in total and included 2 of them here in the contest.
Really happy with this new found hobby; finally i can release my creativity through something. Any and all unput much appriceated!
Alrighty so put a very dim light to the right to try to highlight the outline a little more.
I'll be honest, the pose was mostly there to get her out of that T-pose. Those right angles are very eye-catching, so I wanted something a bit more relaxed, not super-sexualized, and to not spend the time and attention on manual posing yet. Oh, and not spend too long searching for something that'd probably be temporary anyways... Most of my efforts had been on balancing the meshlight, background, and oops that's a headlight! So glad I found out about Ctrl-L, editing would be head-desk inducing without it.
Oops! I hadn't noticed the link tab in the image dialogue. I'll keep that filled going forward. How do you normally do the target field? Anyhow, new version finished baking; time to post it!
17-7-mk1-portrait
Setup details:
The little spheres are a fancy way to make sure the character's eyes point through the camera. The hexagons are meshlights, at this point providing the entirety of the lighting. The left one is warmer, with a temperature of 3000K. The right one, on the other hand, has a temperature of 9000K, while the keylight has a temperature of 6000K. The rimlights each have a luminance of 1500kcd/m^2, whereas the keylight has 1000kcd/m^2.
Current plans for the future:
Each contest, my post setup gets more and more complicated, as I try to cram more in. I'm trying to hit the balance between small enough to not overwhelm the screens of people scrolling through, while big enough to be readable for those who want to engage. If you spot any more glaring errors, call them out, cuz I'm probably not the only one who has the problem.
I have taken out the foreground potted plant (thanks for the feedback -you know who you are :D ). I like it better.
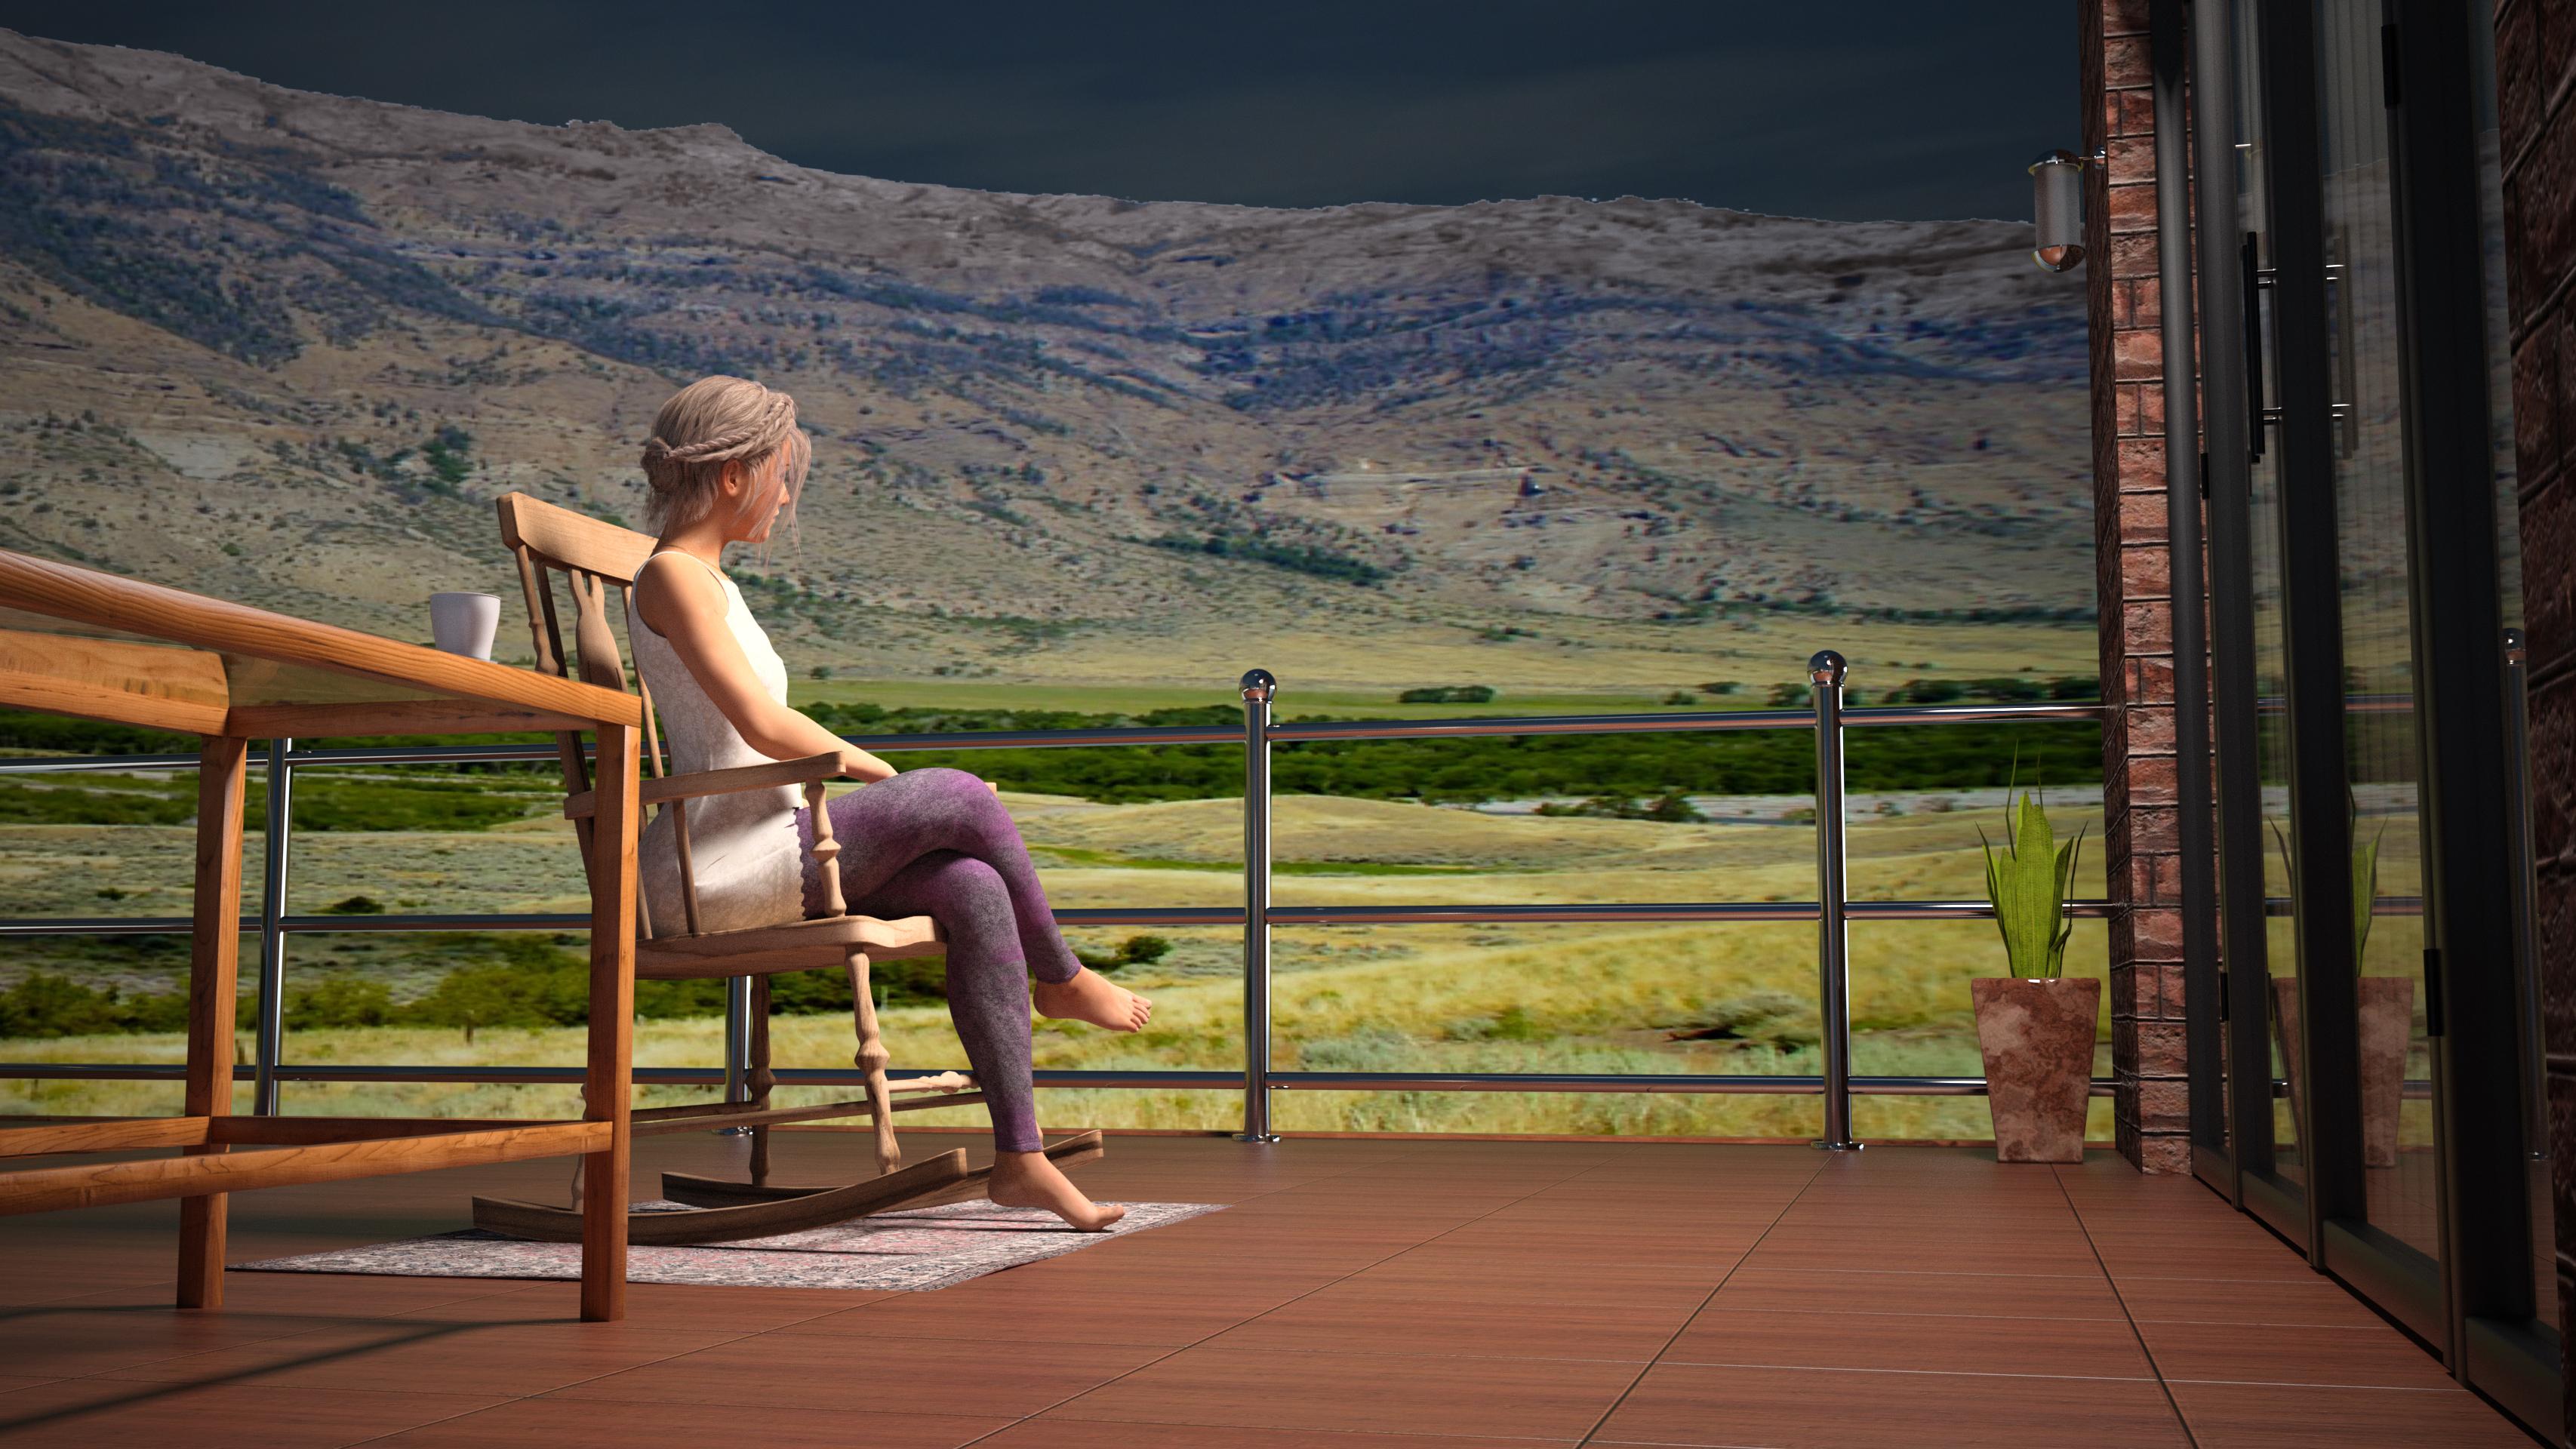
So I kind of messed around with the colors of the walls and the tables since messing with the lights just wasn't getting me anywhere even scrapping them and starting from scratch.
I hope I could take care of the crop issue. Also I tried to make use of the third grid and the space next to the edges of the picture. I've also changed the light again to a defuse hair light, and a reduced value in the lumen flux within all three lights.
And Again I've used GIMP to bring som glow to the highlights.
Edit: I never mentioned the title, didn't I? "Eine angenehme Erinnerung" (a pleasant memory)
Grabbed a new set of shaders today which led to this. I'm thinking that he's thinking about something while a cyber-reality (matrix?) loads around him.
I still don't really know what I am doing, but I am enjoying doing it!
Sunshine
Genesis 3, model: jasmine . Advanced spotlight, flooring piece from random house kit I can't remember and DOF. No postwork. DAZStudio 4.9 PRO IRAY render.
Was messing around with Vicky 8 and was hit with this idea when I should have been trying to get some sleep last night.
Looks like she's about to cry out of her open eye.
Alright so, my very 1st pic will be my final. I'm still working on the cyberpunk portrait. I also have a new portrait that I was experimenting with.
I still play around with the bloom effekt in Daz, but canceled the rendering after 5h and 67%.
Nice one daybird. She's kicking rear and chewing gum. (Just hope that she's not on her last piece.)
Grabbed a new (at least for me) morph for g2m off of the fast grab last night. I have yet an 8th idea rendering using him, but it'll have to wait until I get home from work for things to be posted. Have to be heading out the doof in about 10 minutes is the thing. So like I said I'll be trying to post when I get back.
Thanks for your commentary!
The off-focus and ridiculously unrelated backstory is deliberate. All my co-writers recognize that I am quite good at going into battle with what they call a gaudy monstrosity of a dress and I wear bright-colored Indian dresses to work. Perfectly in-character that I handle high technology with traditional fashion. Slug-throwing revolvers are also common in the BattleTech universe as the galaxy is in some sort of technological dark age. House Marik, which my character belongs to, is some sort of futuristic Arabian/Centrial Asian culture at least in some provinces.
I have never looked into the camera when taking photos. I find that odd and conventional. Glaring at something / someone off-screen is just so much more badass to me like photographing someone in her native habitat.
Here we are with what I was rendering when I had to go into work this afternoon.
17-7-mk2
Stuff used:
If I had more time plans:
Ok, same picture but this time with a render duration over 10h. No significant improofment and the skin looks not very realistic.
Don't know what I should do, to get such good results how Lorrraine Purviance or mal3lmagery?
Ok, here's one more. This one's supposed to have a cyberpunk feel to it. This will be my second.
Hi all,
This is my completed entry.
Title: Now hold still….
Daz Studio
· Genesis 2 Male
· Eliot Hair
· Genesis 3 UVs
· Makani-k7m textures
· Neo Ayane Dress
· Silmefea ShinWear
· Armisael Wings - G3
· Hammer (My model)
KeyShot (lighting and rendering)
Photoshop (combined ambient occlusion, dirt layer & signature)
As a second Entry, next to "Eine angenehme Erinnerung", I've worked to this madame here.
Träumerin
DAZ Studio for the scene. Model used is Rebekah varied by a view morphs. For the lighting I only used a Key and a Fill Light. The Daylight, provided by the basic HDRI of IRay, worked as the Rim-/Hairlight. I also used a DoF camera with a focus on her face. So the degrading sharpnes of her body is intended. But not as strong as I hoped for.
I tried a new Software, called "Krita", for the Postwork. With Krita I brought the highlights and the glow into the picture.
Late second post from me. I've been tweaking some settings on characters after reading through some forum posts and managed to get one that seems to have gone well. Pity I didn't get round to this earlier in the month because a lot of this picture is luck and I'd like to have tried to replicate it deliberately. And something just feels not quite right about the eyes still.
Hi all,
very good art here. This is for noobs so I am right here. Dry to the bone I just started with 3D, but here is my contribution 'Sunshine and rain' featuring Stephanie 6 in two shots. Honestly both are no real portraits cause Steph proudly exposes herself in total.
Stuff used:
Bus Stop
Charm hair
Early spring outfit for Gen 2 female
Heavy rain for 3deligth and iray
Wet, sweat & rain for Gen 2 females
Production: DAZ 3D Studio 4.9 (no post production)
For the sunny I used 3 Spots with different colours and postions near ground for ambience, one distant light working like sun to cast shadows and one Linear point light as a sphere for overall brightness. Althoug iray does well on hot summer days outside it does not help in the rainy one. So I rendered both pics with 3Delight. The rainy one was hard work. I kicked all lights not to have a white wall, only had one spot left simulating the lights of an approaching vehicle. Also the DOF I used in the sunny worked somehow with the rainy. I am not quite satisfied with that but my approach was to get into that lightning thing. I guess it is a question wether you want to have a natural realistic or a photo realistic picture. Humans dont care about DOF but analog cameras do.
Did you do the "eyes follow camera' thing? I've noticed whenever I do that and it is looking to the side, that the farthest away eye always seems off to me. When I have the camera set, I undo the follow camera on that farthest away eye and then adjust it.
Another round for one last chance at some feedback... :)
Toned down the saturday night look...
@Aloreea That last one looks great!