Problem with Fugazi's Genesis Bikini Tutorial
 donovancolbert
Posts: 1,421
donovancolbert
Posts: 1,421
I'm running through The Digital Tailor/Fugazi's Hexagon tutorial
https://www.daz3d.com/classic-bikini
And I'm having difficulty with creating the UV mesh. No matter what I do, the front panel of the bikini is distorted in the UV. The UV is twisted and distorted. In the Hexagon modeling window and in DAZ with Wire Texture Shaded selected in the viewport settings, the UV looks fine. It is only when I unfold it in Hexagon that I see the distortion. When I apply a shader with patterns, the shader patterns distort consistent with what I see in the Unfold window in Hexagon, but not consistent with what the UV shows in DAZ or in the Hexagon worskpace window.
Any suggestions?
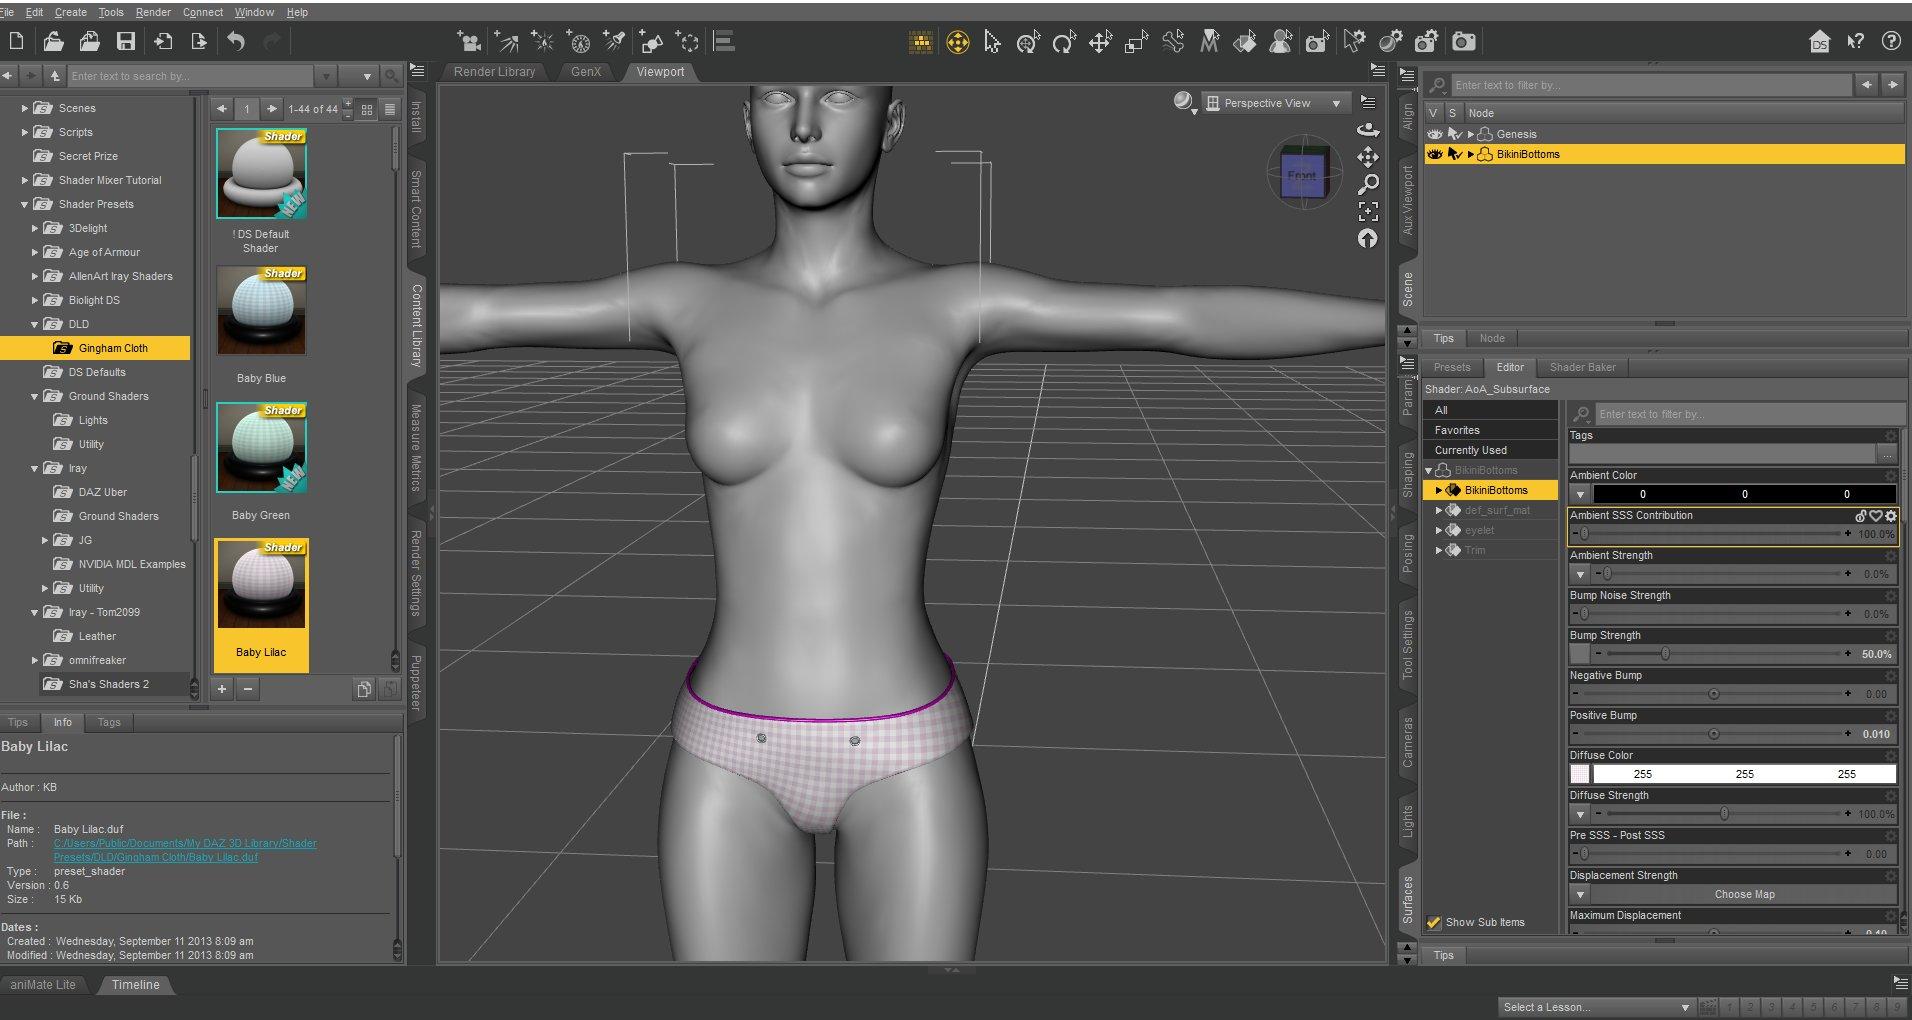
This is what it looks like in the demo. The front and back are about the same shape.
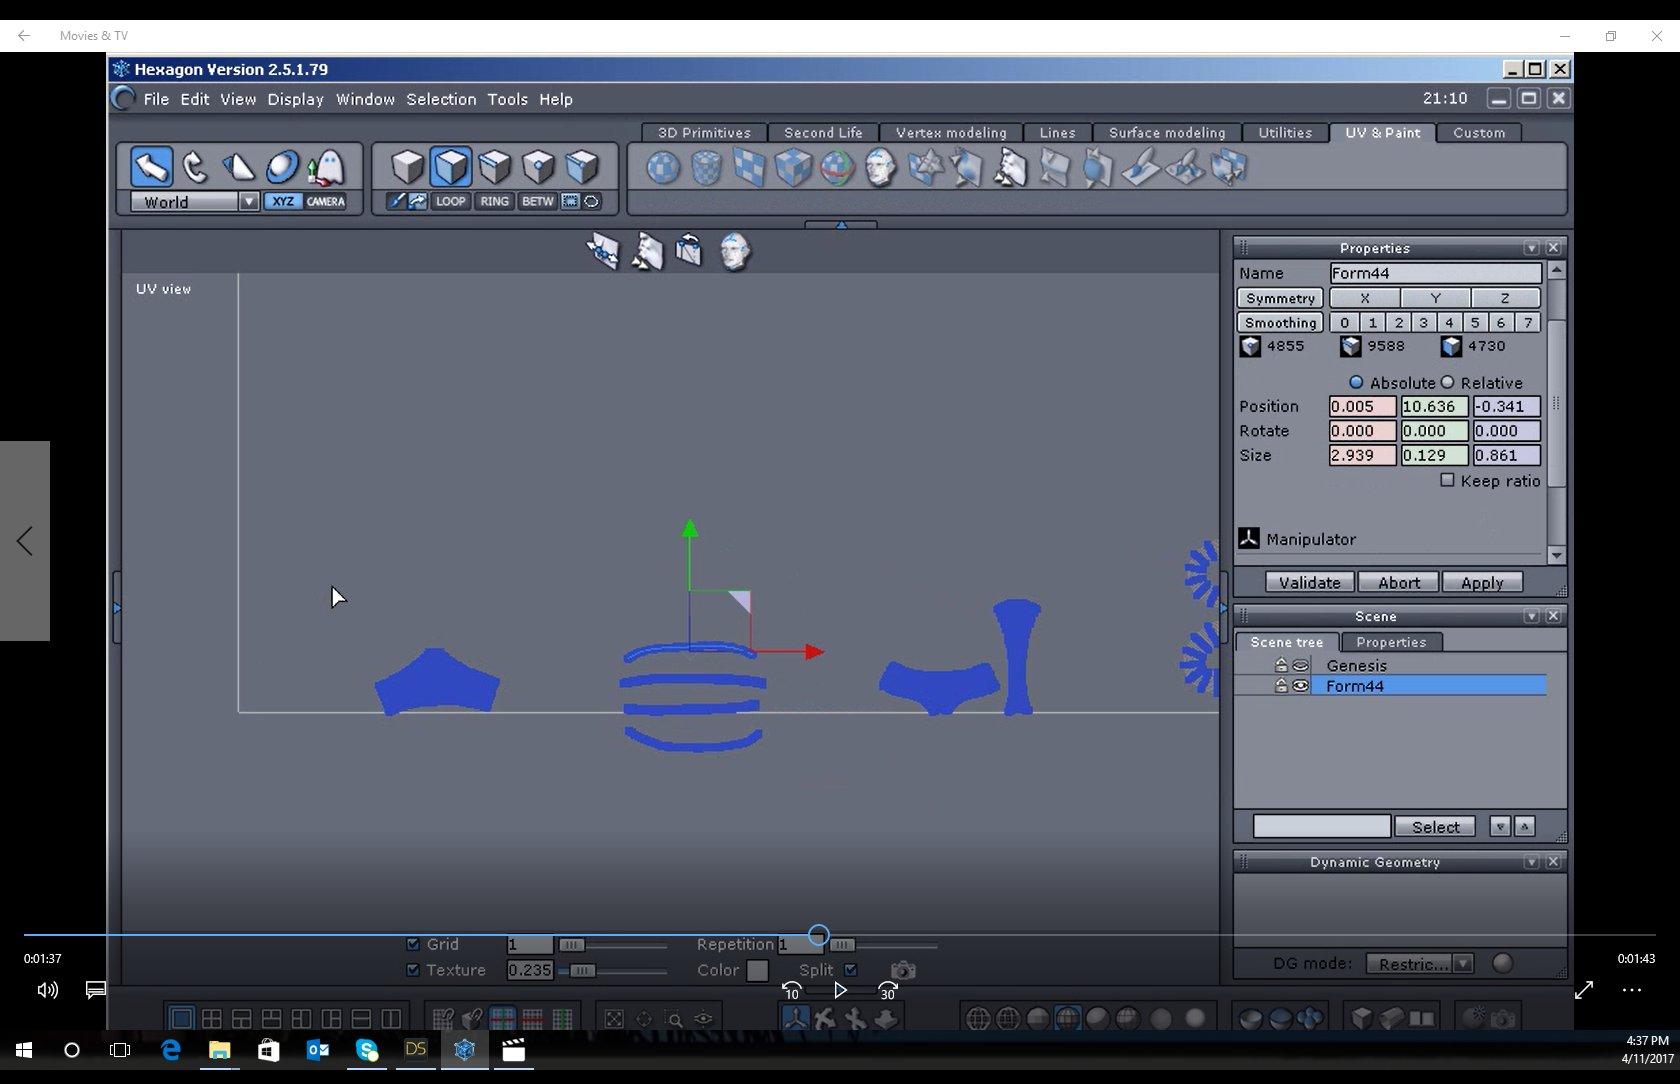
This is my work. Everything looks about the same, except that the front piece is distorted. It is below the bottom piece in the image above, which looks more or less like the tutorial example.
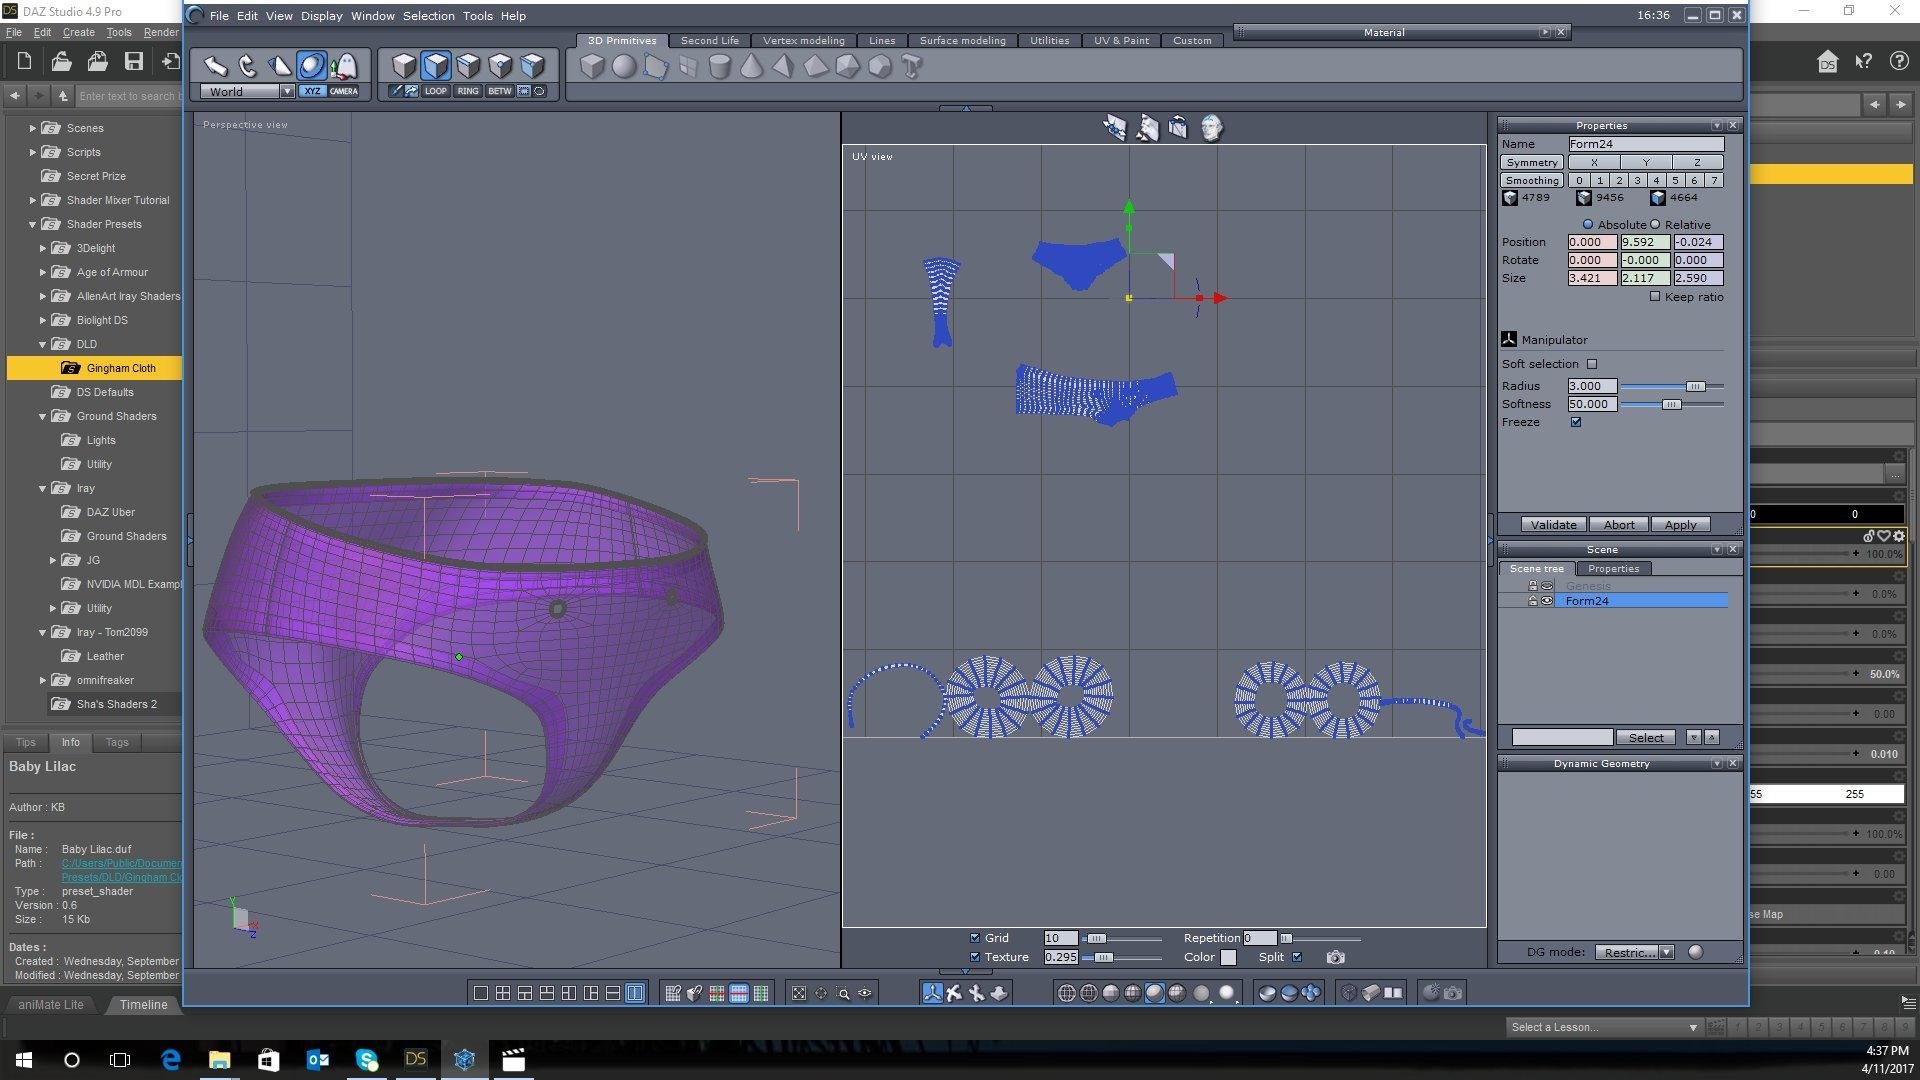
And this is what it looks like with a patterned shader applied. Notice how it distorts as it moves from the left side of the screen to the right?
Daz 3D is part of 
Connect
DAZ Productions, Inc.
7533 S Center View Ct #4664
West Jordan, UT 84084
Licensing Agreement | Terms of Service | Privacy Policy | EULA
© 2026 Daz Productions Inc. All Rights Reserved.
Comments
I've done the tutorial twice from scratch now, and each time this happened, although the distortion was worse the first time.
It is worth noting, in both cases I got off the middle axis (which the author does too,) and followed the tutorial steps to delete half the bikini, reorient it to 0 on the X-axis, then recreate it using symetry and weld it back into one piece with the center aligned at 0.000 on the X-Axis.
If you PM me here with a link to the HXN file I will have a look at it for you, sorry I cannot see from the pics what has gone wrong.
Link on the way.
Got it, fixed and returned.
Note added -
As far as I see it there are 2 things you are aiming for when unfolding a prop.
1. Have any seams in a place where they will not stand out (clothes items are fairly easy, just cut them up the same as a taylor/seamstress would).
2. Stretching. In Hex this is hard especially with shapes like candlesticks, you have to cut the prop up and pin the pieces, then use a test grid to scale the islands so the squares are the same size (very hard to get it perfect).
For those who have not got a test grid, here's one I made earlier (simple but it gets the job done).
Hexagon unfolding can be a bit wonky, at times. A couple of tips:
1) Symmetry is critical for the best chance at a really good unfold that requires minimal tweaking.
2) Use Shading Domains to help you manipulate the UVMap and move bits and pieces around. You can also choose different Projections on different Shading Domains (a little known feature). However, this takes some finessing, as you have to hide all the Shading Domains and then, starting at the bottom of the list, unhide the Shading Domain, use your projection preference on it, then finish mapping it, hide it again, and only then unhide the next Shading Domain right above it. AND, that may not, depending on "reasons", always preserve the previous map/unwrap. :/
3) There is no reason to limit yourself only to a manual Unwrap if a Projection Map is suitable. Hexagon doesn't preserve area like more modern mappers, so it can be fussy when Unwrapping. (massively skewed maps, etc.) Here, however, I can see that a simple single projection map would not have likely been suitable.
4) In the theme of #2, Shading Domains can cross geometry "groups." You can use this to your advantage, at times, though you would want to apply the same mapping method to all geometry groups that share the same Shading Domain, of course.
5) Do not fear the "Weld" option in the UVmap window. Use it to correct issues or plan on using it when you can only get one decent mapping projection looking good, but need to move/join other groups that need to be in same map region. "Weld" is your friend in the UVMap window. But, as always, actually welding geometry will kill your UVmap. (This is not because of "adding/removing" verts, per se. You can easily add/remove verts to a model without destroying the UVMap, but only using certain operations.)
6) Seams - Seams seem straightforward, but you can use them to your advantage by playing around with different arragements of seams. Remember - Don't fear the Weld tool. Seams don't matter in the end, only the UVmap, so you can have whatever wonkiest setup of Seams you can dream up and, in the end, that won't matter one bit - Seam and Pin information isn't going to get exported into anything, only the finalized geometry, uvmap and material names will be in the object. If you use .mtl files for anything, don't... But, if you do, they'll have the color and transparency values as well as the texture location values, but they only screw up things and you're infinitely better off assigning those in your renderer.
7) Pins - Pins are crazy. They're insane. They are are purposefully there in order for you to stare at them in dumbstruck wonder while you contemplate throwing your computer out the window... However, they're darn useful. Nothing outside of Hexagon cares about your Pins. It doesn't matter how wonky they're arranged, just so long as the result is a UVMap you feel confident about working with. Pin, unPin, Pin, unPin, to your heart's content, without any regard for anything other than "Did that help the unwrap." Also - Pins don't always work well right on the vertice border of Shading Domains and separated geometry groups. It's due to how they figure out where they are, I guess. /shrug I dunno... Anyway, when experimenting with Pins, it's generally best to "give them some room to figure out where they are", sort of like a drunk friend that needs a minute to figure out which way the bathroom is, despite any insistance on your part. :) So, place them a few verts away from Seams and Shading Domain borders and see if they start to quite down the unrwap. If that doesn't work, add/remove as necessary. For symmetry work, to basically tell Hexagon to "keep this bit where it is", Pins along the line of symmetry, just a couple towards the top and bottom, will help tremendously. For Seam separated front and back, for instance, you want to have Pins on both sections and relatively similar in placement along the line of symmetry, at first. Later, if that doesn't help, you can add/remove them.
8)You can UVmap a lower resolution version of your model BEFORE you subdivide it for the finished, hi-res, version you're going to export. This will NOT destroy the UVMap, directly. However, this is only recommended when you only need "just one more" subdivision to get it like you want it. Unwrapping at a very low density and then cranking up the verts with several subdivisions is going to cause the texture to stretch, horribly, because of the layout of the original map. In general, though, it will work out fine for most purposes. Try a few tests on a junk model and you'll see the caveats of using that method, but it can help you to create more symmetrical maps in Hex, with less fuss, nonetheless.
9) Actual geometry density and creating groups separated by seams - This closely follows the "symmetry" idea, but this is more for "front and back" work. For instance, if an object is symmetrical along the x axis, but it has radically different mesh density along the z axis or y axis, expect some Seam-separated groups to be a bit wonky or to rescale themselves quite a bit. There are reasons for this, I'm sure, and as soon as you find out exactly what they are, you can tell me... :) But, until then, when you're placing your Seams, try to keep this in mind where you can - Keeping mesh density relatively the same between Seam groups, where possible, is a good idea for a good unwrap. In other words, if you have a dress that has a much more dense, more complex front than it does the back, then instead of placing the seam on the sides of the dress, right in the middle of the dress, where its "center" is, try placing them a little forward of that, so that there's a bit more mesh density given to the back half. Of course, you want a good texture map that will hide any mismatches, but keep this thought in mind when you do an Unwrap and see everything "perfect" except for one group that has decided to go join a circus rather than nicely cooperating with your UV Unwrapping... :) Later, you can tidy up by splitting off the necessary verts, moving the area around and welding it where it will look the best for the final product.
Unwrapping is, itself, an "art" of sorts. A lot of it is intuition and preplanning, so do not be discouraged if you didn't get perfect results on the first unwrap. There are programs that cost thousands of dollars and addons that are ginormously expensive, all just to figure out how to tell textures how they should apply themselves while using the smallest necessary portion of texture real-estate possible. Hexagon is pocket-change compared to such programs, yet it has a pretty darn versatile UVMapping component and some very easy to use UVMapping tools.
Thanks for the very detailed response. I can see I've got a long way to go before I get competent with modeling - but I'm pretty excited to be taking my first baby-steps in that direction.
A lot of this was over my head - but I get the general idea - there are some tools I haven't learned about yet along with some experience I don't have yet that will make this eventually a little less overwhelming than it seems to me at the moment. In the meantime, I'm actually pretty happy with the way the basic model turned out. It wouldn't be good enough to sell as a PA, but I'm sure it would get some downloads on ShareCG. :)
And... it isn't like you don't occasionally see real world clothing items with distorted fabric patterns. So for now... this isn't a bug... it is a feature! :D