Hide gaps in hair strands...
 dodgerrecords
Posts: 123
dodgerrecords
Posts: 123
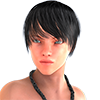
Quick question, I notice when I render my characters with certain hair styles, particularly ones that have strands, if I have the camera at a lower view, you can see the strands instead of it looking like a mass of hair, I included a picture so you can see what I mean. Is there a way to fix this? Like maybe a shader to blur the strands together?
gaps.jpg
1000 x 1000 - 182K
Daz 3D is part of 
Connect
DAZ Productions, Inc.
7533 S Center View Ct #4664
West Jordan, UT 84084
Licensing Agreement | Terms of Service | Privacy Policy | EULA
© 2026 Daz Productions Inc. All Rights Reserved.
Comments
Or could it possible be that I have the shading rate too high on the hair? Maybe I need to turn the shading down or off so that it doesn't cause the black to show up underneath each strand, I think I might have answered my own question lol.
I don't think there is going to be a lot you can do because the issue is in the geometry of that hair. If you take all the textures off of it you'll see the issue is in the model. So playing with the shaders, etc. won't help a lot. Make sure smoothing is turned on, play with the angle at which DS smoothes, that may help some. If there aren't any morphs in the hair that will help flatten out those strands, you might also try some d-forms on it to push them down together yourself.
If it is a hair that you intend to use a lot, and you're handy with 2D paint tools, you could try creating some displacement maps that would bend the edges of the planes down so they weren't so prominent. But depending on how the model is UV mapped that could be difficult to get it mapped and painted correctly without unintended results.
it looks like the style was intended for anime style renders where the seperate strands are stylistcly acceptable.
Thanks for the suggestions, but it really does look like it's a shader issue. Normally with hair, I turn the shading level pretty low on hair so that each strand doesnt cast shadows on the strand behind it, but I was messing around with the new sub surface shader last night and turned the shading up really high.
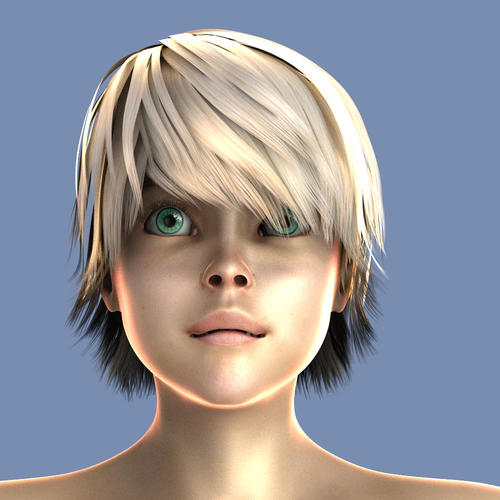
Here is the same hair with the Uber Hair shader:
Ok; so you might be on to something. The gaps are still there in the geometry, they just aren't as noticeable. I think there are a couple of factors to that. First the texture itself is darker; so the contrast is less. Also you might be right on the shading rate. A less strong AO affect could help.
One trick you can do, is load a second instance of the hair, and apply a slight movement morph, it gives it "body".
Thanks for the tip, I was considering that, also might be useful to give a darker base, and a lighter top for a more realistic look.
Have you tried the Displacement channel, if you look in some of the hair folders there's sometimes a file with a bunch of grayscale vertical lines, add that to the Displacement channel and play with the numbers in the min/max, that can sometimes get you a much more convincing hair.
Edit: here's a sample of what I mean, each level of gray moves a strand of hair up or down.
This is a draw back with layered polygonal hair. One thing that can at least make it less obvious is to use a shader with Translucence, such as uberSurface (or better, uberHair) and turn that on so that light comes through the hair (assuming there's some lighting from the upper surface, as appears to be the case here)..
If your pc is up to it, you could indeed load it twice and slightly displace it.
I often load 2 hair props into my scene because it makes it look more dense.
I turn the second loaded hair slightly on its axis.
Thanks for all the suggestions guys! I'll make sure and try out all your tips, I do have UberHair, which is hat I normally use, and I never really have this problem. I was using a subsurface plugin for this, and I havent quite got the hang of it yet.