-
Applying dForce question.
In the final frame hide everything but the outfit 9and if it has rigid follow nodes for things like button hide those too), in the Parameters pane set the Resolution to Base, and export as OBJ - note the preset you use in the options dialogue. Now go back to your base scene, the the figure posed and the clothing applied, select the clothing, and go to Edit>FigureMorph Loader Pro. Click the Select Files button and select the exported OBJ, make sure the preset is the same as the one used when exporting, and in the lower part of the dialogue click the triangle button next to the OBJ name to expand the options and enable Reverse Deformations. This will give a morph that puts the clothing in the same state as the simulation.
Applying dForce question.It sounds to me what they are wanting to do is make a fit morph using dforce simulation.
Fit to without moving or morphingI believe you both need to set the source shape to "Current", and toggle the "Reverse source shape to target" (or something like that) further down the dialogue. However, as a general thing, it is preferred that assets are first made for the base shape, and specific fits are imported later via Morph Loader (using the "Reverse Deformations" option if required).
Diapers?There is one on Sharecg for G1 that works well with G8. I think I only needed to tweak it a little to make it perfect, then saved it as a new asset. The textures are cute and it comes with an open morph. https://sharecg.com/v/80389/browse/21/DAZ-Studio/Diaper-for-GenesisDaz3d to Blender Bridge - Deformation when Limit offHej hej!
One quick question. I got quite comfortable with using Daz3d for posing and basic clothing, but export it later to Blender for the scene (everything which doesn't come directly from the liberary).
I am using Blender 2.9.3 right now and experience a problem with the morphs after importing to Blender.
I disabled the rotation limits on both hands (had to) and both show those super ugly deformations of the morph. I wanted to model a glove based on the pose in Blender, so the hands are really a problem. ;-)
The rest of the morph seems ok and without deformations. Any idea how to get around this issue or how to solve it?
Thank you very much and have a nice remaining Sunday! :-)
Correction Needed for Zeddicuss ProductsIf you have not installed and/or updated the Genesis 8 Starter Essentials within DS ("Smart" Content/DAZ Connect), but used DIM/DAZ Central/Manual installation to install it;
Making the G8 base expressions (and any expressions that are using them) work on G8.1 requires removing dummy/placeholder expressions that are installed to G8.1 morph folders - These dummy/placeholder expression files have no other function than to prevent the base G8 expressions from loading.
The dummy/placeholder files are located in;
...\Data\DAZ 3D\Genesis 8\Female 8_1\Morphs\Daz 3D\Base Pose Head\ (255 files)
...\Data\DAZ 3D\Genesis 8\Female 8_1\Morphs\Daz 3D\Expressions\ (24 files)
...\Data\DAZ 3D\Genesis 8\Male 8_1\Morphs\Daz 3D\Base Pose Head\ (255 files)
...\Data\DAZ 3D\Genesis 8\Male 8_1\Morphs\Daz 3D\Expressions\ (24 files)Please make sure you are removing the files from G8.1 morph folders and not G8 morph folders.
The "..." is the root folder of your content library.
Darwins' Schtuff Pt Deux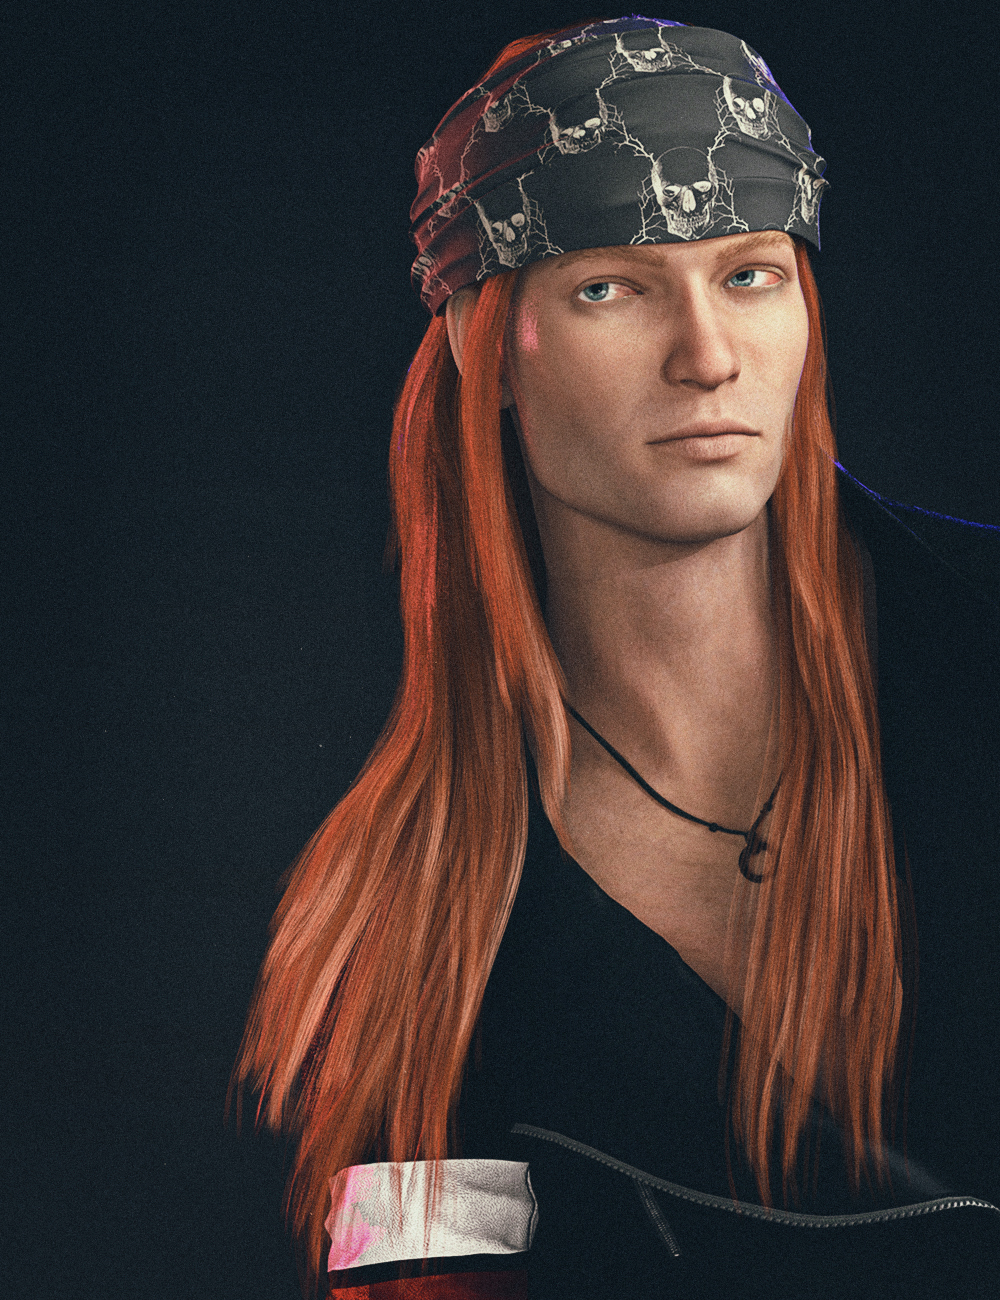
Last head morph for Damek; I have kept all three versions. Time to final up the skin textures before moving to fun stuff like tats and crap. Have the body morph done (although you can't see it here) as well. Will have to put that morph into Zbrush for the HD Details (if the stupid thing will cooperate with me).
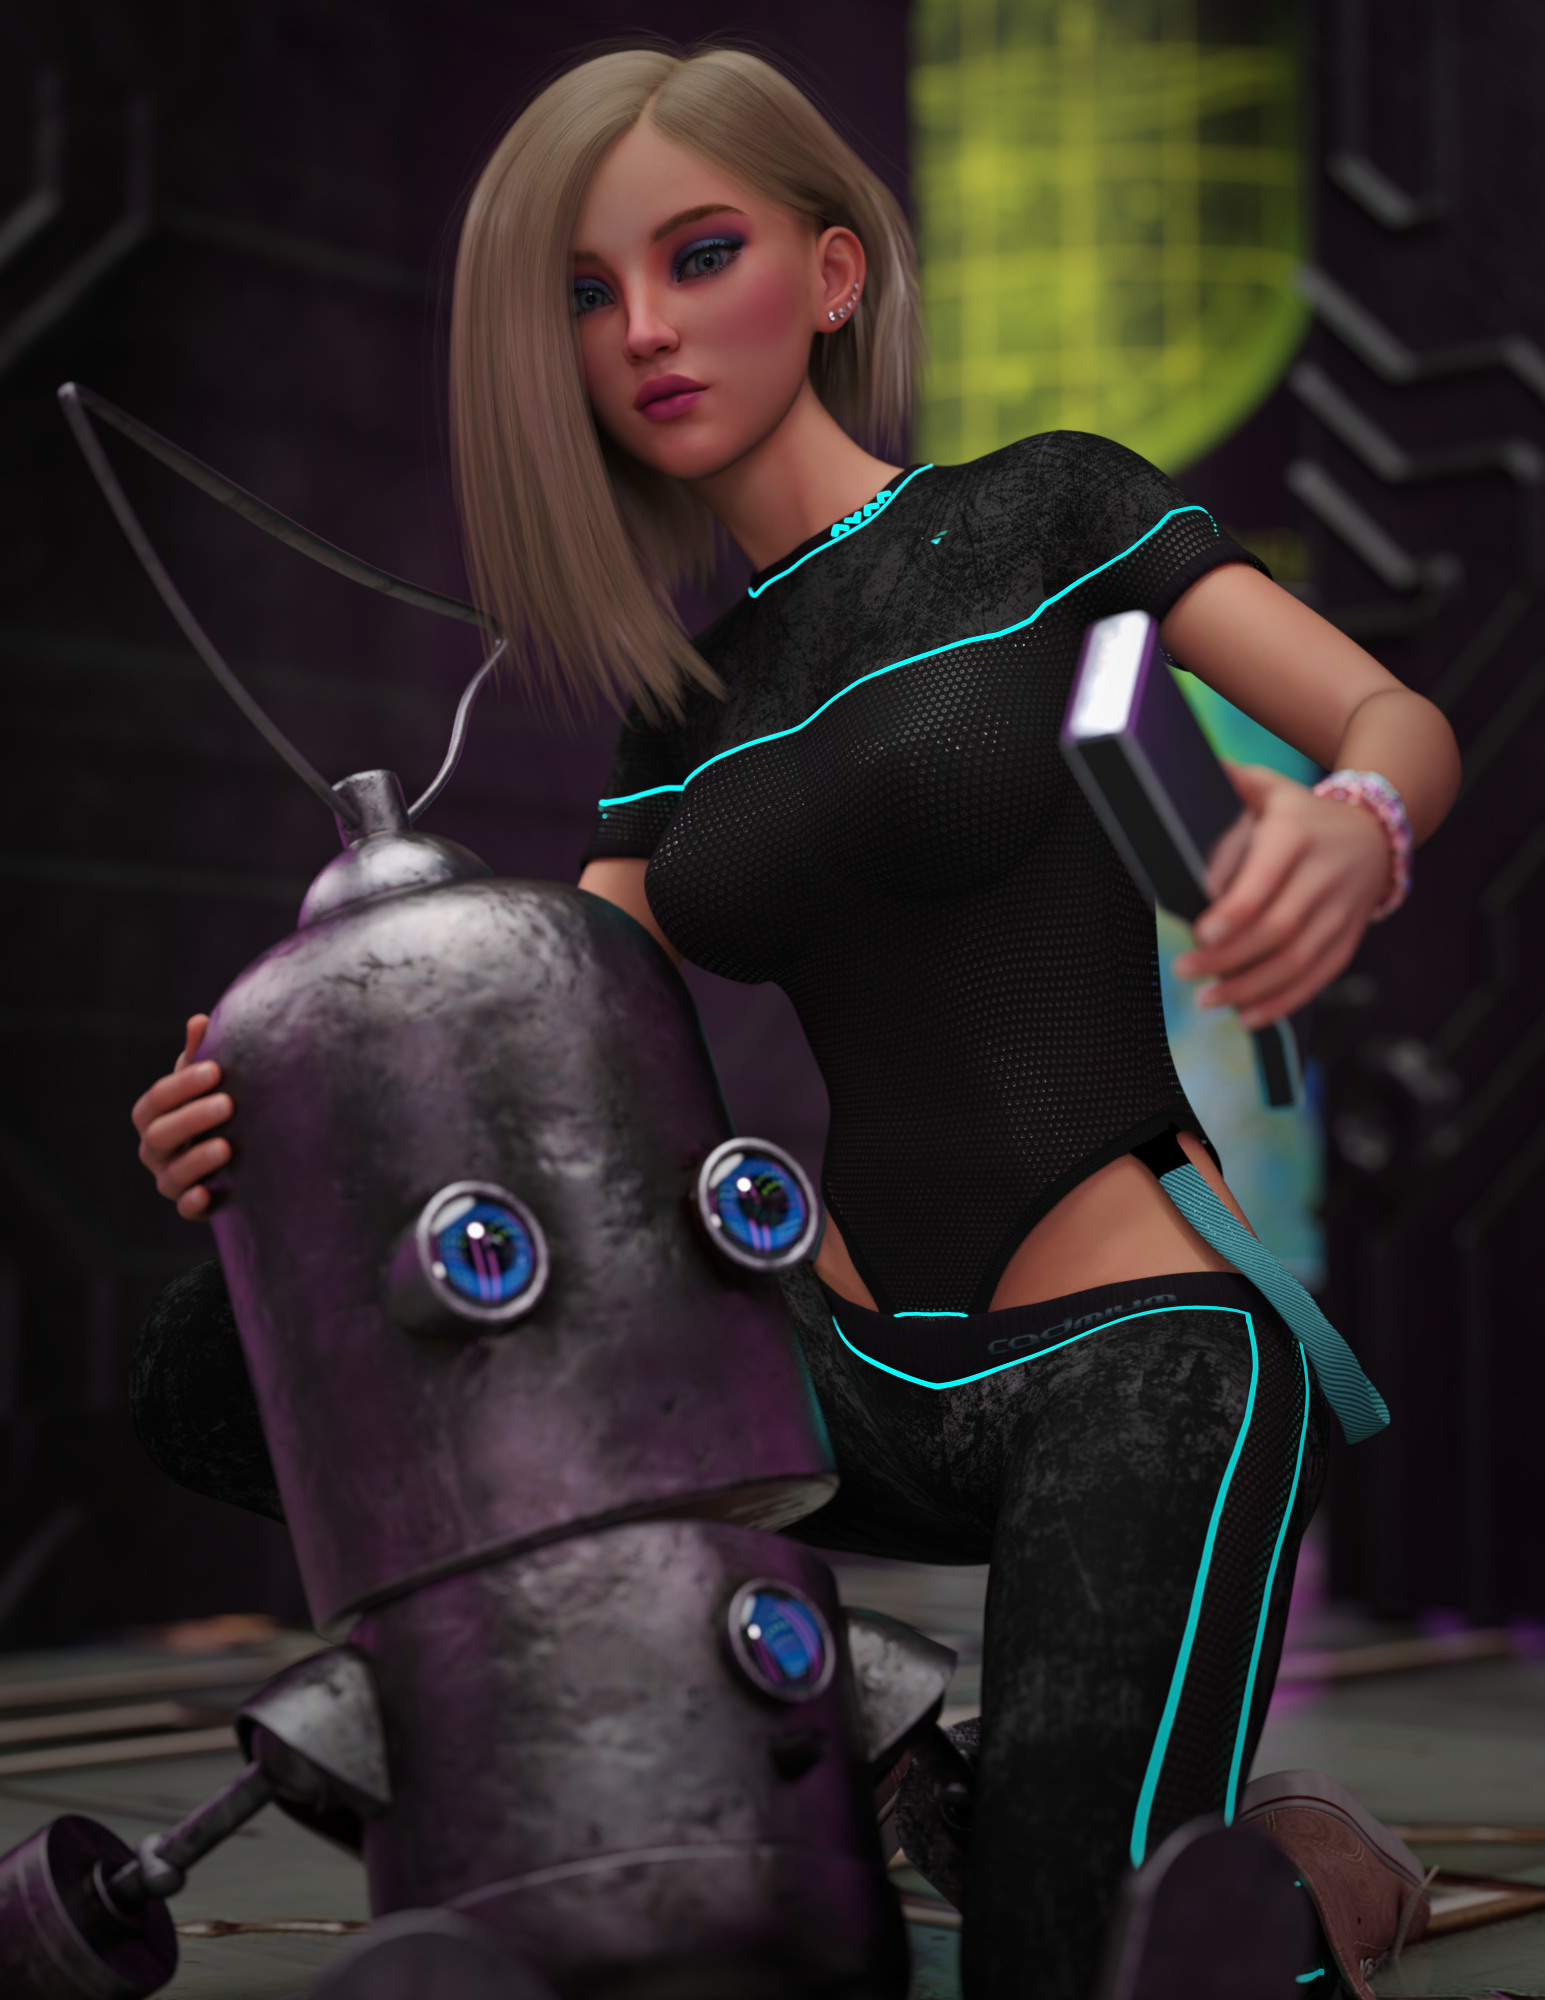
Kiko 8.1 - cute kitsune, stands on her own without a "seasonal passport" or the likeOkay, one more. I do like Kiko, but I work around the perceived flaws.
This is 65% Kiko, 35% Cleopatra again, plus dial spins. The head was smol, so I used that dial from zev0's growing up to redistribute the ratio between head size and body size (not the growing up morph, but the proportions adjustment dial).
I used Makeup 4 (maybe my favorite one for Kiko due to the pink on the nose) withi the No-Brow option, which (As above) has a little shadow from the eyebrow on the makeup texture bleeding through via the overlay map. I used the fibermesh brow from Mousso's Angel HD, which mostly covers the brow region for Kiko. Close enough, anyway.
There's also a custom No-brow face diffuse here, and customized SSS maps for how I like them. I feel pretty comfortable with the PBR shader now, so I play with the maps a little.
(IMO, worth trying to learn this stuff if you haven't monkeyed around with the PBR. I do like it better if only because I need to customize a lot to transition Iray Uber skins to PBR, which then effectively normalizes the skins to my setup.)
 Fit to without moving or morphing
So the geograft comes in as an obj with no rigging - I need to transfer the rigging to the model in it's current position.
When I use transfer tool it moves the obj along Y quite a bit (since the geograft and the model I'm welding it to are quite tall) I've already created the geograft using the correct dimensions so I need to circumvent the repositioning while still getting the rigging transfer.
The morphs themselves are less of a problem as I can just back them all out individually after I do the fit from the hidden morph controls (I believe, since the position of the graft ends up so wacky I THINK I've backed out the double stretch from the second application of morphs, but it's tough to tell).
What I need is to be able to just associate the rigging in situe (as the geograft imports in the exact right spot already). I can then parent it to the join point on the leg and pose it separately rather than having it be controlled by the pose controls of the base model.
I mean it would be nice if I could graft it in - but it seems I can't avoid the move and morph part of the import.
Morph Packages QuestionAre there any morphs (or morph packages) that allow for the removal of select different parts of the figure face (like the eyes, mouth ears, etc.)? I never looked for them until recently and thought they were part of the core morphs you get with DAZ Studio, but I can't find them (so I guess they are not).
Fit to without moving or morphingA custom Leda 8 morph in the GeoGraft would probably help, but if the issue is moving joint centres it may be that you haven't memorised the final rigging (Joint Editor tool option menu) and so any joint adjustment is using the wrong starting point.
Fit to without moving or morphingI'm attempting to create a complex geograft using Blender - the issue is when I create the geograft on base Gen 8, export to Blender and make my changes then import/fit to my morphed figure (Leda 8) some of the modified vertices go wild and crazy as the morph is applied.
What I'd like to do is create my geograft using my character (already pre-morphed) then have it follow my character without moving or morphing it at all.
So as a rough example I want to replace a leg with a prosthetic leg - if I make it in Gen 8 then fit it to Leda 8 some of the custom modelled knee geometry gets dragged all over the place when the morph is applied to fit it to the morphed character.
In a perfect world transfer the rigging to the obj, and do the voodoo in the background to have it follow the model it's attached to.
This must be possible somehow :(
like a 'wear then all' for G8.1?fred9803 said:
Cora Regina said:
It's worth noting that I didn't rotate the joints or transfer the rigging on the hat, or fit it to G8F,............
And therein lies the problem. In a G8 or G3 T-pose it's quite easy to get things looking nice. But once you pose the figure everything goes to bollocks. Intergenerational things like hair, hats, shorts, jewelery can be bashed into submission, but long flappy stuff long dresses, capes, etc,..... forget it. Not worth the effort.
There was no "bashing into submission" involved, lol. And, all I did was point out that not everything needs to be processed fully or even at all. I love it when things don't need a whole lot of extra effort, that leaves me more time to spend on the ones that do. As for the rest, that really depends on what it is. Some stuff is gonna be an absolute disaster because nothing was welded together and even completely mapping out an area can only do so much, or for whatever reason a garment does not respond symmetrically in simulation. Other things cooperate surprisingly well. Most I've tried seem to be in the middle, where one item complains while the others comply. I said using the clones was a good start, not a good end point.
Branding every bit of that "flappy" content as "not worth the effort" is pretty presumptuous. Is there a one-click solution? No. Will there be work involved? God, yes, and it may not be successful. But there are many, many older outfits here and elsewhere that simply do not have a modern equivalent and people will naturally want to convert them for modern figures, much as they want to convert old characters.
It's not worth the effort to you, perhaps, but it may very well be worth it to other people.
Applying dForce question.So I know how to use dforce in general, applying to cloths for better clothing sims. What I wanna ask is, is there a way to apply the dforce after doing an animation that morph the breast from small to preferred size, and use the last animation frame as the final output?Finally a solution for eyes not properly closed? What about intersecting upper and lower eyelashes?The AB merchant resource released today KIND OF giving me a solution for my greatest pet peeves - eyes not properly closed when using pose dials. However, does it mean that I have to bake an "eyes closed" morph, or what exactly does it mean? And what about the situation when the eyes of your character are finally properly closed, but the upper and lower lashes intersect creating a mess in renders (or like false lashes popping off the rim of your eyes)?like a 'wear then all' for G8.1?Cora Regina said:
It's worth noting that I didn't rotate the joints or transfer the rigging on the hat, or fit it to G8F,............
And therein lies the problem. In a G8 or G3 T-pose it's quite easy to get things looking nice. But once you pose the figure everything goes to bollocks. Intergenerational things like hair, hats, shorts, jewelery can be bashed into submission, but long flappy stuff long dresses, capes, etc,..... forget it. Not worth the effort.
New! Novica & Forum Members Tips & Product Reviews Pt 14NorthOf45 said:
So, maybe the original control added too much Kwan 8, but now it adds none. Maybe the idea was to not add Kwan 8 Head and Body and just use Kwan 8 Full. Or maybe just use Kwan 8 Head and Body morphs and not add Kwan 8 Full.
Unfortunately, I cannot have both old and new Tamati installed at the same time since they use the same filenames, but the new one definitely removes too much.
That is weird. I wonder why my default Tamati doesn't look like yours? Yours very clearly has no Kwan at all, whereas mine ... I have no idea. I even looked at him with Show HIdden, but there's nothing there but his own morph at 100% and some eyelashes morphs and navel and nipples.
Remote Rendering in iray or filamenthey guys! got a bizzare question for ya.
I have a decent laptop with 32gb max ram and an i7 and a old as heck gpu and i have a upgraded powerful and very capabible desktop computer. ive been cranking out lots of renders on iray and filament on my desktop while everyone was stuck at home but things are opening up where i am and people are asking me to come visit left and right-most of which im not exactlly interested in seeing but my folks are and theyre dragging me along with. So i pose this question:
is there a way to create the scenes on my laptop ie my friends house and send it over to my desktop in my basement hit render and render the scene or even a group of scenes in my render qeue without having to manually phyisically save the scene to a flash drive or whatever take an uber from my friends house transfer the file from my laptop to my desktop render it and take an uber back here to my friends house? like instead do it all remotly between my desktopp and laptop? because that'd be a lot of money for uber and im gonnna be here a while on family vacay so....
like a 'wear then all' for G8.1?Mystiara said:
is there any path for fitting aiko3 clothes to g8/8.1 ?
Wear Them All for G3M or G3F depending on who you want to convert to + the expansion, which includes A3 clones for each. Then manually convert from G3 to G8 as per the usual process (see SY's tutorial). Save out as new assets if you want something permanent.
It won't be perfect, high heels in particular will continue to present a problem as they always do, and you'll probably want to do some stuff with weight maps and dForce, but you can get a good start. Here's Esmeralda for A3 on a base G8F, pretty much straight out of the process I outlined above. All I did before saving the draw was to bend the feet so the heels sat more appropriately, hide the toes/feet/lower legs, and twitch the side-side values of the upper part of the skirt so it didn't intersect with the thighs:

It's worth noting that I didn't rotate the joints or transfer the rigging on the hat, or fit it to G8F, as that does really weird things with this one. Instead I just changed its scene ID and parented it to the hair.
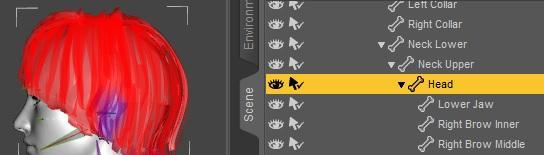
Daz to Blender Beta: How To Download Release Versions, Manually Install, and Replace Old Installs@DAZ_sam As for pruning jcms 2.3.8 beta is much better, at least it excludes jcms by bone. But you can do better. That is, you can check if the bone gets any influence in the weight map, and if not the jcm for the bone is to be pruned. Below an example with the toulouse hair where only the neck and head bones get influence, so jcms for collars and shoulders don't make sense.
As a side note I'd advise to run "remove morph prefix" by default, since morph names are relative to the object anyway, so the prefix is not needed and it just makes the name hard to read in the panel.
Please let me know if something is not clear, or if there's anything I'm missing.
Daz 3D is part of

Connect
DAZ Productions, Inc.
7533 S Center View Ct #4664
West Jordan, UT 84084Licensing Agreement | Terms of Service | Privacy Policy | EULA
© 2026 Daz Productions Inc. All Rights Reserved.