-
Carrara Non Photo Realistic Works 2
Stezza said:
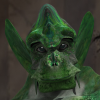
wow @Bunyip02 you certainly have a great collection of creatures

my fav of course is the rabbit one
any info on that one?
Thanks - I like my critters as you have noticed !!!
Rabbit (Lepus) - https://www.philosophersegg.com/shop/index.php?rt=product/product&path=78_79&product_id=174
For the legs you need this - https://www.daz3d.com/michael-4-creature-creator-add-ons
https://www.daz3d.com/victoria-4-2-creature-creator-add-ons
EDIT - just double checked the link for the Rabbits - it's a new morph and does not require the legs as the old one which I have.
The original Lepus is in this bundle - https://www.philosophersegg.com/shop/index.php?rt=product/product&path=78_71&product_id=125
Back To School???????????????????????????????????????In Australia they've gone back to school after Easter break below is timetable of upcoming school holidays
Autumn
Winter
Spring
Summer
Australian Capital Territory Apr 7 - Apr 23
Jul 1 - Jul 16
Sep 23 - Oct 8
Dec 16, 2023 - Jan 30, 2024
New South Wales Apr 10 - Apr 21
Jul 3 - Jul 14
Sep 25 - Oct 6
Dec 20, 2023 - Jan 29, 2024
Northern Territory Apr 7 - Apr 16
Jun 24 - Jul 17
Sep 23 - Oct 8
Dec 16, 2023 - Jan 29, 2024
Queensland Apr 1 - Apr 16
Jun 24 - Jul 9
Sep 16 - Oct 2
Dec 9, 2023 - Jan 21, 2024
South Australia Apr 15 - Apr 30
Jul 8 - Jul 23
Sep 30 - Oct 15
Dec 16, 2023 - Jan 28, 2024
Tasmania Apr 6 - Apr 25
Jul 8 - Jul 24
Sep 30 - Oct 15
Dec 22
Victoria Apr 7 - Apr 23
Jun 24 - Jul 9
Sep 16 - Oct 1
Dec 21, 2023 - Jan 29, 2024
Western Australia Apr 7 - Apr 23
Jul 1 - Jul 16
Sep 23 - Oct 8
Dec 15, 2023 - Jan 30, 2024
How to create the effect of skin being passed by the sun or make it look like this?TimberWolf said:
Do be careful with it. Subtle application is usually better than 'LOOK AT MY SUB SURFACE SCATTERING EFFECT!!' when it comes to rendering but there are times when you can really go for it - imagine a character in a nightclub backlit by all the spotlights in a smoky environment; it can be very dramatic. However, in general use, softly, softly. Use the effect to separate your character from the background and do have a read of the link I provided as it will give you an understanding of what is going on behind the scenes to produce the effect.
Here's a character from one of our games which uses a superb skin material (Victoria 9) and a superb hair shader from OOT. Absolutely no tweaking required because the artists who created these materials really knew what they were doing. You won't always be so lucky so it's worth understanding what's going on so you can adjust those models you have which aren't quite as well made. This took 2 minutes to set up because the artists who made the materials are experts.
 Amazing, how do you make it so realistic? My work is like, ugh, something from 10 years ago. I mean the skin, is it about texture, materials, or shader? Or just the advantages from G9. I'm a good learner, one clue and I can dig a lot on my own
 How to create the effect of skin being passed by the sun or make it look like this?
Do be careful with it. Subtle application is usually better than 'LOOK AT MY SUB SURFACE SCATTERING EFFECT!!' when it comes to rendering but there are times when you can really go for it - imagine a character in a nightclub backlit by all the spotlights in a smoky environment; it can be very dramatic. However, in general use, softly, softly. Use the effect to separate your character from the background and do have a read of the link I provided as it will give you an understanding of what is going on behind the scenes to produce the effect.
Here's a character from one of our games which uses a superb skin material (Victoria 9) and a superb hair shader from OOT. Absolutely no tweaking required because the artists who created these materials really knew what they were doing. You won't always be so lucky so it's worth understanding what's going on so you can adjust those models you have which aren't quite as well made. This took 2 minutes to set up because the artists who made the materials are experts.
DO June for Genesis 9I have her and I think she looks great!
My only real complaint can apply to a bunch of other characters also, like Cynderblue's for example. I guess there's a lack of merchant resources for skins in G9, so it seems everyone is using the G9 Feminine Skin 01 as a basis. Now normally I wouldn't have noticed because I never really used the base skins that come with the starter essentials, but since Skin 01 is literally Victoria 8.1's mats converted to G9.. well.. that I notice. and I'm seeing a lot of V8.1 everywhere in G9!
That said, I'm really happy with June. DOrdiales still added a bunch of manual touches to the base skin, so that's that. There's also plenty of customization ranging from makeup to tattoos to wet/sandy skin, and it also includes a backdrop prop, camera and a 3-point lighting preset. so IMO this is a great offering.Here's a quick render using the provided lights etc. Only black nails & eyeliner applied. JPG saved at 96% to make the file size manageable. Open in a new tab if you want to see it bigger :)
 Digital Touch - Help identify costume used in promo
ioonrxoon said:
It's this one: https://www.daz3d.com/fwsa-gillian-hd-for-victoria-7-and-lf-sorbet-swimwear
Thank You
Digital Touch - Help identify costume used in promoloose scarf / collarhttps://www.daz3d.com/dforce-regency-outfit-for-genesis-8-males (Genesis 8 Male)
https://www.daz3d.com/regency-genesis-2-male (Genesis 2 Male) (better view in https://www.daz3d.com/gentlemen-for-regency-and-expansion, the CG_Necktie.duf is seperate item and not part of CG_Shirt.duf)
https://www.daz3d.com/dforce-signature-style-outfit-for-genesis-8-females (Genesis 8)
https://www.daz3d.com/carhop-for-genesis-female (Genesis)
https://www.daz3d.com/snowman-hd-for-genesis-8-male (Genesis 8 Male)
https://www.daz3d.com/dforce-le-roi-outfit-for-genesis-8-male (Genesis 8 Male)
https://www.daz3d.com/dforce-victorian-gentleman-outfit-for-genesis-8-and-81-males (Genesis 8 Male)
https://www.daz3d.com/dforce-romantic-gentleman-outfit-for-genesis-8-and-81-males (Genesis 8 Male)
https://www.daz3d.com/the-hatter (Michael 4, Hiro 4) (on sale -80% for Daz+)
Steamie for Fancy Punk by Moyra (on Rendo) (Genesis 8, Victoria 8)
Having trouble with victoria 4.2its already solved thanks.
* Closed * RRRR - "Back from the dead" Render ContestZethara said:
Pull #4
72 Woodland Realm Playset One (SKU 1602)
392 Interiors The Empty Room (SKU 392)
1179 Victoria 8 (SKU 43673)
1314 iRadiance HDR Resources - Country Pasture (SKU 50605This seems benign... maybe...
Random numbers generated Apr 19 2023 at 19:39:13 by psychicscience.org
Free educational resources for parapsychology and psychical research.Or maybe not so benign...
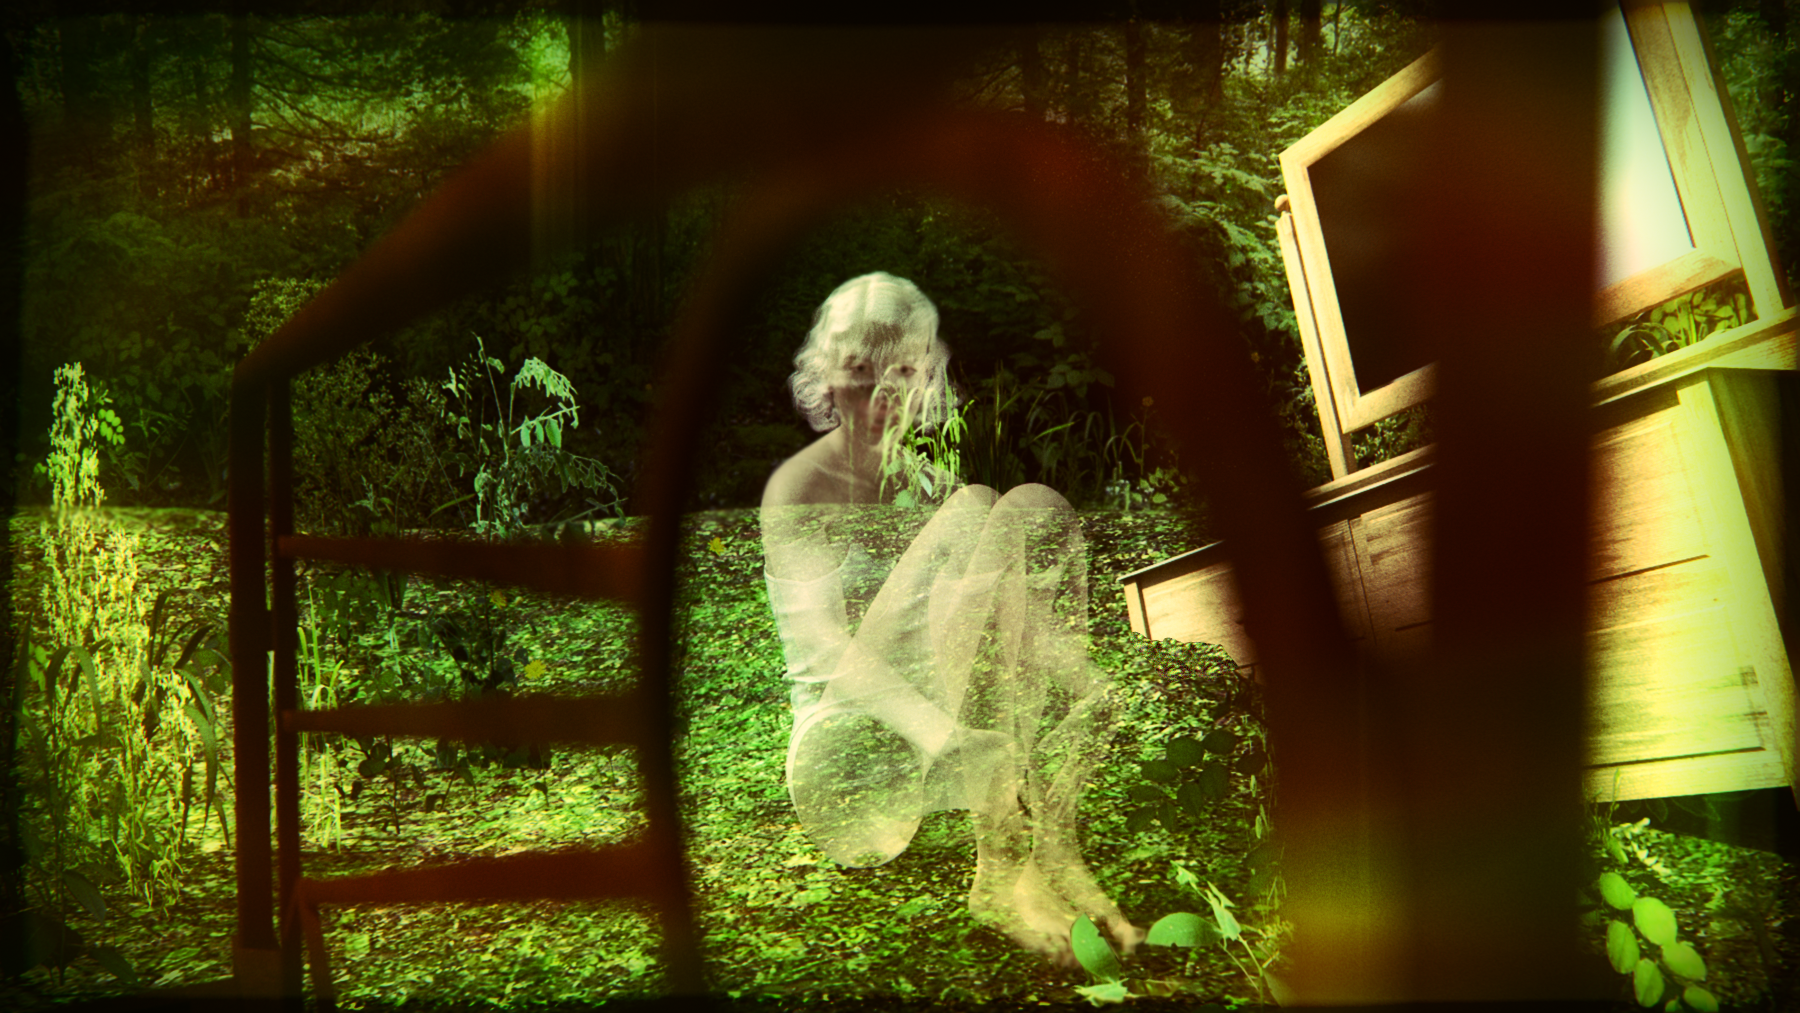
Pushing Her Way Back
She has no idea how long she has been here, surrounded by pieces of her life...her bedroom. Fractured memories of a wild storm tearing at the house tease at her mind, but she can't quite see them... No matter. She is patient and continues to will herself back into the world.
 Installing Michael 4/Victoria 4 et al in D|S 4.21.0.5 in Windows 11
I haven't used the generation 4 products for some time, but I have a new computer, and I'm installing ALL of my content using DAZ Connect (right clicking on the thumbnail in the SMART CONTENT tab and choosing INSTALL from the options). I remember there being something unique about how the Victioria 4/Michael 4 products (and all of their spinoffs) were installed -- I recall there was a batch file that had to be run at some point in the installation in order for some component of the product to function properly. Is that still the case with this later version of D|S and the DAZ Connect method of installation?
1. What are the proper steps to install the G4 range of products so that they function properly?
2. Along a similar line, how would you install non-DAZ products (like from Renderosity) so that they show up in the SMART CONTENT and CONTENT LIBRARY tabs?
Thank you, in advance, for your assistance!
Carrara Challenge #66 - Jumping Off a Browser Scene Go Splat !Diomede said:
WIP - PhilW Fantasy Village.
PhilW's Fantasy Village is still available here at Daz. https://www.daz3d.com/carrara-fantasy-village
PhilW always has amazing sets, from the Night and Day City, to the English Cottage, to this Fantasy Village. The fantasy village uses a lot of replicators and can bog down a computer if you try to use it all at once, much like some of Howie's old scenes. Recommend turning off portions of the set not in view for easier manipulation.
However, I decided to take a different approach this time. I loaded the fantasy scene and left everything 'turned on.' I inserted a spherical camera and adjusted its view to taste, but was mostly concerned with height from the ground and angle. I then rendered out a spherical 2W x 1L image. This is inserted into the Background map in the scene tab.
So, here we have a genesis 1 skullcrusher ogre in the stocks that come with PhilW's fantasy village. However, the stocks are actually part of the background rendered out from the village. I just used a grid with holes as a shadow catcher. Naturally, a fantasy scene has to have a Vicky, even if it is the ogre which is nearly naked. I used shadow catchers for the doorway around Victoria 4. Vicky's clothes are from RuntimeDNA's site, and so may be available now in the Daz store. Not sure what went where.
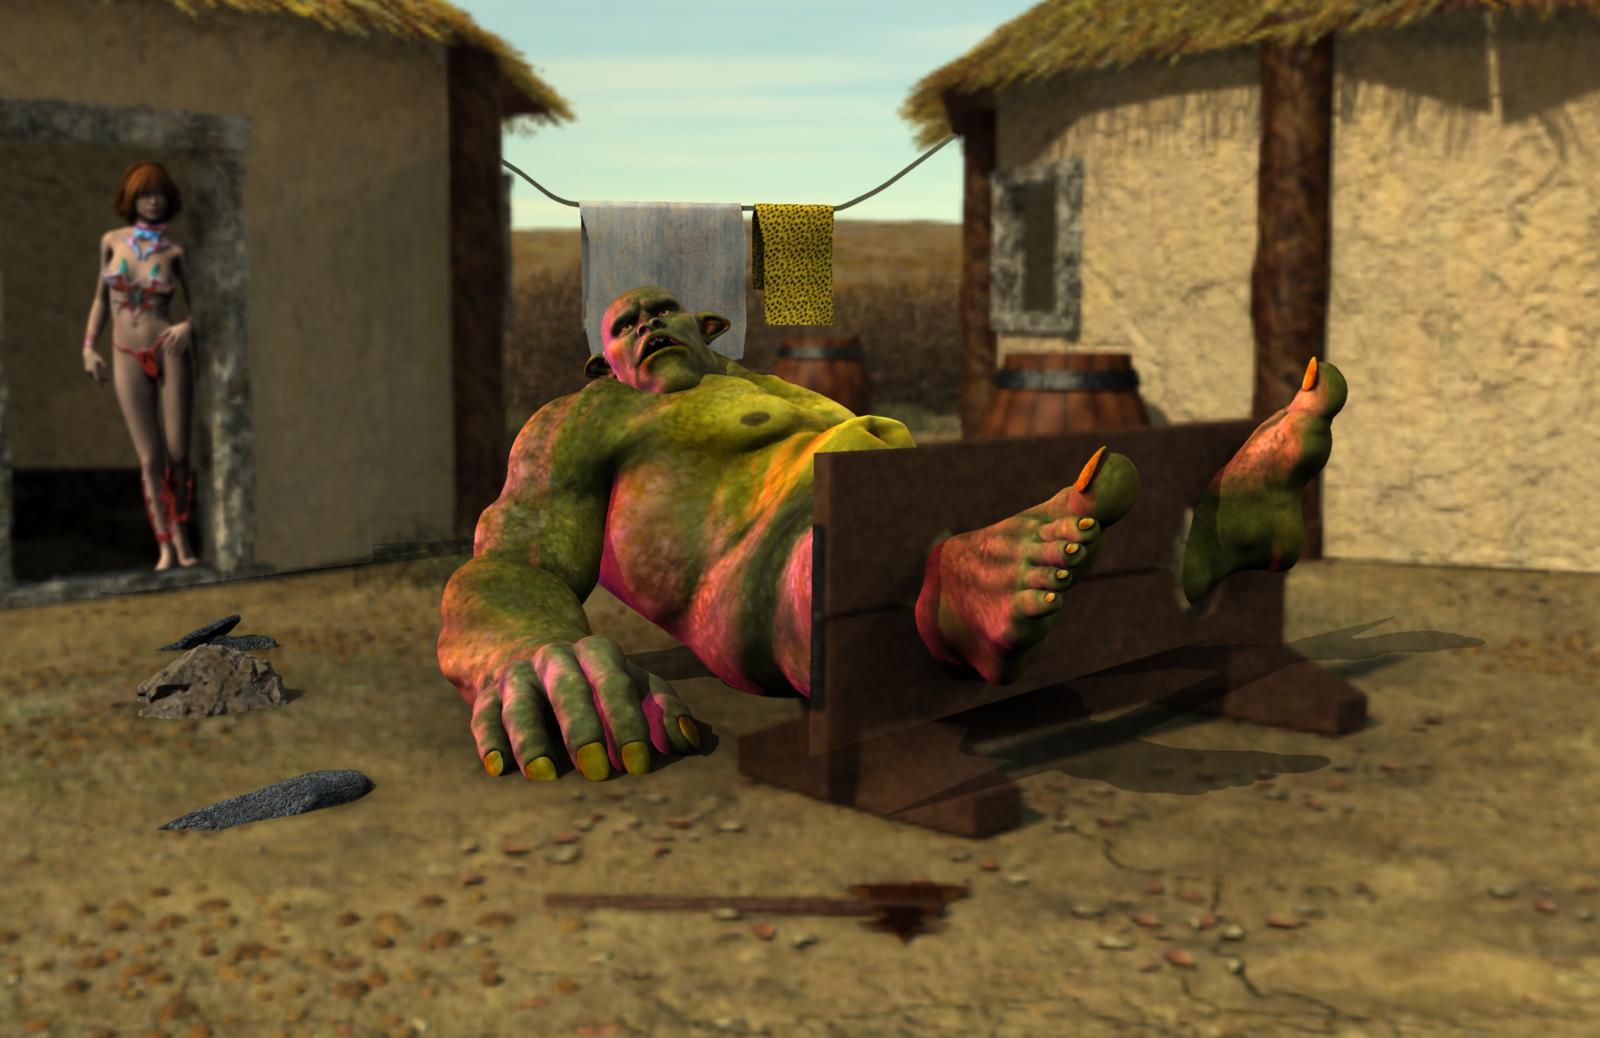
Brilliant image, it's a fairy tale one, at home in any kids book - especially the ones thatgive nightmares!!
thanks once again for the walkthrough :)
Carrara freebie/sale render and discussion threadhttps://www.daz3d.com/desiree-for-victoria-7
https://www.daz3d.com/honey-bun-pose-expression-bundle-for-girl-7
Problem with the Poses distorting the back of the head/neck/shoulders in Carrara
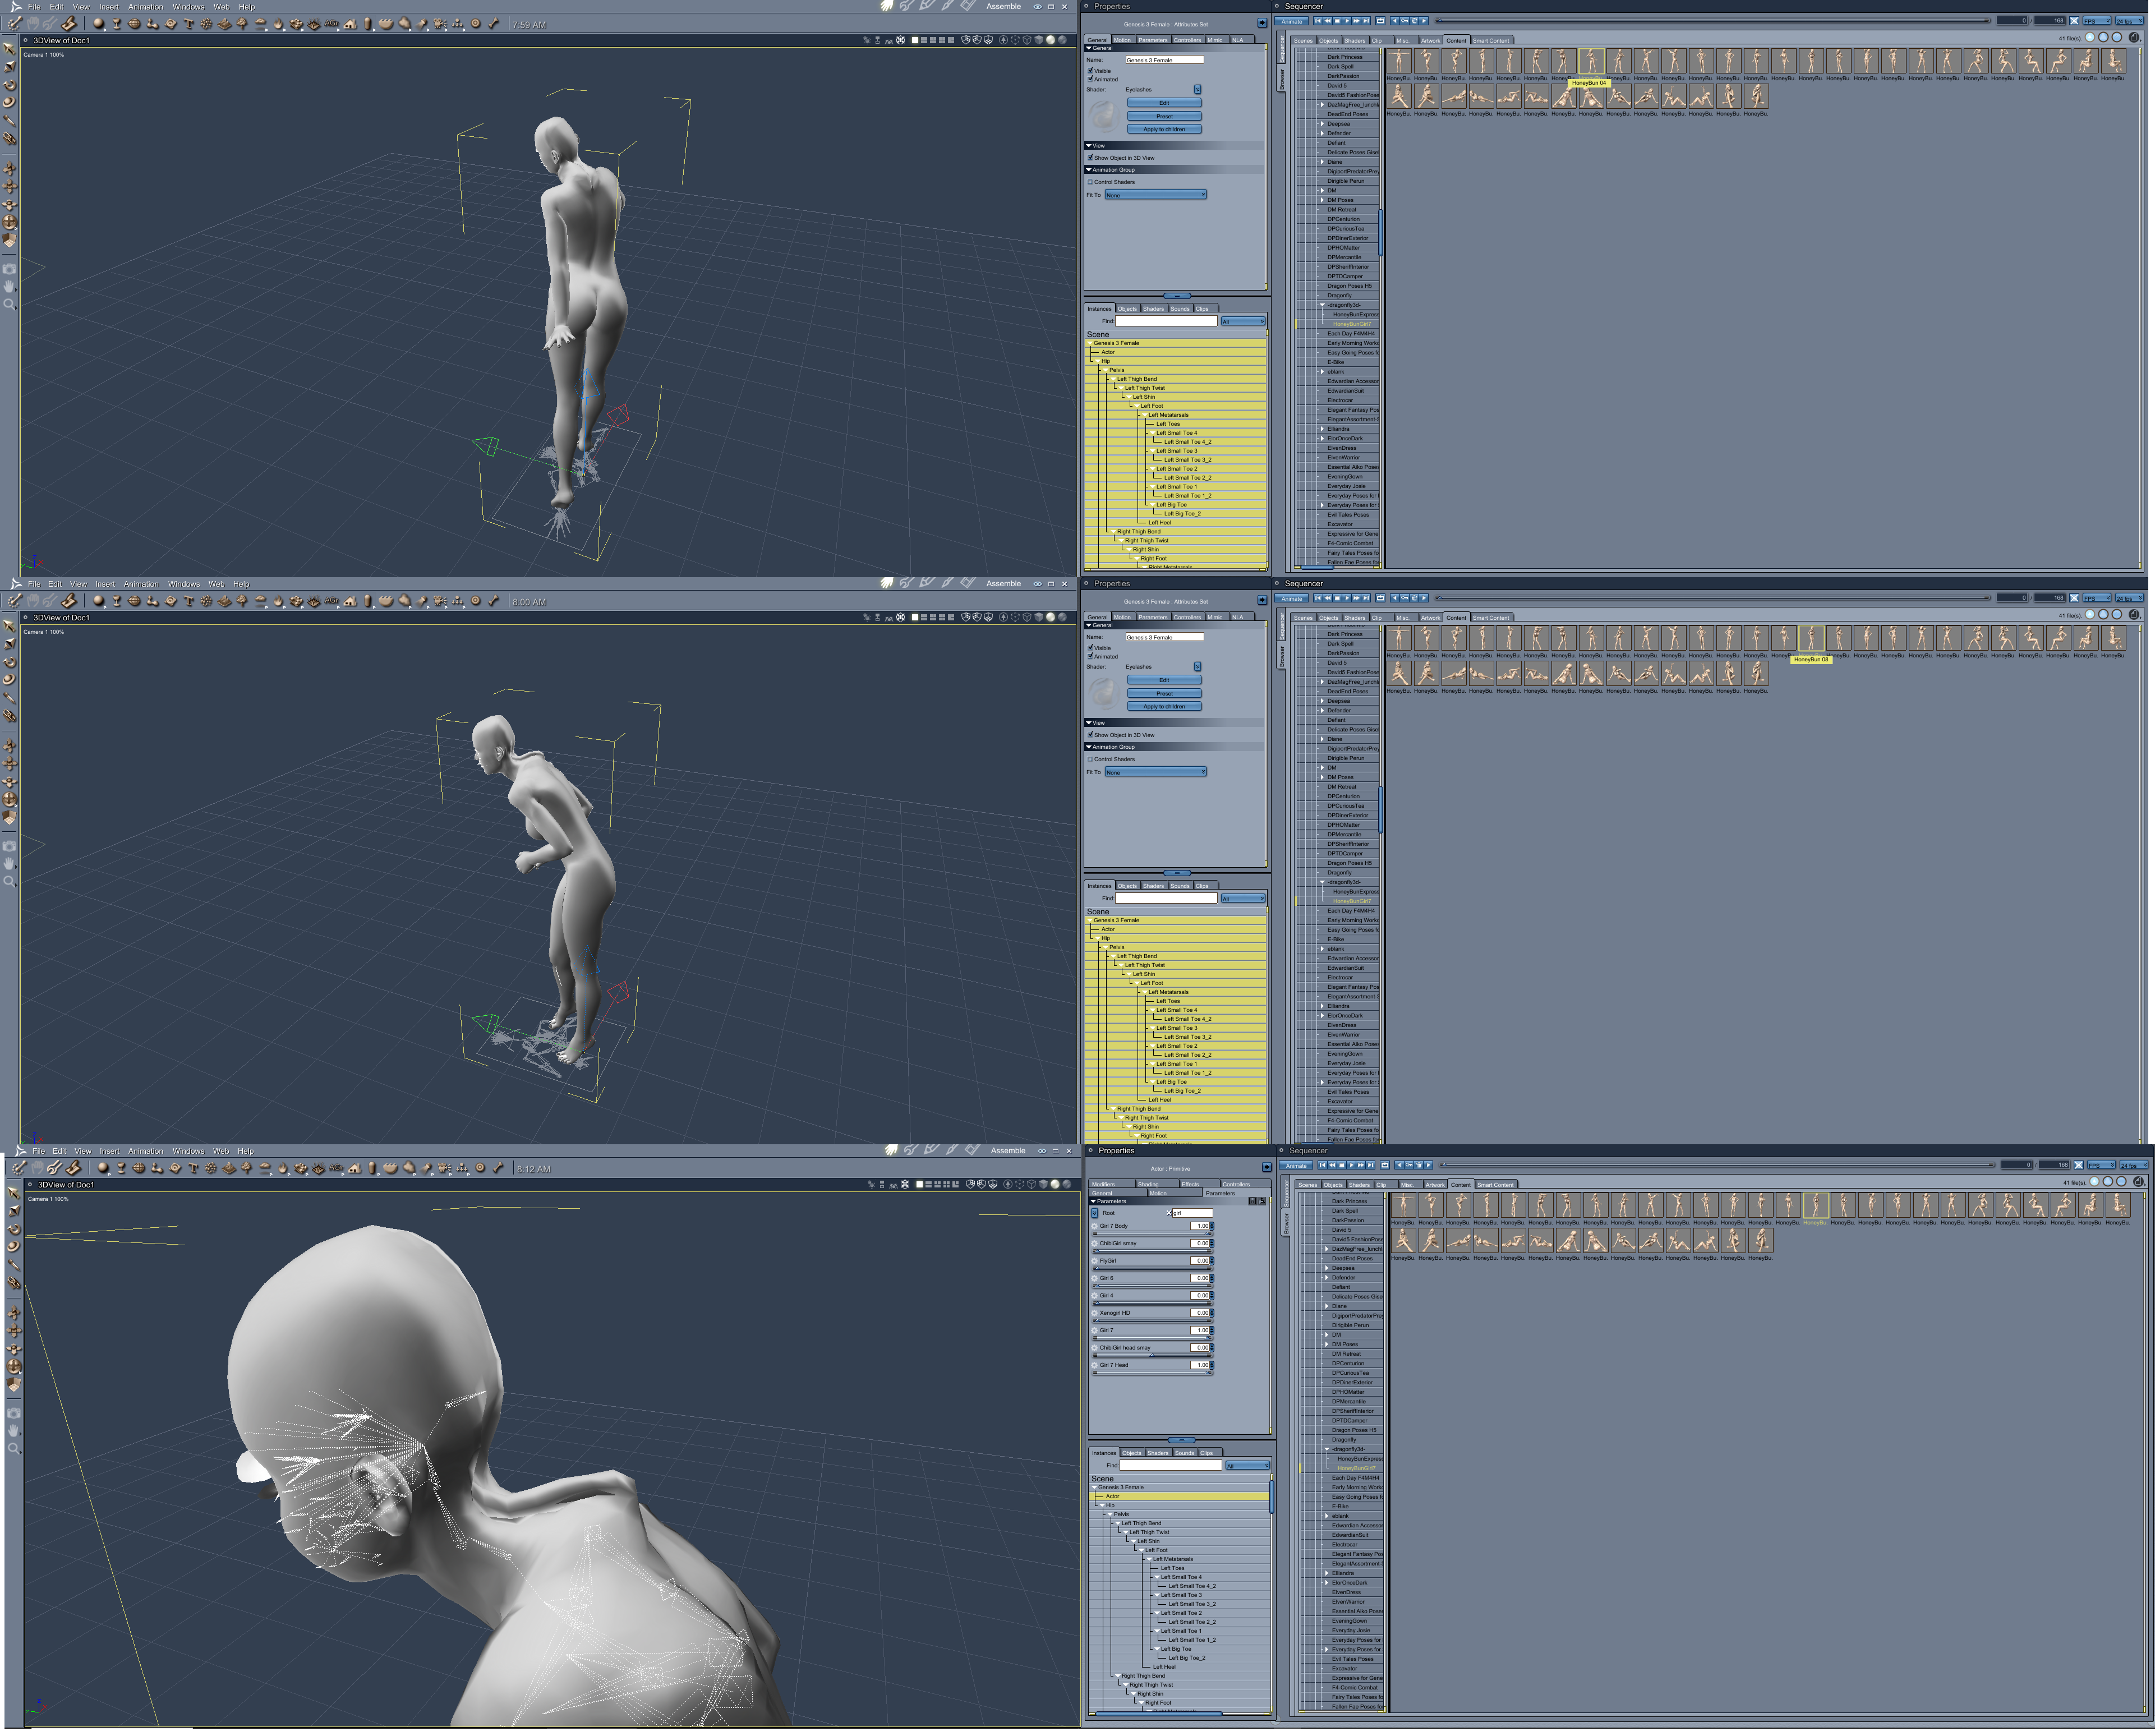
Tried a few different poses as well as the Girl 7 morph, issue affecting all
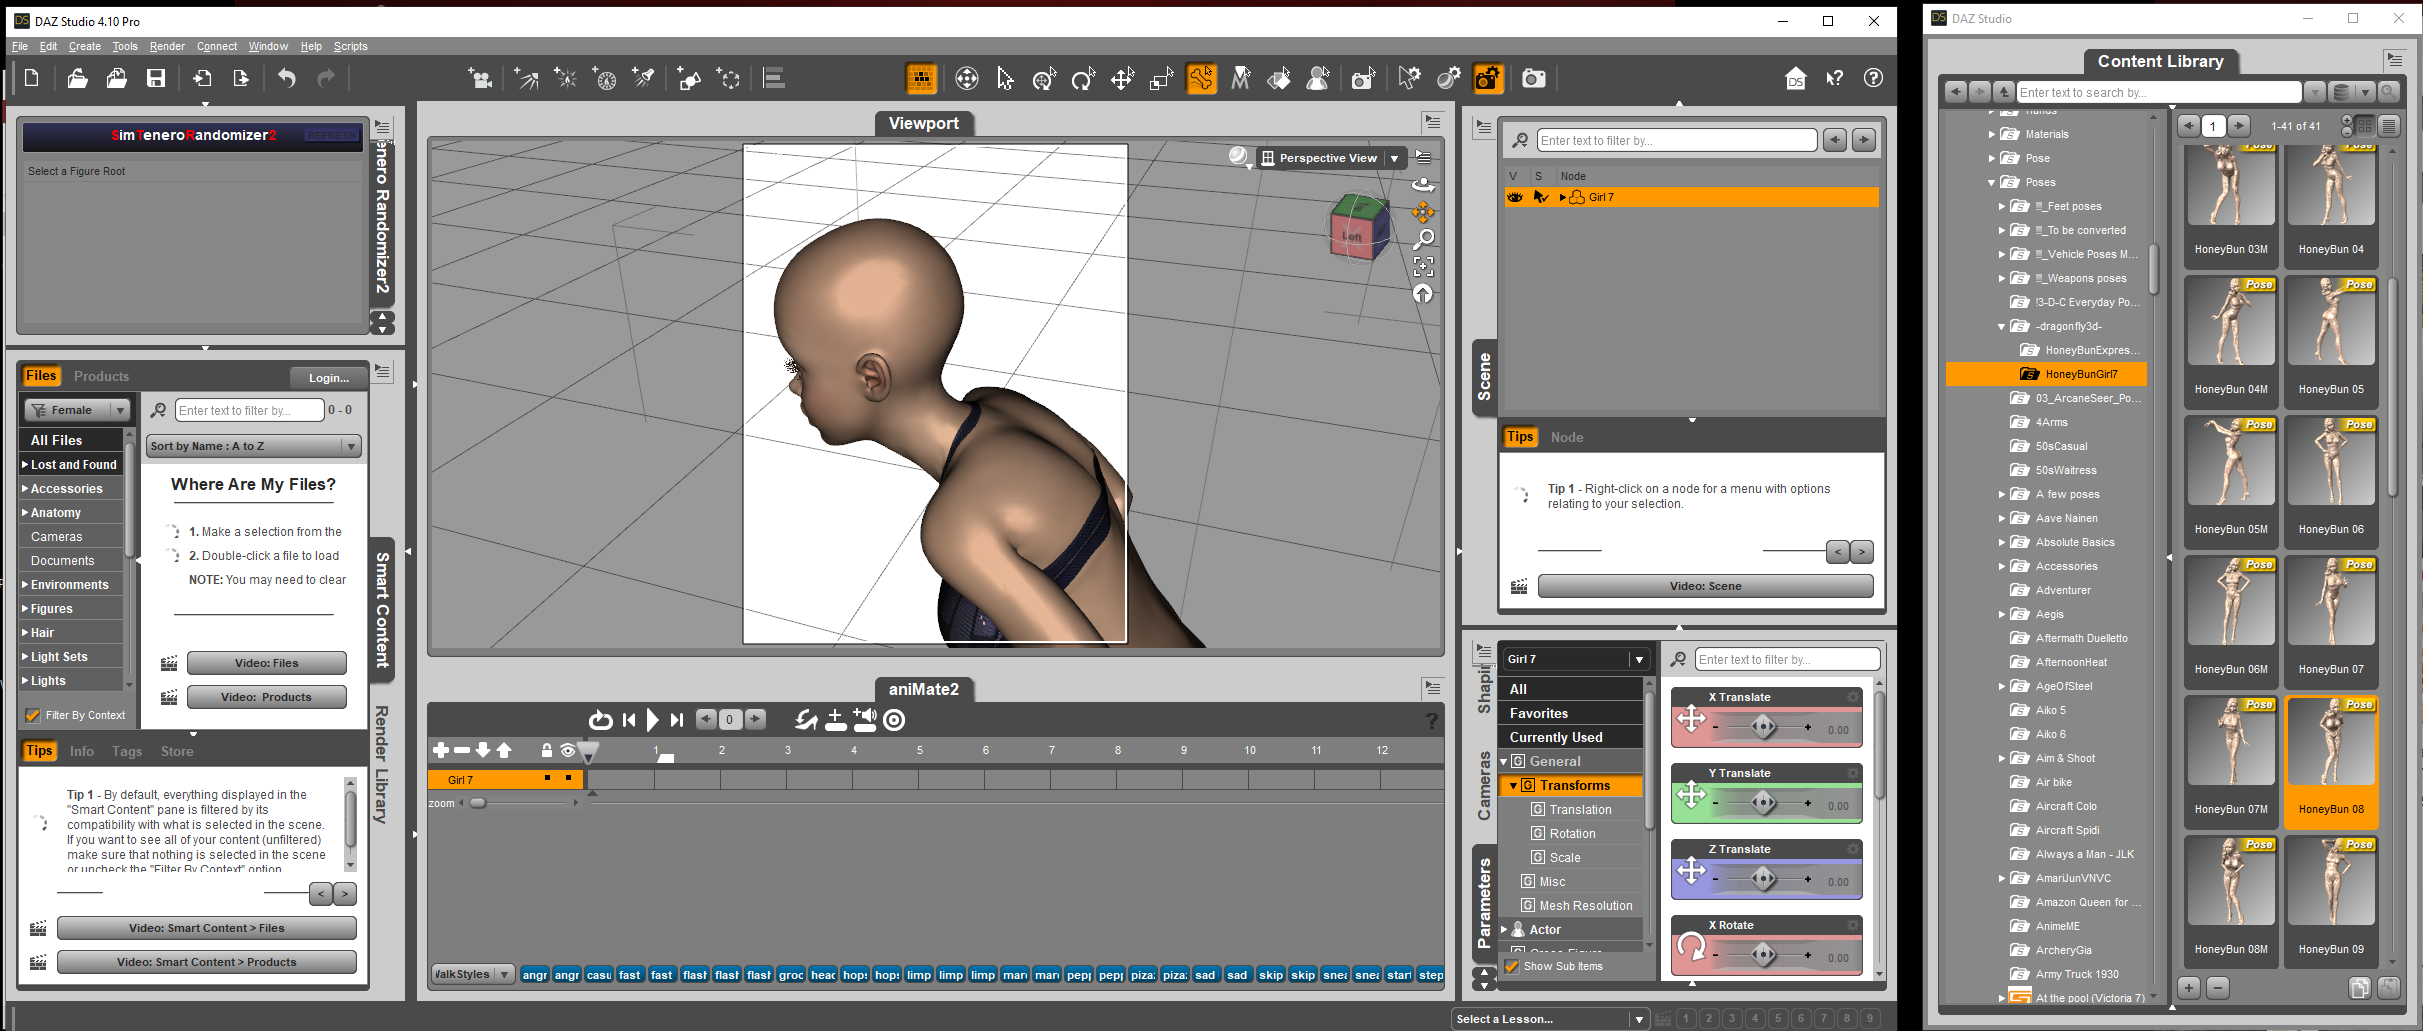
All okay in DAZ Studio
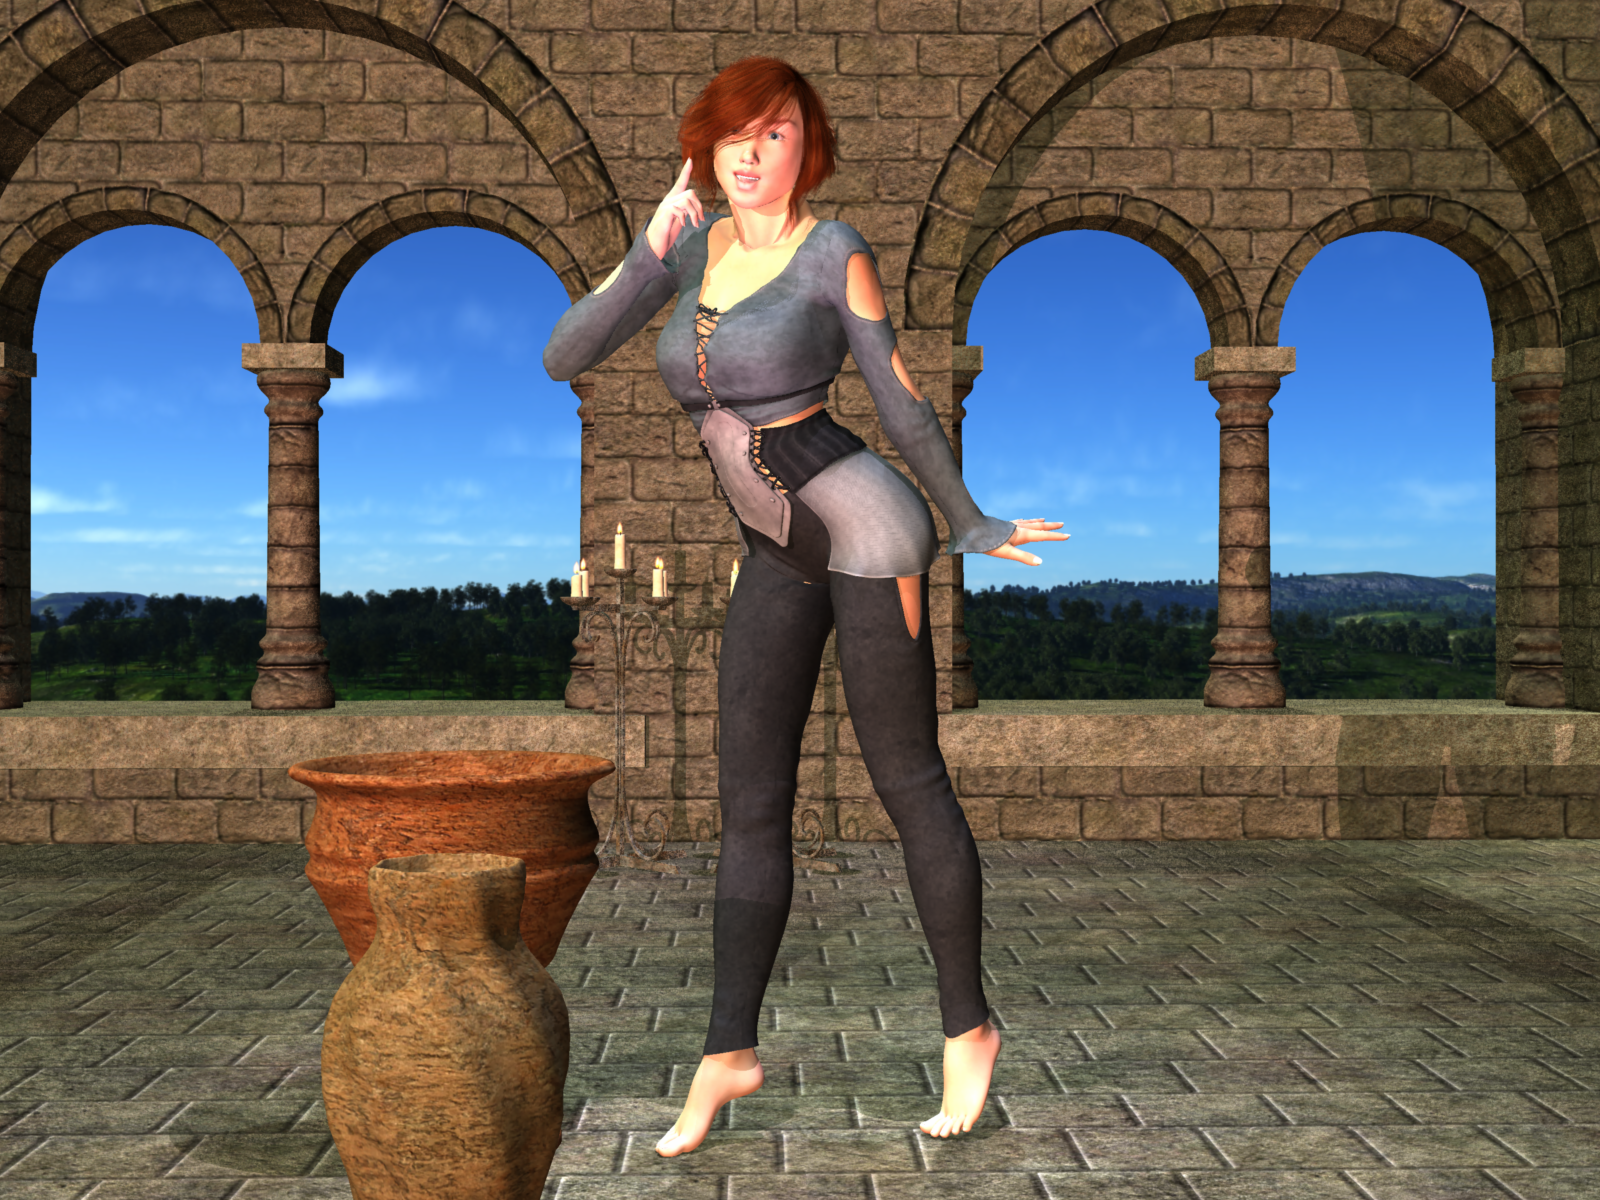
Render from front on
Carrara freebie/sale render and discussion threadhttps://www.daz3d.com/aneta-for-victoria-6
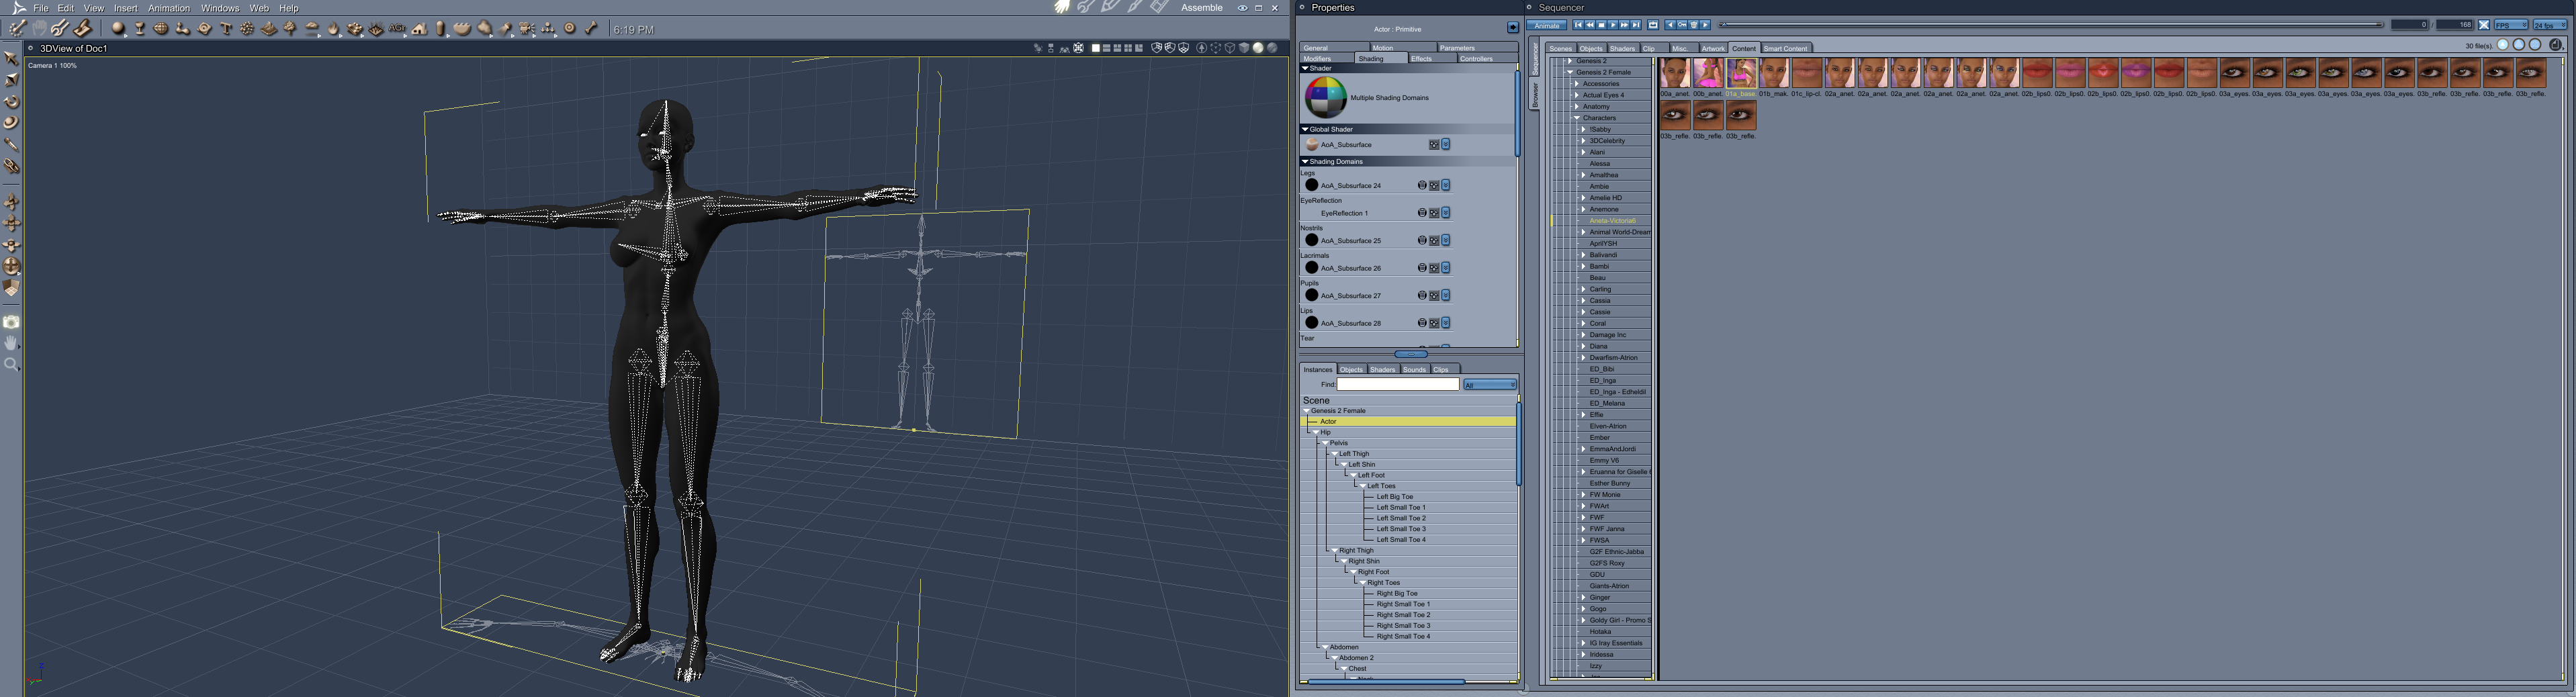
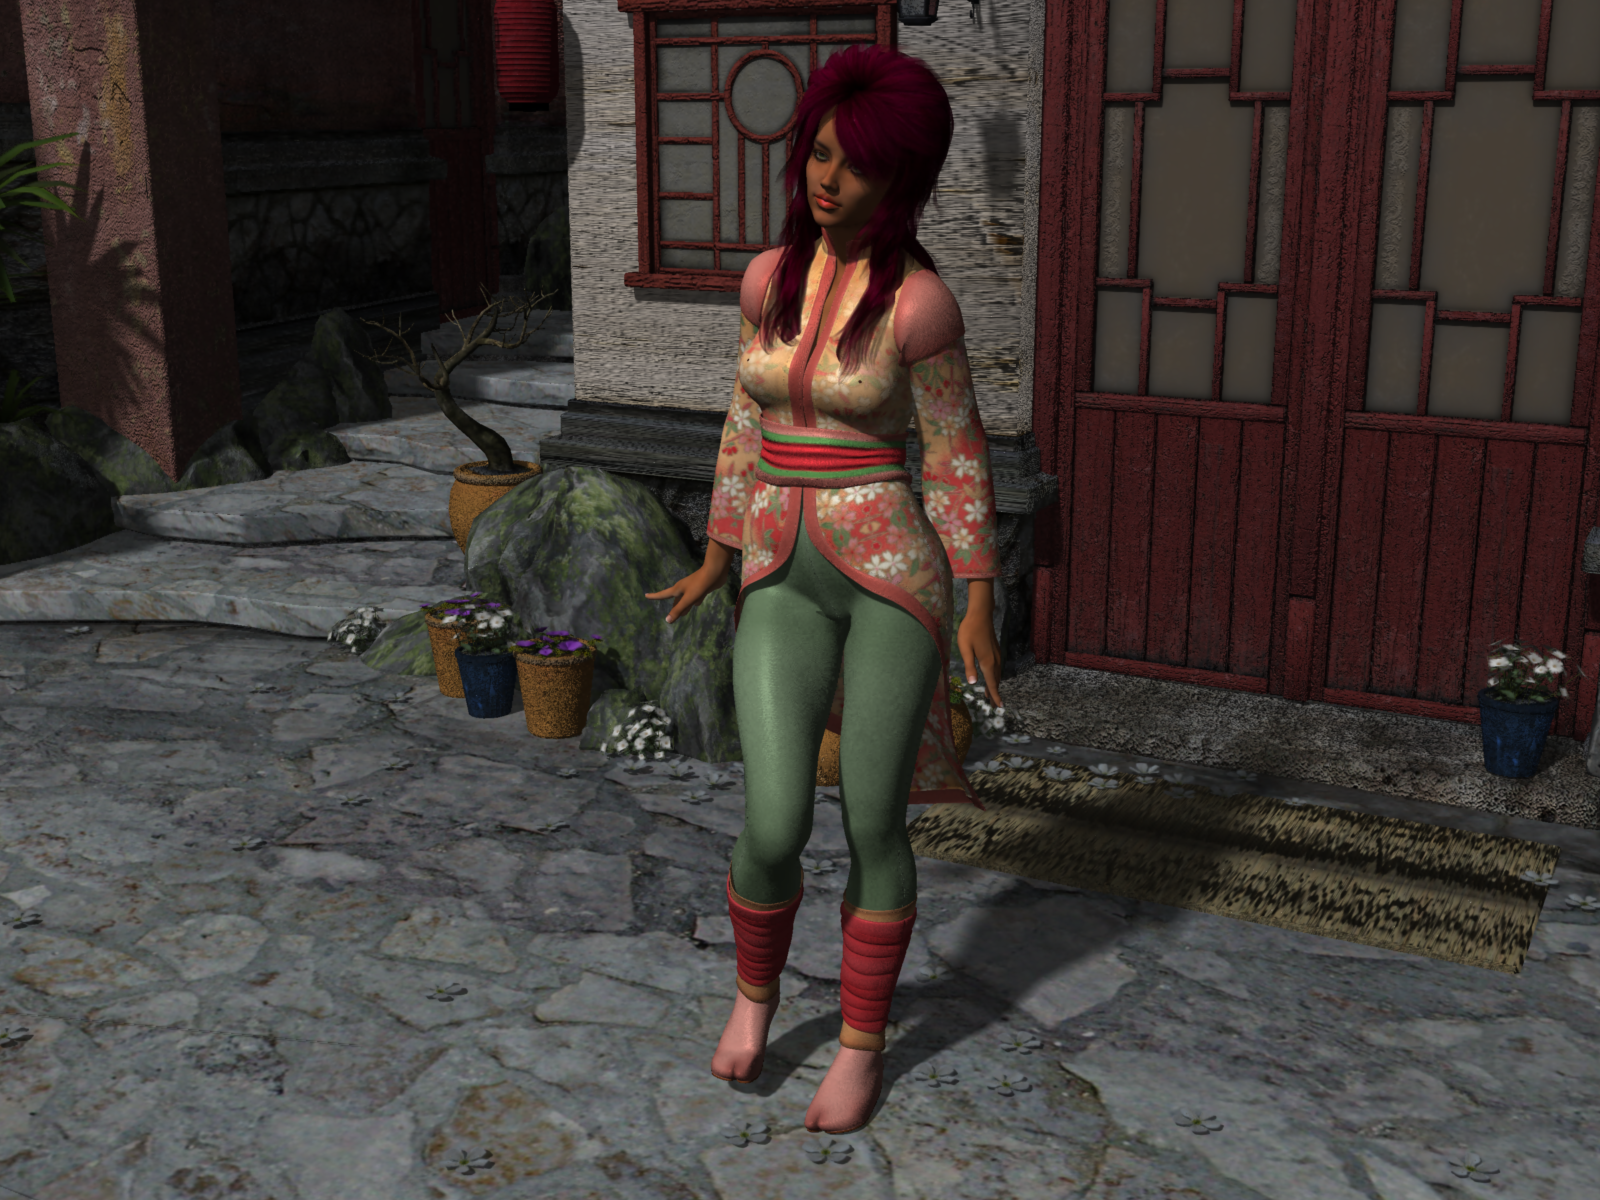
Problem with the MAT pose - is AoA shaders all black - added texture maps manually
https://www.daz3d.com/ninja-chan-for-genesis-2-female-s
 Embedding morphs in Duff File ( 2 of the worst nuisances in daz for me)
1 - Might be related to my illiteracy and that's the issue of fireflies in Iray render. They always creep in even if i use the light coming with the set with vendors like DM. I shall be fixing or changing a lot o things in the post work but not something like this. Especially when they appear in some complicated geometric design on ancient monument sort of situation. I have lit up the scene upto the point i can bear but still they appear (so bad for the dark inside me, and what's the point in having those beautiful lights if you can't render a dark and gloomy scene).
Well 1 is pretty much due to my illetracy. Setting Noise Degrain filtering to 3 in Render settings (it's hidden by default) and Noise Degrain Radius to 5 as suggested in the forum did the magic and solved the firefly issues in my initial testing without any noticeable loss. I still stick with my point 2 (for personal use daz should offera solution to move the morph to some duf/inj file , and save us from the nightmare of putting back the required files)
2 (The question) it's also one of the reason for morph id collissions

This is about Daz choise regarding preloading or reading figure morphs, so as your library grow genesis figures start loading in centuries. Can be useful for someone creating a face etc. where he has all morphs available and can be doing stuff on it. But what about 1 gazillion other cases where someone want a simple render. Riversoft or someone did create a utility that basically change name of the morphs to avoid loading which is sort of dirty hack. I didn't buy it because i have already done the heavy lifting of taking all morphs out of the system in similar structure and puts only those i need. But it's still not a good hack.
So after this whole [rigmarole] actual question
Is there a simple way I can embed the morphs in the duf files (like good old days of Inj files). I did saw an example in some character by Rhiannon i bought from renderosity (Genesis 2 character) but the issue was I couldn't take it out. So i had to remove that figure and reload. So any form of Inj/rem pose possible (with morph embeded). The question is regarding all figures. I mean let's say I trace victoria 8 face morph and embed it in my pose file and remove it from data folder and it will appear as Victoria 8 and when reset it to 0 its effect zeroed out.
Best regards .and thanks a lot if your were patient enough to read till this point
 Lawrence 9 HD
This character is on par with Victoria 9, Angela 8, Michael 9, so that's a big win. I really want the Megabundle in this case but will have to settle for buying the pieces on a piecemeal basis. I think I will go for that Battleship Lobster for starters. It's stupendous.
Let's appreciate/discuss today's new releases - ongoing threadAllenArt said:
caravelle said:
Hylas said:
https://www.daz3d.com/nahuel-for-genesis-9-hd
Ohhhh... he's a babe.
As someone who's now definitely decided to skip G9, I'll just have to content myself with longingly gazing at him

Well. He reminds me a lot of a Genesis 8 base figure that was also supposed to be from South America. Or was it Mexico? Anyway, the Latin Americans at Daz are all Spanish or otherwise white anyway.... I'm not blown away by him.
Yanno, you're right. I'd love to see a proper Latin American with Native American features. The only character I have that really does is Benita for G8F.
I agree with you. I would have preferred to see one of the many different Native American types of Latin America.
AIUTO...CHI CONOSCE L’ITALIANO? PARTE TREDICImagaremoto said:
genesis versatile ma non duttile, vista la poca compatibilità tra le diverse versioni
Ragazzo, io uso abiti di Victoria (la prima, eh!) su Genesis1 e abiti per G8 e G9, sempre su G1.
Senza grossi magheggi, basta un piccolo convertitore che costa otto dollari e un pochino di correzioni in Silo.Con un paio di trucchetti ho trasferito tutti i moprh per G2, G3, G8 e G8.1 in mio possesso su G1 e vanno alla grande.
Anzi, vista la flessibilità della mesh, anche meglio del originale.Con un piccolo plugin riesco anche ad usare le texture per G2, G3 e G8 su Genesis1...
 certo, devi correggere un paio di seams in Blender ma è un attimo.
Ci vuole solo un pò di pazienza e si fa tutto.
MY Techniques for Gen 9 Glossy Lips- Text Block EditionThe second option is a little more involved, and can only be done on a case-by-case basis, PER MODEL. It is creating a new surface for the lips entirely, using the Geometry editor. You can do this just for your scene, and if you do it for that model, any model loaded in after that will have the new surface applied to them as well, JUST IN THAT SCENE, and provided you didn't save the scene and close DAZ. If you like what you have done for that model, or any other models, you can save them as a CHARACTER PRESET, and they will have that new surface. You can just merge them into the scene, or load them like a new character after that. One of the biggest drawbacks to this method is that the model will have a razor sharp outline of their lips that can't be blended like a mask can. I actually like that (for the most part), but lots of people like a much more subtle and natural look to their models... so...
The first step of method 2 is to load in your model, open their mouth (it will make the next steps easier, trust me) and with the model selected, go to TOOLS, and select GEOMETRY EDITOR. Default settings of the GEOMETRY EDITOR should be set to SURFACE SELECTION, and DRAG as the method of selection. If not, you can open up the TOOL SETTINGS tab and change it to surface selection, and RIGHT CLICK anywhere in your scene to bring up a floating menu. Hover over SELECTION MODE, then click on DRAG. Next, you want to change your DRAW STYLE to WIRE TEXTURE SHADED. This will show you the polygons of your model, while also showing you their textures, including the lips. You'll know you've selected DRAG when you put the cursor over the model and a little red circle appears and follows your mouse around. Now you want to take your little red circle and start tracing over the area of the lips. Trace over the entire area, and make sure you get under them, and even a little bit into the mouth behind them so you don't have a straight line of lip surface, right in the middle of your model's mouth. Don't worry if you stop in the middle of filling this section in! If you stopped and want to continue, JUST HOLD DOWN CTRL WHILE YOU FILL IN THE REST! It will fill in the other stuff and leave what you have already done. If you goof up and select something you didn't want to, JUST HOLD DOWN ALT WHILE YOU TRACE OVER YOUR MISTAKE! It will leave what you wanted to do alone. Just make sure you hold down CTRL afterwards while filling in the rest.
Once you have what you want to be shiny filled in, RIGHT CLICK again and select GEOMETRY ASSIGNMENT. Click **CREATE SURFACE FROM SELECTED***. Name it "Lips". This will create an entirely new surface in your model's SURFACEs. ***EDIT: IMPORTANT*** Forgot to mention that if your model is using PBR materials, you will need to apply the default PBR SKIN material before you can copy the HEAD Surface, and paste it on the lips! Select your new LIPS surface, then click on PRESETS. Go to the IRAY category, and open it up. Go down to the SKIN category and select DAZ IRAY PBR SKIN, and apply it to the LIPS. Alternately, you may have to apply the basic IRAY shader to the new lips surface on some models who use UBER for their texture before you can copy the HEAD material to the new LIPS surface. You'll know you need to do this step if you copy the HEAD surface, apply it to the LIPS, and nothing happens, OR when you try to view your model in the IRAY draw mode and their lips look completely different than the rest of their body. If this happens, simply go to the other skin or surface material, and apply them, THEN copy the HEAD surface over to the LIPS.***END OF EDIT*** RIGHT CLICK the HEAD surface tab and COPY SELECTED SURFACE. Then, RIGHT CLICK your new LIPS surface and select PASTE TO SELECTED SURFACE. This will give your model a surface that matches the rest of their body... for the most part... I'll explain in the drawbacks to this method. After you have created the new surface, and have your HEAD material pasted on, you can go ahead and fiddle with the settings of your new LIPS surface how you want. If your model has PBR shaders available, you can even do method 1 on top of method 2, if you want! The added benefit to creating a new surface is that now you can also dial in the other parameters like normal and detail maps to give a smoother, shinier appearance just like Linda Carter or Erin Grey from the old 70's and 80's TV shows! PANCAKE THAT GLOSS ON!
Also, if your model's lips still seem a little too light, you can just use the BASE COLOR's color selection box to move the base color from white to something darker within pure white and dead black.
I want to point out some potentially serious drawbacks to this method, especially if you are a nitpicker. The first drawback is the one I already pointed out. The outline around your model's mouth will have a razor's edge. If you want to keep the natural color of your model's lips, it isn't that serious. Meaning the blend of the surfaces that came with the model will somewhat help cover that up, especially if you don't go too extreme with the glossy look. The second you add color to the lips, it can seem pretty unnatural. I happen to like this look at times, so its not that important to me, for the most part, but I know lots of people don't care for it.
Speaking of hard lines, the second drawback will be another set of hard lines INSIDE the mouth, too. Its as bad as GEN 8 makeup on its LIPS surface, if you have ever experienced makeup with GEN 8. Its very noticeable on closeups when your model has an open mouth and direct lighting. I've kind of gotten used to it by now after years of working with the older models, but some combinations can make the hard lines pretty obvious, and that doesn't look great, even to me.
The third drawback is that if you want to change your new LIPS surface to a color that the PA provides as part of the models texture options, you can apply the LAYERED surface to the model as usual, but you will have to re-copy the HEAD surface and apply it to the new LIPS surface. It literally takes seconds to do, but, some people may not want to do that all the time, cause you have to readjust the new surface all over again. I also haven't tried this with MATERIAL surface options yet, so I don't know how that works, but the LAYERED makeup will work just fine, because it alters the entire HEAD surface by drawing directly, within the program and for this scene, onto the image used for the HEAD surface with a LIE image. Thus, copying the HEAD surface again and applying it to the new LIPS surface will color in the new LIPS surface too!
And the last and largest of the drawbacks to this method is it has to be done to every model, individually. Again, you can save your altered model by saving it as a CHARACTER PRESET and use it later, but if you don't, you'll have to do this all over again the next time you use that model in a different scene!
That's it, I think... I THINK... If anyone has anything to add or share that would make this easier, or has a better way of doing it, please add it here. I'll add pics of the surface area I converted with the GEOMETRY EDITOR, and some examples of what it looks like. I used 3 models; original Gen 9 female, Victoria 9, and Alba (gen 9) from the ridiculously talented Mousso, using the UBER shaded textures for contrast. Alba was set to render at SubD 3 by default, so that's what I kept it as. OG 9 and Vic 9 are rendered at SubD 4. All the renders were done with RENDER QUALITY set to 10, and PIXEL FILTER set to 1.1. Lighting is default 512 for the stock HDRI and convergence set for 99.9. Nothing else was changed from default, other than making sure I set the sampling high enough to give a clear picture.
Please keep in mind that these posts may have some errors I don't know about. If anyone DOES read this and finds them, correct me immediately. If I've posted something that goes against TOS, correct me immediately.
1st 2 images are the area I selected for method 2. I also attached the results of both methods, and the color alteration for the LAYERED lipstick for Alba (the redder lips on her).
* Closed * RRRR - "Back from the dead" Render ContestPull #4
72 Woodland Realm Playset One (SKU 1602)
392 Interiors The Empty Room (SKU 392)
1179 Victoria 8 (SKU 43673)
1314 iRadiance HDR Resources - Country Pasture (SKU 50605This seems benign... maybe...
Random numbers generated Apr 19 2023 at 19:39:13 by psychicscience.org
Free educational resources for parapsychology and psychical research.Daz 3D is part of

Connect
DAZ Productions, Inc.
7533 S Center View Ct #4664
West Jordan, UT 84084Licensing Agreement | Terms of Service | Privacy Policy | EULA
© 2026 Daz Productions Inc. All Rights Reserved.