How to make the Window glass surface transparent
 Halcon Bluesky
Posts: 703
Halcon Bluesky
Posts: 703
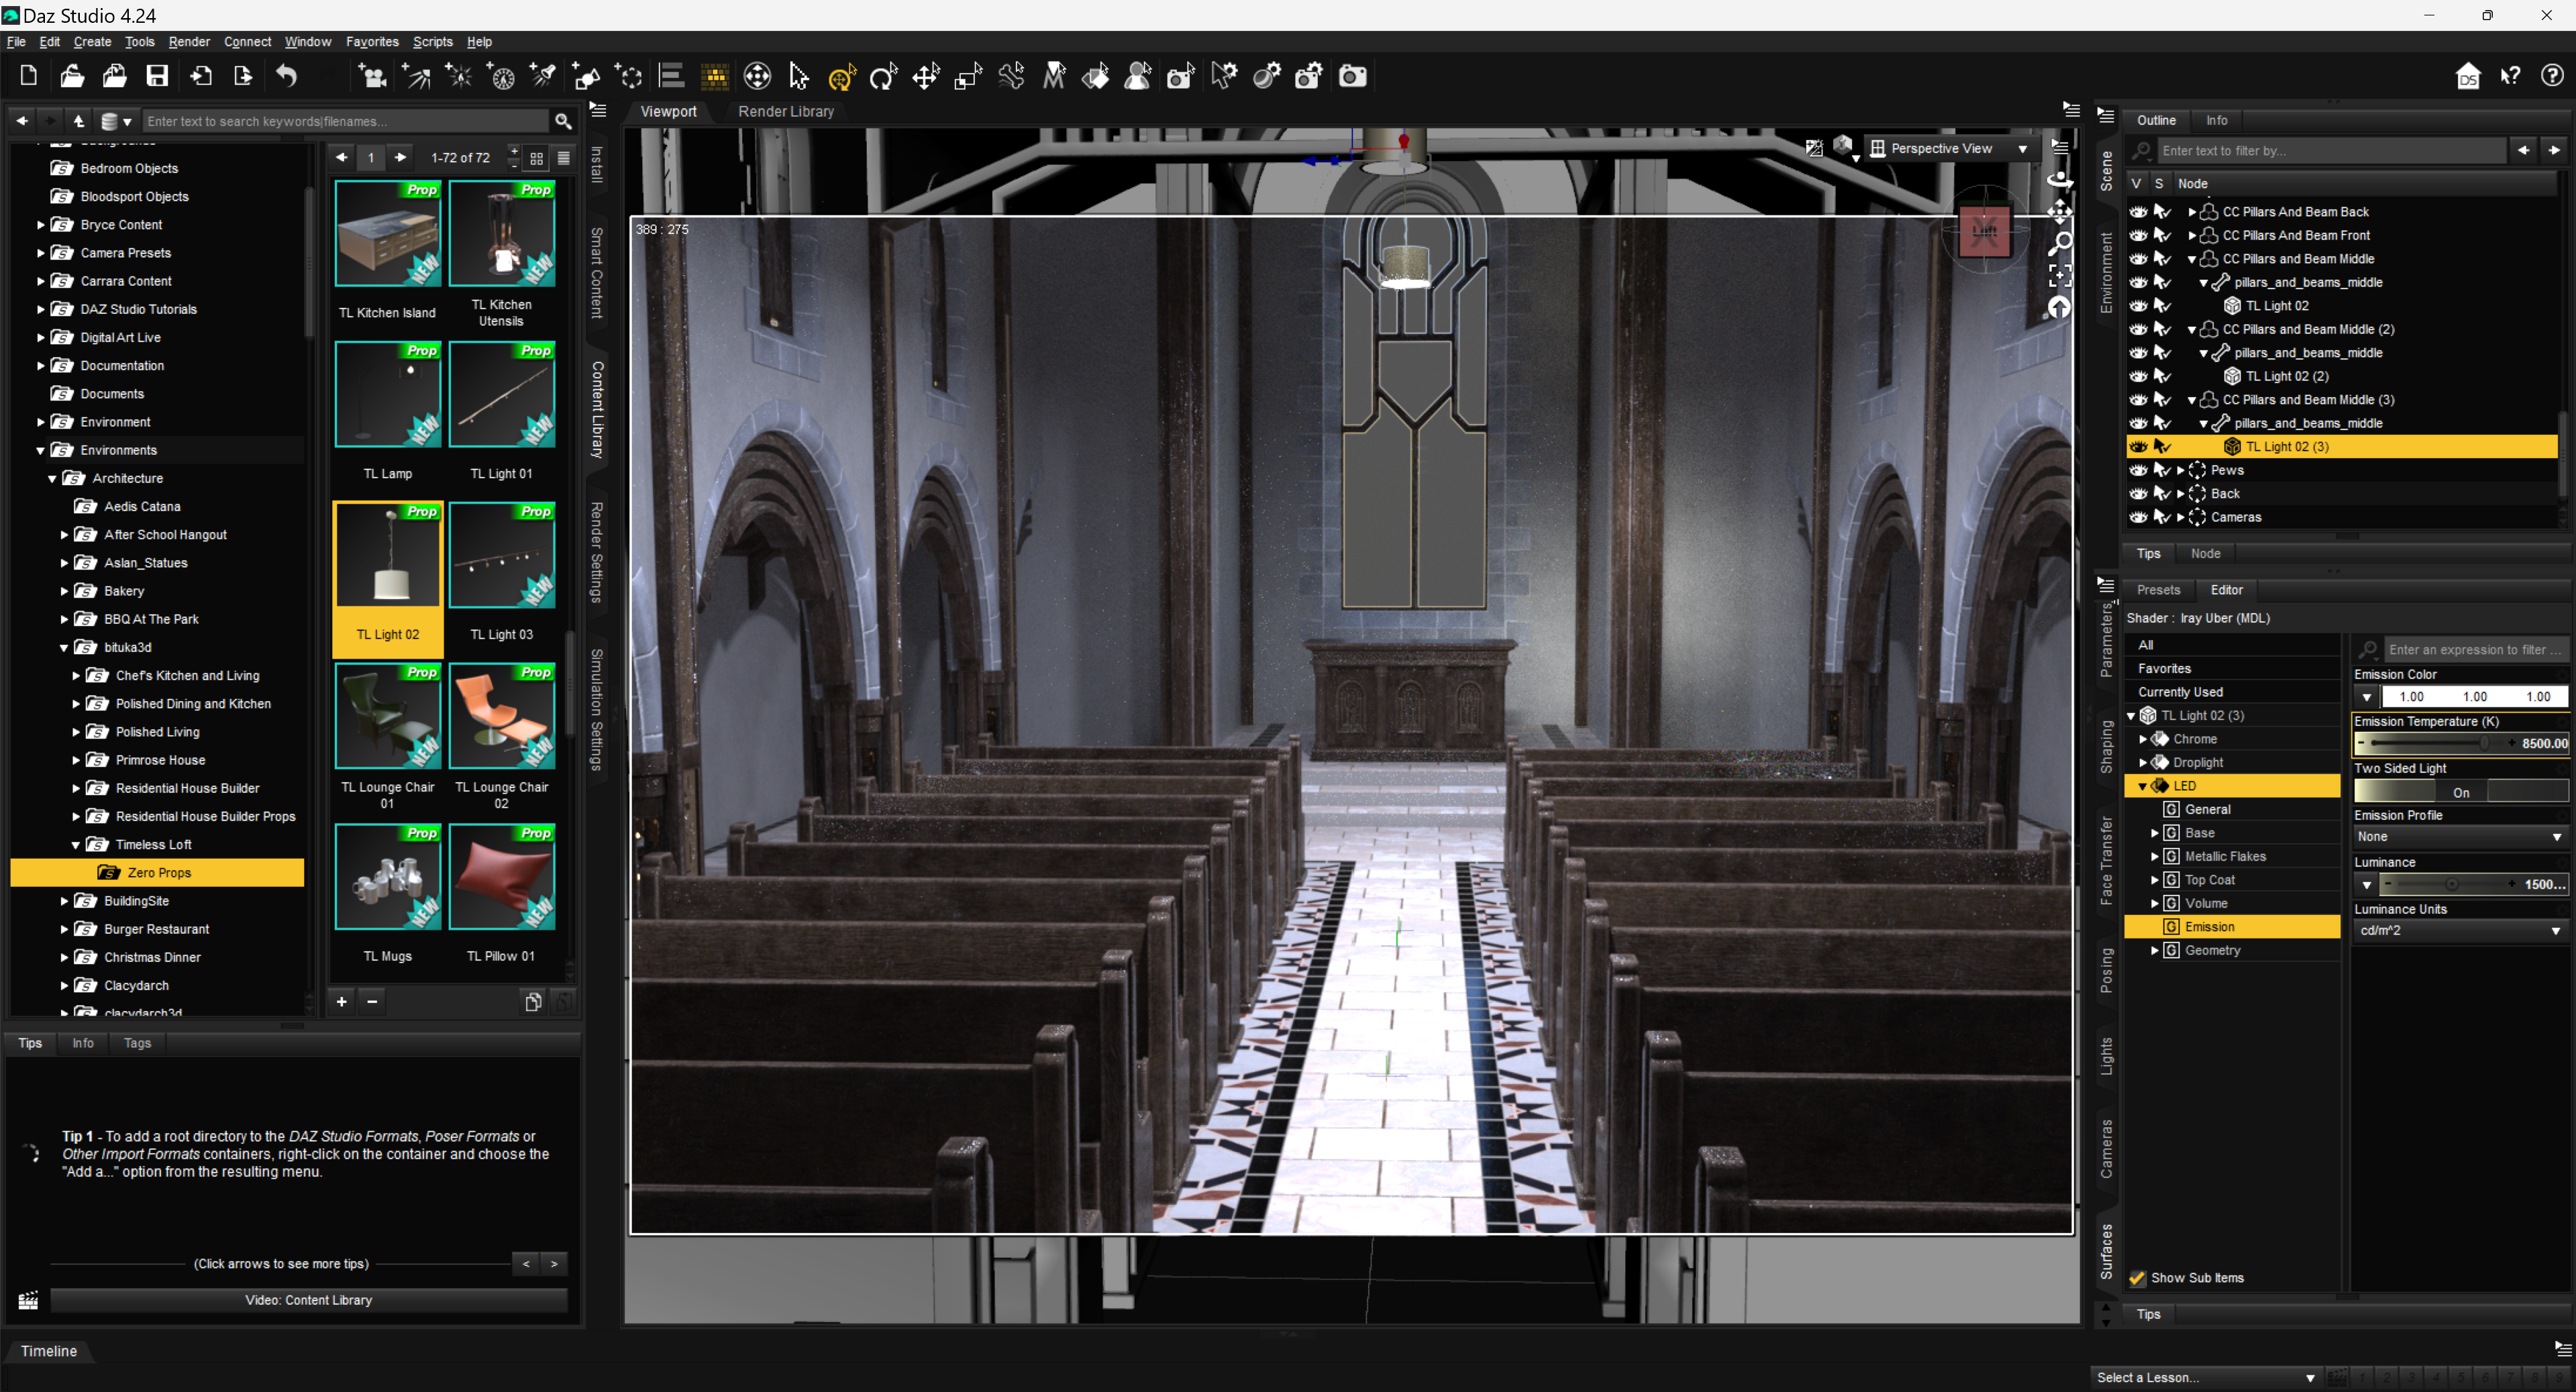
Hello, I got this environment for my next task.
At least, this one has structures near the ceiling to hold some Lighting props.
Unlike the Romanesque Chapel https://www.daz3d.com/romanesque-chapel, which I had asked for help in this thread https://www.daz3d.com/forums/discussion/739531/i-am-looking-for-a-construction-beam-prop#latest where the lack for some structures to hold the lighting are missing, and I wanted to add something similar like the below environment.
The Cornerstone Church https://www.daz3d.com/cornerstone-church available in the store.
It consist of a Day and Night scene.
You will notice the difference, as I added some props that give more lighting.
I have an issue.
The night scene (it can happen with the Day scene as well), I want to add a background to be seen through the window.
The glass is not transparent, any ideas how to make it transparent surface?
Your help is appreciated, thanks beforehand.
Daz 3D is part of 
Connect
DAZ Productions, Inc.
7533 S Center View Ct #4664
West Jordan, UT 84084
Licensing Agreement | Terms of Service | Privacy Policy | EULA
© 2026 Daz Productions Inc. All Rights Reserved.
Comments
If the window has its own surface, then you can just apply a glass shader to it.
Be aware that 'thin walled' property in Surface settings should be 'yes'.
You can hit Alt Shift + M to switch to Surface Selection tool. Go to Surfaces pane, then hover the mouse cursor to that window glass, and select it. You should be able to have the glass surface selected.
Check if Refraction Weight is set to 1.0... If it is, it's just transparent. If it's not, set it to 0. (To test it, you can simply place whatever a Prop near the outer side of the glass, you should be able to see it thru...)
Then add an HDRI or whatever a background image that you like ~~
If you do not want a refraction effect, you can set "Cutout Opacity" to zero.
Or just change refractive index to 1.
"Cutout Opacity" = 0 or "Refractive Index" = 1 - Same end result, but I wonder which method would be more efficient. Maybe a DAZ Technocrat can tell us?
Not exactly the same result, because there are more properties to glass than just refraction.
If you set Cutout Oppacity to 0 it will be invisible, which is very different from transparent.
Hello guys, sorry to not have answered to you, because I am working on a project that takes time to get done.
I have tried your suggestions.
felis said to apply a glass shader, it would mean to find any product that may contain a shader for the windows glass
crosswind told me to check for Refraction Weight, I did that, still the window glass looked same.
The Alt, Shift+M keystroke is a cool thing.
nakamuram002 you said to use Cutout Opacity set 0, this worked nice for what I need
Thanks to all of you.
I am still working on that project, the background can't be positioned freely, only stay in one position.
Otherwise it could have been just right when looking through the main window.
To find shaders - at least using the Content Library, a whole bunch can be found under either Shaders or Shader Presets.
Hello Catherine3678ab long time I have not seen you around the forums.
You said there are a lot to be found in the Content Library, wish I could find some.
My project is giving me some headaches.
I laid out the props, the lighting has been tweaked, I have placed some characters, the most irritant part is when the clothes for the ladies are placed, the dress or the skirt is way above.
I have tried to "enlarge it" to cover some area.
The poses are Genesis 8, converted to Genesis 9.
If using Push Modifier, it will look unnatural.
I have tried Mesh Grabber (Win) I do not have experience how I can work with it to pull down a bit the women clothing iin the seated position.
As you can imagine, this situation is kind of tedious.
I am gonna lose my cool.
Unfortunately I can't smash my computer, because I need it.
I need a wise advice how to do it properly.
I don't understand. I check the glass surface. It is correctly set with Refraction / Abbe / IOR as default. It's crystal clear with transparency ~~
My dear friend crosswind This kind of issue is already gone.
Do you have any experience with Mesh Grabber?
If so, I may create another thread to have more details of what is going on now.
You probably read my entry before yours, regarding with the clothing
Ah, all right, my friend !
I'm pretty good at using Mesh Grabber and/or Geometry Sculptor. Pls take your time to detail the issue you have ~~
Before you get too wound up as to wanting to smash stuff, please take a walk. Even if just around the room, down the hall, around the yard, whatever. Have a snack, take a nap, whatever.
Then let's find some shaders. In the default stuff that came with the program, yes there are shaders but not too much for glass. Checking for Iray shaders I found this one.
Then took a look at a couple of purchased products and found where they are kept.
So in the Content Pane of D/S, one follows the trail of nested folders to reach the desired collection.
https://www.daz3d.com/glassfx--iray-shaders [only $1.99 atm]
https://www.daz3d.com/iray-glass-shaders-for-daz-studio
https://www.daz3d.com/catalogsearch/result?q=iray+glass+shaders oodles available for purchase, some are on sale, some will be one day.
And remember that the results of shader settings are not visible until rendered ;-) I use spot rendering to check.
......................
Also, as you mentioned, yes some products come with shader presets that were made for their items. If using the Content Library to find things, one can copy the loading icon from the display area [right-click option] and paste it into another location, i.e. in a folder under Shader Presets/whatever you name your new folder/ in the display area for loading icons. [right-click option].
To make new folders, before you have copied anything, in the list of folders, select the folder [i.e. Shader Presets], right-click on it and select the option to create a new folder.
Double-check that the proper figure has been selected before adding the clothing items. They should be "landing" where they belong. [assuming they were made correctly of course]
eta:
To pose a skirt for the sitting position, I do not have the grabber tools, I use dForce and the timeline, and of course Hexagon if required.
Clear the scene, load the figure and the skirt/dress, and of course the chair. One can add a dForce modifier to the skirt/dress if one doesn't already exist.
At "0" everything is in the default position. Except the chair, have that pulled back away from the figure so it can be slid into position at "30."
At "30" [at least, maybe a few more steps] the figure is posed to the sitting position on the chair.
Return to "0" and run the dForce simulation. Ideally as the figure goes to sit down, the garment drapes along with it. Might not be perfect but it's usually a good start.
Then I would send the lot over to Hexagon and fix any imperfections of the drape that are of concern for the image.
Then in D/S I would clear the drape from the garment, garment selected, then from Hexagon send the fixed drape back into D/S and make a morph. I would give it an appropriate name so I know what this morph is for. Then dial the morph to "0" and save the morph.
Then clear the scene, load the scene you're working on, when the figure is sitting - select the garment and dial in the morph.
Render the still image.
n.b. If one can use Mesh Grabber on a draped garment, you can certainly use that then instead of Hexagon.
There is a number of glass shaders in default ressources.
You know, I search for "glass" under Iray [in W11] and apparently it had hidden other results. Joys of having poor vision. So I clicked on the option to show more and wow! Yes -- there are more!