Daz 3D is part of 
Connect
DAZ Productions, Inc.
7533 S Center View Ct #4664
West Jordan, UT 84084
Licensing Agreement | Terms of Service | Privacy Policy | EULA
© 2026 Daz Productions Inc. All Rights Reserved.
Comments
Me too. I'm impressed. Now I bang my palm to my forehead: of course, just turning on GI and IL to a scene that has already been lit for another method is not a good test! And I think that may be where people started really disrespecting the feature and warning us all to stay away from GI. I'm really happy and amazed that I have since learned differently - much differently. One thing that I've learned about Carrara, is that all of its many features and functions have their place. It caters to multitudes of styles for creating a look. We are the ones who mess it up when things go sour. Okay... enough on that... I'm gonna go build! :)
Just curious about the cpu you are using or you access a renderfarm?
I have a laptop that is less than a year old, Intel i7 processor at 2.4 GHz which gives me 8 rendering cores, 8 GB RAM. So no slouch, but equally no super computer either by modern standards.
I have a laptop that is less than a year old, Intel i7 processor at 2.4 GHz which gives me 8 rendering cores, 8 GB RAM. So no slouch, but equally no super computer either by modern standards.
My desktop is Intel i7-930 / 6gig (will be 12 this year) / GeForce GTX660 2 gig = 8 rendering cube
My latptop is Intel i7 3537U / 8 gig of ram / intel hd 4000 1.5 gig / 4 rendering cube.
thanks for the Glow and GI I have to try that.
I've built my own workstation simply using PC-Class architecture that is capable of running the eight core AMD Zambezi chip and adequate RAM. So it's like making my own gaming computer, but putting my attention on cpu power over graphics, which I still went with a decent solution, focusing on OpenGL more than anything else. 16GB RAM, but so far this seems to be overkill. I began my Carrara animation endeavors on my Core2Duo laptop with 4GB RAM and a dedicated GT240 card. I just used the batch render feature to render as I slept and worked. So I've taken on a consciousness of keeping my animations optimized for speed. I've done a bit of experimentation on that - and I guess I always will - and can see a clear difference in crisp quality going only a single increment up on the accuracy slider. After making duplicate version of several clips and stitched them together, one of the higher setting and one for the other, and I've ultimately decided to go with Object Accuracy = 2 and Shadow Accuracy = 4, with nothing more than Fast anti-aliasing. Upon making that decision, I then focused my attention on working my shader and lighting techniques to help enhance, and further optimize using those settings. So now with a much faster machine, I have the option of cranking up the detail where it's important to do so, and simply enjoy the night and day difference in speed the rest of the time. But by keeping to this method, for me, I already know that a two core can still get some footage out. So a Quad would blow that away, and still be a fine choice.
For realism via highly detailed resolutions, using high resolution textures, higher quality aa, accuracy, higher lighting output settings and render resolution... you can easily bring a real beast of a machine to its knees. So for high realism animation rendering, I'd start with something like what the Gars-Man built: Dual eight core server-class Monster! Dartan want! :ahhh:
No problem with most of your settings but I'd reduce object accuracy to 0.5 (or maybe 1) for your final render, or you risk missing bits of geometry, especially if you have hair, fine lines or things like that.
Just for fun, here is where I am at with this render. Current render time is 35 secs at this resolution, it will obviously be higher at final render resolution. Character is V4 Lyon (from Danae's Metropolitan Collection).
Don't sell me short there buddy! It's a dual 12-core box. :coolgrin:
Ohhhhh Yeaaaaaah! Twenty Four!!! Yikes!
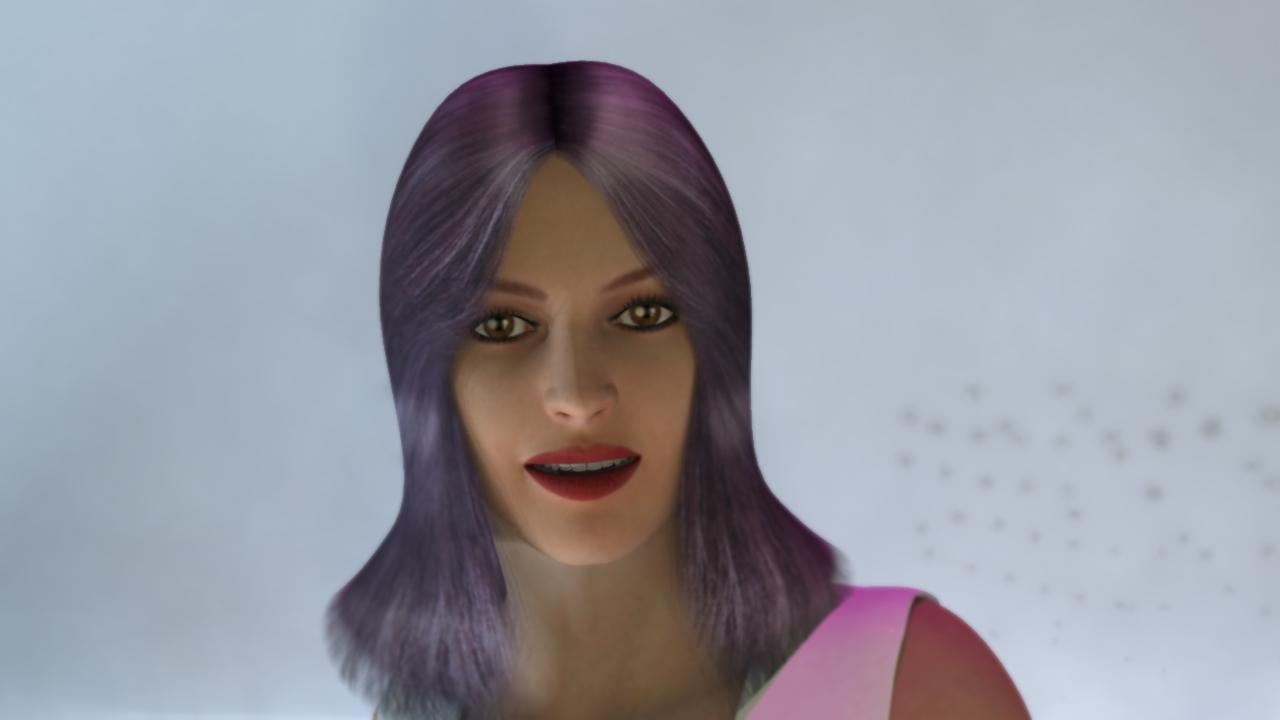
First image below I just tried the silly thing (for fun) of just loading in one of my saved scenes into the file I was using for Rosie above, turned off all of the lights except the glow from the center table and just ran GI/IL with GC=2.2
It took 6 minutes, 46 seconds to render that way.
Second image is the lights back on, no GC, No GI/IL, just the way I originally made the scene to work - just so you see how I lit it my usual way - which is that everything that should emit light gets a light - exception: panels of a bunch of lights, where I'll use only one or two lights to put out a glowing illumination.
It took 16 seconds to render. This is also my favorite of them.
Third image is where I made the ceiling invisible, and turned most of the lights back off, turned on GC, GI/IL and tested it as the bi-gradient was set up as in the above Rosie shots - the brighter version. And the fourth image is with that toned down a bit, and lowered the GI amount.
Both of these took just over thirty seconds to render.
The final image took forty-five seconds, just an bit more playing around with the bi-gradient and added three spots with cone for effect.
I can see that to covert my already prepared scenes, I'll need a whole new philosophy towards illumination, if I was to go with Gamma Correction.
My favs are 1 and 3 of these, I think a combination (so that there is some lighting in the background but the focus is still on the foreground) would be just perfect!
This thread being all about realism, however, I have to agree with you. I was seeing this before my own eyes too - as I've shot many more examples than what I actually saved... but the approach toward linear was showing a lot more realistic results - especially from the indirect lighting. You're right about the accuracy settings. But when I watch animations made using these, I'm fine with them, considering the huge time saving I get in the renders. I think they look great in motion.
Yes, with stuff in motion, the accuracy of individual frames matters less than the overall look, and also the realism of the animation movement itself. After all, individual frames may well show motion blur anyway (if turned on). And render time becomes a much more important consideration!
Here's a really cool experiment, I think, using the same scene.
The first image uses no additional lights except for the two spot lights creating a massive glow from each of the strategy tables. The rest of the illumination comes from glow channels. I think I messed up the earlier experiment because IL wasn't on full, nor was it at 100%. Here we have GI = 100, IL = Full = 100, GC = 2.2
Took some time, but it's being lit by nothing more than glow.
Second image is identical settings except that, while leaving object and shadow accuracy low, I raised lighting accuracy in Global Illumination from 16 down to 1, for much higher lighting accuracy. You can see how the lower accuracies of object and shadow still degrade this image dramatically, which doesn't occur during my older style of lighting.
Another change I made to this image is to add a primitive plane, scale it up to larger than the ceiling and sink it up into the ceiling so that some of the ceiling mesh intersects the plane - creating several large lights in the ceiling, due to a glow channel. Note the green glow on our side of the table? That's from a glowing vertical radar projection just behind the camera. :)
The problem that I see currently is the time it takes to render this. The second image only took 6.06 minutes, but that's a lot comparatively speaking - even though it's still very fast.
Edit:
For comparison, the third image took 11 seconds using my standard way of scene setup - lighting everything - Object Accuracy 2, Shadow 4. No GC, No GI/IL
Some comparisons between GC=2.2 and no GC. Neither are using GI or IL, just scene lights.
I really like the GC ones, but I like how the screens show more contrast in the other. But the thing is, when setting up for use with GC, no matter what level you use, you need to set up your lights (or lack there of) according to that - not the other way around. In other words, use it or don't. If you do, adjust your lights to work with it.
I think this is really the issue. We're so accustomed to work out of linear work flow that we are compensating for that in everything we do (shading, lighting...). So, when going back to it (ie using GC), we have to adapt everything.
For instance, for the screens, if they provide mode light than reflected light (IE, it's a light source), the glow channel should be multiplied over 100%. That way, you would have contrast, even with GC).
The other problem is that Carrara hasn't made the complete step into linear workflow. It does un-gamma some features when shading or lighting, but not all. For instance, you need to un-gamma your background image with an external software if you wish to use it. Same with colours (light colour, hair shader...). In many software, you can see what will be the gamma version of your colour or shading. Not in Carrara.
So either you spend time calculating what would be the un-gamma-d version of the colour (using photoshop or Excel) or it's an trial and error process. Same with light colour and power. So, at first, it doesn't seem a natural way of working. we are not use any more to "What you see is NOT what you get" :-)
But, I'm sure it's worth the effort. I'll try to post an example of my own
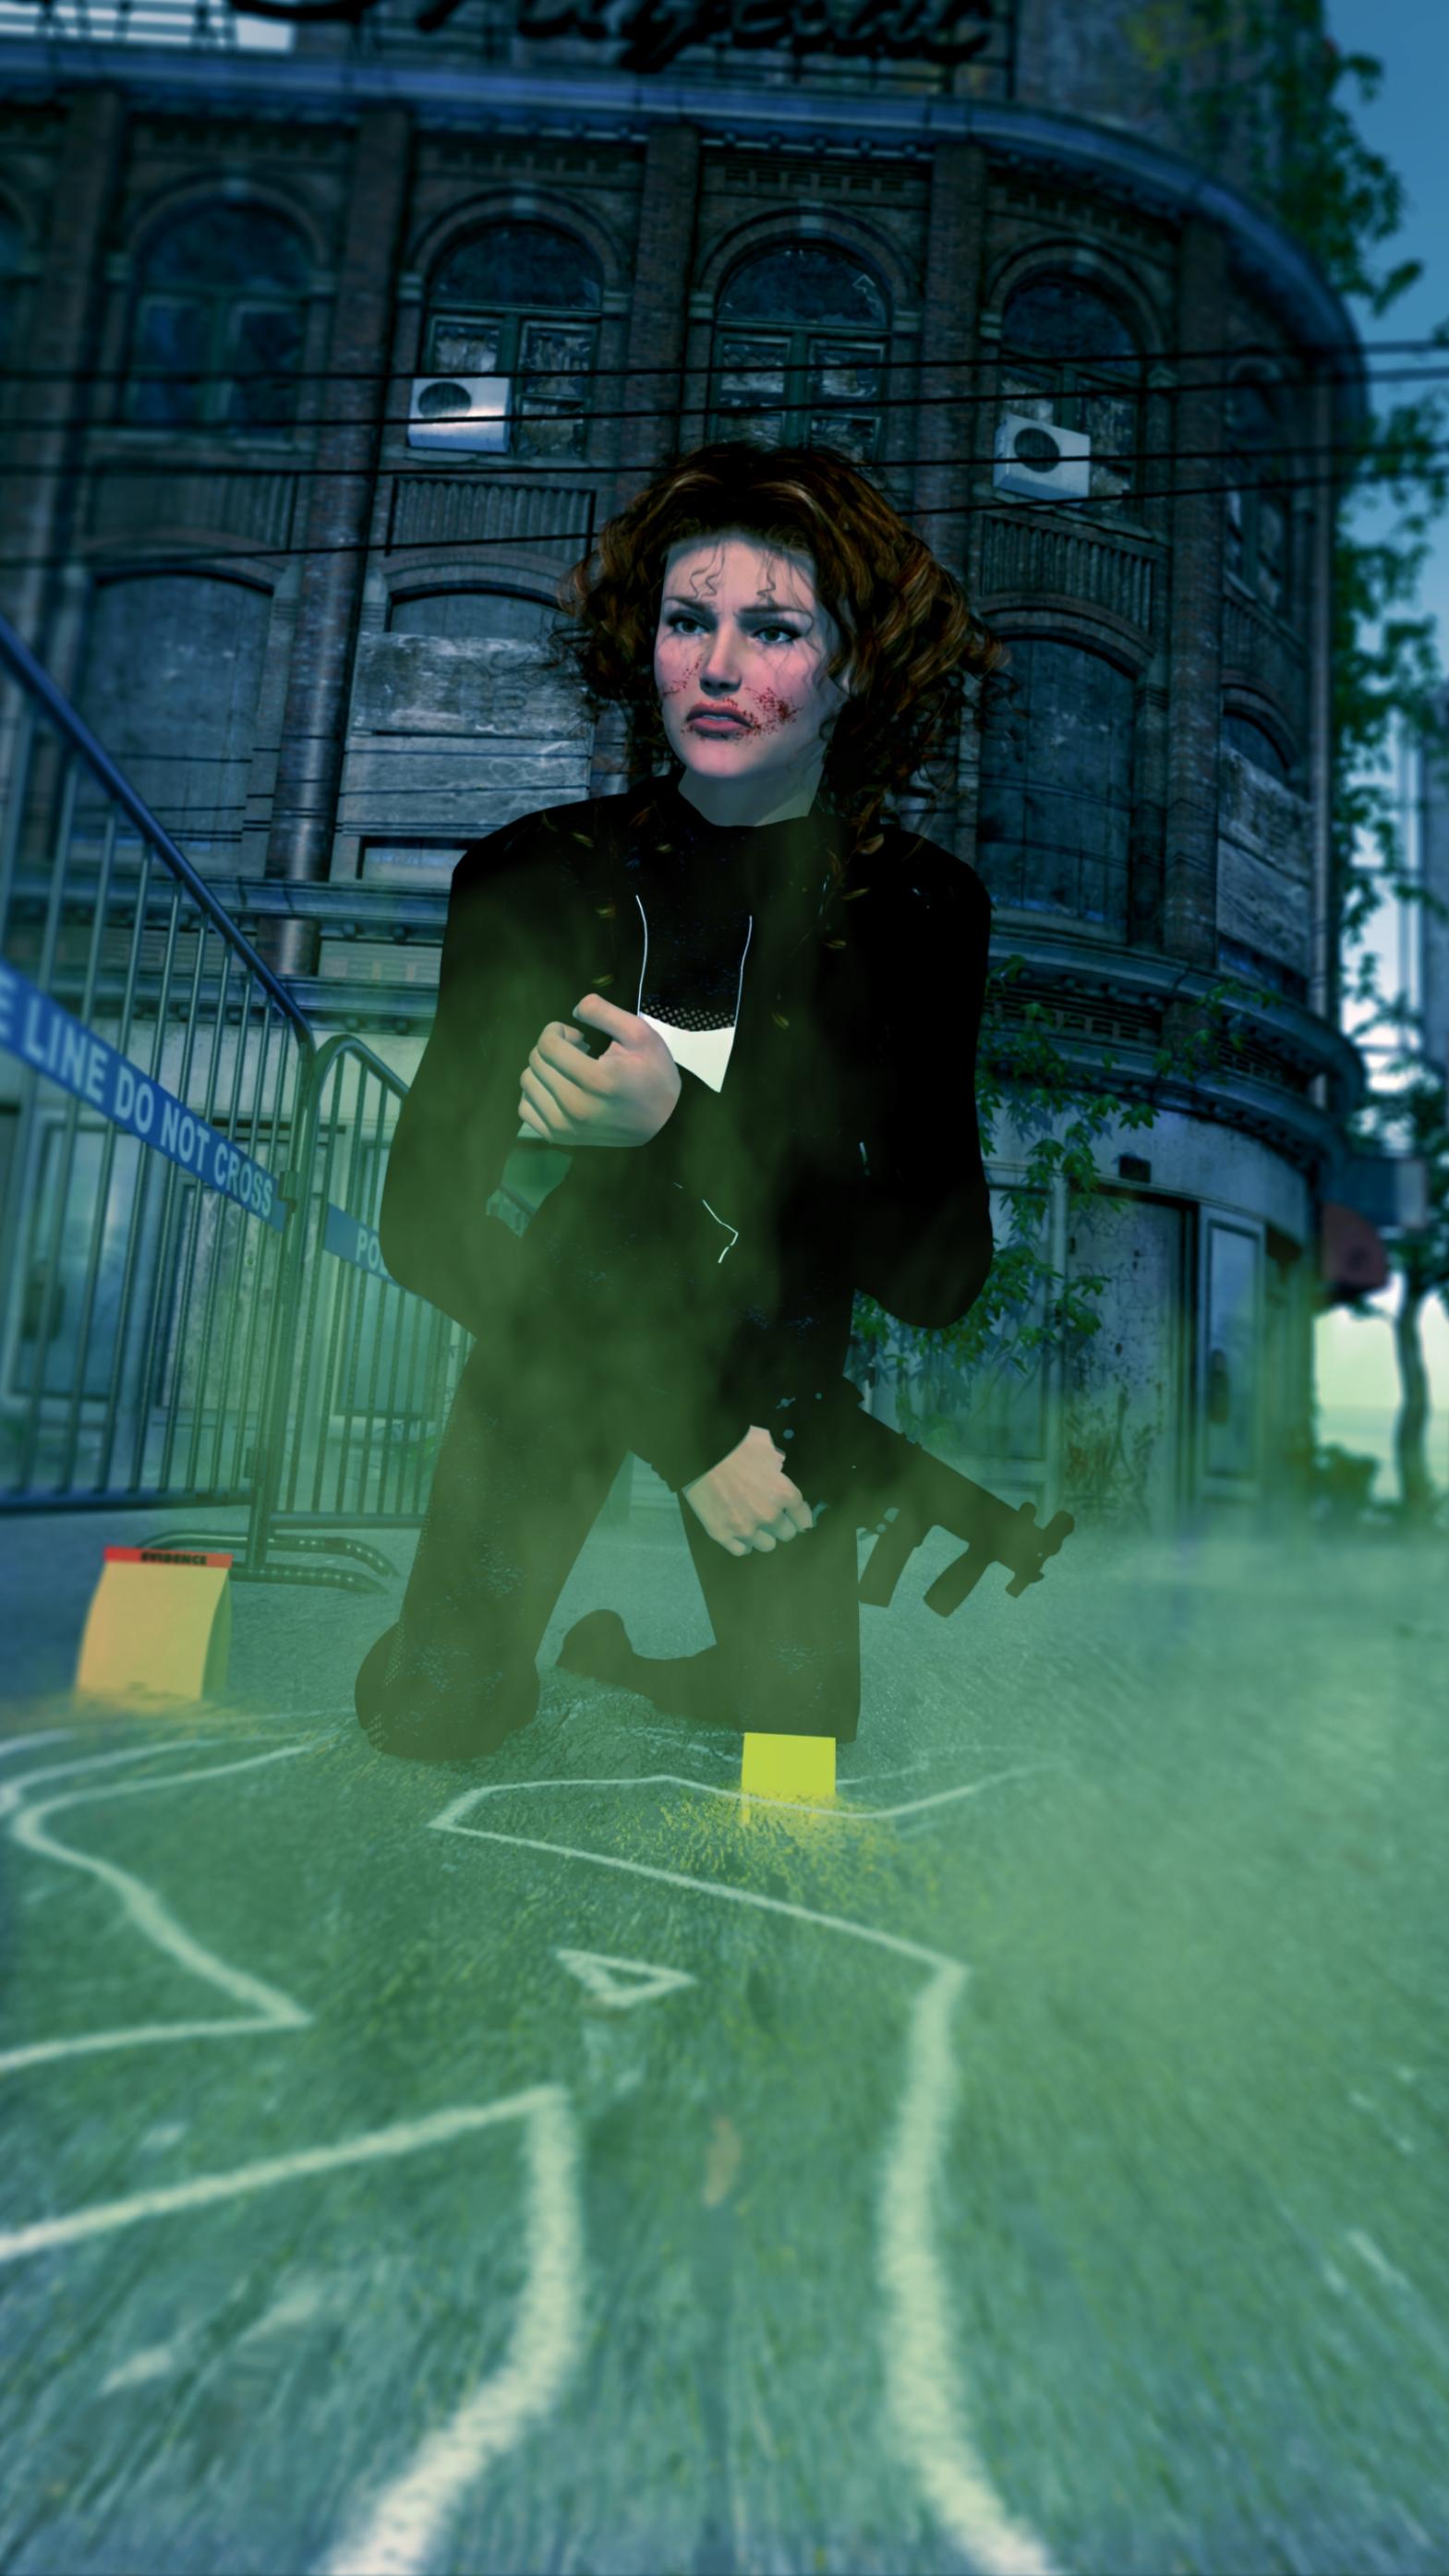
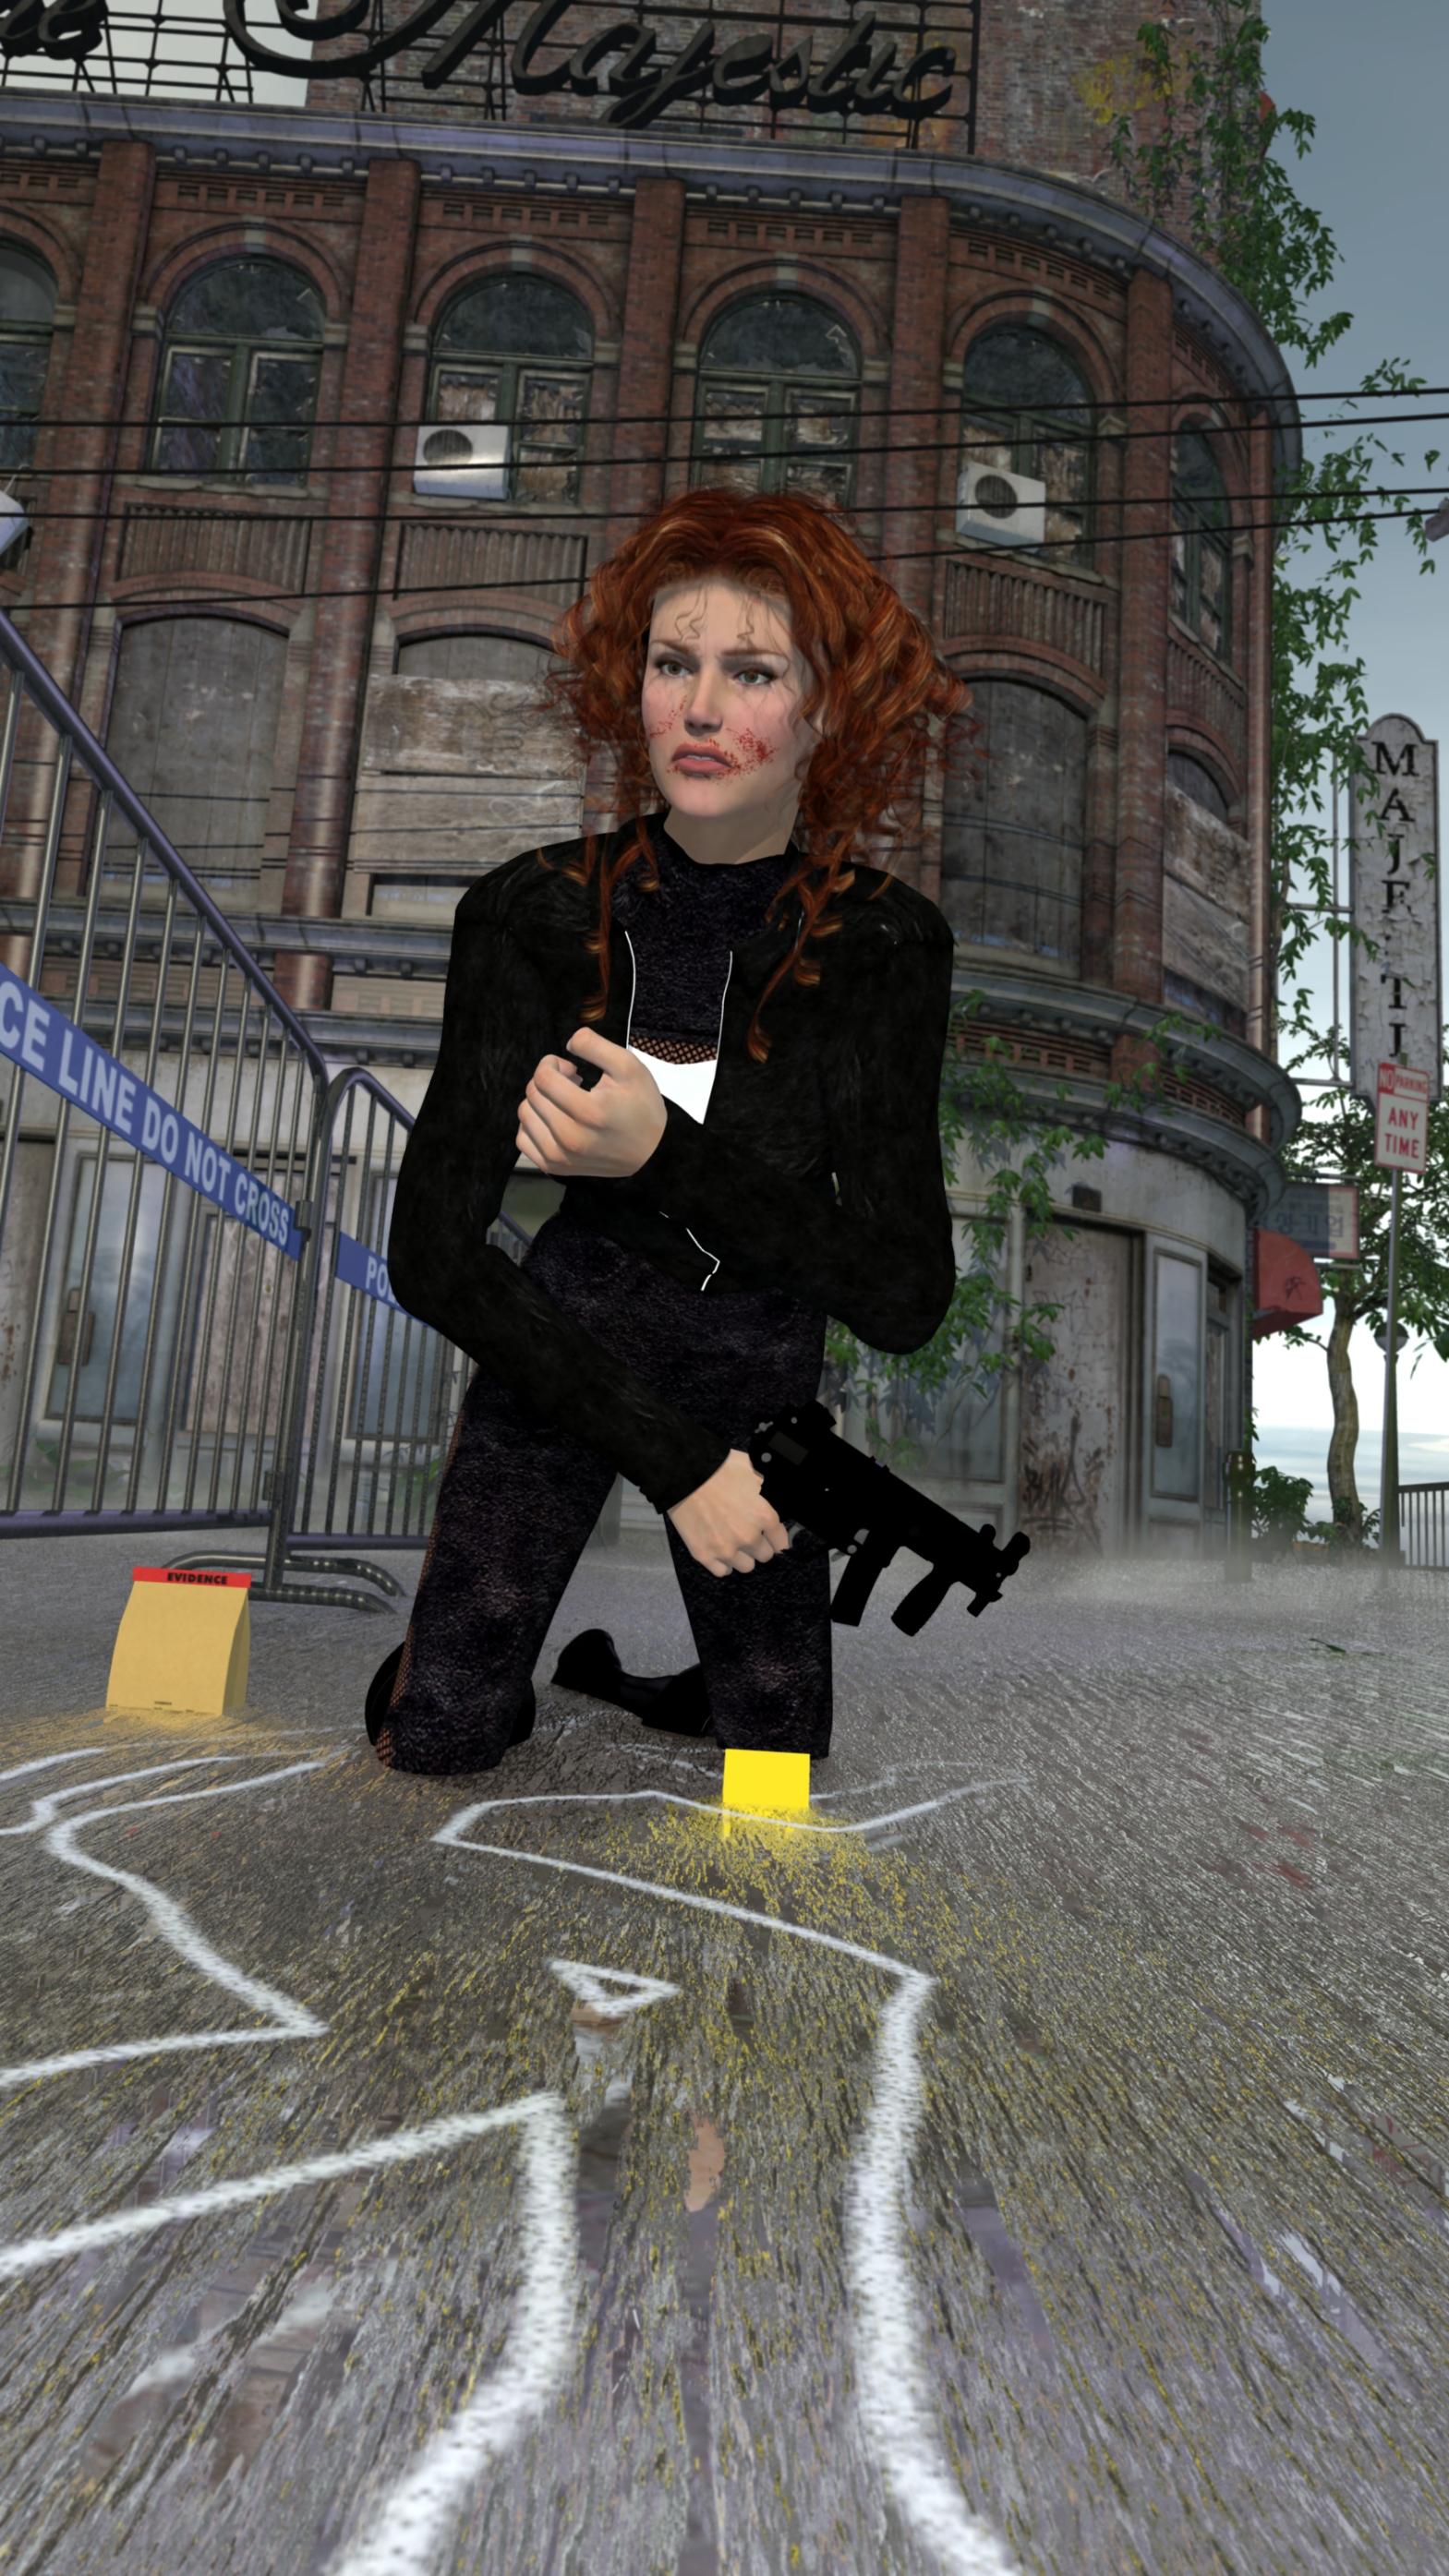
Just a latest example of a render using Gamma of 2.2, I hope you like it. Small amount of postwork.
Excellent!
The post work is that for the depth of field blur? Looks great.
Excellent!
The post work is that for the depth of field blur? Looks great.
Yes, I rendered a Depth channel in the Multipass renderer and used this for DoF. I also usually apply a little bit of VirtualPhotographer plugin - Ambience setting - which gives a camera-like bloom and toning.
Although this image was done in Lux - title does say post your most realistic render ever, and I have to say, this is it :D
After reading this topic and all comments, I decided to give it a try with my favorite software: Carrara 8.5 Pro :-), using gamma 2.2, as first sugested by PhilW, using sky light, no ambient light. Picture on the left is the pictured I adjusted in Serif PhotoPlus... yeah I know. I'm like a dinosaur, still using old software (like Carrara), and the picture on the right is the original carrara render. I know this threat hasn't been updated but I do hope that you're able to take a look at it and tell me what you think.
In case you haven't noticed: this is Victoria 3, still my favorite female 3D figure.... Well, like I said: I'm a dinosaur....
And these are the settings for the scene I rendered.... it took a very long time (38 hrs) upon completion on my computer. But hey, I'm using an old pc, dating back to '12, but running on Windows 10 64 bit... ;-).
Like I said: I'm a dinosaur, still using Windows Phone LOL.
Light settings:
Sun Light
5x Tube Light
3x Shape Light (red, green, blue) --- sounds familiar right?
Render settings:
Full Ray Tracing
GC: 2.2
AntiAliasing : Good
Object Accuracy : 4 pixels
Shadow Accuracy: 4 pixels
Filter sharpness: 0
Maximum ray depht: 16 (I know, it says 8 in my print screen, but when I rendered, I changed it to 16)
Sky Light
Light through transperancy...
I also enabled caustics before I rendered....
Wow, I'm impressed.... I know, I'm slow with my comments. It has been a long time since I came here. I loved this topic which is why I decided to do my 'most realistic render' ever with Carrara. You inspired me to do it, so I can't thank you enough.
TTFN
Cynthia
Nice result. But 38 hours! Yikes!
Interesting lighting setup. Are you using blurry reflections too? I have a feeling that this scene would do really well even without any reflections, just using highlight and shininess to simulate shiny, reflective areas, which would cut a lot of that render time down. But I also feel that caustics is probably also not really needed - and would be moot if we took out the reflections.
But if you don't mind that amount of time, it's a fine render.
Yeah, thanks PhilW! You've really helped to open my eyes too!
Awesome frakin' render!
+1
Better late than never! I think using gamma 2.2 almost turns Carrara's renderer into a different beast, albeit one which works with everything that you are used to already. Glad you are finding the topic inspiring!
I cannot recommend this when creating a five-second animation, LOL... But I'll be using the picture for a book cover ;-)
BTW: I didn't use blurry reflections, just DOF... oh, and I used a soft shadow for all the lights... that also increases the render time... Anyway, my husband was more than pleased. It was the best 38 hrs we spent together :-)
I normally use Carrara to create animations but when I saw this awesome threat, I couldn't help but join in on the band wagon.... Just like Phil, you too are one of my Carrara heroes. I also subscribed to your Youtube channel.
I tried several times to do one render with this adjustment (2,2), but I never found that it was very convincing.
Perhaps is this due to the fact that I come from the world of the silver image...
Anyway, I benefit from this revitalized thread to ask whether other parameters should be modified when one pushes the gamma at 2,2?
Dear Dudu,
After reading all the suggestions here, I decided to use the Gamma 2.2 adjustment.... and one of the most important things for your carrara scene, I think, are the light settings.
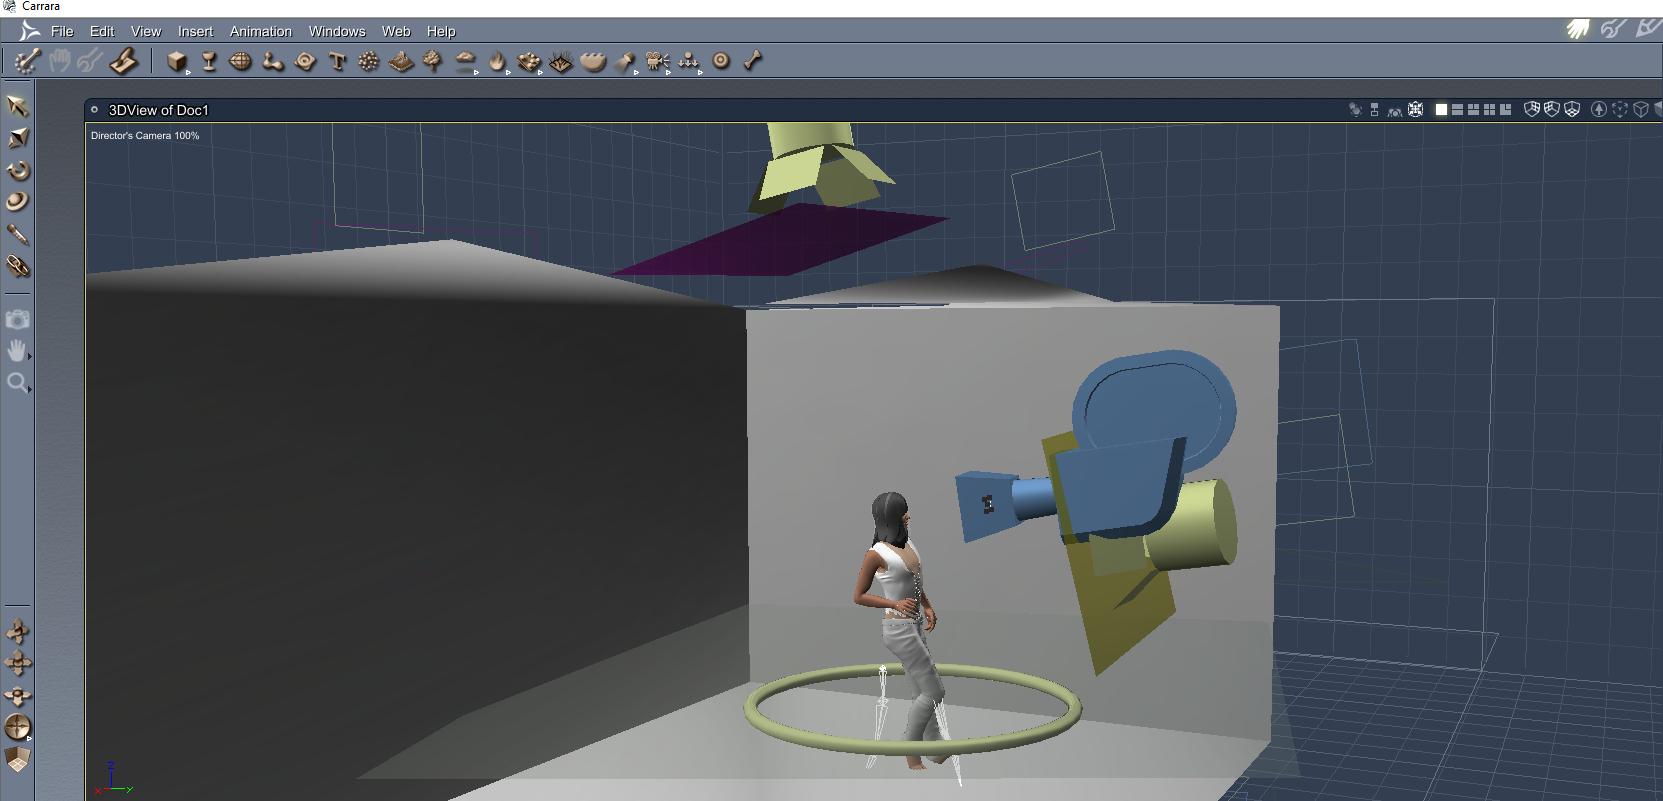
I decided to create a new 'photo', this time using Victoria 5. First thing I did was deleting all lights and set the ambient light to zero. Then I added two spot lights and a shape light. I dropped the shape light near Victoria's legs and on top I created a plane—set it to a water shade. Then I added two more planes and changed it into glass. I placed the glass—to act like a filter—in front of front of the two spot light. Then I created a cube and cut some holes in it... al within Carrara.
I also enabled soft shadows for all lights.
For the render setup: I used indoor lightening, with maximum ray depht of 16, light through transparancy and I enabled the Caustics.
For the camera I used DOF.
Because it kept you out of Carrara for that 38 hours, eh?!!!! That is SO COOL!
Well thank you! I'm working toward getting back to my YouTube channel - I have so many requests to fill!
When we look at the new PBR engines, they're all set to Gamma Correction = 2.2 by default. It plays into working in, like Phil has been saying all along, a linear workflow, which is what a big part of his Realism Rendering course is all about, and Jeremy Birn's Digital Lighting and Rendering book also pleads that a linear workflow should be an essential part of our way of thinking.
In Carrara we have a particular problem using HDR or other spherical images as a visible background while using GC = 2.2 because it blows them toward white. Carrara's Dynamic Hair also requires a new way of shading. It actually does become a different way of working, and it also becomes pretty easy to adopt (says he, who still runs into troubles using it now and then). It can become difficult to get darkness into the screen, which is actually a good thing. For most viewers, it's best to imply darkness via colors or other situations, than to actually make the screen dark.