How do I Save a Render in 10-Bit or Higher?
 3DIO
Posts: 627
3DIO
Posts: 627
If I render something out using one of the better colour spaces, how do I then save the render in a 10-Bit (or higher) file format?
I just realised that although the colour space you choose does make a difference, it still saves from the Render Window as an 8-Bit file regardless of the colour space used. Can't say I've ever seen an option to save in a HDR format come to think of it.
Post edited by 3DIO on

Daz 3D is part of 
Connect
DAZ Productions, Inc.
7533 S Center View Ct #4664
West Jordan, UT 84084
Licensing Agreement | Terms of Service | Privacy Policy | EULA
© 2026 Daz Productions Inc. All Rights Reserved.
Comments
It's been a while since I used this, but you can just do a beauty pass using a canvas. That will give you a 16-bit .exr as the output. I don't think there's any other way to do it.
https://www.daz3d.com/blog/creating-and-working-with-your-own-hdris-in-the-studio-breakdown
@TimberWolf
Cheers, but I don't know what you mean by "just do a beauty pass using a canvas" :-D
@Garrett
Cheers, I'm aware of the bracketing method, but I meant taking the render (that I believe is rendered at 32-Bit internally) and saving it in a HDR format.
@3DIO
Canvasses can be used like cryptomattes in Blender and also allow you to separate various elements of the render if you need to. The beauty pass is essentially everything mixed together, but you could separate out the diffuse, specular, glossy, emission layers etc. I've used it in the past to add lights to characters without those lights affecting the environment. Lots of uses.
For your requirements you would put everything in your scene into the 'nodes' section, rather than using it to render only certain elements. When it's finished, that 16-bit .exr will be created which you can then open in Photoshop/whatever you have.
Quick tutorial here:
Oh wow, I had no idea of Canvasses, bloody hell - cheers mate!
I've been playing with it (and I think I have my head around most of it), but I'm still only left with the same save options when the render is done, so I'm confused as to how I'm supposed to save the render in a HDR compatible format when rendering in a new window is done.
Damn, all of these years I had no idea Daz Studio had this stuff :-D
This might work better for you.
Use the Spherical Camera - Select your camera in the scene - open Perameters - Lens - Lens Distotion Type - Spherical
Under Dimensions - Turn on Local Dimensions - Under Aspect Ration choose 2:1 - Under Pixe Sive choose what you want (I used 8000 x 4000 on this image)
Set the Camera how you want it. I just used what this old scene was set at but it is better to have it at eye level maybe 196cm.
Render the scene and save the image as a file.
Go to the file Menu (top left) and open the Save Last Render - Choose a file name - save Type as a .tiff and save.
Open the .tiff file in Photoshop and under Image - Mode -choose 32 bit/channel and save as an .HDR fie.
You can now use this in the Render Settings - Environment - Environment Map slot.
https://www.ftscotland.co.uk/gallery/temp/testhdr-environment-001.tif
https://www.ftscotland.co.uk/gallery/temp/testhdr-environment-001.hdr
Is the canvas still supported by GPUs?
Rendering to Canvas with DS 4.42 and a 12GB 3060 GPU seems to take for ever.
@3DIO
The saving of the .exr is done automatically for you after you save the main render to a file. You will find a sub-folder where you saved the png/jpg that contains the exr.
Am I right in assuming that you have a Rec. / sRGB compatible monitor and just want to save a normal render with more colour info or are you actually trying to make an HDRi for background/lighting as others seems to think?! It's not really clear...
@Masterstroke
Works fine for me in 4.24 using a 3060 and a 5060.
interesting
@Fishtales
Cheers mate. That stuff is really best for creating HDRI images to be used as HDRI themselves, but I'm mainly just wanting to use the image with DaVinci Resolve Studio's HDR colour tools. You can use them on non-HDR images, but it's always better to have the range and precision of HDR as opposed to a standard 8-Bit image.
Nice website by the way. Puts me in mind of wild camping!
@Masterstroke
No problem here mate; doesn't take any longer as far as I can tell, and I'm rendering on a CPU (must be your Roxy causing it again) :-D
@TimberWolf
For the time being it's really just curiosity since I've never played with anything more than an 8-Bit render out of Iray. But this is working a treat! I love the precision it gives, but yes, at the moment I'm only on a standard monitor, but there's a trick I discovered involving chroma luminance, so I'm able to (sort of) work almost as if I have an HDRI monitor even though I don't. For sure, a HDRI monitor is on the list for when I build a new PC, and that's what I've decided to do once I've stashed the cash which is gonna take around another year to do if I'm to build a complete new system. I'm secretly hoping there's something far superior on the horizon while I wait, so not too bad a situation to swallow.
For now, I'm back on WIndows 10. I'll have to re-activate DaVinci so that I can play with the HDR tools (cause that's really what I wanted this for). At the moment, I'm postworking in GIMP, which as you can see handles HDR images perfectly, but there's a problem since I can't get Iray to render the HDRI that is part of the scene. The attached render was done using the ACES colour space out of Iray, and was exposed in GIMP after coming in completely blown out. But it's not meant to have a black background like that. There's no HDRI background visible in the render even though I've tried setting Alpha On and Off.
Seems to 'hold' well as 8-Bit too, but I really need the background back. I don't understand why this is happening since I absolutely did set it correctly, but nevertheless tried it both ways and still no luck!
Love the ACES colour space, which is always gonna look 'deeper', more lush and filmic than Rec. 709 (check out her eyeballs for example). The SSS in Iray needs a bit of adaption under this colour space, though, cause that skin tone is way off.
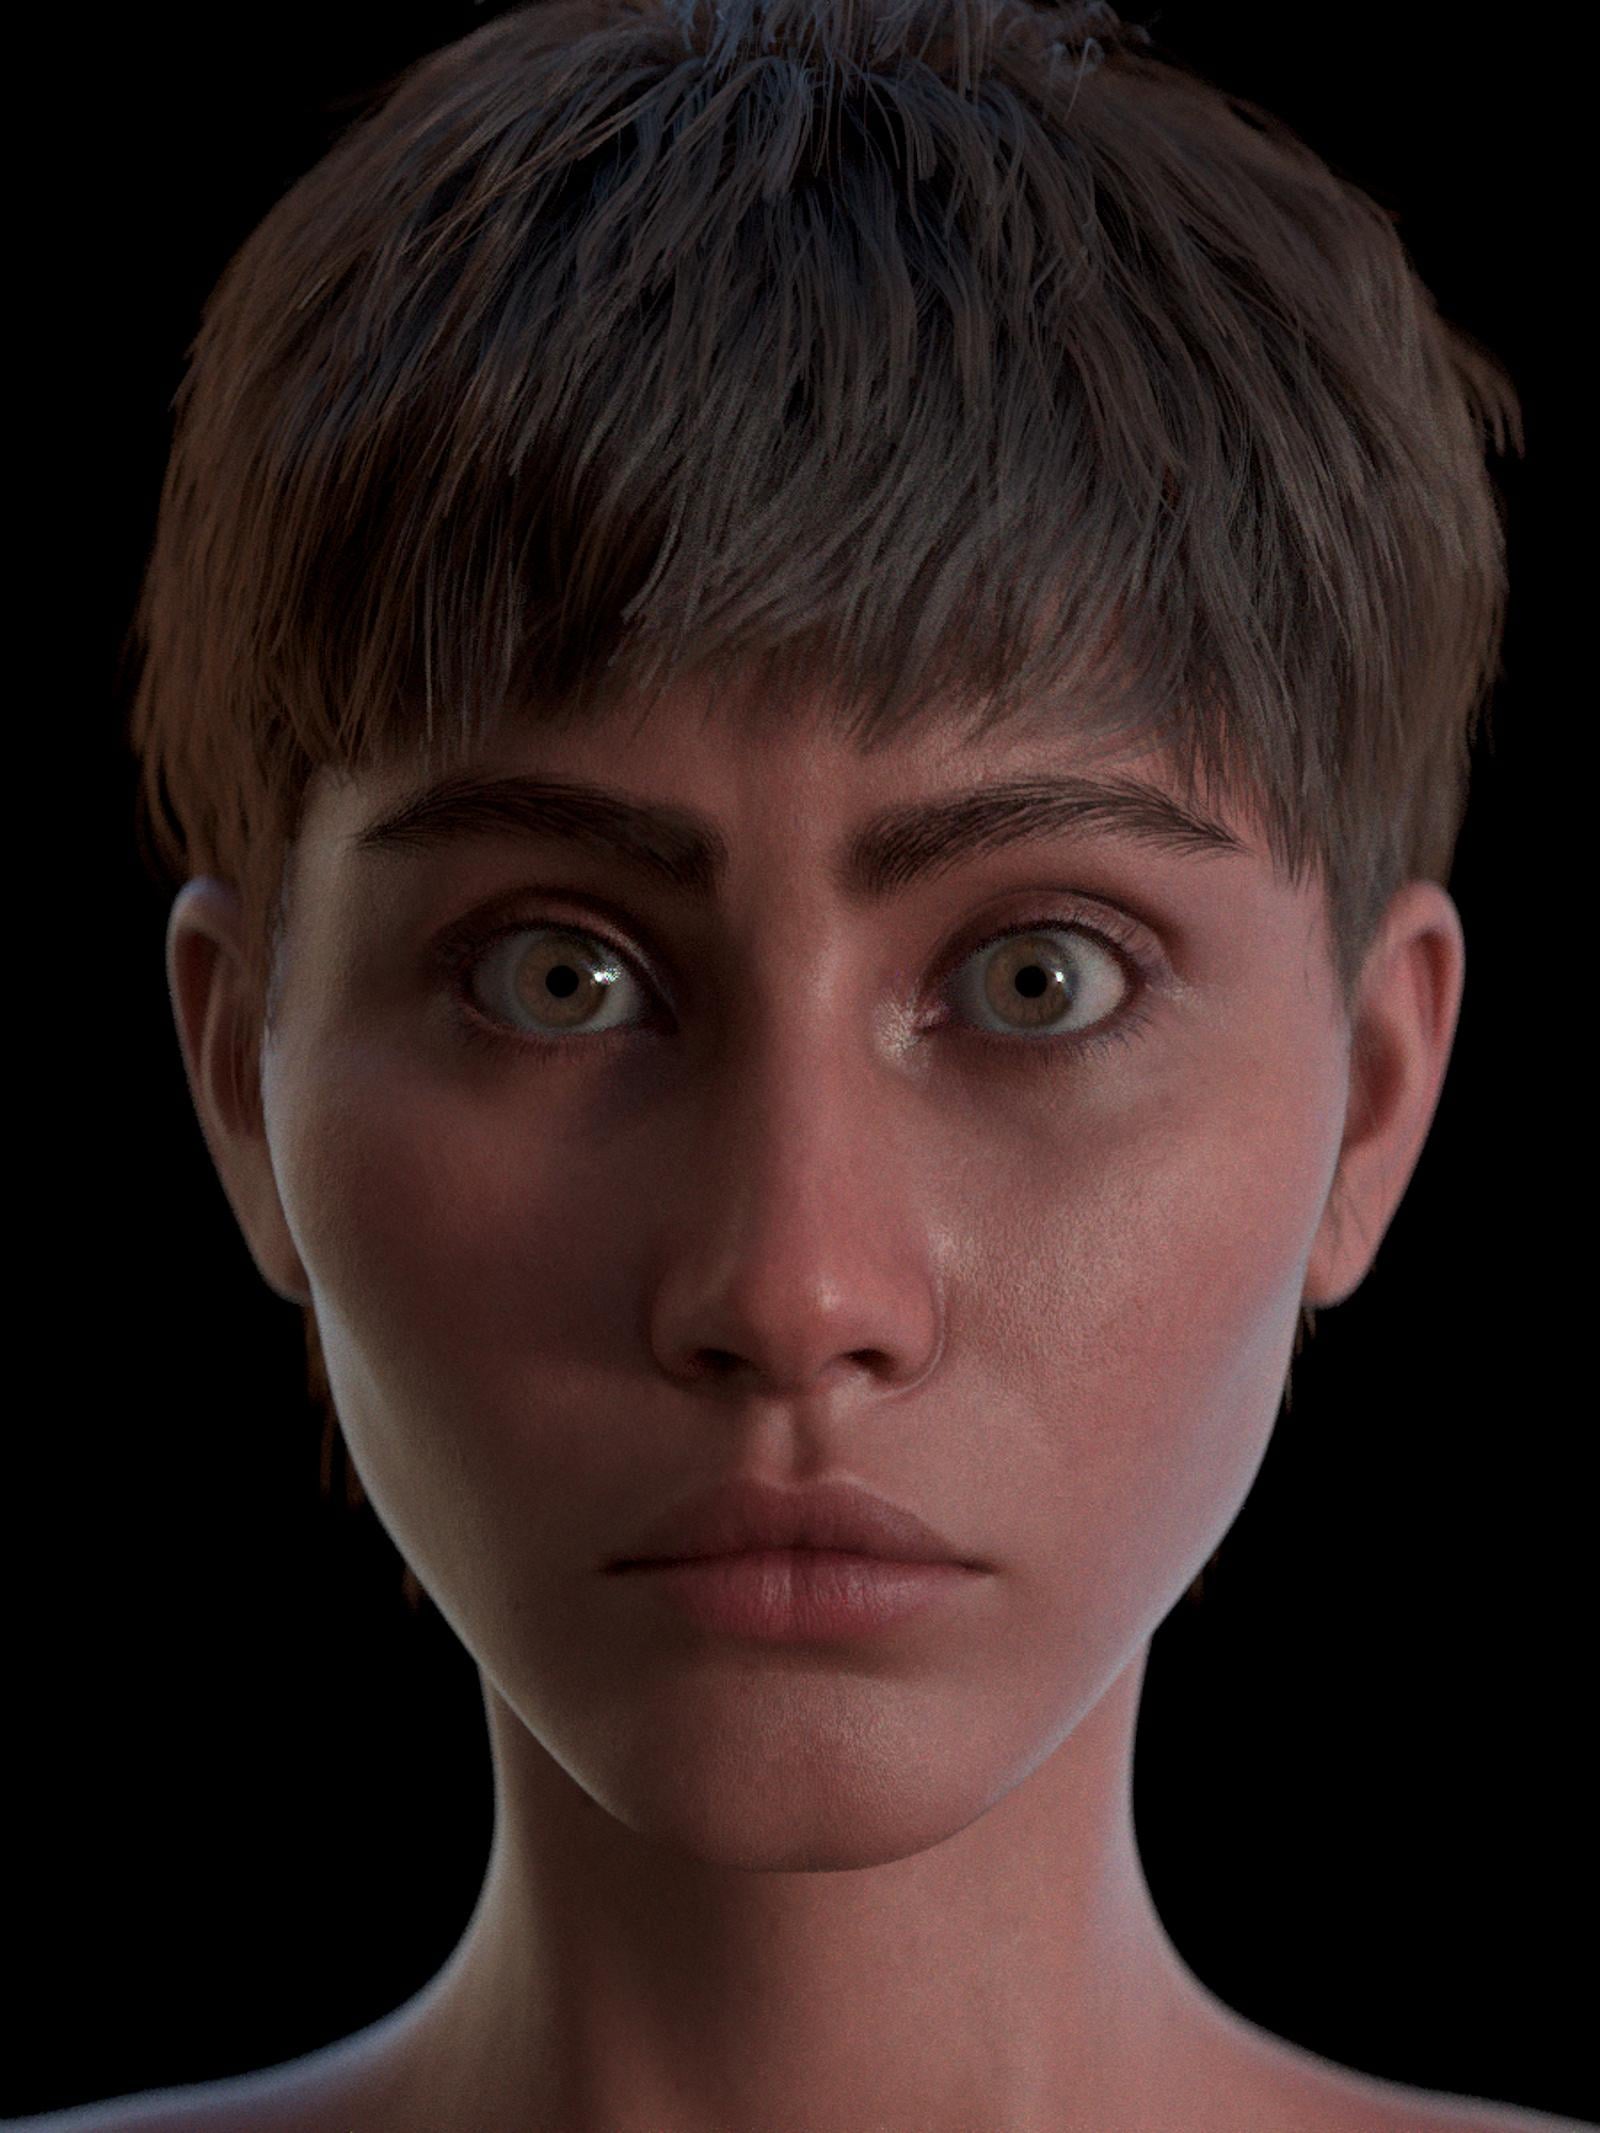
Click Image for Full Resolution
This is an older (and longer) video from Daz which shows you how to access the output from each canvas during rendering and what part of the render each of the different canvases contain. If you want the HDRI background as well, you'll need the environmental lighting canvas (I think - it has been a long, long time since I used this) and then layer them in GIMP.
I found it very useful for rendering a ridiculously large amount of characters in a tavern scene, for example, by adding and rendering each character one-by-one and then layering it all together. However, if you all you want is the ACES colour space then this video might be overkill but I reckon it's worth 15 minutes of your time.
@TimberWolf
Cheers mate, just about to watch it over supper!
It's not specifically the ACES colour space I want, I just prefer HDR tools and precision, because even without a HDR monitor I still get to enjoy the much higher precision aspect of it, just as long as I'm working with an image that was output higher than 8-Bit. Another aspect it that HDR images don't break up under extreme postworking like 8-Bit images do. It's a bit like the difference between a transfer of Video to 8-Bit and a transfer of Film to 8-Bit. It's still the same old 8-Bit, but the point is that the source was captured more faithfully.
With renders, the render itself is the source, so it's important to have the render in HDR if you want to extract the best possible gradation to 8-Bit.
In other words, when outputting to HDR, you take control over what is normally handled by the renderer when it outputs 8-Bit in its own way.
This is how I created my HDRIs. One thing I found though is that you have to experiment with camera position a lot to get it right, otherwise it looks weird. You can't use an existing static camera position and expect the sperical one to give the same effect. All I can say is that so far, my experience has produced some weird and distorted results.
Yhat was why I said the camera should be set around eye level. That isn't what the OP is looking for. It isn't an HDRI dome background but an HDR image, there is a difference.
THe Save Last Render option is the RAW image, as far as I remember, and when saved as a TIF or BMP file all the data is saved so when converted and saved as a 32bit file from Photoshop or Gimp it retains all the information for an HDR image.
@TimberWolf
Thanks again, it was because I needed to add a Canvas for Environment Lighting. Thankfully I don't need to composit it. It rendered all in one image, but I then had to go into the render settings to switch off the virtual floor since it was creating a horizon not rendered otherwise. Anyway, will have to re-activate my WIndows Install of DaVinci now! I deactivaed it while back before messing around with Linux that time, just in case I accidentally wiped out my Windows install.
@Garrett and @Fishtales
Not sure if you're aware of it, but there's a member on here called Horo who takes a very professional approach to HDRI and has a website that covers it : Horo.ch
He has a whole section and very detailed PDF documentation about the creation of HDRI and Panoramas: HDRI & Panoramas
Yes, when I was using Bryce a lot I talked to him on the Bryce forum :) I have used Bryce to make HDRI's too.
My first Iray render done specifically with a HDR workflow in mind. Not bad I think (considering it's an 8-Bit file). I would have posted him in the Earl thread, but surprisingly can't seem to find one for Earl, which seems very odd to me. I reckon he'd make a very good 'Hard Man' character and the like!
Kooki99's Earl for Genesis 9.
Click Image for Full Resolution
Sorry, I accidentally prepared a file with more experimental levels, I thought it looked a bit odd on the forum! Fixed now (much better levels), and it has me thinking that when I do finally get a HDR monitor, I'll have to keep the current one around as well, side-by-side, at least until I get a feel for the differences.