Lighting for Decals
 Disciple
Posts: 261
Disciple
Posts: 261
I'm trying to stick a decal on my Dystopian Garage. Here's how it went.
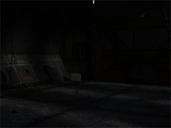
I loaded the garage into a cleared workspace. It's really dark.
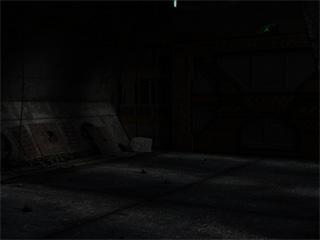
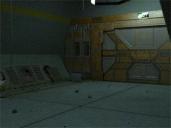
I'm okay with this. Most sets I use are highly over-illuminated. I have to cut their luminances and raise the exposure to prevent overflowing HDR values. With the garage emitters left as is, I hid some nodes, disabled environment illumination and increased exposure.
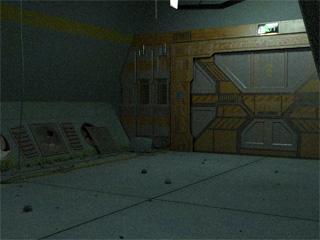
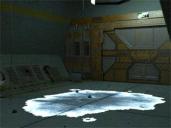
So far so good. It's still a bit dim, but getting closer. I'll fine-tune later. Now I'd add a sooty decal to the floor.
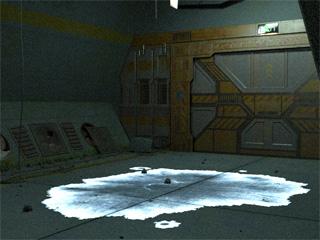
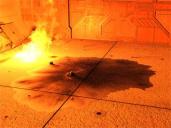
There's the problem. The boundary of the opacity map looks like it's glowing, but it's not. Turning off the scene's emitters makes the effect and the scene go black. The decal's surface is responding to emitter light differently from the bare surface, and that's bad for me. I'd like to remedy the decal's appearance, get it looking more like the ad previews. I'm hunting for a workaround, but can anyone point out the root of this anomaly, and a way to correct it? I'm running 4.22 on Windows. Thanks for reading.
[Edited for images.]
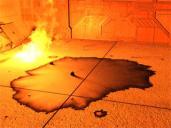
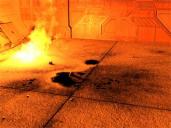
[edit=2] Okay, it gets even weirder. I hid the garage's emitter and the bright boundary stopped shining in the dark. Then added a luminous VDB volume, because that's what will light the scene. You can see how the decal reacted to that.
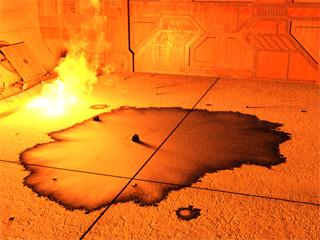
The decal color is thinnest where it should be dense, and dark where it should be thin. All bump map and normal map features of the affected surface appear flattened within the boundary. I shall try to modify the opacity map to compensate for this annoying "negative" effect. Advice from anyone with knowledge about this unexplained behavior is gratefully welcomed. Thanks again. [/edit]
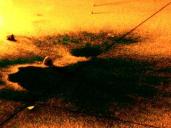
[edit=3] I used a little Photoshop to invert the affected area, and it's a step.
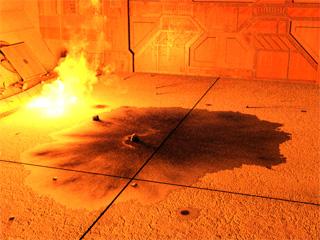
This is still far from satsfactory. I might make it work with lots of concealment and touch up, but I'd really like to know where the real problem lies and fix it. Help? Thanks. [/edit]
[edit=4] Moving forward, I tested the diffuse overlay weight channel, which required splitting and aligning the bitmap across four surfaces, more steps.
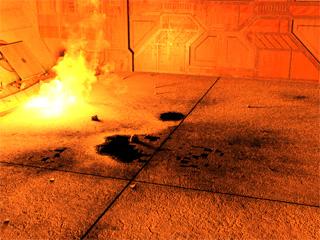
Some problems vanished, another appeared. The density of the overlay shows a sudden jump at the maximum. It jumps from visually 50% transparent to totally opaque, creating visible pixel edges at the transition. Better, but still wrong. So I skipped experimenting with LIE and went straight to Photoshopping the cutout bitmap into the four base color bitmaps. This eliminated the pixel-y edges around the thickest regions.
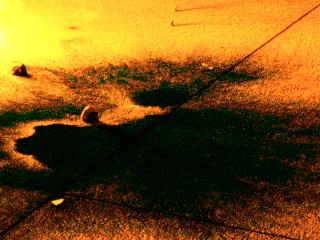
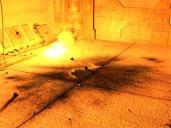
Now strange green sparkles began appearing in the dark bits. There are no bright green features or light sources in this scene. All I can do is reduce the density of the soot layer and hope.
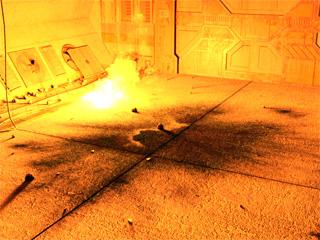
Green sparkles still contaminate the result, but they blend in more, maybe enough.
This is all a lot of trial-and-error (mostly error), and fuss to produce what a decal ought to deliver in considerably fewer steps. I'm really hoping someone can educate me in how to do this more efficiently with the proper tools. Thanks again for reading so much. [/edit]
[edit=5] Just watched The WP Guru. He apparently demonstrates on straightforward Ubersurfaces under default lighting. Tried following the example and manually adding a node plus bitmaps. Same problems. [/edit]
Hallelujah!
Disciple

Daz 3D is part of 
Connect
DAZ Productions, Inc.
7533 S Center View Ct #4664
West Jordan, UT 84084
Licensing Agreement | Terms of Service | Privacy Policy | EULA
© 2026 Daz Productions Inc. All Rights Reserved.