PBRskin Pro appreciation - use it or loose it.
 Artini
Posts: 10,654
Artini
Posts: 10,654
I am trying this new shader from https://www.daz3d.com/breast-utilities-2-for-genesis-9--pbrskin-pro
Lets share some renders and thoughts about it.
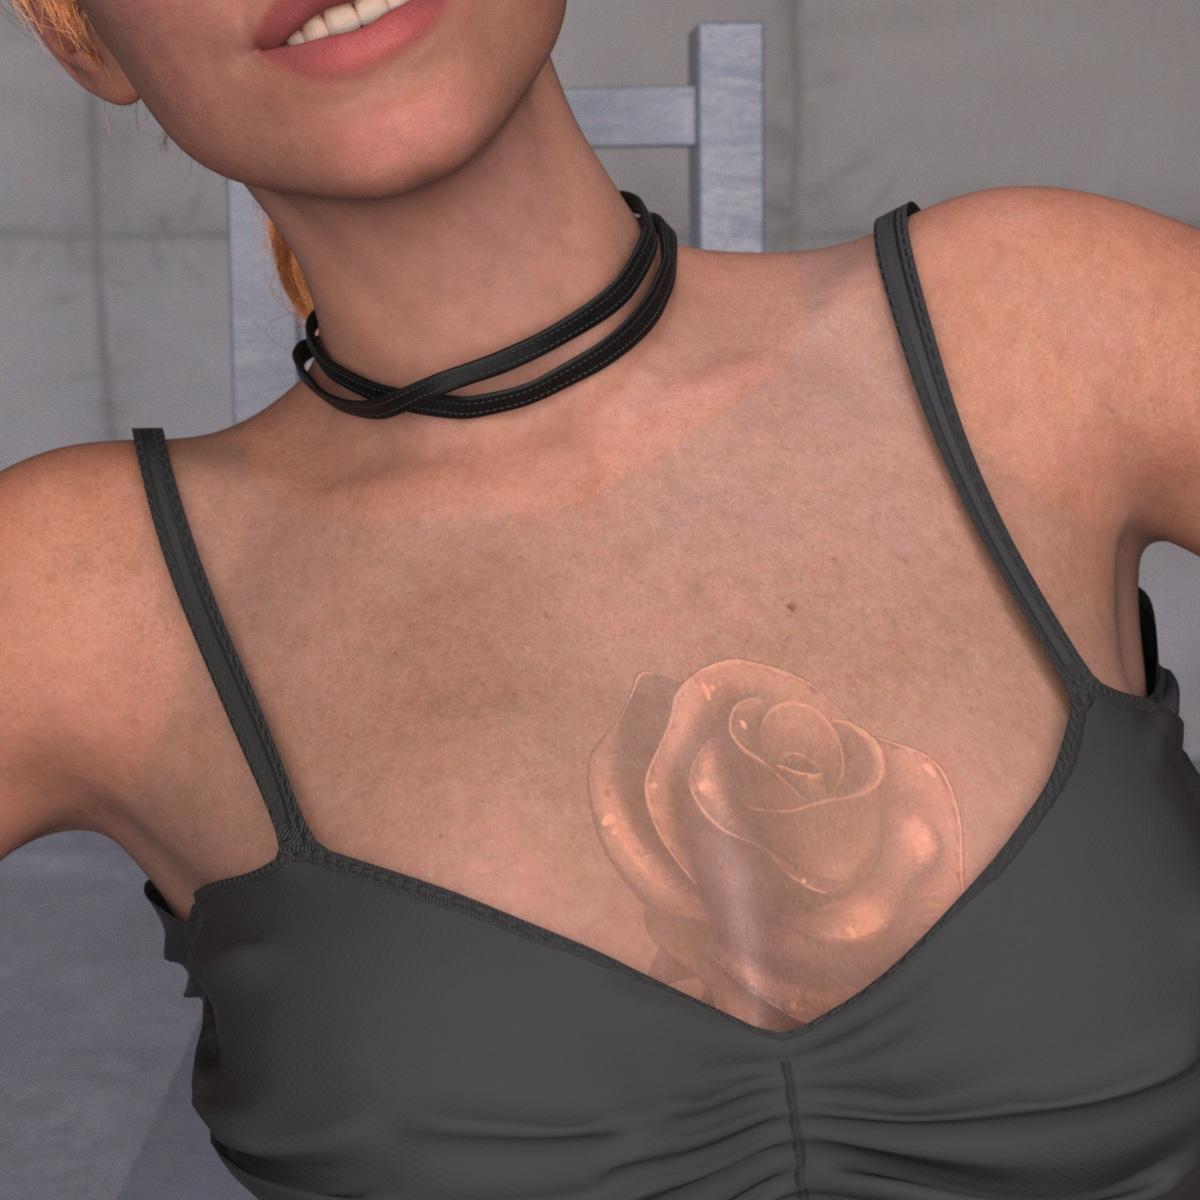

Mercia909pic07.jpg
1200 x 1200 - 297K
Post edited by Artini on
Daz 3D is part of 
Connect
DAZ Productions, Inc.
7533 S Center View Ct #4664
West Jordan, UT 84084
Licensing Agreement | Terms of Service | Privacy Policy | EULA
© 2026 Daz Productions Inc. All Rights Reserved.
Comments
I see a dark shadow outline on the skin that looks like another garment.
Yes, that is the problem, I have encountered, and looking forward to solutions to fix it.
At least, it is pretty easy to overlay images on any part of the body
and don't rely only on the ready made sets.
is it applied only to the torso? because that definitely would cause arm and neck seam issues
maybe a plaiin alpha image needs to be used on the rest of the body to blend the rose one on the cleavage
I don't own it so cannot test
Thanks for the tips, @WendyLuvsCatz
I will experiment more.
Make sure the image has a pure background color. Sometimes it's not noticeable at plain sight and you have to check it and correct it on Photoshop or any other image editor, but black or white are not always 100% black or white even if it seems so.
Assuming you used an image with multiply, there's a chance what you see as a white background is not really pure white, so it's partially visible.
Thanks for the tips, @Soto
I have found the problem, the script apply PBRSkin Pro only to the body in created shell,
so I have manually apply the shader to Head and Arms.
It would be great, if the script could do it automatically for the other parts of Genesis 9.
Below is a little improved version.
@Artini do you have the rose in the translucency channel?
No, translucency color is white and also load SSS map.
Ok, problem solved.
The solution is to choose the desired surfaces on Genesis 9, like Arms, Body, Head and Legs
and double click on PBRSkin Pro to apply it.
Then one can enable one of the layers, like Layer 1 Enable On.
Put the desired map to Layer 1 Global Weight and Layer 1 Weight and choose one of Blend Modes.
I have choosen Average in the example below.
Additionally one can put the map into Layer 1 Color.
Blend Mode: Color
Nice. I haven't got around to working with the shaders, so this info should save me some time and angst.
Thanks!
You are welcome.
Now I like this PBRskin Pro shader even more.
The included scripts are related to Breast Utilities 2 which uses a torso geometry shell. The scripts are not useful for anything else.
If you want to use PBRSkin Pro to alter the skin of your character, you only need to select the desired material and apply the PBRSKin Pro shader like any other shader. It will not make the selected body part look different than the rest because it's based on the default PBRSkin, it only adds extra options. So you don't need to apply the shader to all skin areas if all you want is to put a chest tattoo for example.
There is no need to apply your weight map to both Layer 1 Global Weight and Layer 1 Weight. Layer 1 Global Weight is meant to retain the main tiling independently from Layer 1's tiling. This in case you want to mask a specific section while tiling the layer as desired. Like tiling a freckles map until you reach the desired size while Global Weight dictates it will only show on the cheeks and nose, for example.
The ideal workflow on you spacific case, would be attaching a map to Layer 1 Weight with a black background and a white stencil of the tattoo (just like an opacity map). Then the image map in Layer 1 Color, where you can use the blend modes to blend the image to your character's skin in a more natural way (usually multiply gives good results with tattoos, but you can experiment with different blend modes and opacity values)
If you just use your color image map in Layer 1 Weight instead of a proper weight map, it will hide the darker areas of the image, which it's probably not what you want in this case.
Think of Layer 1 Weight as any other weight value, be it Cutout Opacity, Specular, etc, where black negates and white applies.
Maybe the easiest way to understand Layer 1 and Layer 2 is to think of them as Makeup or Diffuse Overlay on steroids.
Thank you very much for the explanation, @Soto
Could you advice about how to use tiling in your shader, to spread out some small images over the body or the other parts.
I like your shader very much and would like to explore all of its features.
Thanks in advance.
Like this:
Thank you very much.
Each layer has dedicated tiling and offset options. Just like the regular tiling and offset options on all shaders, you define how many times the image will be repeated and where it will start.
Have tried again, according to your description and it works better.
Just need to practice more creating the masks for images.
Blend: Off
Blend: Soft Light
Works nicely with Mr Bobble:
https://www.daz3d.com/mister-bobble