Exploring Iray and the Urban Future Bundle
 Tirick
Posts: 235
Tirick
Posts: 235
I want to preface by stating that I am quite new to Daz. I am not new to 3d modeling (I joined Daz over a decade ago), but my experience has largely been around modeling for conversion to paper models, so lighting and camera work, and rendering is largely new to me. Only in the last few months have I dived into this as an experiment for a story project I want to get into.
As such this is not a tutorial, but is more of a showcase of what is possible with a little effort with older non-Iray sets. It cannot be universally applied, but this set is a great example of how well it can work. This is somewhat geared towards newer members, like myself, who might feel a bit overwhelmed when these gorgeous sets don’t quite look the greatest as-is in the default engine.
I should state, I am not really qualified to compare these sets relative to other rendering methods (Iray vs 3DL). When I started messing around with Daz a little over a month ago Iray was the default rendering method, and it produced great results so I stuck with it. I’m sure using 3DL or OGL with these sets in their stock condition can produce fantastic renders. This is not the thread for that however.
I had a clear idea of my project needs with regards to assets and after scouring the store the Urban Future sets immediately jumped to the top of my to-get list. Just from the promo images (and the repeated references to Stonemason’s body of work) I could tell the detail in these was above par. I skipped on the last sale, and kicked myself for weeks over it, so could not resist the plunge with this last weekend sale. I had a tiny bit of hesitation however, when I noticed sets 1-4 do not have Iray materials. I’ve had terrible luck trying to convert some other older sets (the worse has been the now unavailable Dystopia City sets), and was reluctant to repeat the experience. However, everything I read on Stonemason’s quality convinced me to buy the set.
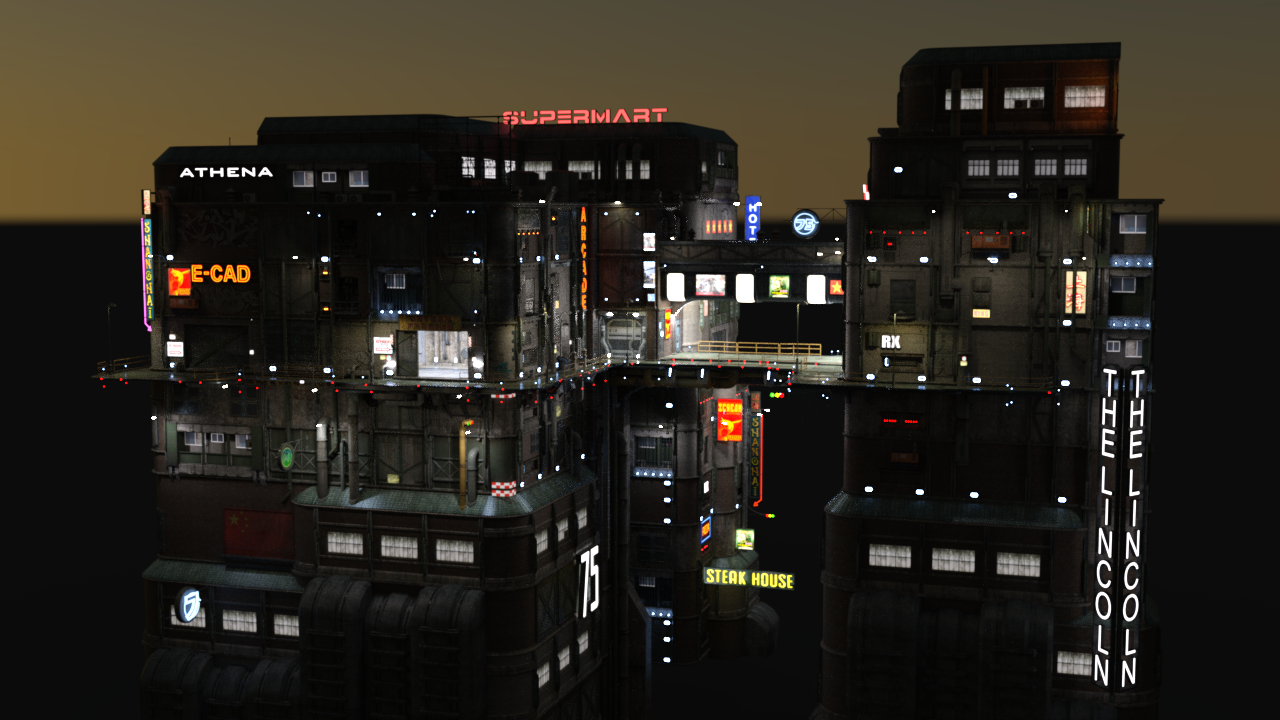
The sets have not disappointed. Quite the contrary, the level of pure modeling detail, setting aside the careful and precise material assignments, made this conversion incredibly simple. At the time of this writing I have finished converting the first two sets. I had started with UF2 and then simply applied the same method and settings to UF1. The process is very straightforward. I highlighted every surface, Ctrl-clicked the Iray Uber Base and chose to Ignore the existing textures. I then carefully stepped through every surface that was named something that should be emissive (LED’s lights, etc) and played with the emission settings until I was happy with the results. Wherever a texture was used as a base color for an emission surface, I used that texture as the emission texture. In most cases the emission color was set to white unless it was already set by the Uber script to something else. I used stock images in all but one case. After my initial testing it still seemed too dark, so I created a copy of the window texture and blacked out everything but the windows so that I could use that texture as the emission color. It took about 30 seconds to do. With few exceptions I have used the same setting for all like-named surfaces. I’m certain more tweaking is required, but this is a showcase of potential.
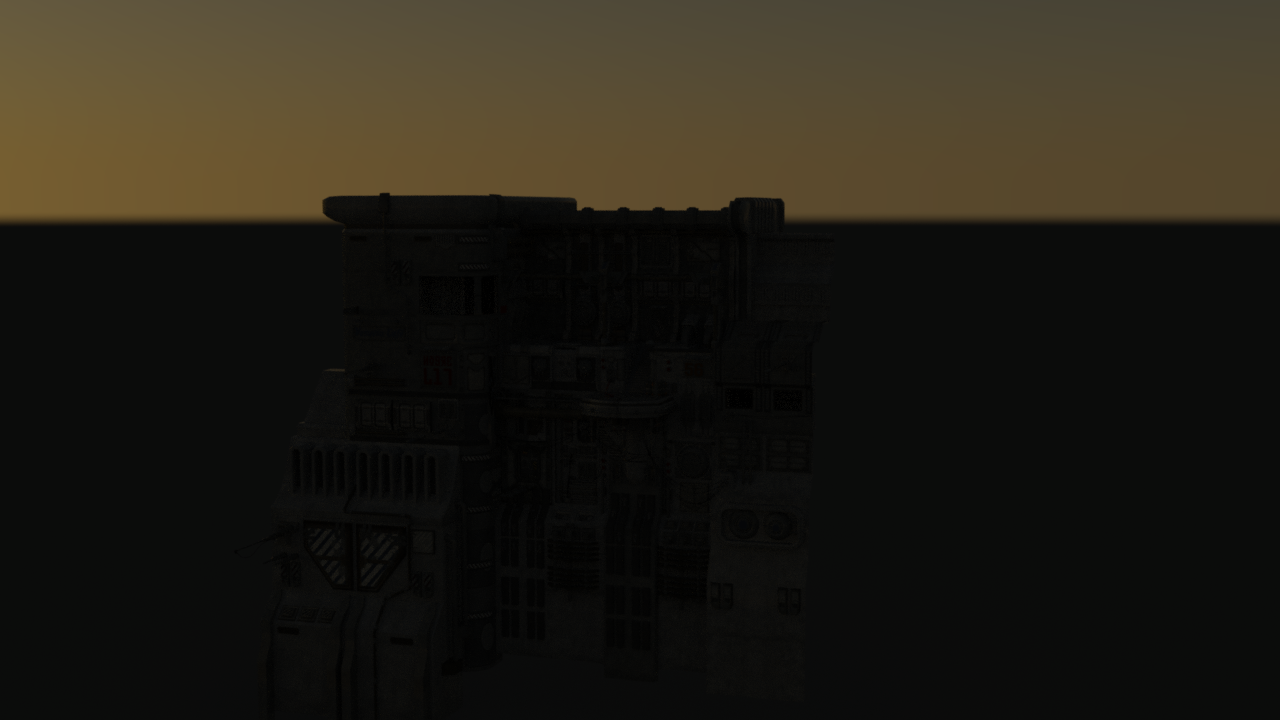
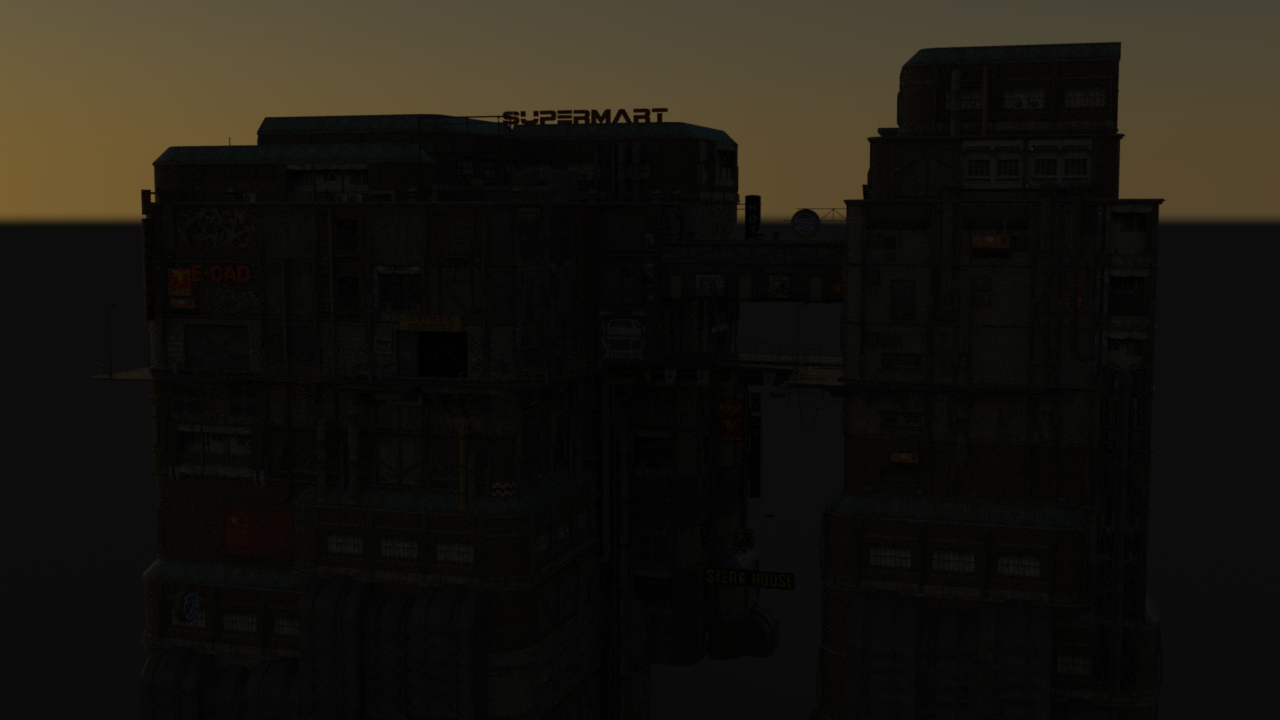
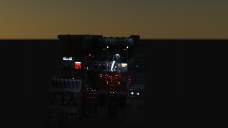
For these first two sets I am using the same camera angle and environment settings. These scenes are a little dark but I wanted to get a good sense of lighting at dusk, and to avoid distraction I am just using the sun-settings (8:30 PM in March). Exposure was reduced to 10. I am using an angle that shows the entirety of the UF2 set so UF1 looks a little small in the shot (it is a significantly smaller set). The edges look sliced as these sets are facades as opposed to enclosed structures. As UF3 and 4 are more complex I will likely have to change the camera angle to get a good sense of the textures and emissions. There are no lights in the scenes outside of emissive surfaces and environment.
Urban Future Bundle - https://www.daz3d.com/the-urban-future-bundle
Urban Future - https://www.daz3d.com/urban-future
Default textures (only Environment lighting)
Iray Textures with Emissives (and Environment lighting)

Urban Future 2 - https://www.daz3d.com/urban-future-2
Default textures (only Environment lighting)
Iray Textures with Emissives (and Environment lighting)
This has turned out a lot longer than I initially planned. I was not sure at first if this warranted a thread, but as I could not find any threads detailing out this conversion process for these sets, I set out to make one. I’m sure there are better ways to approach this (I could not for example, find a way to filter for all like-names surfaces in a selected object collection so did each manually) Comments and suggestions are welcome. I plan to save these as scene presets, and eventually create some (hopefully decent) renders with them.
Tirick
As an addendum, it does look like UF5+ are all Iray sets, so I only need to do this for 1-4.
Addendum 2 - If there is an easier way to upload pictures and then retreive their full image URL I would love to hear it. Posting, then editing is... inefficient.


Daz 3D is part of 
Connect
DAZ Productions, Inc.
7533 S Center View Ct #4664
West Jordan, UT 84084
Licensing Agreement | Terms of Service | Privacy Policy | EULA
© 2026 Daz Productions Inc. All Rights Reserved.
Comments
Looks like UF3 is going to take me a while. I was shocked to say the least when I brought it into my scene. Its scale is an order of magnitude larger than UF2. I had to move the camera about 15000 units in Y (and about 10K in X and Z) to get this screenshot. All sets were brought into default origin.
Tirick
UF 1 and 2 are fantastic sets, but they are dwarfed by UF3. The pictures in my prior post do not do it justice. Even these samples below do not really convey everything it offers. There are tons of nooks and crannies for some great shots. It comes stock with 12 cameras (which are invaluable for navigating such a large scene).
Urban Future 3 - https://www.daz3d.com/urban-future-3
Default textures (only Environment lighting)
Iray Textures with Emissives (and Environment lighting)
I needed to alter the time of day for these shots, as the streets are mostly enclosed on two ends there was just not enough environment light for the default 3DL textures. I included a second Iray shot to help reflect the scale of this set. Both shots are through the stock cameras. Like 1 and 2 the buildings are mostly fascades, but this makes up a full (and tall) intersection. These shots are at 8:00 PM instead of 8:30 PM. As with the prior two sets, the only lighting is from emissive materials and the environment sun/sky.
Converting this set took about 2 hours, but I am not terribly fast at this.
On to UF4!
Thanks so much for these!! I was always tempted to purchase the UF1-3 bundle but never did because of the lack of iray.. I only have UF 4-6. It seemed to me like A LOT of work to convert UF1-3 to iray.
No worries! I wanted to convert it anyway, so figured someone might benefit from seeing the potential. As far as I can tell UF4 is also 3DL only textures.
How could you have finished converting UF3 in 2 hours? With me, it might be 20 hours.. I think it was UF4 I was playing with that day and just tweaking the surfaces within my small render scene, it took me forever (I am new to DS and still unsure about surfaces, texture etc... so lots of trial and error)
ps. I bought this converter a while ago but never really used it or learned it, it might come in handy with this conversion. Just putting it out here in case it might in turn help you
https://www.daz3d.com/rssy-3delight-to-iray-converter
With conversions, for each object you can select all the surfces on it. just click the parent surface node. Once they are all highlighted, hold Ctrl (not sure what that is on a Mac) and then double-click the Iray Uber material. It will open a popup and ask if you want to replace or ignore the textures. I chose ignore. That Iray Uber script is really quite good at the conversion, but automatically sets any interpreted emissives to 0 luminosity. Stonemason was really quite descriptive in his surfaces and every possible emissive surface is isolated from textured surfaces (I assume as part of just good modeling practice). You then just need to step through the descriptions and focus on the surface to get a sense of what should be emissive and what shouldn't. His syntax leans towards LED or Glow or Light for these, although quite a few of the Signs I set to emissive (whether or not they were intended to be).
I tried to be consistent with my emission settings. Most LED's and neon lights are 1500 or 500 luminosity (everything is kcd/m^2 units), Real 'lights' I set to higher. 3-8000 Luminosity. Windows are 10-20, and signs are the same. Once I finished all surfaces I then went into Iray Preview mode and checked to be sure the lights looked good (to me), selecting the surfaces in the 3d window and modifying the setting. I like a bit of a neon future look so I erred on the side of brighter typically. I'll probably tweak them when I start using in a scene.
I have quite a few of Riversoft Arts' and Sickleyield's stuff in my wishlist. Sickleyield has a fantastic blog on DeviantArt that has some great lessons (and art).
I look into your rooms in UF3... u had to add emissives to each and every fluorescent tube in there? and all the million light bulbs all over the scene? gasppppp
A lot of surfaces on the same object are used in multiple places, especially the small LED lights and details. Once you update the surface (on that object) they all get the new settings. I have not yet figured out how to select surfaces of the same name across multiple objects though. I've attached a good example from UF1 (with terrible pointer lines, but should give you an idea of what I mean). 90% of the work is in the surface menu, not in the 3D view, although once I was done I would select a surface I didn't like in the 3d view and edit it. Just like above, when in surface selection mode, you select all surfaces on the same object using that surface setting/material.
You're definitely making me want to embark on my own conversion journey asap!!
Those are some amazing conversions, and the Urban Future series is some of Stonemason's most amazing work. I've got a 3dl to iray convertor from the store, may give it a go and see what adjustment it needs after the first pass.
An auto-converter would make this process a lot simpler. Thankfully the stock Daz Uber converter very good. Just more manual steps I suspect.
Could this be saved/shared as a material preset once it was done? I thought as long as it was without the actual textures (which I dont think are included in a material preset), that was allowable, or is there stuff in there that is proprietary? Just wondering if it was possible...
I honestly don't know. I've not even played with material presets yet. I'm saving these as scene subsets so I can easly import them into a scene.
Material presets should be ok, yes. Neither the textures nor the objects would be shared.
Looking great so far @Tirick! Can't wait to see more!
OK, so I have https://www.daz3d.com/rssy-3delight-to-iray-converter, and was going to run it against the Urban Future, and post a mat preset here...but then I realized I only have an Urban Sprawl, and it has iRAY. My bad :(
If I can figure out how to save a material preset I'll share mine here. I am out of town for a few days so it might have to wait until after labour day though.
You do know, when using the surface selection tool, you can right click on a surface to open up a number of options very handy for converting large sets;)
you could save it as a hiearachical material preset for distribution.
^This
Just select the main node in the scene tab, then go to File>Save As>Hierarchical Materials Preset - then name that file something appropriate.
Then you can distribute the file that is created. Other users would choose the main node, apply the preset, then all the materials settings will be applied.
Nice work
Oh, fantastic! I am out of town until Sunday but I'll do that when I get back. I only had one edited texture for the emissive (and that was only on UF2), but I might be able to just save the black cutout as a layer for the Layered image editor. I'm not 100% certain that will work as I have not played with that setting yet, but I'll test it.
Ok, so this is my first attempt to share anything here, so please let me know if I've messed anything up (including sharing inadvertently elements I should not include). I set these up to be unpacked in your My Library folder.
UF1 does not have any child parented meshes, so it is saved as a material preset. It can be found under Presets --> Materials --> UF1Iray. I do not know the functional differences between the UrbanSciFi_P4 file and the UrbanSciFi P5-6. This is tested and applied to the P5-6 (I presume these are Poser version numbers, but I am not certain)
I'm still working out the bugs in the UF2 version. The layered image worked for the cutout, but it has a pernicious reference to the image I had cobbled together that I need to isolate and remove.
I've eliminated the reference and have saved my cutout version to be used as a layered image. Repeat testing appears to work as intended. Please let me know if I have missed anything.
UF2 Iray can be found under Presets\Hierarchical Materials\UFIray\UF2Iray.duf
The zip includes my cutout image under the images folder.
UF3 still requires some tweaking but I will share it once I have it ready.
I have finished the first pass of Urban Future 4. Inital tests show it to be a bit brighter than desired. It also has a significant render cost relative to even UF3. UF3's samples above (same environment and dimensions) finished in <10 min on my 970. The sample below took an hour (and I stopped it at 94% convergence). I expect this set will require removal of unused/unseen assets to render in any decent amount of time. It does have a significantly higher number of emissive surfaces, which is not helping either. It looks great however!
Default textures (only Environment lighting)
Iray Textures with Emissives (and Environment lighting)
I'll go through the set and tweak some emission settings. This set does come with extra props. I was not intending to setup those as well, just the main set prop.
Comments and suggestions are welcome!
Tirick
This is such amazing work! I am speechless!
Cool - will check it out soon - thanks for sharing :)
P4 (Poser 4) had no bump maps (AFAIK) so the textures for that don't use them. PP (Poser Pro, not to be confused with later 'Pro' versions of Poser) came between P4 and P5 and added bump maps). P5-6 used later poser shader systems that included (among other things) bump maps. Generally, PoserPro, and Poser 5 materials (PP and P5) will work in DS (with some tweaking needed) as a basis for 3DL mats (and conversion to Iray as you discovered). I don't *think* they included normal maps with P5.
Wow - excellent work -thanks!
Poser 4 had bump maps, but they were converted to a special .bum format instead of using the raw height map as most applications do.