Kaye Kaye - Learning Through Play
 Kaye Kaye
Posts: 210
Kaye Kaye
Posts: 210
I need to keep a consistent place to put my almost daily(!) images and as a memory aid for what is working for me and what's omg no!!
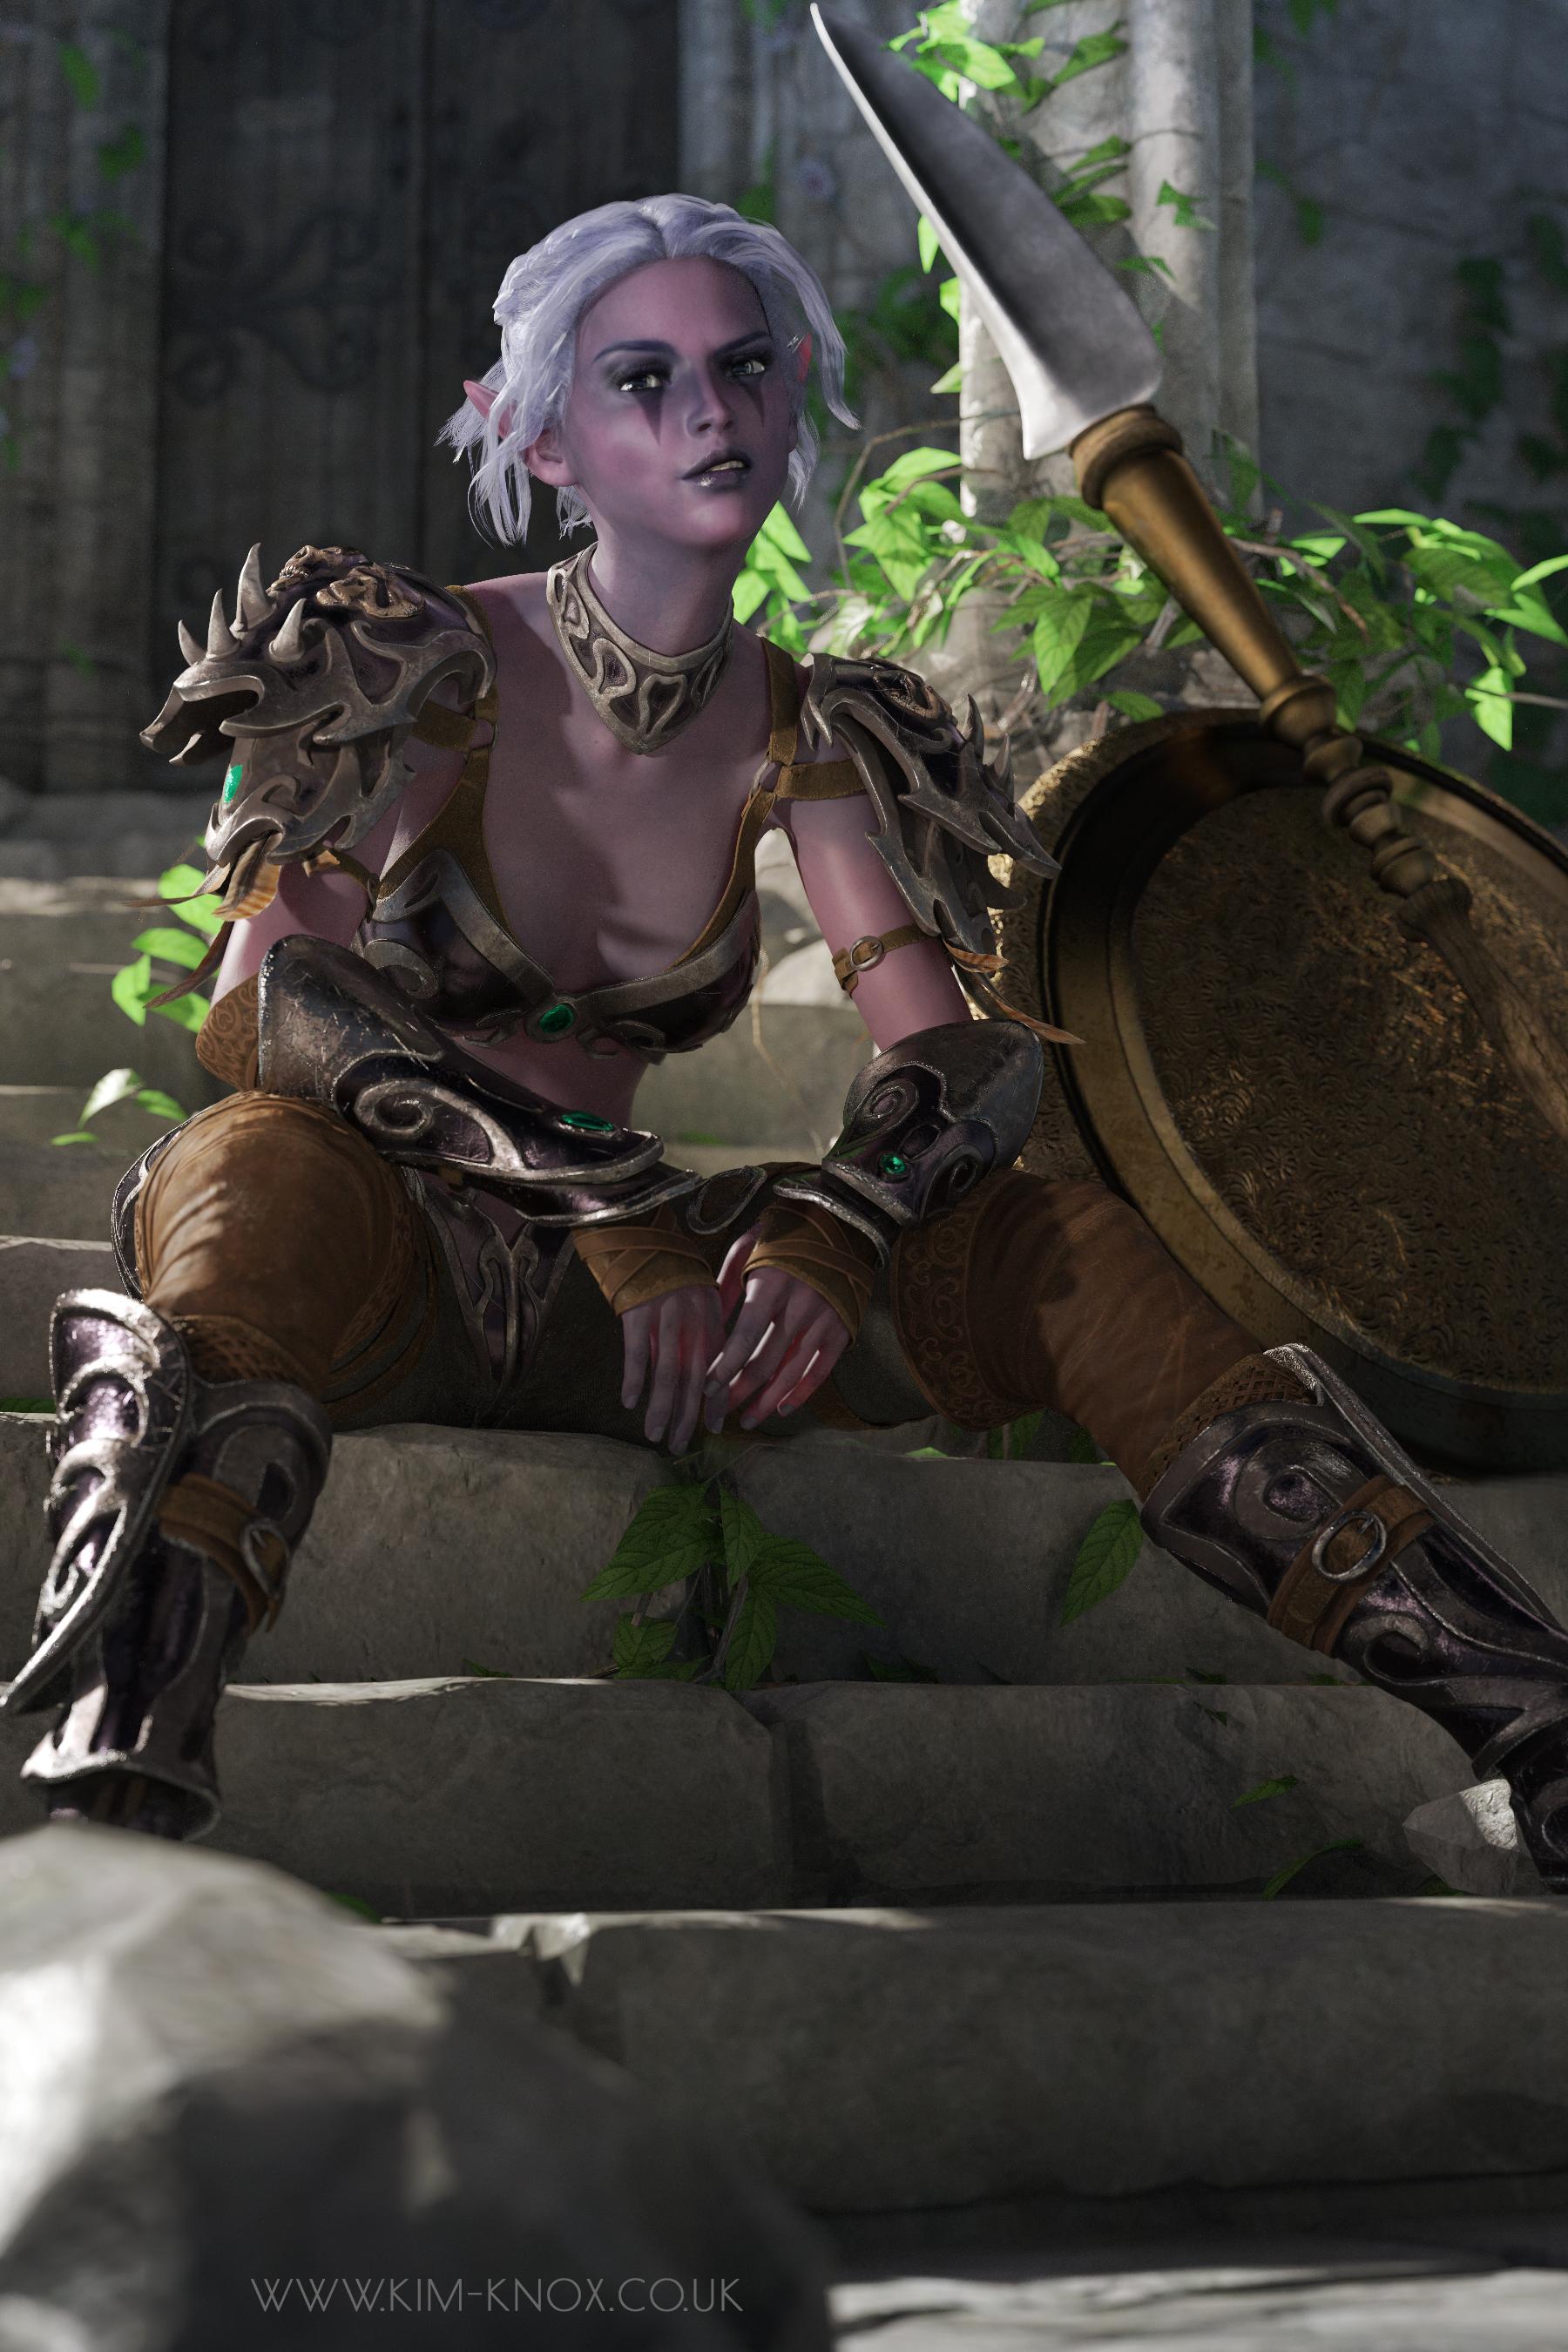
So, starting off with this render of Gen 3 Astrid and her elf armour.
As ever, painting light in Photoshop with gradients is the best and quickest way to brighten an image.
Reminder to spotlight the eyeball that's in shadow for eye highlighting. Normal or specular.
And that I don't have to wack up the render quality to an insane degree to get a decent image.
Now away to write for those pennies! ;-)
Daz 3D is part of 
Connect
DAZ Productions, Inc.
7533 S Center View Ct #4664
West Jordan, UT 84084
Licensing Agreement | Terms of Service | Privacy Policy | EULA
© 2026 Daz Productions Inc. All Rights Reserved.
Comments
A good start! Looking forward to your experiments!
I almost always place a point light above each characters face for accentuating.
Oo, thanks. Yes, BOSS lighting does that. I forget from image to image what works for me, hence this thread! ;-)
This image was an HDRI and a single eye-pointed spot.
Great render, I like it a lot. When you say "painting light in photoshop with gradients," are you referring to a filter? Or do you mean you use a light color gradient over the image?
Thanks!
It's the gradient tool. I mess around *a lot* with the colour sliders :)
I am loving the Erupiter HDRIs from Orestes. The light quality from them is lovely.
Check the hair before walking away from a render! Only Ps's despeckle saved him. Just... ;-)
I wanted to try Marshian's Depth Shader, but getting it to work was eluding me. So, I'll try again on a future image. Learning, as ever, through generally messing about.
And off to write as I faffed away yesterday.
And I finally found out why my brushes and styles disappear every time I close Photoshop : size. Brushes, at least, only has a 2gb limit...and I have too many Ron's and Orestes brushes. *sigh*
This image feels like the start of something bookish...
Looking at her again, I think I may have to dial back on the diffuse filter!
Some very amazing renders here Kaye Kaye!
I really love the last render!!
Aww, thank you! :)
And I fiddled again, messing with hipass and diffuse. I'm liking this sightly sharper version more, I think.
Must go do the writing thing. To make the pennies to feed my Daz addiction... *twitch*
What do do with Charli hair? One Million Years BC it, naturally!
What I learned from this. Lowering the gloss on distant figures helps with the DoF. And though Ester is base male, all her surfaces -arms, irises, teeth etc- are base female. Without it her face did very strange things.
I might revisit this image again to try different filters. This is film grain, different strengths on figure and background.
Something about this image takes f-o-r-e-v-e-r to render. I will work out what one day!
I'm happier with the composition, though I may run it through again and move her right arm in. She's holding the scythe that's behind her head.
And I will continue to love playing with Ellithea, she takes expression so well. Also Maia dovetails nicely :)
Back from holiday, and inspired by the DoF contest, I started to play with colour instead of camera blur.
I'm using the 4.12 beta now and though denoiser doesn't work for me (mac) render times are shorter...just. ;-)
From this image:
Specular light from below and pointed at the shaded eye works better. Esp if light is blue. I think I'll play more with creating shadows with coloured light.
This was also my first attempt to light without my heavy reliance on BOSS. Eep!
And again, no camera dof, though I did use depths shaders, mainly gloss removal, I think. It was orignally more blue, but a graduated pink gradient gave it a warmth, and looked better.
And I wanted to see what RawArt's Wolfman looked like, as I couldn't see the fur/hair till it was rendered. So something simple...and I like him!
Orestes HDR and a right eye specular spotlight, for when I forget... ;-)
I caved and bought this 18th century gown that I've wanted forever, but was scared how to manipulate it. So the reminder for me here is Uber Iray Base (that's probably the wrong way around, but my brain is fuzzy and I don't have Daz Studio open) and playing with the metallicity slider in surfaces as the start of making it not look plasticky. Also displacement and bump sliders.
OMG there is my hubby lolz!!!
But seriously what a great render!!!
Whoa, a writer too. Did you make the cover yourself?
She looks like a living doll beautifully done!!
lol, thank you! :)
All of my epubs domino'd over the past few years and I decided to learn how to make covers myself. Stock image were my go-to before I found Daz and all of the re-released are Depositphoto stock. I'm still learning what Daz can do and how to create the compostion of a bookcover over simply producing a 'scene'. A long path, but it's fun. And addictive!
Thank you!
The gown looks gorgeous! Including the materials!
I think her skin looks a little bit waxy. Or perhaps it's her expression/morph... I think she should either look more like a doll, or less like a doll. Right now it's weirdly in between.
Wow, been a while. As ever, I am slack ;-)
I agree, @hylass. I'm working on my skins after finding out about Dual Lobe Specular!
And a reminder for myself. Always play with Tone Mapping. Always.
(no postwork on the image, as yet. I have to get writing done today!)
Okay notes to myself, as I will forget.
Lanczos filtering 2+ or more is my bestest friend. It appears to be a de-noiser for people like me--Mac-o-philes--for whom the regular denoiser doesn't work.
Linear point light = also best friend. And in point mode--rather than rectangle or sphere--will not reflect a render emitter shape in a reflection/mirror.
I don't have a style yet, I can't take any figure/background/prop and turn it so, no matter what, I'll get the same result that is distinctly 'me'. But I can manipulate and work with an image to get the look I need. Most of the time! Feet-plane emmissives are working well for an illustrative look, and works with older environments. Making the skin that little bit more shiny with emissive lights might be a better key.
Tone Mapping. Always with the Tone Mapping!
And having far too much fun with Filter Forge. :)
Wow, it's been a while! And since the gallery is down, I'll have to share my revisted love of Lucian 7 here ;-)
(not sure what happened there..., but I'll leave the larger file in this post :) )Wow, it's been a while! And since the gallery is down, I'll have to share my revisted love of Lucian 7 here ;-)
Having fun with Cthulhu... :)
A part of the continuing experiment to mix and match Daz and stock images to make better book covers. The new discovery today in photoshop was channel mixer which works better for me than curves.