Wet And Tanned Skins For Genesis 8 Bundle (Commercial)
 V3Digitimes
Posts: 3,389
V3Digitimes
Posts: 3,389
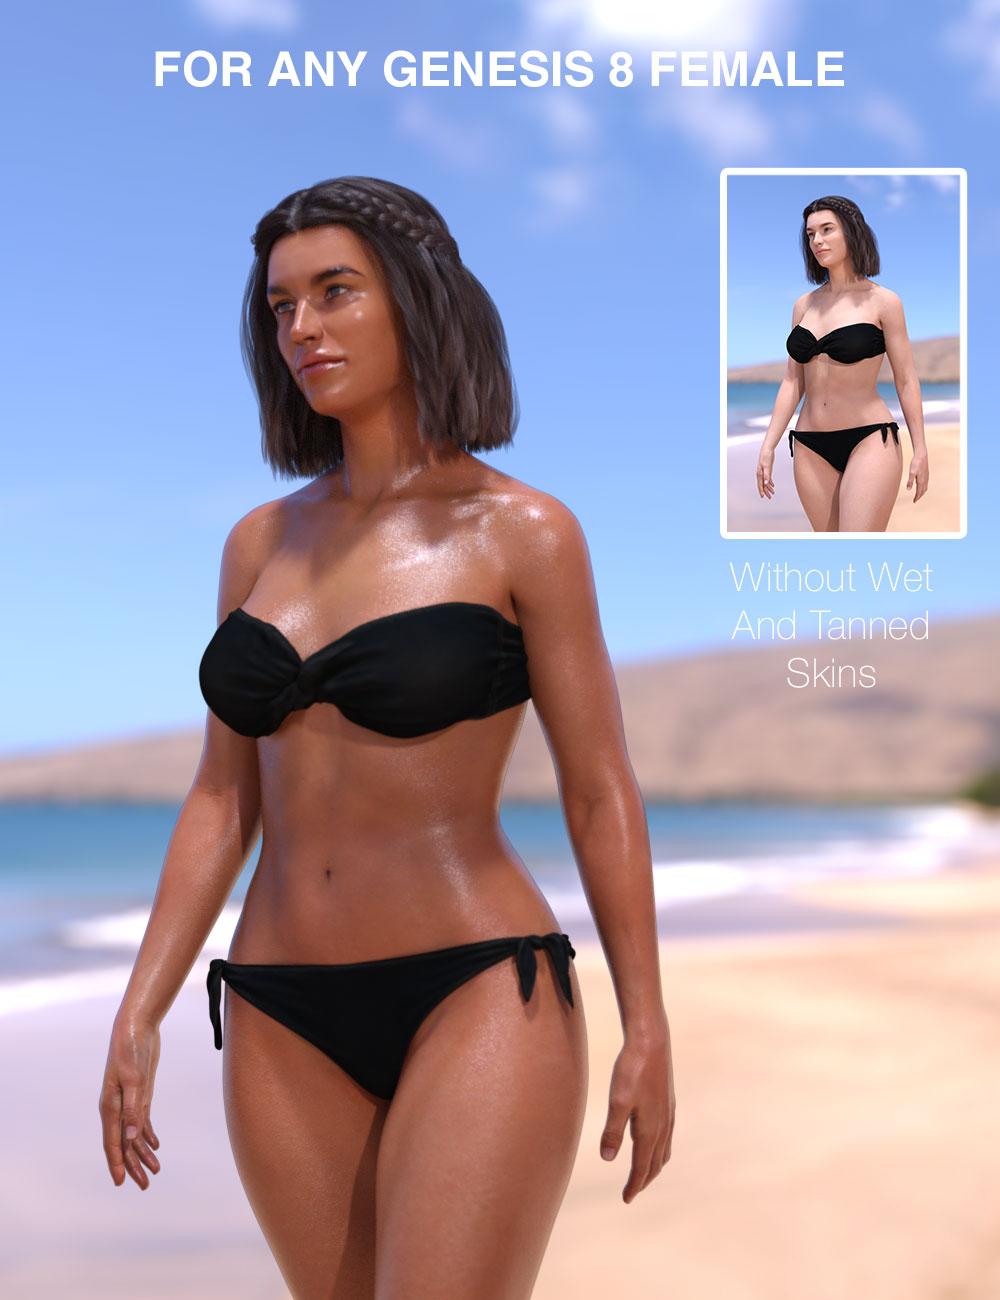
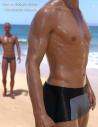
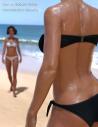
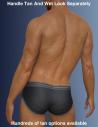
Wet and Tanned Skins For Genesis 8 Bundle is the bundle of the Female(s) and Male(s) version of the product, also available separately.
They can be found here :
https://www.daz3d.com/wet-and-tanned-skins-for-genesis-8-females
https://www.daz3d.com/wet-and-tanned-skins-for-genesis-8-males
https://www.daz3d.com/wet-and-tanned-skins-for-genesis-8-bundle
A brand new shader mixer shader has been developed in order to have :
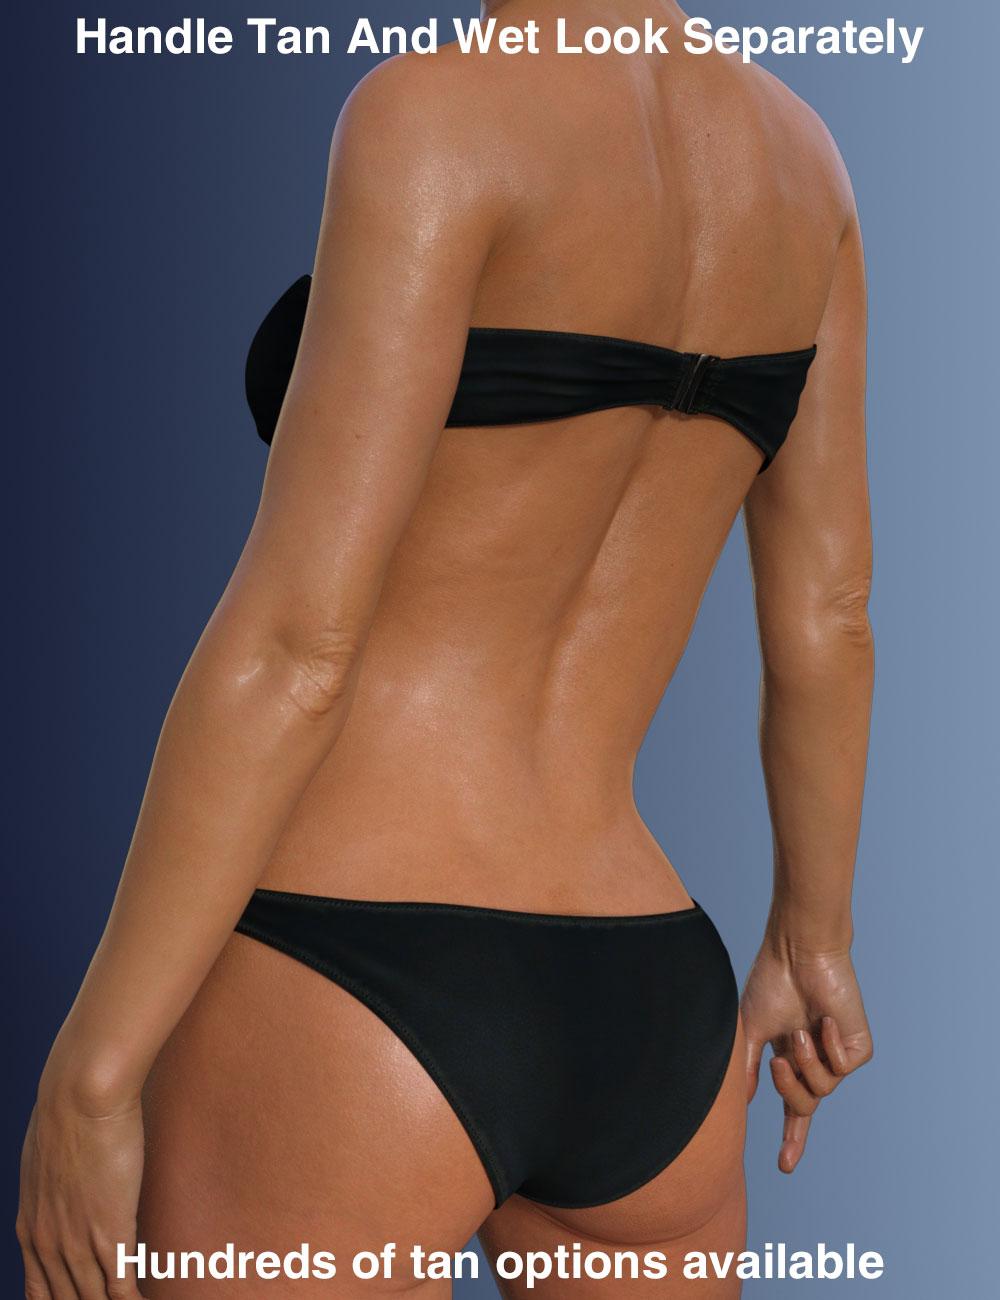
- Tan options varying from pale to very tanned skins using several tools, amongst them :
- Tan Boosters,
- Skin darkness Levels Presets
- Skin saturation Levels Presets
- Skin Hue Corrections Presets
- Many Full or Partial Presets to control the tan
- A Global Interface gathering all Tan/Wet Look/Tan Lines Controls in 3 Tabs where you can precisely fine tune the Tan
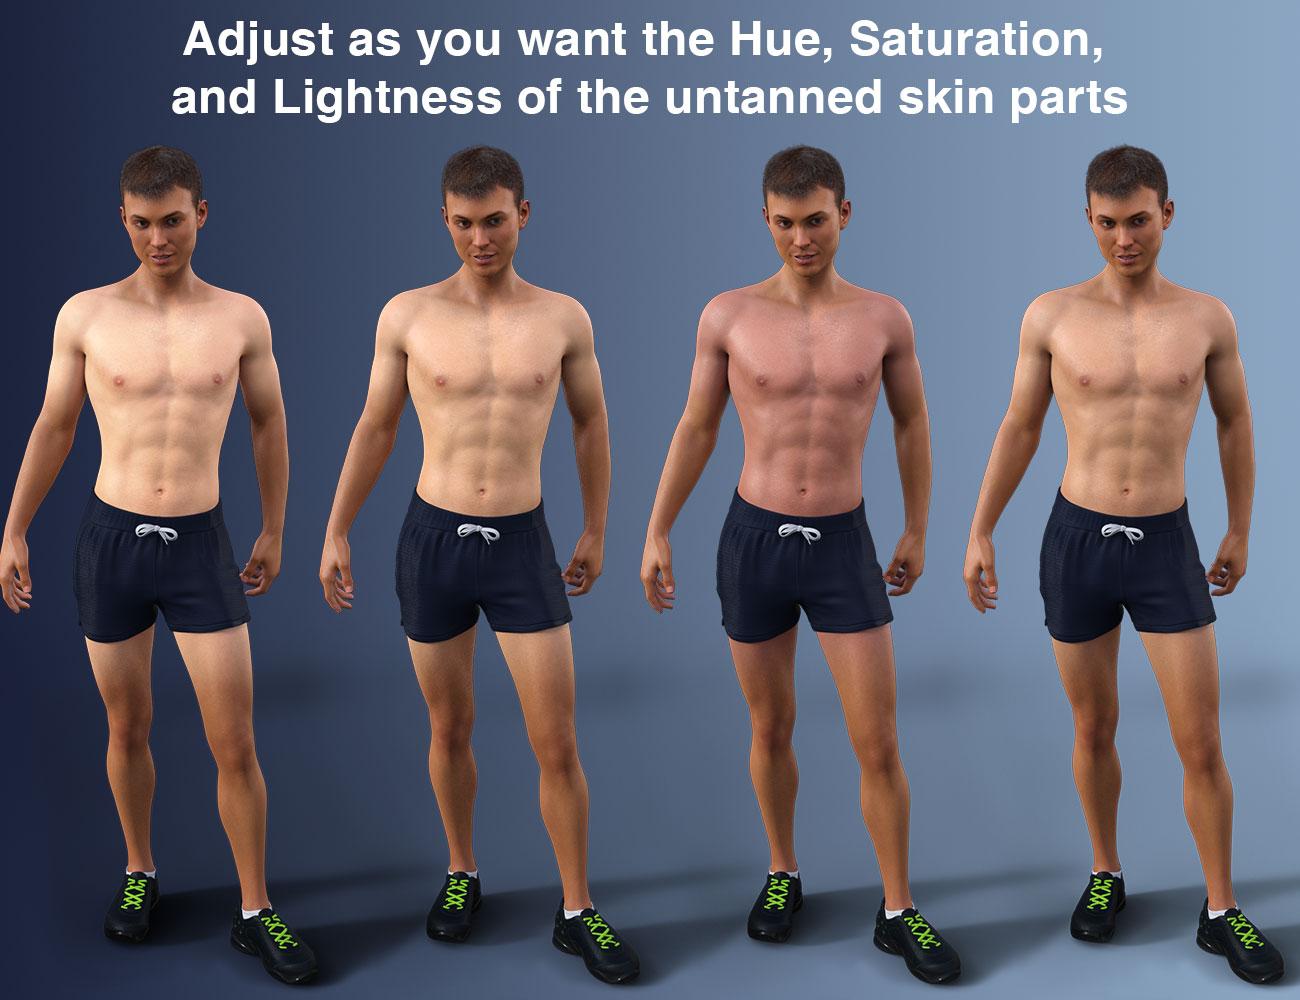
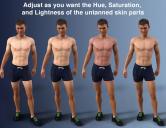
- The Possibility to add Tan Lines, and to control the “untanned skin parts” in term of Hue, Saturation, and Lightness
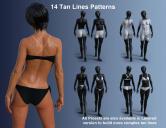
- Many Tan Lines Patterns are included, which can be loaded either “directly” (the new tan line pattern replaces the previous one), or as a Layer (the new tan line pattern overlays (LIE) with the bottom patterns to create more complex patterns.
- Many Tan Lines Colors Full Presets, as well as Tan Lines Colors Partial presets acting on incremental increase and decrease of Hue, saturation or lightness variations strengths
- A Global Interface gathering all Tan/Wet Look/Tan Lines Controls in 3 Tabs where you can precisely control the tan lines color Hue, Saturation, Lightness.
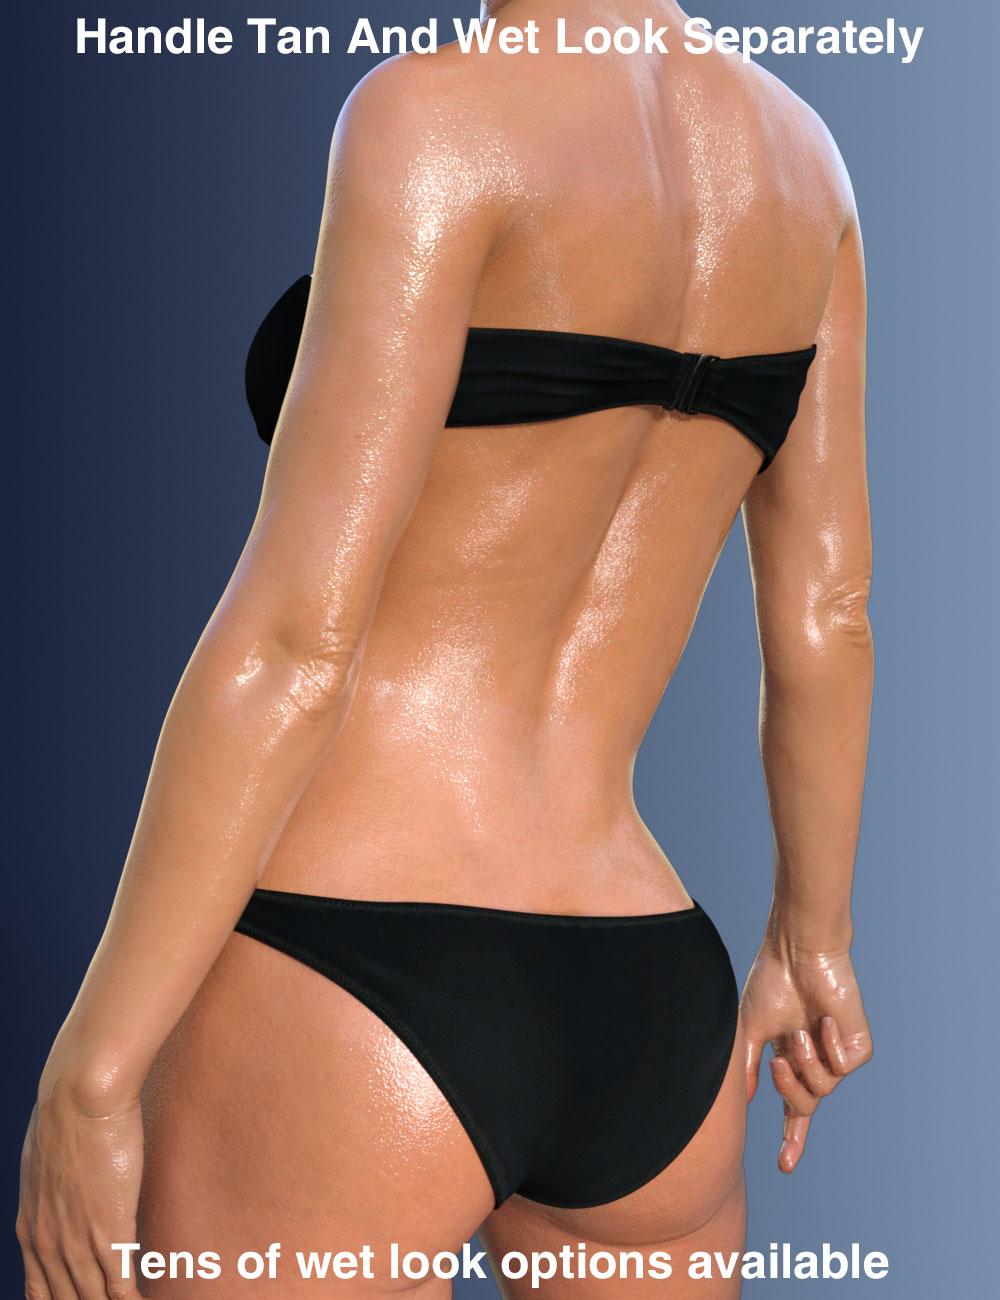
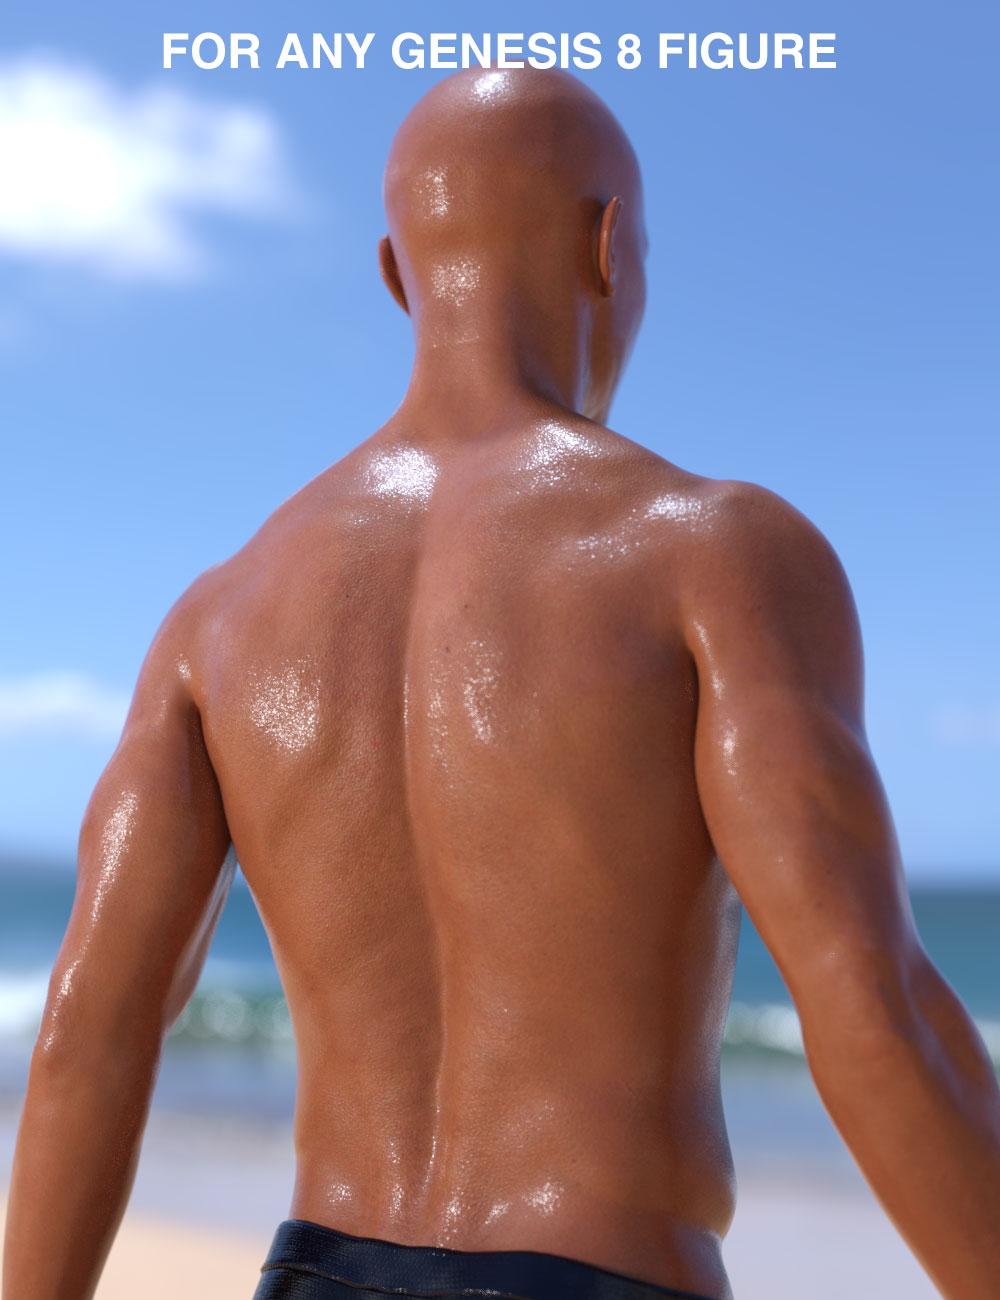
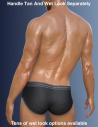
- An additional Wet Layer in the skin shader, coming above all the other shader layers, allowing to adjust the Wet Look amount and reflections repartitions.
- Many Partial Presets to change the Wet Look Amount, Wet Bump Map, Wet Bump Strength, Wet Layer Roughness, Grazing Factor (reflections of grazing rays), Normal Factor (Reflection of Normal rays +/- Global Reflectivity), and Exponent (variation “speed” from Grazing to Normal).
- Various Wet Bump Maps
- A Global Interface gathering all Tan/Wet Look/Tan Lines Controls in 3 Tabs where you can precisely control the Wet Look Amount, Roughness, Bump, and advanced properties (grazing, normal, exponent).
- Support for Genitalia (only for Daz Studio anatomy parts, no external website anatomy):
- A script which will transfer the whole shader properties, place the right maps in the right properties, including the Wet Layer Bump Maps
- Tan Lines presets for Genitalia only, corresponding to the Tan Lines Presets existing for the body of the corresponding figure (also available as direct load or LIE load).
The procedure is simple :
- -> Select your figure and use the conversion script to apply the new shader, adjust the tan if you want to (from pale to tanned via presets or using the interface),
- -> add and adjust tan lines if you want to (no need if you don’t want tan lines) the same way,
- -> increase the wet layer amount to activate the Wet Look (using presets or the interface) and if you feel like doing so, play with Wet Layer repartition presets (or in “Adjust Wet Layer Tab” of the interface).
And this is done!
Any questions, comments, feedback, please use this thread or PM me if you prefer.


Daz 3D is part of 
Connect
DAZ Productions, Inc.
7533 S Center View Ct #4664
West Jordan, UT 84084
Licensing Agreement | Terms of Service | Privacy Policy | EULA
© 2026 Daz Productions Inc. All Rights Reserved.
Comments
Will the bikini tan options include mix and match options? One top and a different bottom option?
Yes, you have splitted Top Option and Bottom Option when you use the LIE presets for the tan lines (you can LIE over the "no tan line" base if you want only the top or the bottom). Edit : more precisely, you can use any bikini bottom with any bikini top, or only bikini bottom or only bikini top. For this you have to use the LIE presets. Edit 2 : by the way it seems that on the image "14 Tan Lines Patterns" with V8 on the left, I used a different bikini top and bottom.
Hello,
Wet and Tanned Skins are finally released.
Three video are also available (one for the tan management, the second one for the wet look management, and the third one for the tan lines (pattern/color) management).
Please consider them not as promo video, but as additional documentation videos, coming as a visual complement of the paper documentation included in the products.
https://youtu.be/9pDnN8tHbeE for the tan management
https://youtu.be/Z9xIE9x-liI for the Wet Look Management
https://youtu.be/yRijQ4Vt-_c for the tan lines management
Just bought the bundle! Your products are always amazing. Can´t wait to play with this one :)
The main promos with the beach backgrounds look so real! I can´t stand boring, dry skin renders. Love the oily effect! Thanks for this!
You are really welcome! And I thank you for buying them, I really hope you will love playing with them.
Remember that in case of any question, remark, feedback, I am available here on the forum, or via PM. You can also have a look at the 3 videos (see the previous post) which are good examples of workflow (for instance you will see that just after conversion the figure is "dry", because I set the "Wet Layer Amount" to 0, so don't be astonished, you simply have to activate the wet layer (set a non zero amount) to see the wet effect). Well I'm not going to re-write the documentation here, so feel free to contact me, I'll be available as long as I don't sleep !
Finally the beach season has started
Lol... During the beach season I was working on this, I almost never saw the sun!
I snagged the bundle as well. I always felt it was a bit odd that someone was fighting for their life, and they haven't even broken a sweat lol.
This looks like the best one of this class of products I've seen yet.
Ahah! Yes, it does even not happen on low cost TV shows.. Maybe on extremely low cost ones...
Thank you very much. I'm really touched because it was a very difficult project, hundreds and hundreds of hours of hard work went into this, so it is really important for me to read this comment. I really hope that people will appreciate using it, as well as the wide variety of results they can reach with it.
i purchased the bundle and i am exited to test it tomorrow. i guess we also can use the skin manager in combination with this new bundle?
good job again.
Bought the bundle, need to learn it, but worth it! Thanks v3 for your efforts. I still use your skin manager every time.
Hello and thanks veen! For now, the skin manager is not compatible with the Wet and Tanned Skins shader. The first reason is that one of the first verification that the Skin Manager does when it is launched is that the shader used by the figure is Iray Uber base. And the shader used by Wet And Tanned Skins is not Iray Uber base. I was wondering if it was worth including the Wet and Tanned Shader in the Skin Manager, because in the product, you already have the "Global interface", which plays the same role as the Skin Manager would play, even if only the important properties are displayed. I think I will have a look to Skin Manager to see if the update would be a minor update (such as including the fact that this new shader is allowded, and a popup displaying all the list of useless dials and buttons - because you cannot change the SSS Mode or the Top Coat Mode), or a major update (if it requires more complex script modifications). In the second case, I'm not sure I'm gonna take the risk to do it. In the first case, I have to think if it is a good think, because the core of the tone and wet look management is only in the global interface included in the product, and not in the base existing properties displayed by the skin manager. This is the second reason annoying me. What would be cool is that you let me know, after playing with the tan and wet look, if you feel the need for the skin manager to be made compatible, or if the global interface is enough.
Thanks a lot Paintbox. I hope you will be happy with it. I will be available this week end for people who will play with it, so that I can answer the eventual questions.
Ok i have tried it and i must say it would be awesome if this bundle could work together with the skin manager so we can choose the skin color we whant.
OK good to know, I'll have a look if I can have the Wet N Tanned shader accepted by the ultimate skin manager interface.
Good news, it seems (first tests, more tests required) that I should be able to update "ultimate skin manager" product so the "Wet and Tanned skins" properties (well, the many properties shared by both Iray Uber Base and the Wet And Tanned skin Shader) are also controlled by "ultimate skin manager" interface. This way you would be able to work both with the Global Interface of the Wet and Tanned Skins (for the specific properties added by the shader) and with "Ultimate Skin Manager" for all the other Iray Uber base properties if you want to. I planned to do updates for various products in September anyway.. I'd like to see if I can make a clean update so that if the Wet and Tanned shader is detected by the "Ultimate Skin Manager", then the useless properties (the ones fixed in the Wet and Tanned shader, such as the PBR model, or the SSS mode for instance) are not displayed any longer in the Ultimate Skin Manager Interface. But I have to handle this with care...
Good news, we/ i looking forward to the updates if you manage to let it work with eachother.
kind regards.
.
Here is my first render. I didn't tweak much of anything. I used pretty low preset settings. I used a Tshirt tanline. The model is Harrison for Michael 8.
a. If you want to apply the wet look and keep a pale skin, you have to chose a tan full preset (or build it with the partial presets using low darkness, low saturation, low or no tan booster, and then adjusting the hue) corresponding to a pale skin. And of course you activate the wet look too. You will not have the exact original skin tone of the figure , but when I played doing this, you can really go close to it.
b. The new shader itself (the wet and tanned) does not propose this option, it is metallicity roughness. If you speak about the initial figure, I have found no figure in my Library using specular glossiness, they all were metallicity (and my whole male and female libraries were tested) . But knowing how I built the new shader, and how the maps are transfered normally (I am 95% sure) it should be fine, except that maybe you have may to adjust (lower) the Base gloss of the figure if specular glossiness gloss lost its maps (depends if daz studio auto tranfers it). For metallicity roughness initial figures, the Base gloss settings are left untouched, this was one of the advantages of using a dedicated wet layer. Let me know if you have issue with specular glossiness so that I can set up, write and share a procedure if needed.
Thank you so much for sharing barbult! Well, now he is going to discover if women find him more sexy with or without his tee shirt ;)
.
Well I just tried on a model I converted to Specular Glossiness before doing the shader transfer (apply the wet and tanned shader), and everything worked fine, I just had to slightly adjust the roughness of the base skin. But indeed, by default you will be set to a Metallicity roughness Model.
.
Is Wet And Tanned Skin bundle aimed exclusively at Caucasian characters? I've been trying to use it with Saiyaness' Benita and she keeps coming up pink. Also with Asian characters like Midori from E&J, and that comes up REALLY pink.
No, it is not limited to Caucasian characters, but you are right to ask, because it is basically optimized for them since they represent the wide majority of skins in the store.
In order to handle darker based skins, you have to set up a few parameters differently from the ones used for the Caucasian skin, and they are these once :
- when using the main converter : "G8WT !!Apply Wet Tanned Skins", it is better to choose the preset option C or D
- after using the main converter, if the skin is still too pink, it will probably come from the translucency level of the shader. In this case, what you have to lower the translucency amount (using for instance G8WT Tan !!!Translucency 01 VERY LOW), and also lower the Tan Booster (for instance use a Tan Booster null or low : G8WT !!!Tan Booster OFF).
- if after lowering the translucency and the Tan Booster, the skin is still too pink you can open the G8WT !Global interface and chose a less saturated color in the Translucency Color AND change the color used for the color hue correction (In the "Color Layer Hue Correction" box, because this color is by defaut pink in order to to warm up the skin tone), as well as lower the amount of hue correction (lower the "Layer Blend Strength" dial in the same box of the interface).
If you still have issues, just let me know, I'll go on solving your problem, but in 90% of the cases, it solves the issues for dark based skins. If the figures you mention have specific features which require more adjustments, I'll find out and share what they are, but normally with what I wrote here, it shoud be fine.
Just let me know.
just checking in to see if you've updated Ultimate Iray Skin Manager to work w/ your Wet and Tan,.. I'm really liking wet and tan I'm just hoping w/ the addition of UISM I can lighten the color of the face while keeping the remaining tan and wetness the same.
Hi. I use Minami and found some mottled area as shown. Please tell me what to do.
Hi, I just bought Minami and made some tests. All this can easily be solved.
For the face issues, it comes from the fact that the creator of Minami used a diffuse overlay above the face of the figure, which was fine for the shader he used, but not when the skin tone is tweaked. You can remove these defects by selecting the Face surface using the Surface Selection Tool or directly in the Surfaces editor Tab (in this Tab you select the “Face” Surface), and set “Diffuse Overlay Weight” to 0.
The second issue comes from the difference of the Arms Surface with the rest of the body. God knows why, the Metallic Flakes Weight of Minami's arms is initially different from the Metallic Flakes Weight Value for the rest of the body (which is null). You have to do the same, select the Arms surface (Surface Selection Tool or directly in the Surfaces Editor Tab), and set the Metallic Flakes Weight to 0.
After testing a bit, for the wet look I preferred using Wet Map 2, the visual results seems better than keeping the initial figure maps (which is the default option when converting). The shortest solution is that I share with you here a material presets with the corrections. Of course, this is just a base preset and you can customize it to your taste. EDIT : I join two versions, one very wet and dark (too much??) and one (V2) much more clear and less wet. This way you have two very different starting points.
One more advice, I remarked that you are going to add eyebrows at the end, and that the materials for eyebrows in Minami product are provided as Hierarchical material presets (it means that the whole skin shader will also be changed - actually reset- if you apply them “directly”). If you want to change the eyebrows color, you will have to select the eyebrows surface, hold down the CRTL key while you double click on the EyeBrows material presets. A window will pop up, and in “Surfaces”, you will have to choose “Selected”.
I hope this helps, but feel free to let me know if you still have issues to solve.
The update is ready to submit, but I have not submitted it yet. I wanted to submit all my updates at the same time, and the latest one is not totally over. I don't know if it will help you changing only the face surface since it rather treats the skin as a whole, but it may be worth trying anyway.
Hi!
I'm digging your product, however i have one question;
After applying the tan/wet (i'm trying to keep the original skin colour and just add wet), i'd like to have the characters lips and nails to what i origginally had on her before applying the base shader. But when i change the base color from surfaces, i can't get the color to match.. I mean, if i click "magenta" for lips colour, it turns out light pink or rose, not vibrant and deep magenta. I guess this has something to do with the whole base shader. How can i work around this?
Thanks a lot for your help and the great product!