Iray DAZ Studio - Light Path Expressions - for compositing in photoshop
 linvanchene
Posts: 1,386
linvanchene
Posts: 1,386
Updated / Edit 2018-03-16: Split the first post into other posts to keep different topics separate.
Updated several times with screenshots, links and test scene files.
- - -
I stumbled upon Light Path Expressions with the help of Richard while trying to figure out an Advanced Iray Node Property.
Light Path Expressions can be used to split the rendered information based on their path into specific sub images.
The images could be exported as .exr files that allow for advanced compositing techniques in photoshop.
The basic idea is to render the images once and then if you or the client wants to change some effects this can be done without the need to rerender all the images but with more time efficient photoshop editing.
I will first provide the links to the official information and then provide some examples how Light Path Expressions can be accessed from the DAZ Studio Iray Canvases settings.
- - -
Official youtube video published by Nvidia on 26 Oct 2017
Iray Light Path Expressions

- - -
"An LPE is a regular expression that matches some light transport paths that iray generates, but not others. Each result buffer can be associated with a LPE so that only paths which match the expression end up contributing to that buffer. Iray also allows you to render several buffers with different LPEs at the same time at almost no additional runtime cost. LPEs can distinguish between different surface properties such as diffuse or glossy, reflection or refraction, types of light sources, and names."
Source:
http://blog.irayrender.com/post/37260056351/instant-relighting-nonphysical-effects
Regular Expressions:
https://en.wikipedia.org/wiki/Regular_expression
About Light Path Expressions:
http://blog.irayrender.com/post/76948894710/compositing-with-light-path-expressions
The get a grip series:
http://blog.irayrender.com/post/75582593845/get-a-grip-1-separating-objects-using-lpe
http://blog.irayrender.com/post/77365439434/get-a-grip-2-instant-color-change
http://blog.irayrender.com/post/78094420163/get-a-grip-3-more-complex-color-changes
- - -
Now that you read trough all that the basic idea should be more clear.
Now how can we access Light Path Expressions in DAZ Studio?
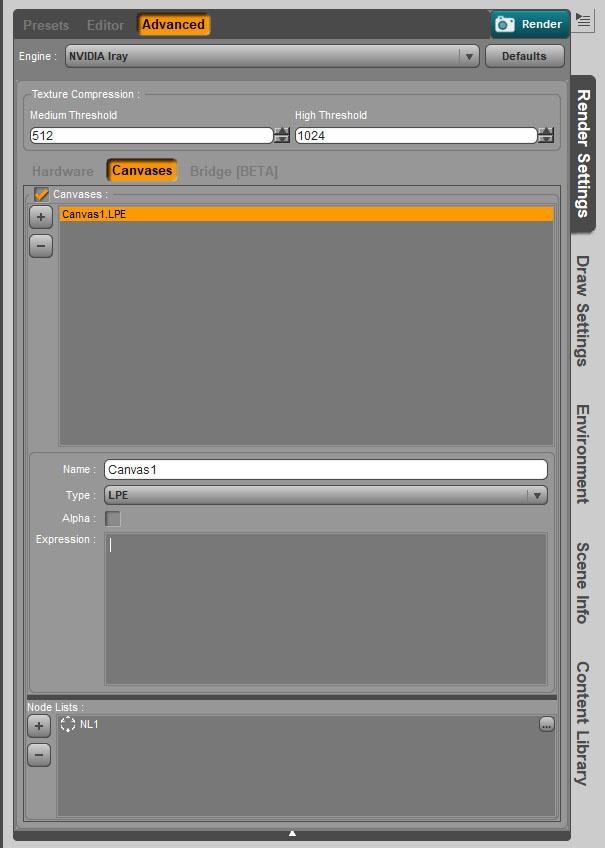
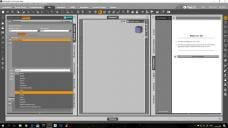
When you set up "Canvases" in the "Advanced" tab of the Iray Render Settings in the pulldown menu for "Type" you can select "LPE.
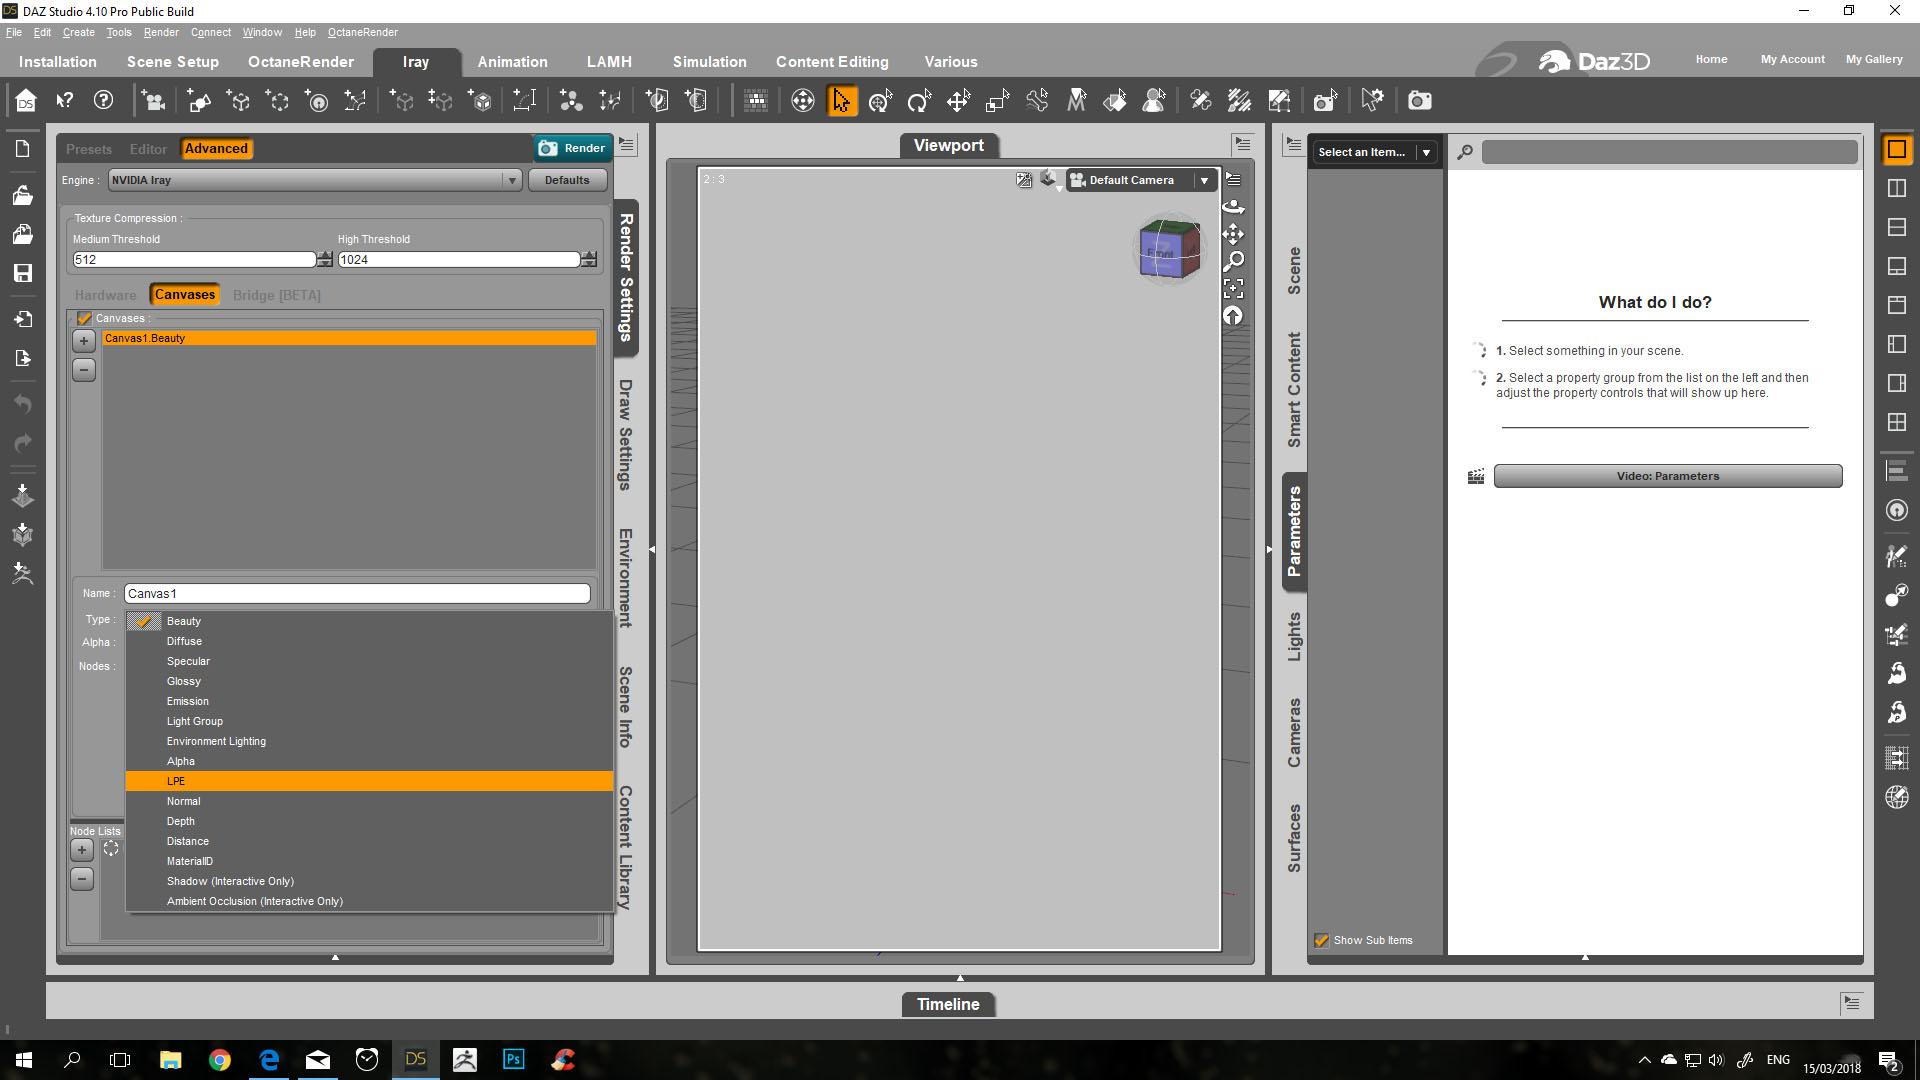
When you select LPE you can enter an expression.
- - -
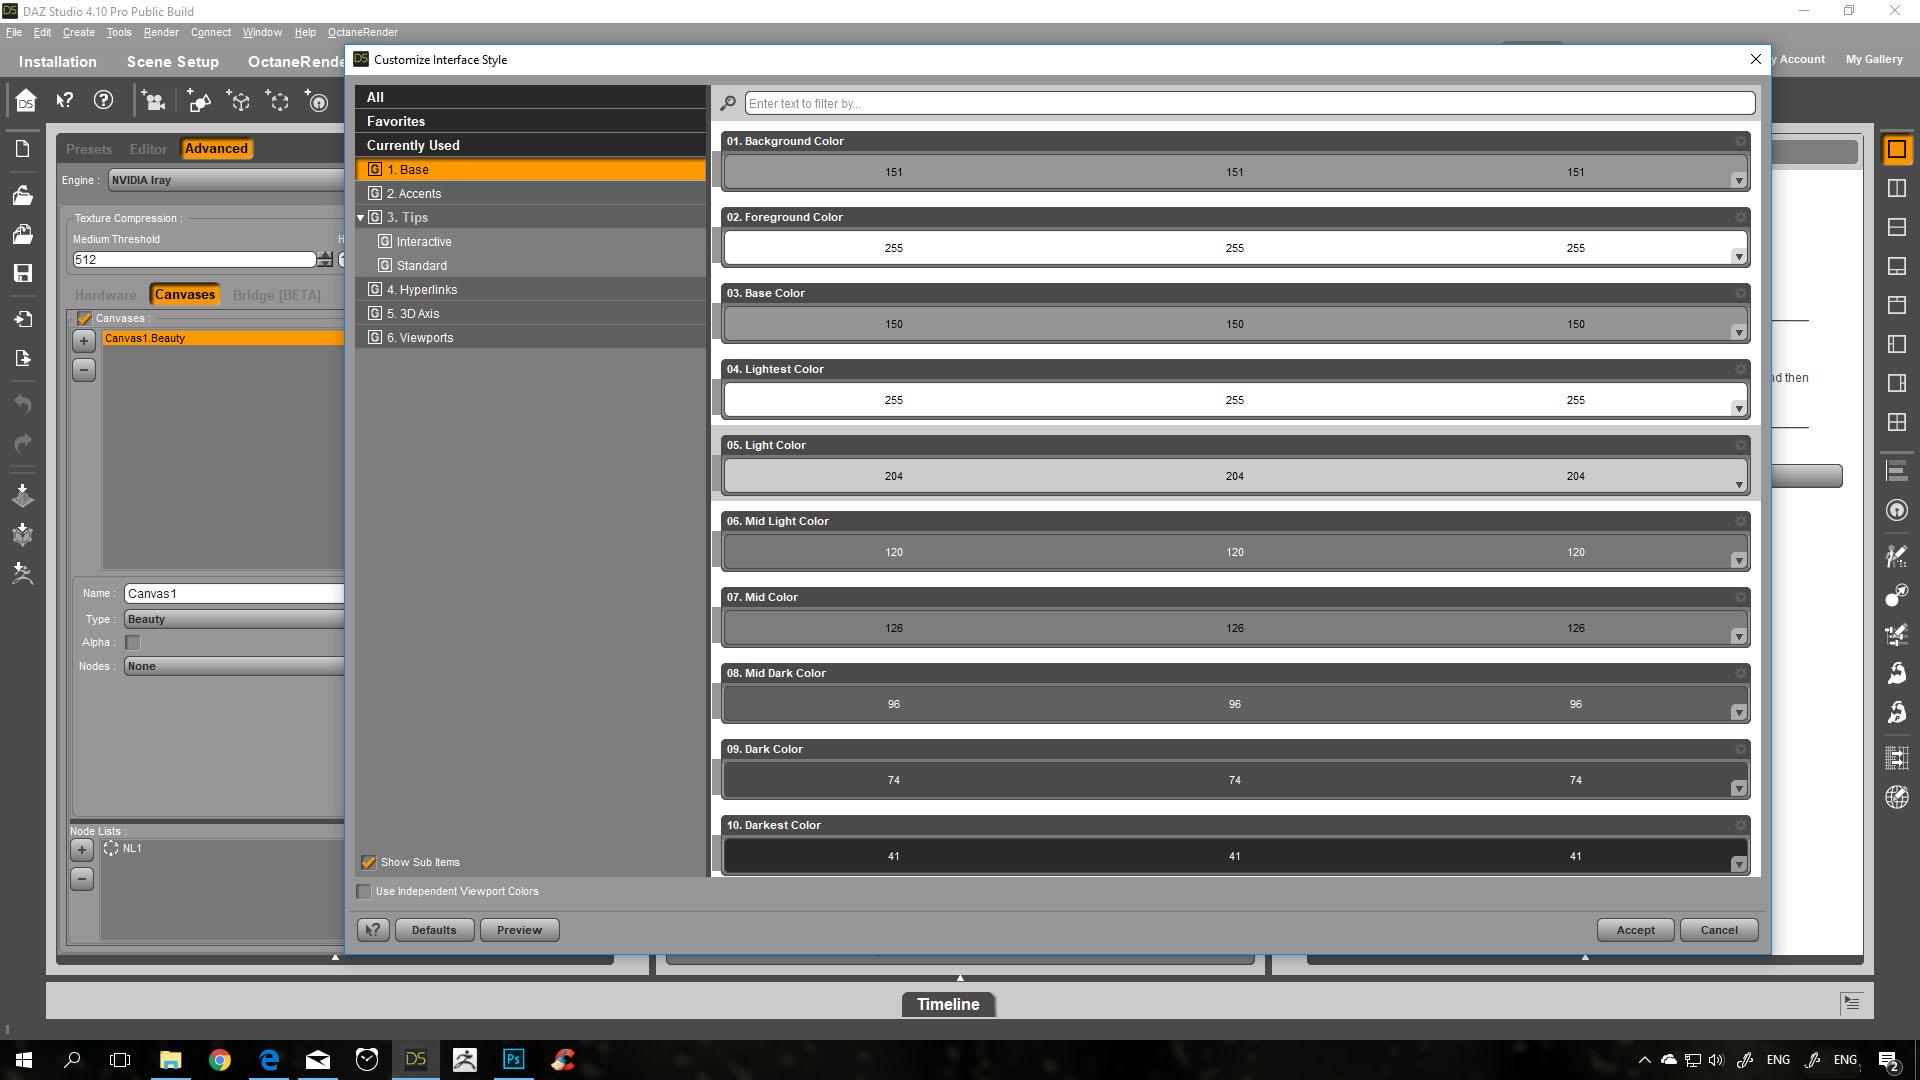
Side Note: Depending on the layout colors the Canvas options in the "Advanced" tab can be hard to spot.
The colors can be adjusted in Window -> Style - Customize Style.
- - -
Light Path Expression examples:
Lets start with the expressions introduced in this blog entry:
http://blog.irayrender.com/post/37260056351/instant-relighting-nonphysical-effects
The DAZ Studio "Primitives test scene" (size 51.5 KB) is attached to this post as a .zip for those interested.
https://www.daz3d.com/forums/uploads/FileUpload/cf/7cef11f62bcf97bc37d9f432bca9ca.zip
I will just use quotes from the blog entry for the official explanations.
Le .* E
"We are interested in light emitted by the environment (Le) that bounces from any type of surface any number of times and then hits the eye (E). As in standard regular expressions, the dot character matches any interaction, and the star operator means “repeat any number of times”. So, we get "Le .* E" for our first buffer"
Le = light emitted by the environment (Le) that bounces from any type of surface any number of times
E = then hits the eye (E)
. = the dot character matches any interaction
* = the star operator means “repeat any number of times"
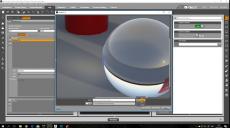
If you use Le .* E in the test scene you get this

- - -
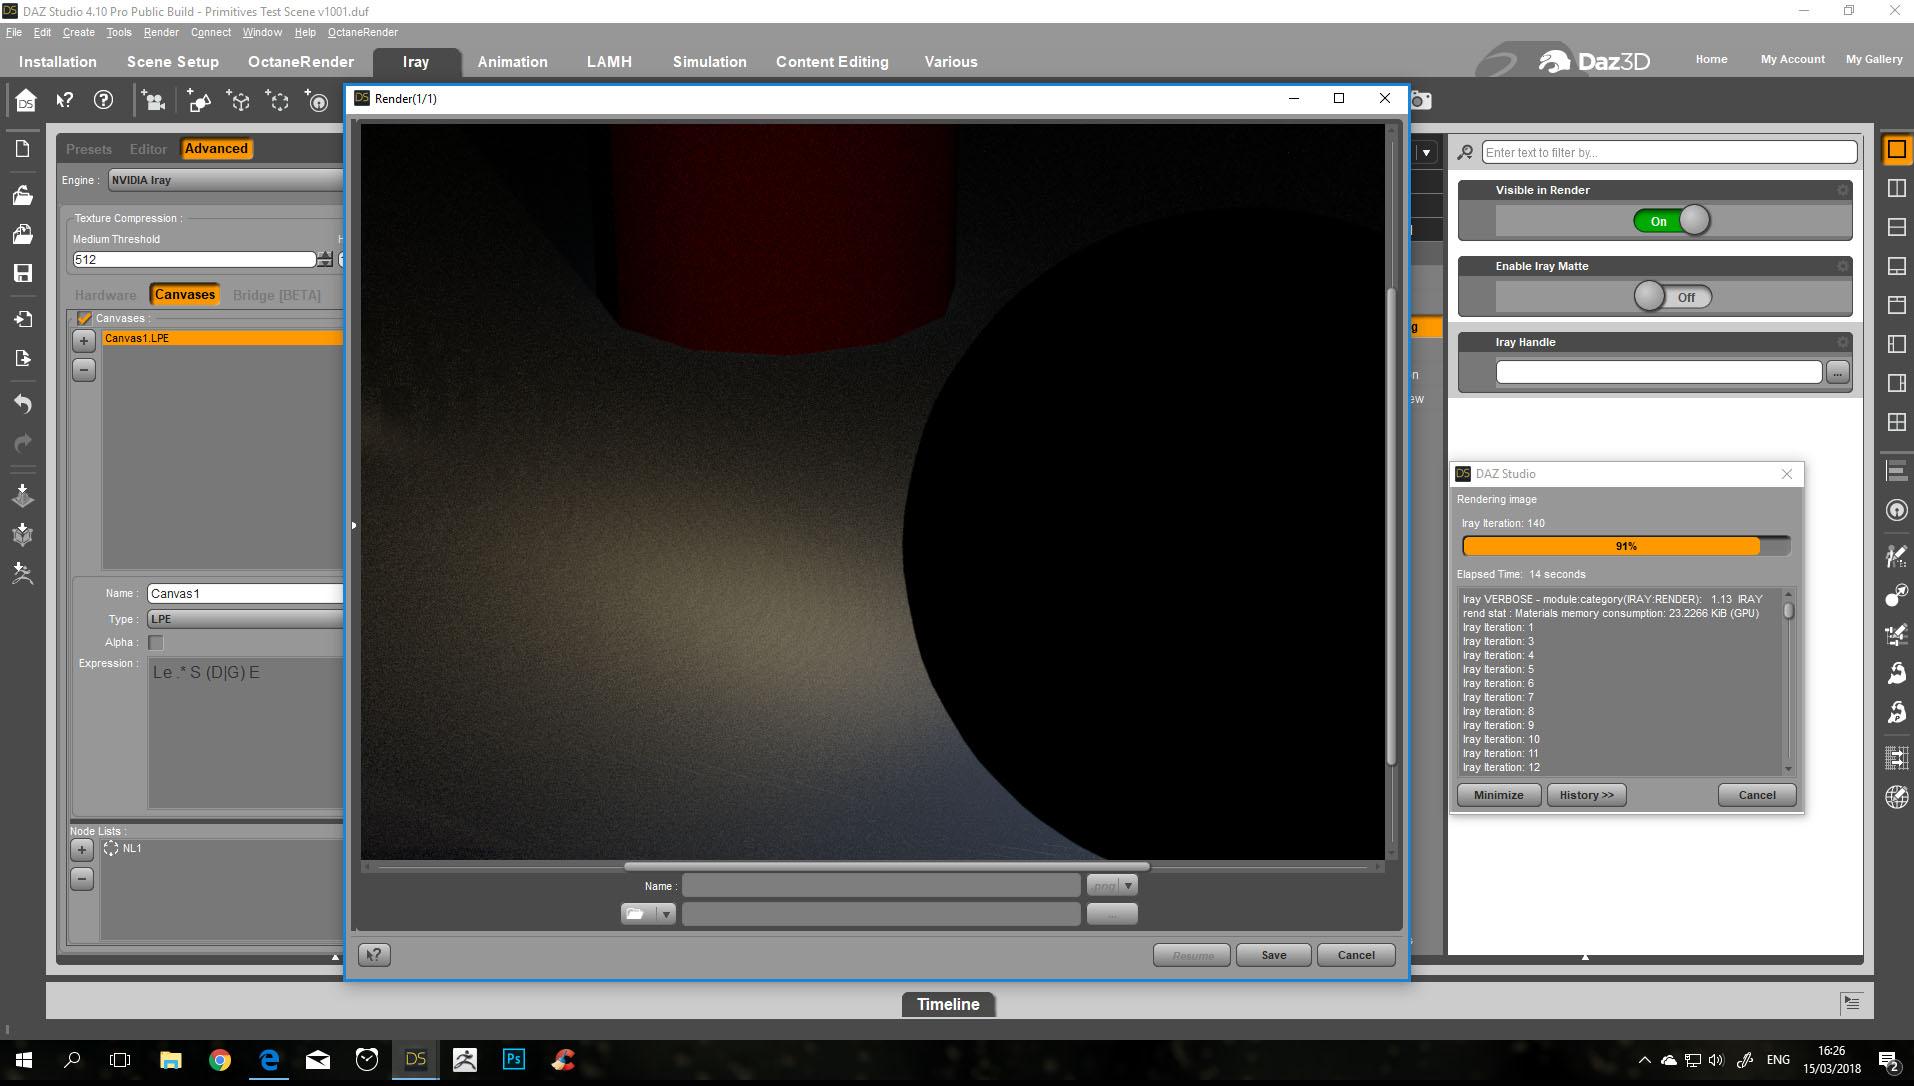
Le .* S (D|G) E
"The other light is an area light, so we can filter for La. Or, we can filter for the names of groups of lights as well as individual ones. The caustics we are interested in have had any number of arbitrary interactions with the scene before hitting a specular surface and then ending up on some diffuse (or glossy) surface. The corresponding LPE is "La .* S (D|G) E". Instead of (D|G), we can also use [DG] or [^S]."
There is no area light used in the DAZ Studio test scene as in the blog example. Therefore we can use once again Le for the Environment light instead of La for the area light.
Le = light emitted by the environment (Le) that bounces from any type of surface any number of times
E = then hits the eye (E)
. = the dot character matches any interaction
* = the star operator means “repeat any number of times"
S (D|G) = Diffuse or glossy surface
If you use Le .* S (D|G) E in the test scene you get this
- - -
The point of this first entry was to show how Light Path Expressions can be accessed from the DAZ Studio Canvases.
By following the official Nvidia Iray blog entries you may find more examples how Light Path Expressions can be used to composite images.
- - -


Daz 3D is part of 
Connect
DAZ Productions, Inc.
7533 S Center View Ct #4664
West Jordan, UT 84084
Licensing Agreement | Terms of Service | Privacy Policy | EULA
© 2026 Daz Productions Inc. All Rights Reserved.
Comments
Compositing example - individual png combined in photoshop
It seems possible to export individual images created with expressions as .png
compare:
http://blog.irayrender.com/post/76948894710/compositing-with-light-path-expressions
- - -
Note: I did not properly tonemap those images (yet) because I just quickly wanted to see if the expressions and combining just the individual .png in photoshop works.
Diffuse LPE: L.*<RD>E
Specular LPE: L.*<RS>E
- - -
Combine individual .png in photoshop
Note: Glossy is left out in this example because it rendered black. Will need to check why. Maybe because I did not pay attention to the tonemapper yet.
At least this should give you some idea how this could be used for compositing.
- - -
Side Note:
I do not know yet if some information is lost if images are exported as .png instead of an .exr
compare next post...
Edited: Split off to a 3rd post to keep working examples separate.
Edited:
.exr files are exported when rendering canvasses
When you save the image filename.png from a render with canvasses a folder filename_canvasses will be created, which will hold the individual .exr files for the canvasses.
Thank you Kevin and Richard!
- - -
Open Questions
Subjective impression:
In general I have not yet figured out how it is possible to render out several expressions at the same time in DAZ Studio Iray?
The basic idea would be that individual expressions for the scene are calculated automatically either at the same time or one after the other and then saved as layers in an .exr file.
.exr would allow the option to export a whole bunch of "layered" images so the user does not need to worry how to combine them again in photoshop by setting the proper blend mode like "linear doge - add".
Side Note: In other render engines there are plugins or photoshop bridges to export layered images as .exr
- - -
Question 1)
Compositing Example - exr with layers
Is it possible to export
Diffuse LPE: L.*<RD>E
Glossy LPE: L.*<RG>E
Specular LPE: L.*<RS>E
in just one .exr file?- - -
Update / Edited:
So far I figured out that it is possible to set up three different canvases and when rendering they each will be written to a different .exr.
Compare later posts...
Not by my home computer to check but don't you render out canvases for exr? I thought it was an option there.
When you save the image filename.png from a render with canvasses a folder filename_canvasses will be created, which will hold the individual .exr files for the canvasses.
Thank you both.
There was a bunch of folders with .exr created without me noticing.
-> Edited the last post to leave only the open question about exporting multiple expressions in one .exr
- - -
I still may have some settings wrong because the .exr look "weird".
My first guess is that I may need to have a look at the tonemapping options now.
- - -
Question 2)
Which Open EXR read options do users need to select?
Alpha Channel Data
as Transparency
as Alpha Channel
- - -
Will try to make an example with tonemapping set up as suggested in the dev blog next.
- - -
I updated the last posts with the information that .exr are exported.
I still need some help figuring out how to set up canvases properly so they export .exr with the proper values.
I updated the test scene to v1003 and attached it as .zip again:
Primitives Test Scene v1003 (51.6 KB)
https://www.daz3d.com/forums/uploads/FileUpload/a4/b2bf1525654a9bc3994e545f345428.zip
- - -
Tonemap settings
Quoted from the dev blog:
"Linear space: Turn off the tonemapper before rendering
Before you render your images, make sure that no tonemapping is applied since we want our rendering in linear space. However, turning off the tonemapping completely might result in extremely dark or extremely bright pictures that are more prone to showing fireflies. The trick is to leave the tonemapper on with its parameters set so that it outputs an image in linear space with an optimal brightness that allows the firefly filter to work optimally.
First make the tonemapper linear by setting it to the following values:
compare:
http://blog.irayrender.com/post/76948894710/compositing-with-light-path-expressions
- - -
With the Tone Mapping Adjusted the image now looks like this:
- - -
I set up three canvases each with one expression
Diffuse LPE: L.*<RD>E
Glossy LPE: L.*<RG>E
Specular LPE: L.*<RS>E
- - -
After the canvases are set up it is possible to select the "active" canvas in Rendersettings - Editor - Canvases
I then rendered out the active Canvas to the window and saved it as .png
I then noticed that actually all three canvases where rendered out in one go and each saved to another .exr
The file name I used was PTS v1003 LPE Diffuse because I expected only the diffuse canvas to be rendered out.
It seems the other two Glossy and Specular were rendered out as well and automatically the name of the Canvas was added to the file name.
- - -
Unfortunately I still seem to have some settings wrong because the .exr still look different than expected in photoshop.
Diffuse LPE: L.*<RD>E
Glossy LPE: L.*<RG>E
Specular LPE: L.*<RS>E
I expected the .exr to look somewhat similar to the .png versions of the impressions.
- - -
Any ideas which settings I still need to change?
Has anyone allready experimented with canvases and .exr and can give me some hints which settings I still may have overlooked?
It seems strange that when rendering out the expressions as .png the images can be composited easily with blend mode "linear dodge - add" but when exporting as .exr the images look completly different than the .png
- - -
Those look completely normal to me. Did you tonemap in PS?
Updated to add screenshots from the tonemapped png versions to compare.
In photoshop I followed those steps as described:
"
In Photoshop create a new 32 bit RGB image with the resolution of your rendering.
A popup window appears.
A black layer is created.
The file is opened as a smart object (which allows for lossless processing with filters. See the Adobe help for further description).
Source:
http://blog.irayrender.com/post/76948894710/compositing-with-light-path-expressions
- - -
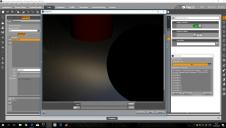
What I get as a result with the EXR is this:
- - -
What I get with the PNG is this
Diffuse now tonemapped as suggested
Glossy now tonemapped as suggested
Glossy still renders out completly black. Maybe something is wrong with the LPE expression for glossy?
Specular now tonemapped as suggested
All 3 png combined with blend mode linear dodge add
- - -
The way I understand it the idea would be that the 3 PNG or the 3 EXR add up to the same original image as if you would render out just one normal .png without expressions.
That way it would be possible to edit the "Diffuse" "Glossy" or "Specular" layers of the image separately.
What I do not understand is why the EXR look completly different than the PNG?
- - -
In addition something seems still to be off with the "Glossy" Light Path Expression. L.*<RG>E
It still renders out completly black as .png as well and that is one reason why the .png layers do not add up to the original image.
- - -
They do, but they're not tonemapped. pngs are tonemapped. You have to convert to a lower bit depth or go through Image>Adjustments>HDR Toning. Then use Exposure and Gamma method.
EDIT: You can do View:32-Bit Preview Options instead to only change the preview.
Thank you so much!
HDR toning
Exposure and Gamma
- - -
Just what are the intended settings in photoshop to have all three images adding up in the end?
- - -
Side Note:
In the other render engine the whole .exr export and setting them up in photoshop is handled by a bridge plugin.
-> Seems I need to read up more on working with .exr and setting them up manually in layers in a non destructive way.
- - -.
Now I just need to figure out why the glossy Light Path Expression is rendering out black. (?)
Will try with another test scene tomorrow...
- - -
It does not matter what toning you do as long as it is always the same to every image they will add up right. If you want it to look the same brightness as your png you have to see what tonemapping settings you used in DS and use those in PS.
- Thank you again. That was another crucial piece of the puzzle.
- The first post in this thread was updated with a link to an official video by Nvidia that gives a quick idea how working with Light Path Expressions in post production looks like.
- To round this up a link to another thread.
ebergerly has put some very useful information together about Light Path Expressions in DAZ Studio:
https://www.daz3d.com/forums/discussion/205886/light-path-expressions-iray
Update / Edit 2018-03-16:
I put together an other example how you can combine Iray Handles with Light Path Expressions for "Compositing per Light"
https://www.daz3d.com/forums/discussion/comment/3436956/#Comment_3436956
- - -