Weightmapping nightmare
 mjc1016
Posts: 15,001
mjc1016
Posts: 15,001
Ok, here's the deal...is there an EASY way to nuke a weight map and start over..or at least paint negative/zero values?
I know I've seen something somewhere on here about it, but can't find it, now that I NEED it.
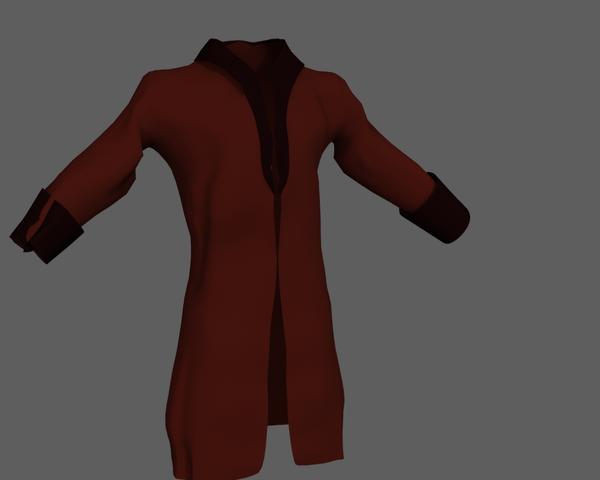
I'm working on this...and while I've gotten everything from the waist down to work well enough, I'm having trouble with shoulders/sleeves...and now I've made a real hash of the weight maps for those areas. I've started over several times, but can't seem to find where the problem is originating...and no amount of 'additive' painting or smoothing seems to be helping. (And as a side...setting the viewport to wire texture shaded makes the poly selection a thousand times easier....but it's still 'clunky'...I miss my 'circle select from Belnder....).
Daz 3D is part of 
Connect
DAZ Productions, Inc.
7533 S Center View Ct #4664
West Jordan, UT 84084
Licensing Agreement | Terms of Service | Privacy Policy | EULA
© 2026 Daz Productions Inc. All Rights Reserved.
Comments
Select affected faces.
Right-click in weight map mode--Fill Selected Faces--0%. Repeat each axis.
Or was that too slow?
That's the one I was looking for...
Basically the 'remove' weight map and then create/add a new one was the method I didn't want to do...
I've been looking at the way it 'autorigged' and I'm thinking that maybe I'm going to have to do a little more than just adjust the maps to get it work right. For some reason the shoulder and collar bones are looking out of proportion, compared to Genesis (the collar are looking smaller than they should)
Another quick question..
Is it better to add ghost bones before or after the basic rigging/weightmapping is done/adjusted/looking pretty?