-
Adjust rigging to shape in dress doesn't work for auto-generated height morph
So far it seems to have worked fine, I saved the morph and reloaded the coat/dress and it still works and didn't seem to break anything and it also still auto-follows, so I think everything's fine. I also did the adjust rigging to shape and ERC freeze for other shapes, such as the characters that are taller or shorter than the base figure and that worked fine too, so it appears I was right about it only working in the positve values. So if a morph has both positive and negative values, one must dial it in the positive first, then do the adjust rigging to shape and ERC freeze, at least for height morphs. Thank you for your help and I hope maybe this can help someone else too, because in all of the tutorials I've read or watched, this issue was never addressed... (at least for the ones I've followed, there may be one I hadn't read or seen, but google isn't super smart about finding relevant results when searching for tutorials or solutions for things)
Deleting part of a model persistently and distributing a scene that uses itI'm running into an issue that I don't know a good way to solve. I'm trying to develop some custom scenes for public (probably free) distribution that incorporate paid DAZ models into a more complex scene. Obviously anyone using those scenes would have to buy the underlying DAZ models to open the scene, which is fine. But distributing such a scene requires that every asset (models, materials, etc.) be either used as-is or created from scratch.
Unfortunately, I keep running into the same problem over and over: a lot of the commercially available DAZ models combine large chunks of a scene into a single object with a dozen or more materials, and futher combine all of the mesh surfaces with a similar appearance into each material. So:
- I can't delete the individual parts, because a huge chunk of the scene is in a single object.
- I can't remove undesirable parts by making their material transparent, because I would also lose parts of the scene that I want to keep.
- I can't create a custom copy of the object with removed faces, because I would have no license to distribute that modified model.
- I can't easily create custom materials presets, because either A. they use shaders or B. I would have to include parts of the original material, which would have the same copyright/licensing problem as distributing a partial copy of the model.
For example, every Daz bathroom set that I own is built in such a way that you cannot keep just the shower metal parts by themselves. Modern House 2 uses a single material for both the sink drain and the shower chrome, so you can't hide one without the other, and the whole thing is a single object. Girls Dorm Room combines the shower handles with other elements that would be inappropriate in the context where I plan to use them, again with a single material for both. Z Shower and Lavatory Environment uses a single surface for every copy of the shower, so you can't reduce the number from 5 down to 3 or increase it to 6 or whatever. And in the Z Shower set, the drains are all a single surface, so you can't even change the size of the room, because the drains are in fixed positions relative to each other even though they are on opposite sides of the room. The same is true for the lights (though it's easy to find models for lights — floor drains, not so much).
All of this would be easily fixable if the geometry editor allowed proper nondestructive editing on a per-instance basis, but instead of that behavior:
- If you hide faces/vertices, it hides them in *every* instance of an object, so you can't (for example) have two instances of the same object and hide faces in only one of them. They disappear in all other copies of that model in the same scene. They also don't stay hidden; closing and opening the file causes them to reappear.
- If you delete faces, you have to save the result as a new model, which I would have no right to distribute, so there's no good way to distribute a scene that uses an edited model.
This seems like it is the sort of thing that should be relatively easy to do, but I'm not seeing any signs that it is even possible short of making people run a script every time they open the scene to hide a bunch of faces, and even that won't work if you need an unmodified instance of the object (because hiding faces hides them in every copy).
I mean maybe, maybe it might be possible to create a script that makes a copy of the original model, deletes the undesirable faces, and saves it, so that folks obtaining the content could run that script once and close and reopen the scene... but ugh.
I have the same problem with walls of buildings in other models. For example, FG School (ignoring the problem that the walls are paper-thin) uses a shared material and object for the pillar in the cafeteria, the walls in the cafeteria, and the bottom part of the counter. So I can't fix the flaw where there is no door between the area behind the counter and a kitchen (do workers climb over the counter?) without building new counters and a new support post. (I can probably fix those with primitives, so no big deal, but you get the point.) I'm literally running headfirst into this problem over and over again.
Ideally, I'd love to see a solution that lets me show or hide the portions of a scene that fall within the bounds of another object, which could be transparent. That would solve two problems, if it were sufficiently powerful — this and the problem of filling an arbitrarily shaped object with water. Create a cylinder primitive, use a water shader, and constrain the primitive to the intersection of the interior of the container plus an invisible box that excludes the upper part of the container, and you're done. But I'm guessing there's no support for any complex nondestructive multi-object operations like that at all other than the built-in clothing avoidance algorithms.
Any better suggestions? (I mean, other than trying to find shower head and shower handle and floor drain models that aren't so hard to reuse?) Some way to morph parts of the scene out of existence, perhaps?
Saved Morph Assets Load On Default, Help!barbult said:
You probably shouldn't have memorized in the first place. That is not a normal step in morph creation and saving.
With the existance of up-to-date tutorials explaining certain functions of Daz Studio quite deminished, along with the existance of expensive Paywalled Tutorials, experimentation and self testing is all we have left for the poor common user like myself.
Upgrading to New Computerlioncrud said:
Is it ok if I just transfer all my files/folders over to the new hard drive, or am I going to have to manually re-download all Daz Store items through DazCentral?
Be sure to grab the installation manifests - C:\Users\Public\Public Documents\DAZ 3D\InstallManager\ManifestFiles - or DIM won't think things have been istalled.
Upgrading to New ComputerIs it ok if I just transfer all my files/folders over to the new hard drive, or am I going to have to manually re-download all Daz Store items through DazCentral?
Start Saving for your 48GB 4090Ti 800watt "The Beast"From Toms Hardware
Nvidia is projected to release three high-end GeForce RTX 40-series graphics cards based on the Ada Lovelace architecture later this year targeting demanding gamers. But apparently Team Green is also prepping a rather monstrous graphics board based on its top-of-the-range AD102 GPU that will carry 48GB of memory with a typical board power of 800W, clearly gunning for the top of the GPU benchmarks hierarchy and the fastest of the best graphics cards.
Hardware leaker @Kopite7kimi dubbed Nvidia's flagship GeForce RTX 40-series graphics card 'The Beast' without attributing a model name to it, but normally Nvidia would call it GeForce RTX 4090 Ti or Titan. This board is said to carry a GPU with 18,176 CUDA cores (up from 16,384 CUDA cores in case of the GeForce RTX 4090) as well as 48GB of GDDR6X memory featuring a 24 GT/s data transfer rate (up from 24GB of memory at 21 GT/s in case of the RTX 4090).Price is expected to be "Above" $2000
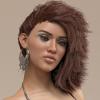
AOBB's head morph Violet for G8.1F based on Elizabeth Taylor. No materials nor textures.I knew this was from "Who's Afraid of Virginia Woolf" the moment I looked at your render, @DoctorJellybean! That was quite a movie and Elizabeth Taylor was a really good sport for allowing herself to be turned into an old, drunk, meanspirited hag. I realize it makes perfect sense that I do a Richard Burton morph but I have already several other head morphs in mind that I want to make first. I'm not saying "no" but just that it will take me a while before I even consider making him.
BTW, I'm a big fan of the record album "War of the Worlds" that Richard Burton was a narrator on. What a voice! Epic!
Great render, right on the money, DoctorJellybean!

 Anyone know of a chacter ot morph of the model "Annie Henley"
Hi All
As it says above, anyone know of a chacter or morph of the model "annie henley"
also the girl from Nickelback's video "how you remind me"
As I am no good at making chatacters or morphs I am hoping someone know of a loo alike somewhere.
Thanks ahead of time
OFFICIAL DazToMaya Bridge 2022 (SEPTEMBER UPDATE): What's New and How To Use ItVenomacid88 said:
So I installed the July update. I chose the module folder in the specified area; which is also the default area that pops up when installing the bridge in Maya from Daz. I ran Maya and the plugin manager didn't find it. I created module folders in 2022 and 2023 as someone suggested, "Just put in Documents\maya\mayaVersion\modules, or create the folder..." That didn't work either when restarting Maya and checking the plugin manager. Any ideas?
Maya modules are not managed by the plugin manager and will not show up there. Please post a screenshot of your maya window and the script console area and any error messages that may be there. Thanks.
Regarding the post-export character issues, please report the following:
- Daz Assets with links to daz store when possible
- Applied morphs and morph strengths
- Morphs selected from Morph Selection Window
Merging Geograph from Daz character with Diffeomorphicacatmaster said:
There're Steam games that have Daz characters with millions of polygons, the characters can be customized by players using morphs, and the animations are not lagging even running on common gaming laptops. Unreal engine 5 can handle billions of polygons, and the CC software should catch up to enable exporting high poly characters and high definition morphs.
Thanks for the Youtube videos provided by Krys, the videos explain how to use the HD Morphs plugin, and that Daz 3D acturually has HD support, need to purchase the Victoria 8 HD add-on to unlock the HD morphs.
There should be no need to purchase a specific HD morph to enable anything to do with HD morphs.
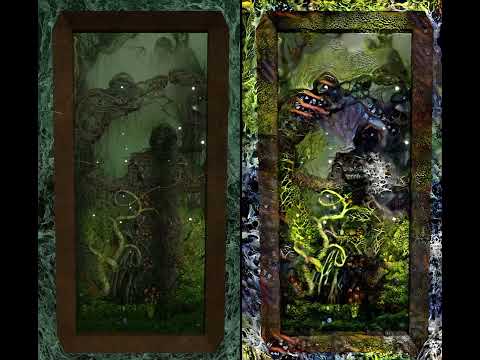
Carrara Community Art Gallery - Show us your Renders!!!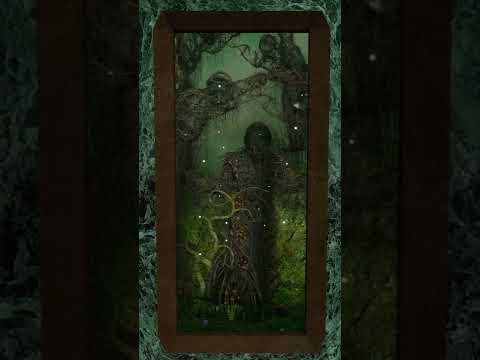
video inspired by some MidJourney ai renders I have seen on Facebook but done using Carrara
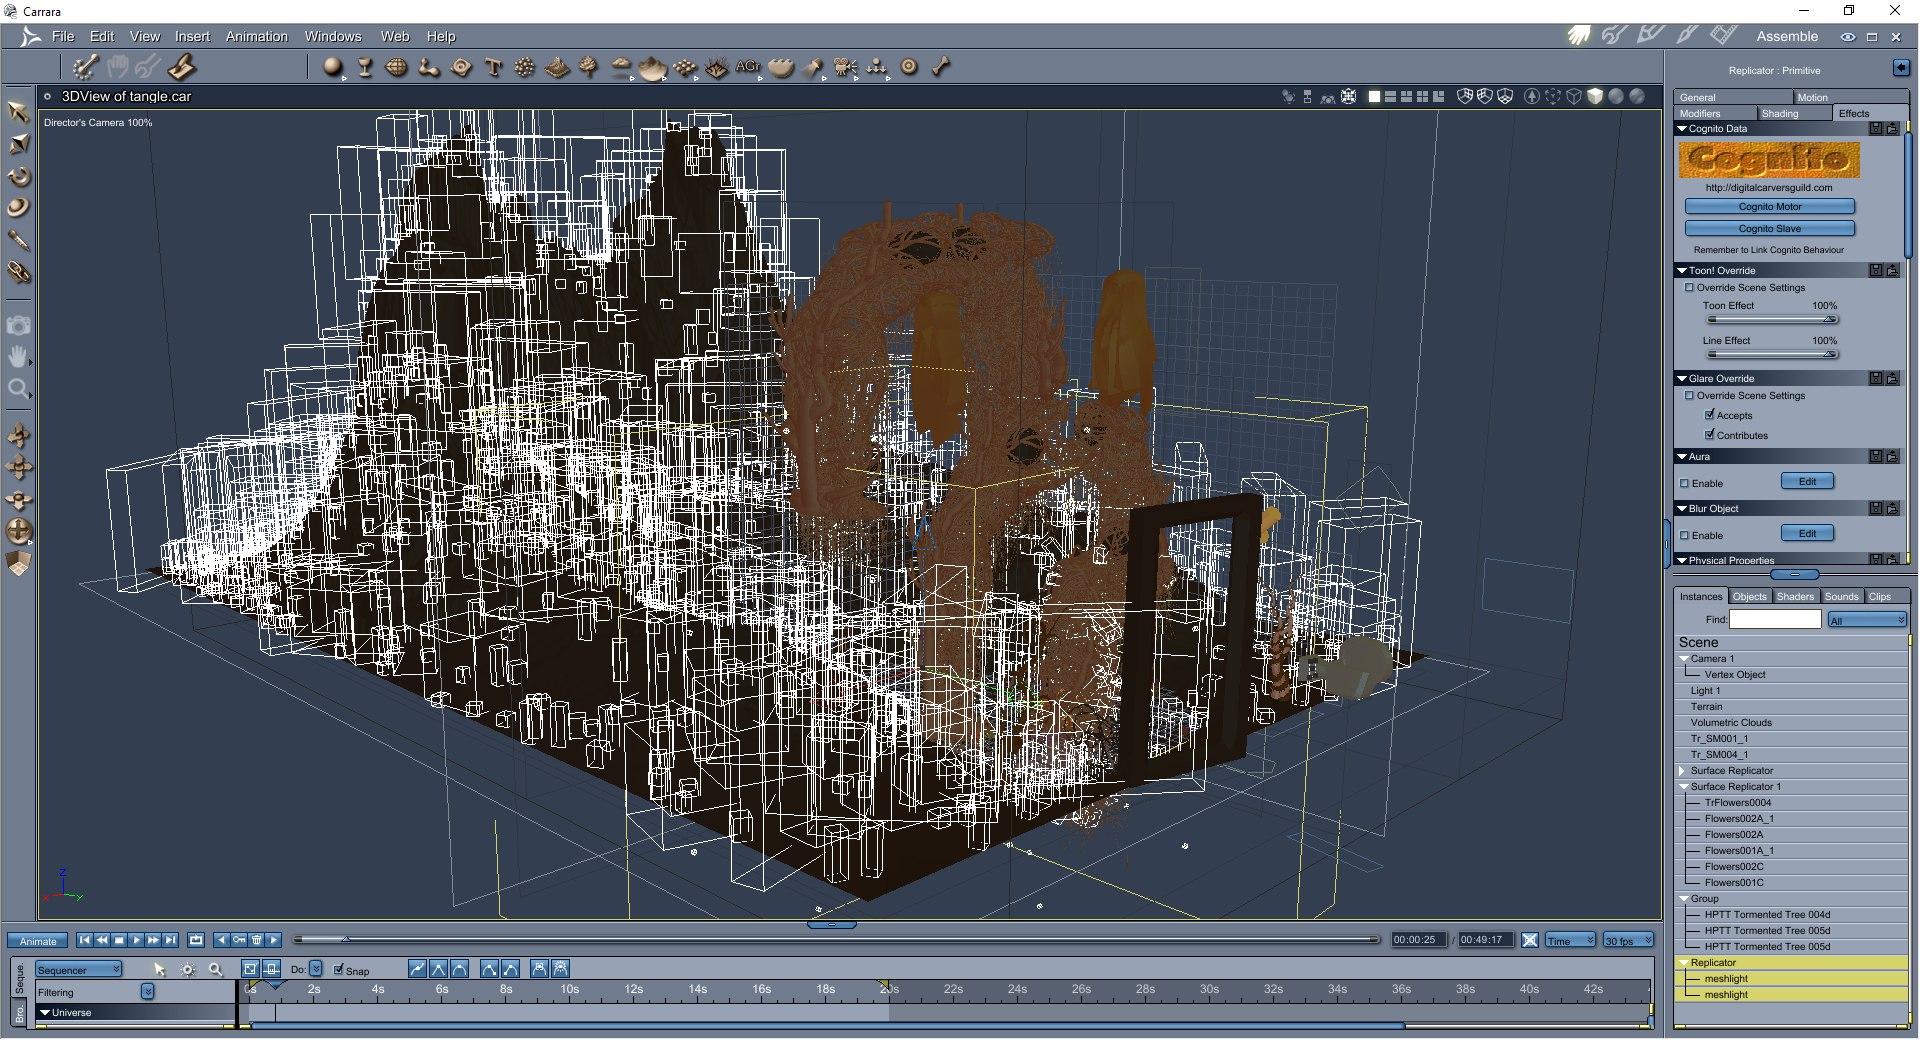
with Deepdream style transfer and EbSynth video transfer on right
 ERC freeze and bone rotation ?
I am right now through a DAZ tut (which in reality is just a webinar recording) from SY about morph creation.
ERC freeze is part of it.
She switches on and off bone rotation but I did not really explain why and when one want it to be on or off.
Can somebody help with this?
Genesis 8 takes forever to load...RD2ART said:
I created a folder to place the morphs in; I created a shortcut back to the data folder. I then went through and moved all character folders that had morphs that I don't use too much. I moved all those into this new folder. If I need a character I add a new folder with the top level folder name and move that character folder back to the data folder. The character .duf files and texture files will still be in their orginal location. So if you load a character that morph file has been moved it is just going to give you an error. You can work with the generic G8 figure and save the scene. Then move the morphs back into the data folder. Restart the program and when the scene reloads the character morphs will be there. You can't really mess it up unless you delete the morph files. Just keep track where you are moving the files. You will not only have shorter load times, but the amount of physical RAM on your system will be less. As in my case my full character went from 3.5 GB each to 1.5 GB each after I moved the not needed morph files.
I would be interested in a somewhat more detailed tut on what you're doing here. I think it would be kind-of nice to have a program that detects what's used in scene and automatically does this (some kind of optimiser - would be good if Daz had morph injection in the first place, or at least an option to turn it on). I think I read there's something that'll analyse a scene and extract everything used to a new library, which is kind-of a similar idea? But we're clear, it's all the morphs slowing things down, is that right?
Naming convention for saving morphs ?Is there a documention about the naming convention for saving morphs as assets?
E.g.:
I can save morphs with any name I like and they work. But in the splattered information bits about DS there is often written about mcm (morph controlled morph), jcm (joint controlled morph) etc and noted that the name should include those. Does DS need this or is it just for us humans to know what the intention of the morph is?
Edit:
I just read that a combined morph needs to be named CTRL at the beginning but again no mentioning if this is a technical requiredment of DS or just for us humans.
And I found a mentioning of PHM as "part head morph"- what about this?
Is there someone here expert on making character from photo?ekajuan_9f765a669b said:
@Lynwelly
I kinda confuse.
When I look at her overall, she doesn't look like the woman on the photo.
But if I look at each of her facial shape parts, they already almost match her.I'm not really sure right now, is it the shape or material set as Maikdecker said.
eg, the sceptum under the bulb of the nose needs upwards and the DAZ Originals G8F Head Morph product includes that and many others dealing with the nose, among other things.
Saved Morph Assets Load On Default, Help!You probably shouldn't have memorized in the first place. That is not a normal step in morph creation and saving.
Adjust rigging to shape in dress doesn't work for auto-generated height morphEdit: I just tried what I mentioned and it does seem that I was correct, (at least it seems to have worked). The thing I was doing wrong, (I think), was I was dialing it in the negative value, so for G2M, to make him taller, it's -1.0 and then adjusting rigging to shape and ERC freezing it. That is the opposite of how I should have done it, it should be dial it to 1.0, then adjust rigging to shape, then ERC freeze it and it still does the thing where it doesn't reset the morph when G2M's morph is reset, but I just zeroed that out and redialed G2M's height morph and it seems to have worked fine this time. So now if I dial it positive, the bones get shorter and if I dial it negative, the bones get taller, like what I wanted it to do. I apologize, I didn't think of that for some reason until earlier today... I guess I assumed you had to adjust the rigging for both values, like how you have to make seperate JCMs for negative and positive values in the bend, side to side and twist parameters, but it seems, at least for the Height morph on G2M (and presumeably on G2F as well), that is not the case. But maybe this will help someone else, so I'm posting what it seems the solution was. (I will update if it turns out to not have worked or breaks anything).
I still wonder if it's supposed to do the reset of G2M, but not reset the clothing though, it does that with some JCMs as well, such as with custom bones, it doesn't reset the pose, ect... so I'm just wondering if that's normal, or something I should be concerned about in terms of it breaking anything with the clothing.
Saved Morph Assets Load On Default, Help!Catherine3678ab said:
Yes resave them at 0% ... to the exact same folders as the previous save went. You want the new to overwrite the old files.
{I don't recall ever memorizing anything when saving my morphs}
It worked!
However, there was an extra step needed, as the first time it didnt not work.
Here was my process to make the fix happen you suggested:
First - Turn the conflicting Saved Morphs to 0% on the default Genesis.
Second - Use the Right Click/Parameters > Memorize > Memorize Figure, Pose, & Shape
Third - Do Save As > Morph Assets > (Your Morphs) > FinishWithout the Memorize, the problem persists. When Memorized before saving, it has fixed the issue.
Thanks for you time to help solve this problem, kudos to you!
Saved Morph Assets Load On Default, Help!barbult said:
Nudity is not allowed. Show your character in smooth shaded draw style or remove the textures. Moderators will likely remove your attached image. As to your problem, did you save the morph assets while they were dialed to 100%? You should dial them to 0 before saving.
Yes, I saved them while at 100%.
Should I "resave" them at 0%? I'm unsure how to go about this, without further damaging the current problem.AOBB's Sweetheart (and v2)head morph for G8.1F inspired by Marilyn Monroe. No materials or textures.Mark_OREZ_4815 said:
AOBB: Thank you for your kind comment. I was motivated to improve things by following your advicew which were great ! Congratulations to you. Keep on the good morphs creation.
nonesuch00:
Thank you too ;) Didn't know the "Power Poser in DS". This is great stuf my friend. I played with the parameters/pose controls which take wastes a lot of time. I'll definitely use Power Poser on the next creations, thank you !
For though guy I used: Michael 8.1 HD (but not all the details) and used one map from Thomas to Michael 8.1 (modified the cheeks to be less redish). Don't buy this products if you don't need them. 8.1 male should be enough to start. Then use AOBB morph (most important ingredient)
Then used "Aging morphs" to had more wrinkles and rough/bad skin.
Of course this wasnt enough. But I didnt want to edit too much the skin maps because I avoid awkward / inconsistent results. It deserves some fresh shaved skin, greyed out, I believe.
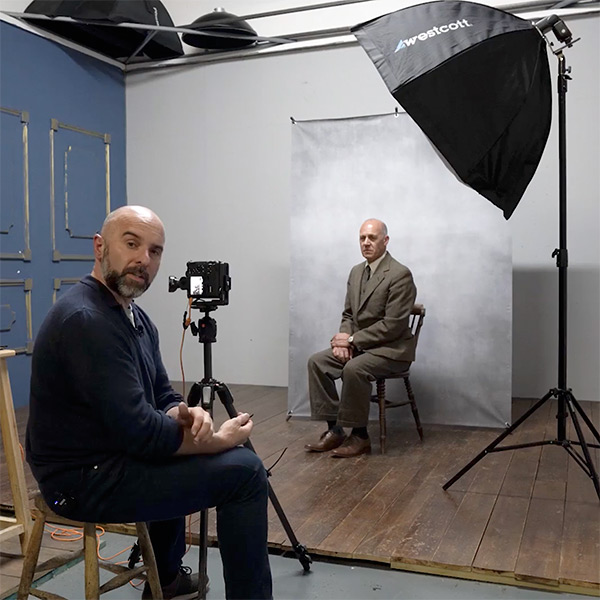
Lighting is no easy task there a tons of possibilites. I believe this should be done after everything else looks good. On my image one light would be enough to get the rembrandt style.
I did this (obviously I'm not the photograph. He his Glyn Dewis):
One light on the side a little bit ahead of the caracters.
Used "Iray Ghost Light Kit One" > "IGLK1 Dish Light" ... It's possible to get the same result by tweaking DS lights.
In my case I also used 2 point lights on the top of the room, right side only ....
*******
You'll find out one ton of lighting products, most important to me was to understand how lighing works in real world photography.
I'm far from perfect on this area (I just keep scratching the surface haha). One last advice on lighting is testing, testing, testing.
And if money isnt a problem check this: Rosa - Complete Photo Shoot & Retouching Tutorial. I have to watch it all over again because it's so great.
Thanks for the tips. As it happens I've had Michael 8.1 for a while and recently got Thomas on deep discount. I will try your suggestions.
A tip on the Power Pose, while you can pose from default neutral expression to your desired expression using only Power Pose and individual face rig bones it is tedious and mistake prone. Instead pose as best and close as you can using the various expression preset products you may of bought and then tweak it at the end with Power Pose.
Daz 3D is part of

Connect
DAZ Productions, Inc.
7533 S Center View Ct #4664
West Jordan, UT 84084Licensing Agreement | Terms of Service | Privacy Policy | EULA
© 2026 Daz Productions Inc. All Rights Reserved.