-
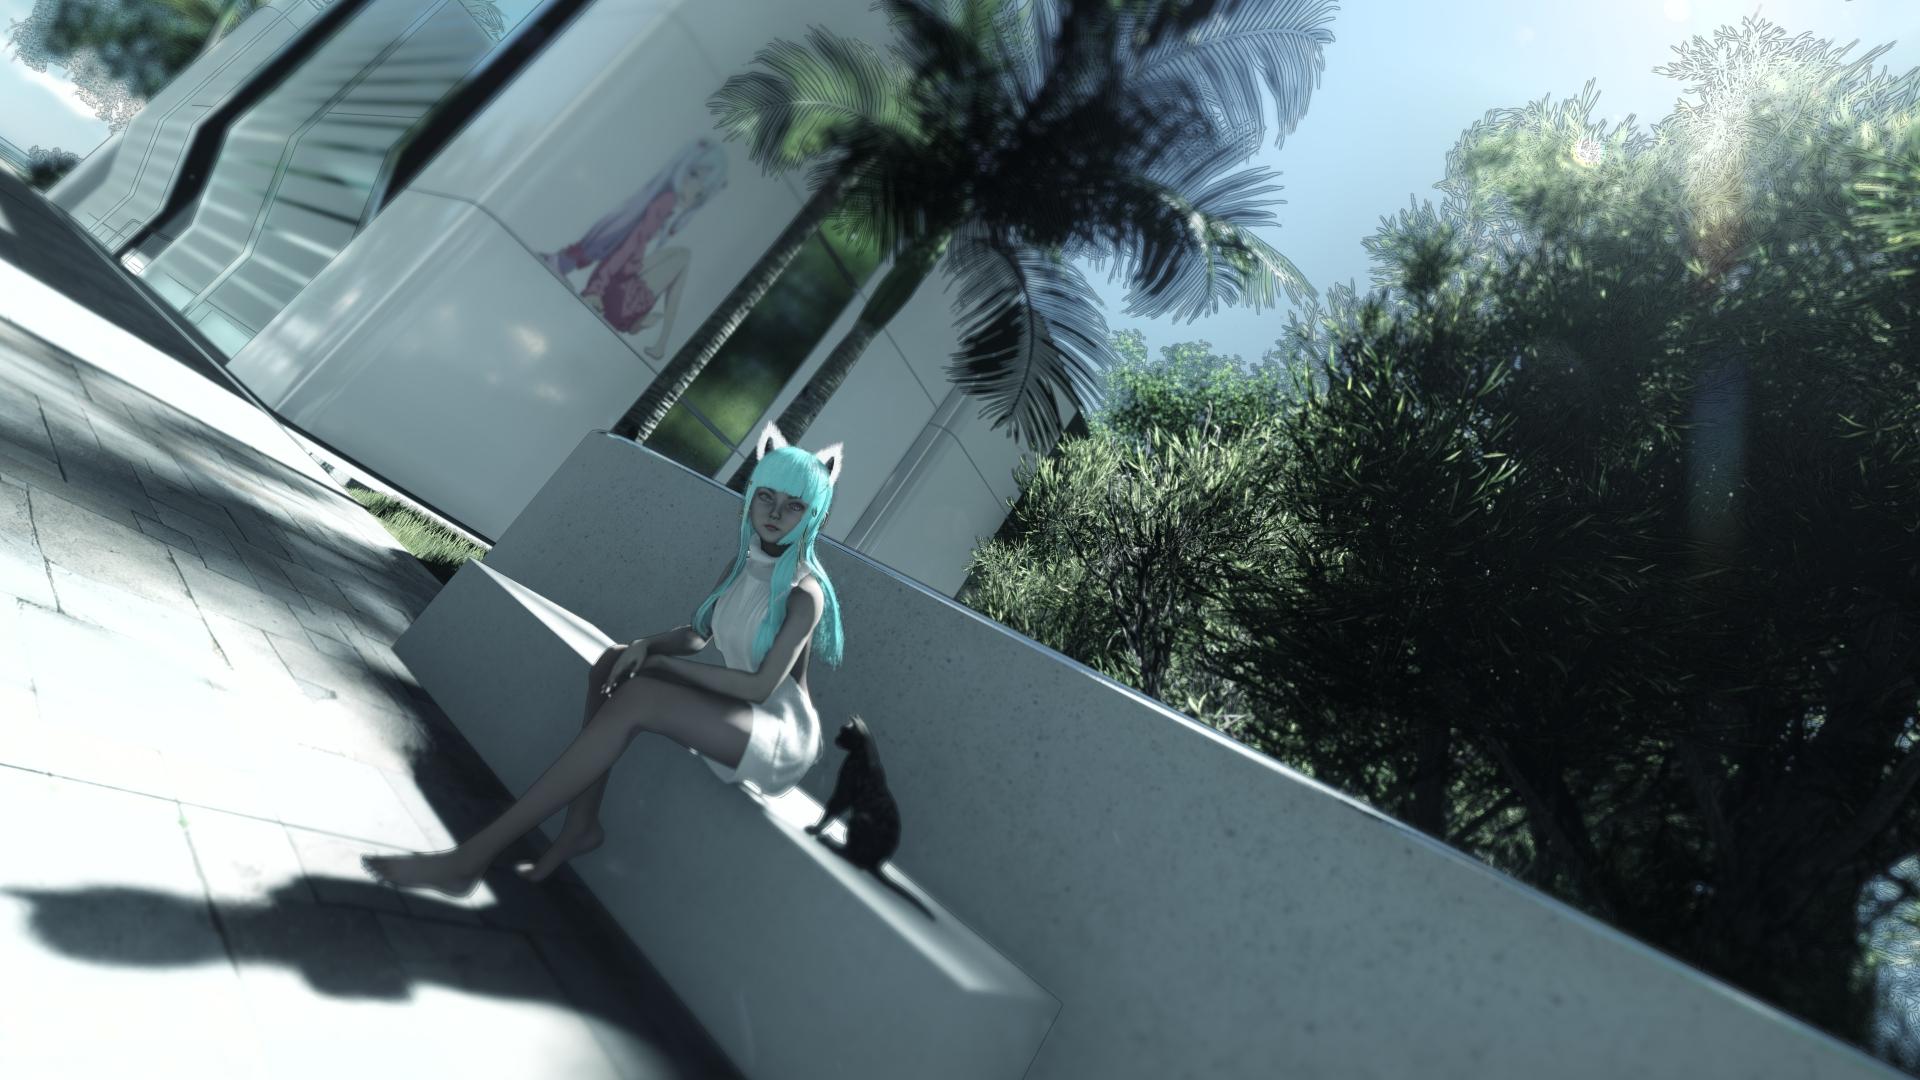
Has anyone tried to render DAZ3D models in Lumion?
Where other software reach their limits (many millons of Tris), Lumion is just getting started! Entire complex worlds can be created ( Open World )
The rendering time is between 2 and 10 seconds.
There are different render styles
Lumion predominantly uses only the GPU
Lumion is much better than Twinmotion in terms of handling. Twinmotion often crashes on large projects.
Lumion is really very good in terms of speed and it has enormous strengths in terms of render settings.
We work with the following Lumion Pro versions :
Lumion Pro 5 / 6 / 7 / 8 / 9 / 10.We deliberately did not buy Lumion 11 and 12, as the cost-benefit factor is very low and not relevant for us.
It is the same engine, save the money!
We recommend Lumion 10 Pro, this is quite sufficient.You don't have to assign textures, as many write here, this is done automatically with DAZ-3-D version 4.9 !
Alternatively you can create figures in Octane, render them and import them as Lumion Billboard material.
 daz to blender install on MacBook pls help
tothmilla said:
hey there !
i checked every forum and i really dont know whats going on at this point . i installed daz central and tried to follow tutorials how to be enable the add on in blender but first i think my zip file was somewhere else but most importantly when i try to import and i supposed to have a blendenr file in my library . i dont have it at all...so i just cant find it how to import that zip to be able and why i dont have blender app file at all? please help thank you xx
Install that through DIM (Daz Install Manager), it will install the Blender Part with Blender and the DS part with DS (and remember to follow tthe instructions on how to set it up on blender.
Genesis 9 anatomical elements gone after updateMilSciFi_171d143c19 said:
The anatomical elements had a stand along folder in the smart contents, I checked the other two, hoping they might have just moved them, but no. Tomorrow I'll try reinstalling them, and see if the come back. Thanks
If one is using 'smart' content, one should get used to the idea that the 'updates' to metadata that DAZ Connect does constantly, are bound to break things every once in a while.
Genesis 9 anatomical elements gone after updateReimporting the metadata fixes it.
Right click the "Smart Content" tab.
Select "Content DB Maintenance"
Check the box "Re-Import metadata"
Click "Accept"
Check "User Data" boxes at the top if you have them and "All Products".
Click "Accept".
This will take a little while if you have a lot of content.
Question about Josie 9I've notice that the new Genesis 9 models don't come with separated lips but instead the lips are attached to the head. Is it possible to separate the lips from the head like Genesis 8 models had?
I will give an example of what I'm talking about here:
1)In the first picture I have the Josie model loaded into another program and her lips seems to be attached to the head making it imposible to add lip gloss.
2) In the second picture I used a Genesis 8 model and the lips seem to be dettached from the head making it perfect for adding gloss.
3) In the 3rd picture I used as an example a custom model who has lips attached to the head but the gloss is separated and I was wondering if its possible to have this mesh/effect in daz even if I want to import the model in another 3d program?
Getting "import failed" on all attemptsGordig said:
I've actually had great success with the bridges. As is often the case, I'm not sure if I'm less discerning than other users, or if I'm just lucky.
Probably lucky. Except for generic, unrigged props I've had nothing but "I get better results from a Collada export" experiences with it. Most models need their weighting to be addressed, virtually every non-human will have issues with the head/jaw (Recent example, Morphing Python and The Constrictor most of the jaw's weighting is on the Head), anything with spines/spikes WILL NOT function out of the box, and it's a coinflip if clothing will be in a near-usable state. 99% of the time when I export something it says "Import Failed!" and comes in without a Morph Tag regardless of what options I select before. The remaining 1% of the time (DAZ Dragon 3 for example) it'll export SOME of the morphs and then "Empty" morphs for some of the ones that do get exported (Facial expressions mostly). I've even had clothing import without weighting at all a few times.
I tried updating both DS and the Bridge through Install Manager but nothing really changed, other than the program asking me about Joint Orientation when importing.
daz to blender install on MacBook pls helphey there !
i checked every forum and i really dont know whats going on at this point . i installed daz central and tried to follow tutorials how to be enable the add on in blender but first i think my zip file was somewhere else but most importantly when i try to import and i supposed to have a blendenr file in my library . i dont have it at all...so i just cant find it how to import that zip to be able and why i dont have blender app file at all? please help thank you xx
Best method for bulk importing obj and setting up texturesIf I have hundreds of objs to import, what is best way to set up Iray Uber shader textures?
I can edit the .mtl file texture references, but not sure what is the mtl key (e.g., Ka, Kd, Ns) to define the following iRay Uber shader properties:
- Metallacity
- Diffuse/Base Color
- Translucency Color
- Specular
- Roughness
- Bump
- Normal
- Opacitty
Related question: is there a way to invert textures in bulk within Daz image editor or is it best to do that in batch image editor (like ImageJ) before importing textures?
Getting "import failed" on all attemptsI'm curious if the Bridges *ever* worked as they advertise them honestly. I've been using them for a few years and its always one problem or another while the videos say "It totally works!". "Import Failed" on pretty much everything, though in my situations its the Morphs that never come in - not tried hair yet... Can you export them to Splines somehow?
How to make content for Genesis 9?I've read a bit further and it seems they use a clone in DS, export that as on obj to use as a template for modelling the clothing. Then they import it into DS by using the transfer utility and the template using the clone. I can't do that. The feet poses don't tranfer even on older figures and they certainly don't transfer on G9. As I've said, even the calves don't transfer correctly. So it seems I'm out of luck. I have to manually adjust for the base G9 figure. And I haven't even gotten to how to not have custom character morphs distort the shoes.
Multiple objects/object groups not all importing into UE5 togetherStill haven't had much luck getting EVERYTHING to export into UE5. I use DTU and it'll import SOME things (character hair some clothes) but props....nope. Parented obj imported Stuff....nope. Is there an update to DTU coming up to fix this or a workaround maybe?
Diffeomorphic DAZ Importer version 1.6.0 released@Padone there is something called flexions in import settings what does do it? I couldn't find it in blog.
[Released] Content Wizard [Commercial]clerian said:
Just want to follow up, and I think this warrants a new post instead of an edit. I have been able to get one of my problematic files to install without throwing an error. I have attached a Daz log which pointed me in the right direction. After the crash, I went to %USERPROFILE%\AppData\Roaming\DAZ 3D\Studio4 directory and opened the log.txt file before running daz again, and it showed the messages in the attached file as the final output.
The thing that stuck out to me was the warnings about nodes. So I went and tried a few things. First, I tried to simply load the object into daz and save it as a wearable, then use the newly saved version in the CW package, but that crashed as well. I figured that simply resaving an item doesn't alter it intrinsically (strangely, Daz throws no errors about nodes when these objects are loaded in, only during the install smart content operation), so I would have to change the file. Seeing that node mismatch in the DUF earlier made me think if I altered the polygon count, it might fix things up a bit, so I loaded up the Decimator plugin and the following process is what actually worked:
- Load the figure into Daz and make sure it is selected
- Navigate to the Decimator pane and click "Prepare to Decimate"
- Check the "Nodes" and "Polygons" checkboxes in the "Remove invisible" section at the top of the Decimator section with Resolution % set to 100
- Click "Create LOD" and use either the pregenerated name or choose something
- In the Parameters tab of the figure, there should now be a new section called "Mesh Resolution" and make sure the LOD you created is selected
- Export the object to OBJ, use Daz measurements
- Import the object, use Daz measurements
- Select the new object, then go to Edit > Object > Rigging > Convert Prop to Figure and click Accept
- Go to Edit > Figure > Transfer Utility... and select the original as the source and target as the new object and click Accept
- Go to the Surfaces tab for your original version and copy them, then paste the surfaces onto the new version
- Unparent the new outfit from the old one
- Load in a basic Genesis figure that the outfit was supposed to be worn by, right-click your new outfit in the Scene pane and choose Fit "your outfit" To... and choose whatever options are appropriate in your situation
- Select the Genesis figure and then choose File > Save As > Wearable(s) Preset and make sure only the outfit you want to export is checked in dialog window.
- Copy the newly saved DUF into the file structure of the CW package that was failing (please make a backup of the original first) and zip it
- Load CW in Daz
- If you already have a configuration file for the package, load it, and replace the zips with the new ones (this must be done even if the zip files have the exact same name as before)
- Click Analyze and set up metadata
- Install Content (overwrite if prompted)
- Install Smart Content
- Export Zip File(s) & Self-Installer
I did have a complex multi-figure outfit and I thankfully only had to decimate the main figure and then re-fit the child figures to the main one. I also attached a screenshot of that since it had some unusual objects in between the figures in the original (which I retained).
Hopefully this helps others.
EDIT: It's possible that the Decimator steps are unnecessary and simply exporting to OBJ and reimporting is all that's needed. If you don't have the Decimator plugin and are running into the same issue as me, it's worth a shot to try, otherwise I would recommend using Decimator to remove any hidden/missing nodes.
I agree that that DzAssetDaz.cpp error is a little concerning. I am pretty sure you did NOT need the decimator step. In fact, it is probably a matter of editing the .duf file. Unfortunately, I do not have that product though.
Importing genesis 9/ Vicky 9 into UE5Well I typed a whole lot before I realized I hadn't logged in.
Basically, G9 will go into UE5 fine, but without modifications mentioned blows up no matter where the animation comes from.
For now... G8.1, that way I have my full library available for testing uses. Once I have extra time from after work, I'll see about making the conversions.
So, question, is this conversion something that will work with/for any future imports or is it purely on an instance, by instance basis? I.E. if exporting an animation from Studio, I make all the changes needed in blender, will a different animation export/import into blender for that same character, or do I have to re-rigg a new one for each animation?
[Released] Content Wizard [Commercial]Just want to follow up, and I think this warrants a new post instead of an edit. I have been able to get one of my problematic files to install without throwing an error. I have attached a Daz log which pointed me in the right direction. After the crash, I went to %USERPROFILE%\AppData\Roaming\DAZ 3D\Studio4 directory and opened the log.txt file before running daz again, and it showed the messages in the attached file as the final output.
The thing that stuck out to me was the warnings about nodes. So I went and tried a few things. First, I tried to simply load the object into daz and save it as a wearable, then use the newly saved version in the CW package, but that crashed as well. I figured that simply resaving an item doesn't alter it intrinsically (strangely, Daz throws no errors about nodes when these objects are loaded in, only during the install smart content operation), so I would have to change the file. Seeing that node mismatch in the DUF earlier made me think if I altered the polygon count, it might fix things up a bit, so I loaded up the Decimator plugin and the following process is what actually worked:
- Load the figure into Daz and make sure it is selected
- Navigate to the Decimator pane and click "Prepare to Decimate"
- Check the "Nodes" and "Polygons" checkboxes in the "Remove invisible" section at the top of the Decimator section with Resolution % set to 100
- Click "Create LOD" and use either the pregenerated name or choose something
- In the Parameters tab of the figure, there should now be a new section called "Mesh Resolution" and make sure the LOD you created is selected
- Export the object to OBJ, use Daz measurements
- Import the object, use Daz measurements
- Select the new object, then go to Edit > Object > Rigging > Convert Prop to Figure and click Accept
- Go to Edit > Figure > Transfer Utility... and select the original as the source and target as the new object and click Accept
- Go to the Surfaces tab for your original version and copy them, then paste the surfaces onto the new version
- Unparent the new outfit from the old one
- Load in a basic Genesis figure that the outfit was supposed to be worn by, right-click your new outfit in the Scene pane and choose Fit "your outfit" To... and choose whatever options are appropriate in your situation
- Select the Genesis figure and then choose File > Save As > Wearable(s) Preset and make sure only the outfit you want to export is checked in dialog window.
- Copy the newly saved DUF into the file structure of the CW package that was failing (please make a backup of the original first) and zip it
- Load CW in Daz
- If you already have a configuration file for the package, load it, and replace the zips with the new ones (this must be done even if the zip files have the exact same name as before)
- Click Analyze and set up metadata
- Install Content (overwrite if prompted)
- Install Smart Content
- Export Zip File(s) & Self-Installer
I did have a complex multi-figure outfit and I thankfully only had to decimate the main figure and then re-fit the child figures to the main one. I also attached a screenshot of that since it had some unusual objects in between the figures in the original (which I retained).
Hopefully this helps others.
EDIT: It's possible that the Decimator steps are unnecessary and simply exporting to OBJ and reimporting is all that's needed. If you don't have the Decimator plugin and are running into the same issue as me, it's worth a shot to try, otherwise I would recommend using Decimator to remove any hidden/missing nodes.
Isn't this the COOLEST way to Sculpt Morphs in Blender??I think I came up with an advanced method I detail it all in this tutorial.... But basically I exported genesis 8 female base from DAZ.... After setting to base resolution deleting the eyebrows I saved the scene and double click the diffeomorphic export to blender script and saved the DBZ file ...imported using easy import daz button on the diffeomorphic add-on in blender....
Here is the tutorial

where I show the method and talk about possible real world reasons why you might want to use this
Then i sculpt the morph while I'm animating because if you sculpt the mesh while you're animating... The animation still works ....and if when you import the character with Diffeomorphic you check Face Units, Expressions Visemes FAC FACS expressions and Body morphs you have all those tools that you can use to help you sculpt your new morph.. As well as classic animation...ie moving bones...all the Blender sculpt brushes and the fact that you can import morphs...any morph ....if you want from your DAZ library into Blender with DIFFEOmorphic and apply them during your sculpting...plus any pose.... isn't this the best thing ever? or did I fail in my logic somewhere can somebody please let me know
[Released] Content Wizard [Commercial]clerian said:
Hmm, I don't fully understand the model daz uses for managing its assets but the gears in my head are turning from what you said.
The weirdest part of all of this is that even when Daz crashes, Content Wizard is still able to insert the data into the database so that upon relaunch Daz shows the new smart content in my library. If there were some bad metadata that was messing up a SQL query like through SQL injection, the products probably wouldn't be showing up properly or it should be corrupting other records.
You're right. That is strange. The crash is happening on the Install Smart Content, or does it come back and then crashes when trying to exit CW?
Also, I've been troubleshooting this issue for the last week, and each time I run into the memory access violations, my computer eventually BSODs and corrupts my windows installation. The first time this happened, I ran diagnostics on my CPU, RAM, and SSDs figuring I had some hardware failure, but after scanning my SSDs for errors and running 100 cycles of RAM tests and prime 95 on all my CPU cores my system came up clean. I thought the BSOD was a fluke, but it happened again tonight 10 minutes after I finished verifying that specific products cause the memory access violation.
It really sounds like it is not CW but that it is exposing something wrong on your system. Are the runtime/support files there and uncorrupted? Does CW get to the "Updating Assets Compatibility Bases..." step? Can you post the Daz log so I can see CW's final message?
In addition, I've reset my content DB a few times trying to figure out if there was some bad data. I reimported only official Daz content and ran into the same issue. Now I'm thinking that tomorrow I should reset the content DB and test the problematic products on a blank database. I guess while I'm at it, if I run into more access violations, I can try to shut down and see if that averts or hastens the BSOD.
Oh, I also did try unzipping and rezipping files on the off chance that it would fix the issue, but no dice there. Problematic products still crashed Daz.
The zip files would have nothing to do with the Install Smart Content.
I guess if the content DB reset is a bust, I can try dissecting one of the products and installing smart content that contains a single zip containing a single file at a time to try to isolate the problem down to a specific file that can then be examined further.
Import shaders manuallyHi everyone! I'm creating some shaders. If I put them in:
C:\Daz 3D\Applications\Data\DAZ 3D\My DAZ 3D Library\Runtime/Textures/MyTexture/TexturName
They work if I double click on the .duf file, but I'd rather see them within Daz, not just windows explorer. How can I do?
Thank you.[Released] Content Wizard [Commercial]Hmm, I don't fully understand the model daz uses for managing its assets but the gears in my head are turning from what you said.
The weirdest part of all of this is that even when Daz crashes, Content Wizard is still able to insert the data into the database so that upon relaunch Daz shows the new smart content in my library. If there were some bad metadata that was messing up a SQL query like through SQL injection, the products probably wouldn't be showing up properly or it should be corrupting other records.
Also, I've been troubleshooting this issue for the last week, and each time I run into the memory access violations, my computer eventually BSODs and corrupts my windows installation. The first time this happened, I ran diagnostics on my CPU, RAM, and SSDs figuring I had some hardware failure, but after scanning my SSDs for errors and running 100 cycles of RAM tests and prime 95 on all my CPU cores my system came up clean. I thought the BSOD was a fluke, but it happened again tonight 10 minutes after I finished verifying that specific products cause the memory access violation.
In addition, I've reset my content DB a few times trying to figure out if there was some bad data. I reimported only official Daz content and ran into the same issue. Now I'm thinking that tomorrow I should reset the content DB and test the problematic products on a blank database. I guess while I'm at it, if I run into more access violations, I can try to shut down and see if that averts or hastens the BSOD.
Oh, I also did try unzipping and rezipping files on the off chance that it would fix the issue, but no dice there. Problematic products still crashed Daz.
I guess if the content DB reset is a bust, I can try dissecting one of the products and installing smart content that contains a single zip containing a single file at a time to try to isolate the problem down to a specific file that can then be examined further.
[Released] Content Wizard [Commercial]clerian said:
Content Wizard is crashing both itself and DazStudio 4.21.0.5 for me almost every time I attempt to do a Install Smart Content for content I got from Renderosity. I checked the DazStudio log file and there is no error tracked by Daz or Content Wizard during the Smart Content Install operations, however I have noticed that whenever I buy new products and install them through DazCentral, 1 item's metadata always fails. I looked at the logs and apparently there is a duplicate product GUID (799228b1-8cb5-4f60-b950-a8bba06040b8) in my content database. Not sure if this is causing the crash for Daz and/or Content Wizard. Is there any way I can remove this duplicate and see if that resolves my issue?
EDIT: Daz managed to crash in a way where it allowed me export a memory dump file. It looks like Content Wizard is making Daz trigger a memory access violation. It's definitely repeatable with specific files, while some other files work fine. Could invalid json in the dufs cause problems in Daz during Smart Content install? The vendors are lilflame and Rhiannon.
The json should not cause problems with the smart content. Smart Content is really the database and not the files.
That CW is crashing Daz Studio to me means that it is a problem with DS, probably in the database but I don't even know what to suggest.
Daz 3D is part of

Connect
DAZ Productions, Inc.
7533 S Center View Ct #4664
West Jordan, UT 84084Licensing Agreement | Terms of Service | Privacy Policy | EULA
© 2026 Daz Productions Inc. All Rights Reserved.