-
Glute Control for Genesis 3 (Commercial)
the thing is that the shoulder width morphs (yours and also the DS morph) widen not just the shoulders but also the lats so you can`t move the arms apart from the torso to ajdust that. It helps just a bit. And with the lats morph you also can adjust just a bit. There is a product I have that has armpit adjustment morphs and I use it normaly but these are shape and not pose morphs and the adjustment is for both sides and not seperately.
Glute Control for Genesis 3 (Commercial)What shape morphs were dialled up in that example?
well it is Bethany at 20% plus bodysize at 40% and also 20% shoulder width from your shape shift, the arms size I have reduced (20%) but also at 20% Bodysize you got the problem at this zones, you allways have such problems if your character is a bit more "chubby" than these skinny store models. Bodysize at zero is no option because then the characters size do not fit to furnitures (chairs and stuff) the characters you get at the store are not realistic based on bodysize in my opinion. Unfortunatelly shoulder width is no real option it helps a bit if you also reduce the armssize (which is oversized if using the bodysize morph)
Have also used your shape width adjust morph at -40% to widen the character but that is not the problem, the problem is the bodysize morph.
forgot: body hight at 40% but that has also nearly no influence, it is the body size morph but you
Headshop weirdnessLet me start by saying that I really love Headshop 10.2 for coming up with new characters. But, it is a very glitchy program. One of the really strange effects happens when using HS on Gen 3 faces. For whatever reason, after exporting the head back to Gen 3, the teeth get really weird...often sharp and pointy, or with big gaps. This doesn't happen when using HS with Gen 2.
Another oddity is the tendency for HS to create a near exact head shape with a photograph within the plugin, but not nearly so close when exported back into DS. I usually have to do a lot of post HS tweaking with other morphs to get the right shape.
Also, on some head shapes, I'll get weird ripples in the surface of the mesh. I'm not sure where they originate. Likewise, you can get some really lumpy noggins if you place a shape dot in the wrong spot. If there were some sort of averaging tool (similar to the Smoothing dial) for the Autodots, it might insure that you don't get a dot out of a smooth curve. I've notice that if I get a lumpy area, it is near impossible to fix it. Most of the time, it is easier to just start over.
After reading and looking at all the various tutorials available, the interface is still somewhat a mystery. I can find no explanation as to what the "Copy" arrow does in the "Profile" tab. Whenever I try to use it, I get an error that HS could not execute the command and will try to continue. Everything seems very straight forward in the tutorials and menu. But, what actually happens compared to what I'm attempting to create are often very different. It would be nice to have a thorough explanation of how the shape and texture dots affect the mesh. I mean, the dots don't seem to actually match specific mesh points. So, I'm not sure when I change a point on the jaw line, if I am pushing the mesh back or out on the x or z axis. Also, I have yet to figure out what the heck the neck dots actually do. Messing with them is usually a bad idea.
Perhaps some sort of specific point reference chart would help...i.e. "dot x defines the position for lower junction of the ear." or, "dot y must be positioned at approximately the lower corner of the jaw." It would just help to know what I am affecting when I move a dot. You can get very strange results if dots are moved outside their intended parameters.
I'm using a fairly robust system...current generation i7 with 16gb memory and GT970m graphics. But, I still find that the line tool will hang the system. And, the smoothing control will fail to function at all. Half the time, when exporting, I'll get an "Export Successful" message, then a "Headshop has ceased to function" message. Sometimes, the exported face works fine, regardless of whether or not Headshop ceases to function. Sometimes, HS just crashes and no morph is exported back to Daz.
Also, instead of using "custom obj" to model Gen 3 figures, why not just make each variety of Genesis (or Victoria), a check box selection?
I fully realize that HS is not supposed to be a competitor to ZBrush, or Blender...etc. But, I do think that it has room for improvement. Perhaps, dropping the hair and 3d statue sections would be a good idea for DAZ users. I don't know how many overall...but, I'm guessing that very few Daz users have a need for the statue add ons.
I really enjoy creating characters. And, HS10.2 is a great alternative to full blown modeling programs. I do hope that the developers continue to improve it. I would suggest to Laslo and the other programmers at Abalone, that a much more detailed manual would be very helpful.
I'd be very interested in hearing from other users that have experienced some of these issues with HS, especially if they have worked out how to fix them. I certainly haven't ruled out the possibility of my own ignorance causing my troubles.
G1M4 DreamQuest Chest Piece.Congrats!
You'll have to adjust the rigging, obviously, in order to get it to deform well when posing. (I don't know if you're using DS or Poser.) One thing to consider - In regions like around the shoulders, towards the bottom of the chest, around the neck, basically anywhere there is going to be substantial deformation when the figure is conformed to a posing figure, you want to increase the mesh density so that the mesh deforms smoothly. It's difficult to tell from your pics what the density is, but if you find the model "tearing" or "crinkling" a lot around joint areas and you can't correct it by editing the joints AND you notice the mesh isn't very dense, there... Then, it's time to take it back into your modeller and add some verts to those areas so the deformers have something more to work with. :) (Note: In Hexagon, under "Vertex modeling" , you can use the Connect and Edge tools without destroying the UV. (You can also Sub-D.) But, if you add a lot of geometry using those tools, you may want to consider remapping, anyway. But, it's nice to be able to use these sorts of tools without having to remap. Your mileage may vary, though. )
PS - Tip - Always add the next "child bone" down from a bone that is represented with a group in the model. You can only add neighboring child bones and their deformers to bones that are represented by a group in a conforming figure model and have them actually effect anything in the mesh. These somewhat group-orphaned bones will still have their deformers effect geometry in groups they are a direct child of. ie: Collar bones will effect Chest and Shoulder groups in a model, even if there is no group in the model associated with them, but only so long as there is a chest or shoulder group present in the model. So, if you find that the collar groups don't deform at all when the shoulders are posed and it makes things look a bit weird, add the shoulder bones to the cr2. This is particularly necessary in M4/V4 rigs, by the way, in the regions around the top of the torso. Basically, anything covering a majority of the chest should have the neck, right and left collar and abdomen bones added to it. For myself, with that model, I'd also add the hip bone. Why? Because it helps greatly with scaling issues and morphforms if you add them, since it's the primary "parent" bone of the rig. Without it, scaling and morphforms won't have a common anchor relative to the rig and the conformed figure will tend to jump up/down a bit or otherwise not morph well. (Hip bones and all their children down to the toes, for this rig, are also, IMO, necessary for shoe figures in order for them to conform well. Just a note. :) )
Nice job! Keep up the good work and show us a finished version when you can!
Displacement map includes mesh linesHi,
I am making a skinny ribs morph for a g3f based character. I have made the morph in Zbrush and exported it to DS via GoZ. As expected, pretty much all the fine detail is lost back in DS because non-PA users don't have access to the HD technology that enables fine detail to be included in the mesh morphs.
Apparently the way to deal with this is to make a displacement map of the morph in Zbrush and then apply that map (as well as the mesh morph) in DS. Unfortunately Zbrush appears to be adding the polygon mesh lines to the displacement map as well as the fine details of the morph (the ribs). Is this something to do with GoZ? Is there a way to prevent this?
The result is that the fine details of the morph (the ribs) are included in DS, but superimposed on top are some of the polygon mesh lines.
The displacement map and end result look as shown in the attached images: I have removed the diffuse textures for the sake of those who don't like to see skin-like textures. I have ramped the torso Displacement Strength up from 1.0 to 2.0 to emphasise the effect, however it can be clearly seen at the normal value of 1.0.
Note that the hand, which was not morphed at all, does not show the mesh lines, neither does the abdomen which was morphed but was also smoothed in Zbrush before GoZ back to DS.
Note, the morph was made in Zbrush with Geometry setting "smt" set to off and the subdiv set to 3. The subdiv was set back to 1 before sending the morph back to DS via GoZ.
Any suggestions about how to solve this issue would be welcome.
import_obj_morph_loader_silent,please give me a sample!Hi,
I just also hit wall because of this. I have done scripts to export .obj files for main limb bendings and now I want to create morphs from them. I wan't to use scripted morph creation because I need to pose using script before generating morph.
Edit:
If I can atleast have API documentation for using it (that whould be very helpfull).
- Juha
Anime HeadD-Formers are sometimes difficult, as they affect all parts of the obj/prop/figure, as you are finding with the eyes. If you have Hex, a quick bridge into it, with X-symmetry and soft select, and you can make the morph quickly. It's not a fix for what you have, but another option...probably valuable if you dont use other modellers, and want to do more with the Anime look.
Export FBX with just a few morphsi know it might not be much use to in this instance, but morph rules DO work in import to c4d, so the information IS being written in the file somewhere, i wouldnt be suprised if you have to import/export using different versions of fbx until you find the one that works. its annoying with FBX you would expect the latest revision to be the one that works the best?
The dreaded V-tear on converted dressesmtl1: I often do that, just without the obj step. Simply getting it close with pose and scaling and then turning on collision sometimes does a decent job. What you describe, I wasn't even aware it'd work. Cool, will have to try that.
I had tried it straight from the figure in the past, but it auto-fitted from the original figure and not current. Transfer Utility didn't transfer properly either. Exporting to OBJ ensures that the "current" figure is used... :/
Daz user takes Carrara plunge -- What should I know about using Genesis and G2 content?Nice suggestions!
With regard to "what you should know", I remember thinking that G2 was just about the sweet spot for use in Carrara - better than Genesis - although I can't now remember exactly why I thought that.
I would be interested in knowing more about this, if you remember.
One thing you will find is that certain Carrara content -- poses and material poses etc. -- won't show up in your Content library. This is because it uses a particular file format that Carrara doesn't recognize (.duf? .dsf? Can't remember). So in some cases you may need to manually apply texture maps etc. to figures, which can be tedious.
Smart content in Carara seems really squirrely. I can see why some users clothe and pose in Studio and transfer to Carrara, I get the idea of different tools for different jobs, but I hope that I get comfortable with it enough with Cararra to stay in it most of the time.
When you're applying a pose to a loaded figure, make sure you have the correct object selected in your scene (or rather in the scene browser). For example, if I load Undead Fiend, I will get a hierarchy in the Scene Browser that looks like "Undead Fiend" --> "Genesis" --> "Actor" --> "Hip" --> .... If I click on the object in the scene, Carrara will select "Actor" in the Scene Browser. Choosing a pose from the Content pane and double-clicking it will not apply that pose to the figure. Likewise, if I click "Undead Fiend" in the Scene Browser and then double-click the pose, again, the pose is not applied. I need to click on "Genesis" in the Scene Browser to be able to apply the pose.
Carrara files with saved Genesis 2 content tend to get enormous. When modern versions of DAZ Studio save a file, they save references to the objects in your library, so the files can be kept very small: a few hundred kilobytes, often. Carrara seems to write the complete model data to the file. This has the advantage that if aliens come along and abduct your library, you can still open the Carrara scene (although objects may end up untextured), whereas DAZ Studio will just tell you it can't find the required objects. The disadvantage is that the saved files can be many 10's or 100's of megabytes in size: you'll need a big hard disk. Also, the Save process can take forever.
I found that out yesterday. My first saved scene with G2F and lights was 250 MB! It took forever to save. Weirdly, the second scene I tried, with G2F, lights, terrain, and prop, was only 10 MB. Still a lot, but I have no idea why one was so much bigger than the other.
I believe at one point there was a way to make Carrara's file-saving process work more like DAZ Studio's, but either that was a feature of a previous version of Carrara, or I've accidentally changed a preference, but now whenever I save I get a giant file.
Hope to learn more about this as well.
Scenes containing Genesis take a bit less space; V4 and M4 are pretty economical.
Sorry if these comments are a bit vague; since the advent of Iray, I've been using DAZ Studio a lot more, and it's been a while since I worked with Carrara. This is why my memory for some of its quirks is a little inexact.
Thanks, very useful. Can you share why you chose IRAY in Studio over working in Cararra?
Rendering more realistic eyes in IRayjcade, is there a similar morph for g2? Or can it be transferred with GenX'd?
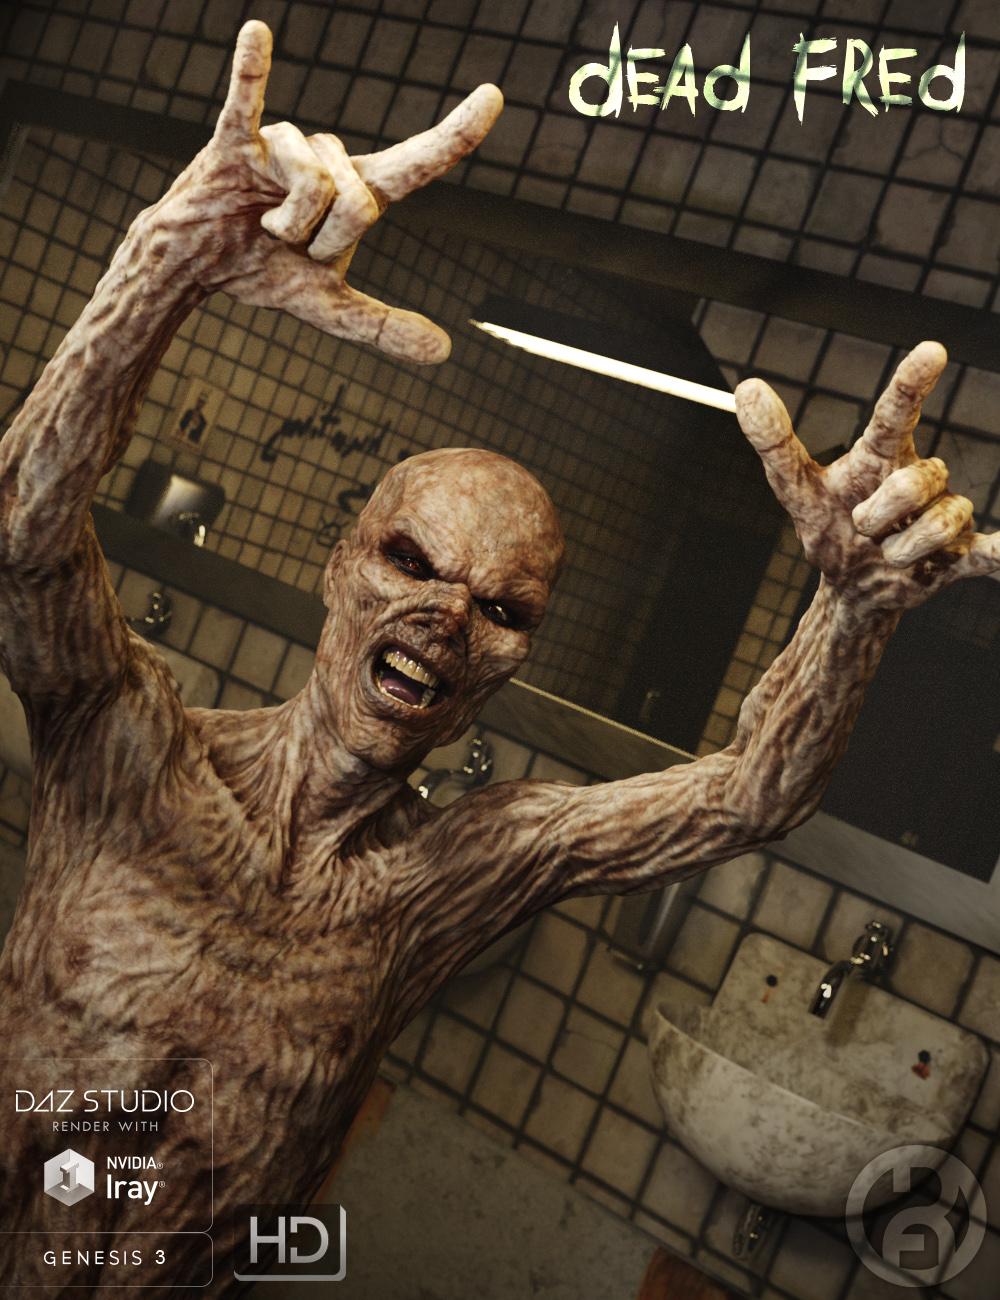
Dead Fred - is here! [commercial]Dead Fred
http://www.daz3d.com/dead-fred-for-genesis-3-male
Its Better to burn out than to fade away!
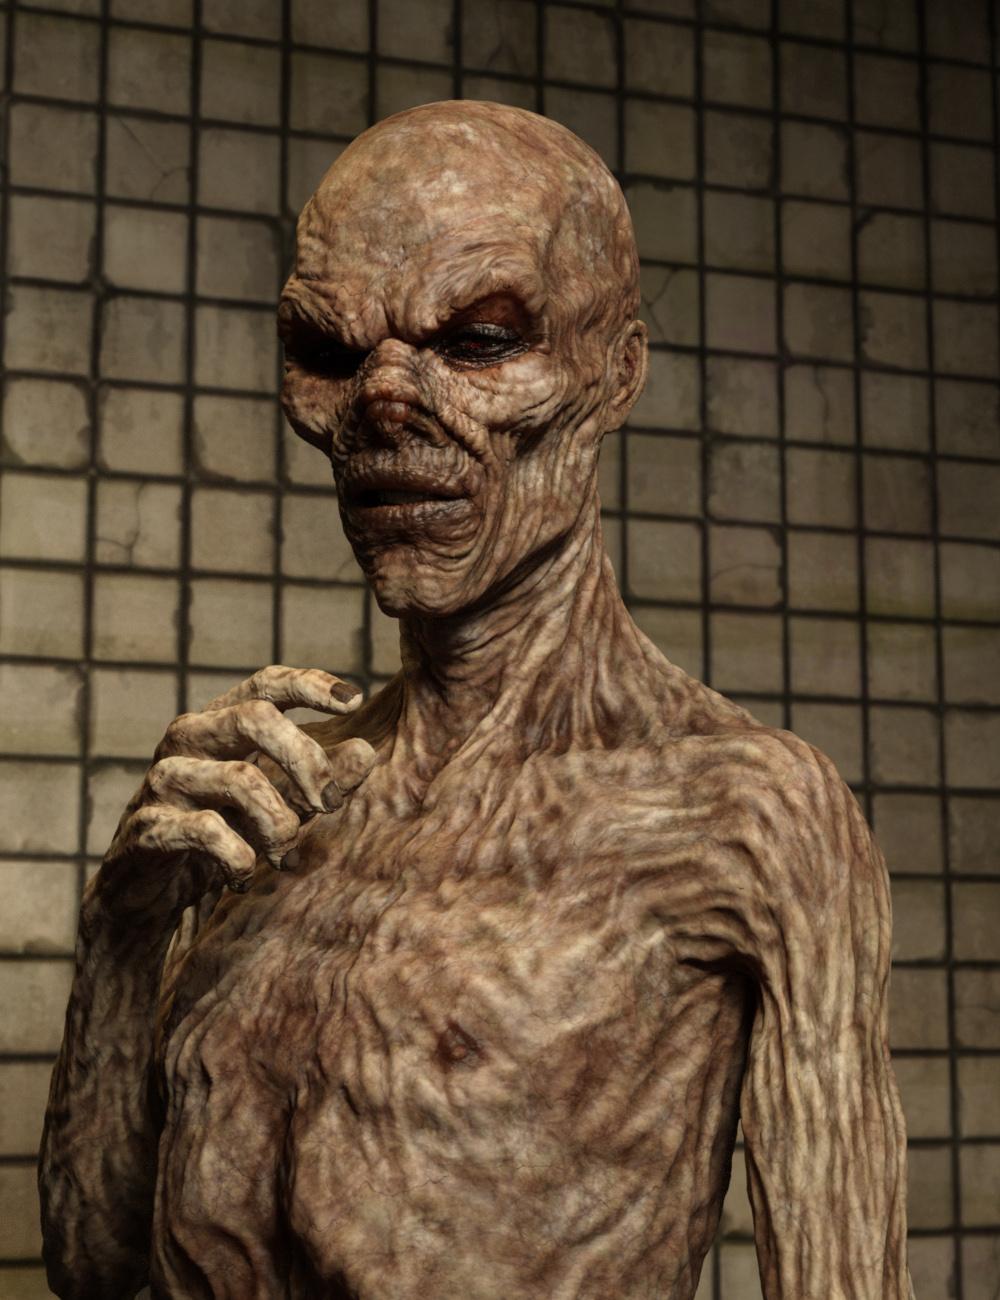
Dead Fred is your favorite rock and roll zombie mutant, jammin through the apocalypse.
The set comes complete with custom crafted High Definition Morphs, and highly detailed texture sets, suitable for Iray and 3DL
Product Includes:
One Fred Character Preset
One Fred Morph Preset
One Fred Full Material Preset
Two Fred Face Material Presets
Two Fred Eye Material Presets
Also includes IRAY and 3DL MAT files
 Item existence?
Is there an item that will allow me to transfer a V4 with any applied morphs to Gen2Female so I can take advantage of Growing Up on it?
OT Photo Shop HelpThank you. But the tabs that usually show the different images aren't there. Not at the top, bottom or side.
You can select the image that you to copy (Control + A)...make sure you are on the right layer..then choose copy (Control + C), then move to the image you want to add the image to and paste it (Control + V).
Or
You can use the move tool, click on the image you want to transfer, drag it up to bar where the file names are and move your mouse over the file name of the image where you want the transfer to occur. That image should open on the screen and then while still holding the mouse down, move the cursor into the image and then release the mouse and you should see the image you want to move added to the second one.
Thank you everyone. But the tabs that usually show the different file names aren't there. Not at the top, bottom or side.
OT Photo Shop HelpYou can select the image that you to copy (Control + A)...make sure you are on the right layer..then choose copy (Control + C), then move to the image you want to add the image to and paste it (Control + V).
Or
You can use the move tool, click on the image you want to transfer, drag it up to bar where the file names are and move your mouse over the file name of the image where you want the transfer to occur. That image should open on the screen and then while still holding the mouse down, move the cursor into the image and then release the mouse and you should see the image you want to move added to the second one.
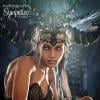
StrangeFate's stuff: Argentheart Crowns promos.Weapons are out!!
If you tested them and still feel like buying them, I'd delete the test copies. The art itself for the store version is the same, but all the files had to be resaved in different formats (hierarchical poses instead of regular poses, and each weapon as an own item as opposed to having to use the morph slider to scale the weapon... but the slider is still there, too... etc etc.Store version also has weapons for the G3 male.
Between all the changes that had to be done and a few bugs causing issues doing it, I have to say the Daz people have a lot of patience and were very helpful, good experience (all the changes needed aside).
Seeing it out finally sure motivatest to finish the next piece :)
http://www.daz3d.com/brutal-weapons-and-poses
Tiling texture, when it shouldn'tThere is a work-around that we've figured out with another object like this.
Since there's obviously some kind of script issue which is causing the problem, we eliminate the script. Here's how:
Find the Data folder which contains the geometry for the product. We're looking for an OBJ file for the product.
Import that obj into Daz Studio with the appropriate base figure, like Genesis 2 male(?)
Use Morph Loader Pro to turn the obj into a conforming item for the base figure (here's a video if you've never done it - its fast and simple)
(for this, you can skip to around 7:30 in the video. Before that I'm babbling about setting up in Carrara, modeling, then exporting - then importing into DS)
When you'd done, just save it back to your DS library (I'd recommend the same location as the original but change the name somewhat, like if it was Tux Shoes, maybe Tux Shoes Car - just makes it easier to find months or years from now) and you should have a working pair of shoes, but with poke-through from Genesis 2 Male's toes - so make them invisible in Carrara! ;)
Fixed! Easy, simple (especially once you try it a few times) and even a bit fun! :)
Cheers Varsel and good luck!
MAG Arm 2 G2F for left arm has rigging problem.
Close, show Hidden Items in Parameters and show Currently Used... you should see only the morphs for your character. Next using the Edit men, zero the shape of your character and see if the arm returns to the proper shape; if it does, you have an errant morph trapped in your character.
The dreaded V-tear on converted dressesAre you starting out with the zeroed base G3F?
No scaling, etc?
I found I have less problems with a 'clean' base to use for transfers than trying to transfer something after I've played around with morphs/etc.
OBJ Import ResolutionA model will be sent back to DS at the current ZBrush division level. If it still matches an object that was sent to ZBrush you will have the option to load as a morph, if not (or if it wasn't a modified version of something sent across from DS) then it will be loaded as a new model. Theer is a tool, available only to PAs, that will load a high-division shape as an HD morph.
Daz 3D is part of

Connect
DAZ Productions, Inc.
7533 S Center View Ct #4664
West Jordan, UT 84084Licensing Agreement | Terms of Service | Privacy Policy | EULA
© 2026 Daz Productions Inc. All Rights Reserved.