-
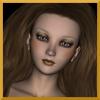
Alexandra 8
Not really into the facial sculpt of Alexandra herself, but I like FWSA Edith. She reminds me of a woman I met recently at a party. I wonder what she would look like without the Alexandra morph...
The search for Anatomical ElementsYou will find many threads on this topic. The answer is the anatomical elements are ONLY available on the Pro bundles and only for adult figures.
Someone with Fabio will have to speak to what the morph is, but morphs morph mesh, and the anatomical element is a separate piece of geometry.
Home one houseHow long ago did you originally buy the Home One bits? They were updated a little while back so they'd work together better; if you want the new files, simply re-download and install from DIM or your Product Library page.
As Spotted Kitty says, all the Home One packs were updated (June 2014) and the single packs are identical to the ones in the bundle.
"not sure why there are so many doors on the ground floor leading out side" - There are 3 doors - front back and side - which (to me) doesn't seem too many for a large house.
"and for some reason 2 sets of stairs up to the second story" - These stairs are there to match the rooms - one for the living-room and one for the hallway. Two sets of stairs in a five-room house doesn't seem excessive.
"why are there normal stairs up to the room but also a drop down ladder that isnt that far from the stairs?" - The drop-down ladde is on a different floor from the stairs. It's a normal thing to have to get up into an attic or loft area.
"and ground level is pretty much useless as is unless you use a plane or 5..or 10 to make rooms" - I think you misunderstood the way it's set up. The ground floor is a 'skin' for the Home One Rooms. You don't need to make your own rooms. Just load the rooms from the other packs.
Did you find and read the Help File? It will give you a guide to setting up the house, with the various options.
I'm sorry you're not happy with the product, but maybe you can have another look and try some of the things I've suggested. If you're still unhappy, remember that DAZ offers a 30-day money-back guarantee.
I got the bits back in like 2015 after the update. my other packs don't have rooms with them. I've looked and looked and looked. when I use the preset scene, its all the probs but no rooms. thats why I made the rooms because I have non (if you're supposed to awesome but I don't have rooms that came with the other packs, idk what happened but even reinstalling them, they have no rooms. 3 doors are not normal for me lol. I'm from the city. you get 1 or two doors on the ground level and thats it XD. the drop latter/stairs. if the hole was behind one of the doors that is in the attic, i could see it, but its not more than what 5-10feet from the top of the stairs? Its not that i'm NOT happy. I like your products and made the house as I have it work(even tried using hexagon to remove a door and a window, daz turned entire thing into a prop instead of a morph for some reasonbut eh) I knew the house was a little odd when I got it before I payed for it. I was just giving my thoughs on it and "don't be a dumy like me, get the bundle insetad" lol
Is there a way to fit aiko 3 clothing to genesis?I confess I'm not very good at finding things in these forums. This has probably been discussed before. If there is a really good thread on this please give me a link. I've got some neat aiko 3 things, most of which I purchased when I first started in DAZ and had no clue what I was doing, but some more recent... as in yesterday... because I could not resist. I spent several hours trying to move the items over to both victora 4.2 and genesis but none of my methods worked. Auto fit was a total fail. Attempts at changing the clothing in parameters was a fail. Removing the fitting then adjusting the figure and rigging them to the figure actuall worked great until I refitted them to the figure at the end of the process. I really really want to use my cool stuff on a newer figure. Is there a method that works?
Make your own clone, it's not very difficult you just need some (a lot of) patience;)
1. Load Genesis with zeroed shape/pose and A3.
2. Scale squash deform (and abuse) A3 as close as possible to the Genesis shape.
3. Export A3 as an obj.
4. Import A3 as a morph using morph loader.
5. Set the morph type to modifier/clone in the parameters pane.
6. Save as a morph asset, type needs to be "Modifier/Clone". Group should be "Hidden/Clone".
I'll try this. Can't hurt. Plus I like learning more so it's an opportunity to learn.
Ethnic Pixie/Fairy CharactersWhat makes an excellent Pixie/Fairy base is the Toon Generations 2 Megabundle and you probably have these Puck (way back to M4) and the Giselle 6 Pro Bundle (although you can buy just the fairy have-to-have clothing with wings product from that bundle or wait for the next sale.
Sakura 8 also would be a good base.
You should check the G3 to G8 Morph Transfer thread towards the end about transferring Toon Generations 2 to G8 and Sakura 8 to G8M for Genesis 8 ready pixies / fairies.
Sakura 8 is a cutie. I agree with what others have said in other threads about wishing for a male counterpart for her. Also, male fairies would be wonderful! I'm getting off topic, but I can just imagine how cool a male fairy/puck character would look with different makeups, tattoos, and clothing.
Is there a way to fit aiko 3 clothing to genesis?I confess I'm not very good at finding things in these forums. This has probably been discussed before. If there is a really good thread on this please give me a link. I've got some neat aiko 3 things, most of which I purchased when I first started in DAZ and had no clue what I was doing, but some more recent... as in yesterday... because I could not resist. I spent several hours trying to move the items over to both victora 4.2 and genesis but none of my methods worked. Auto fit was a total fail. Attempts at changing the clothing in parameters was a fail. Removing the fitting then adjusting the figure and rigging them to the figure actuall worked great until I refitted them to the figure at the end of the process. I really really want to use my cool stuff on a newer figure. Is there a method that works?
Make your own clone, it's not very difficult you just need some (a lot of) patience;)
1. Load Genesis with zeroed shape/pose and A3.
2. Scale squash deform (and abuse) A3 as close as possible to the Genesis shape.
3. Export A3 as an obj.
4. Import A3 as a morph using morph loader.
5. Set the morph type to modifier/clone in the parameters pane.
6. Save as a morph asset, type needs to be "Modifier/Clone". Group should be "Hidden/Clone".
Ethnic Pixie/Fairy CharactersWhat makes an excellent Pixie/Fairy base is the Toon Generations 2 Megabundle and you probably have these Puck (way back to M4) and the Giselle 6 Pro Bundle (although you can buy just the fairy have-to-have clothing with wings product from that bundle or wait for the next sale.
Sakura 8 also would be a good base.
You should check the G3 to G8 Morph Transfer thread towards the end about transferring Toon Generations 2 to G8 and Sakura 8 to G8M for Genesis 8 ready pixies / fairies.
Morphs from G3 to G8OK, that's good. I've been waiting for the fingernail fix myself before I test. I will only transfer toony styles to G3 to G8 and then both ways G8F - G8M. Genesis 2 and Genesis I'll buy the product although I have some weird Joe Quick characters that I could use to test it seems you have plenty of testers already.
February 2018 - Daz 3D New User Challenge - LightingI'm going to work on something a little more conventional afterwards, but I started out just wanting to play with lighting. Instead of doing a scene, I tossed up a couple of primitives and started adding lights and playing with emissive surfaces. I'll probably come back and play with this more to figure out how to control bloom, intensity, luminance and angle but this is where it's at right now. My own personal challenge this year is to step outside my comfort zone and stretch my creativity. In this, I used the exact same settings on all the figure's skin surfaces, and used spotlights and distant lights to "paint" her. She and all of the spheres are shaded with a frosted, etched glass shader (with a custom "etching") and thin-walled set on, so the blurred lines and stars are actually on the other side of the shape being seen through the shape. I'm trying to decide if I like the way the lines "break" at the figure seams, or if I want to go in and try to adjust the tiling and angle of the textures so there's a more seamless flow.
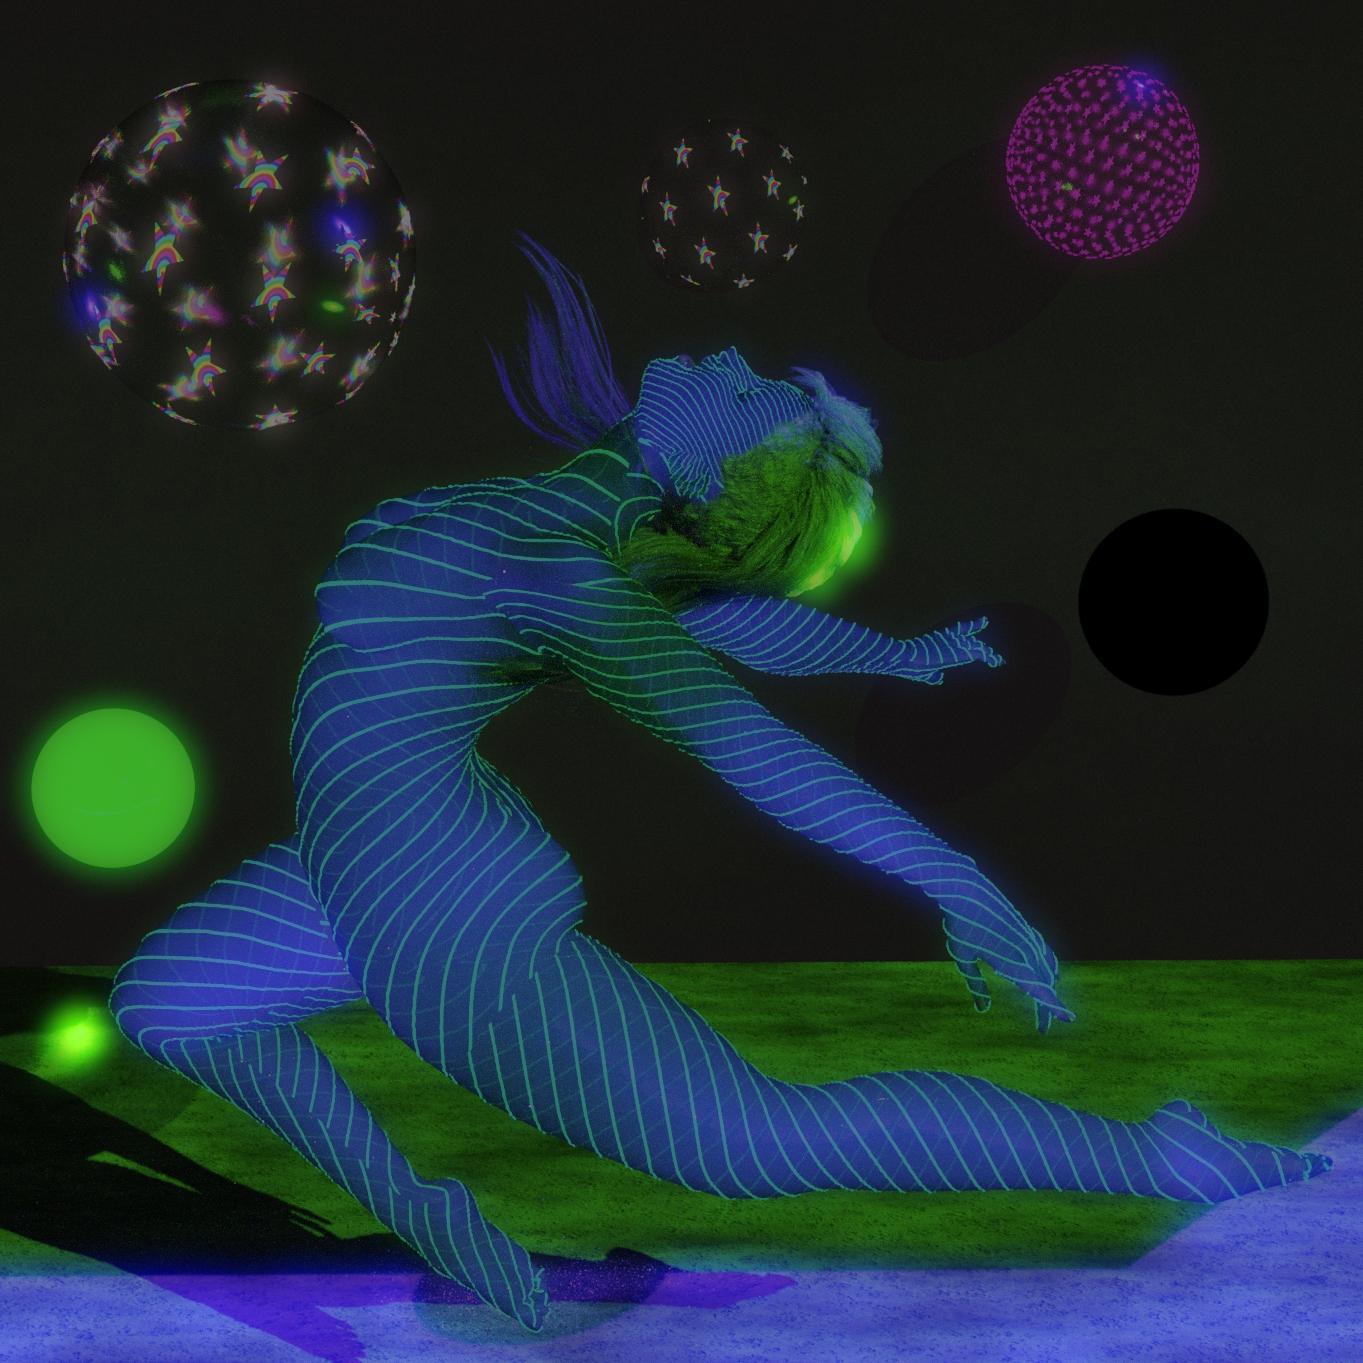
It is almost impossible to match tiled textures across seam lines, unless you have a UV that is designed to do that. I know that there is such a UV for Genesis in the Sculptural Genesis Ultra Fun Kit. I can't think of such a UV for later generations, but there may be one. Perhaps other users can chime in about that. Another option is to try a procedural shader. That will work on any character.
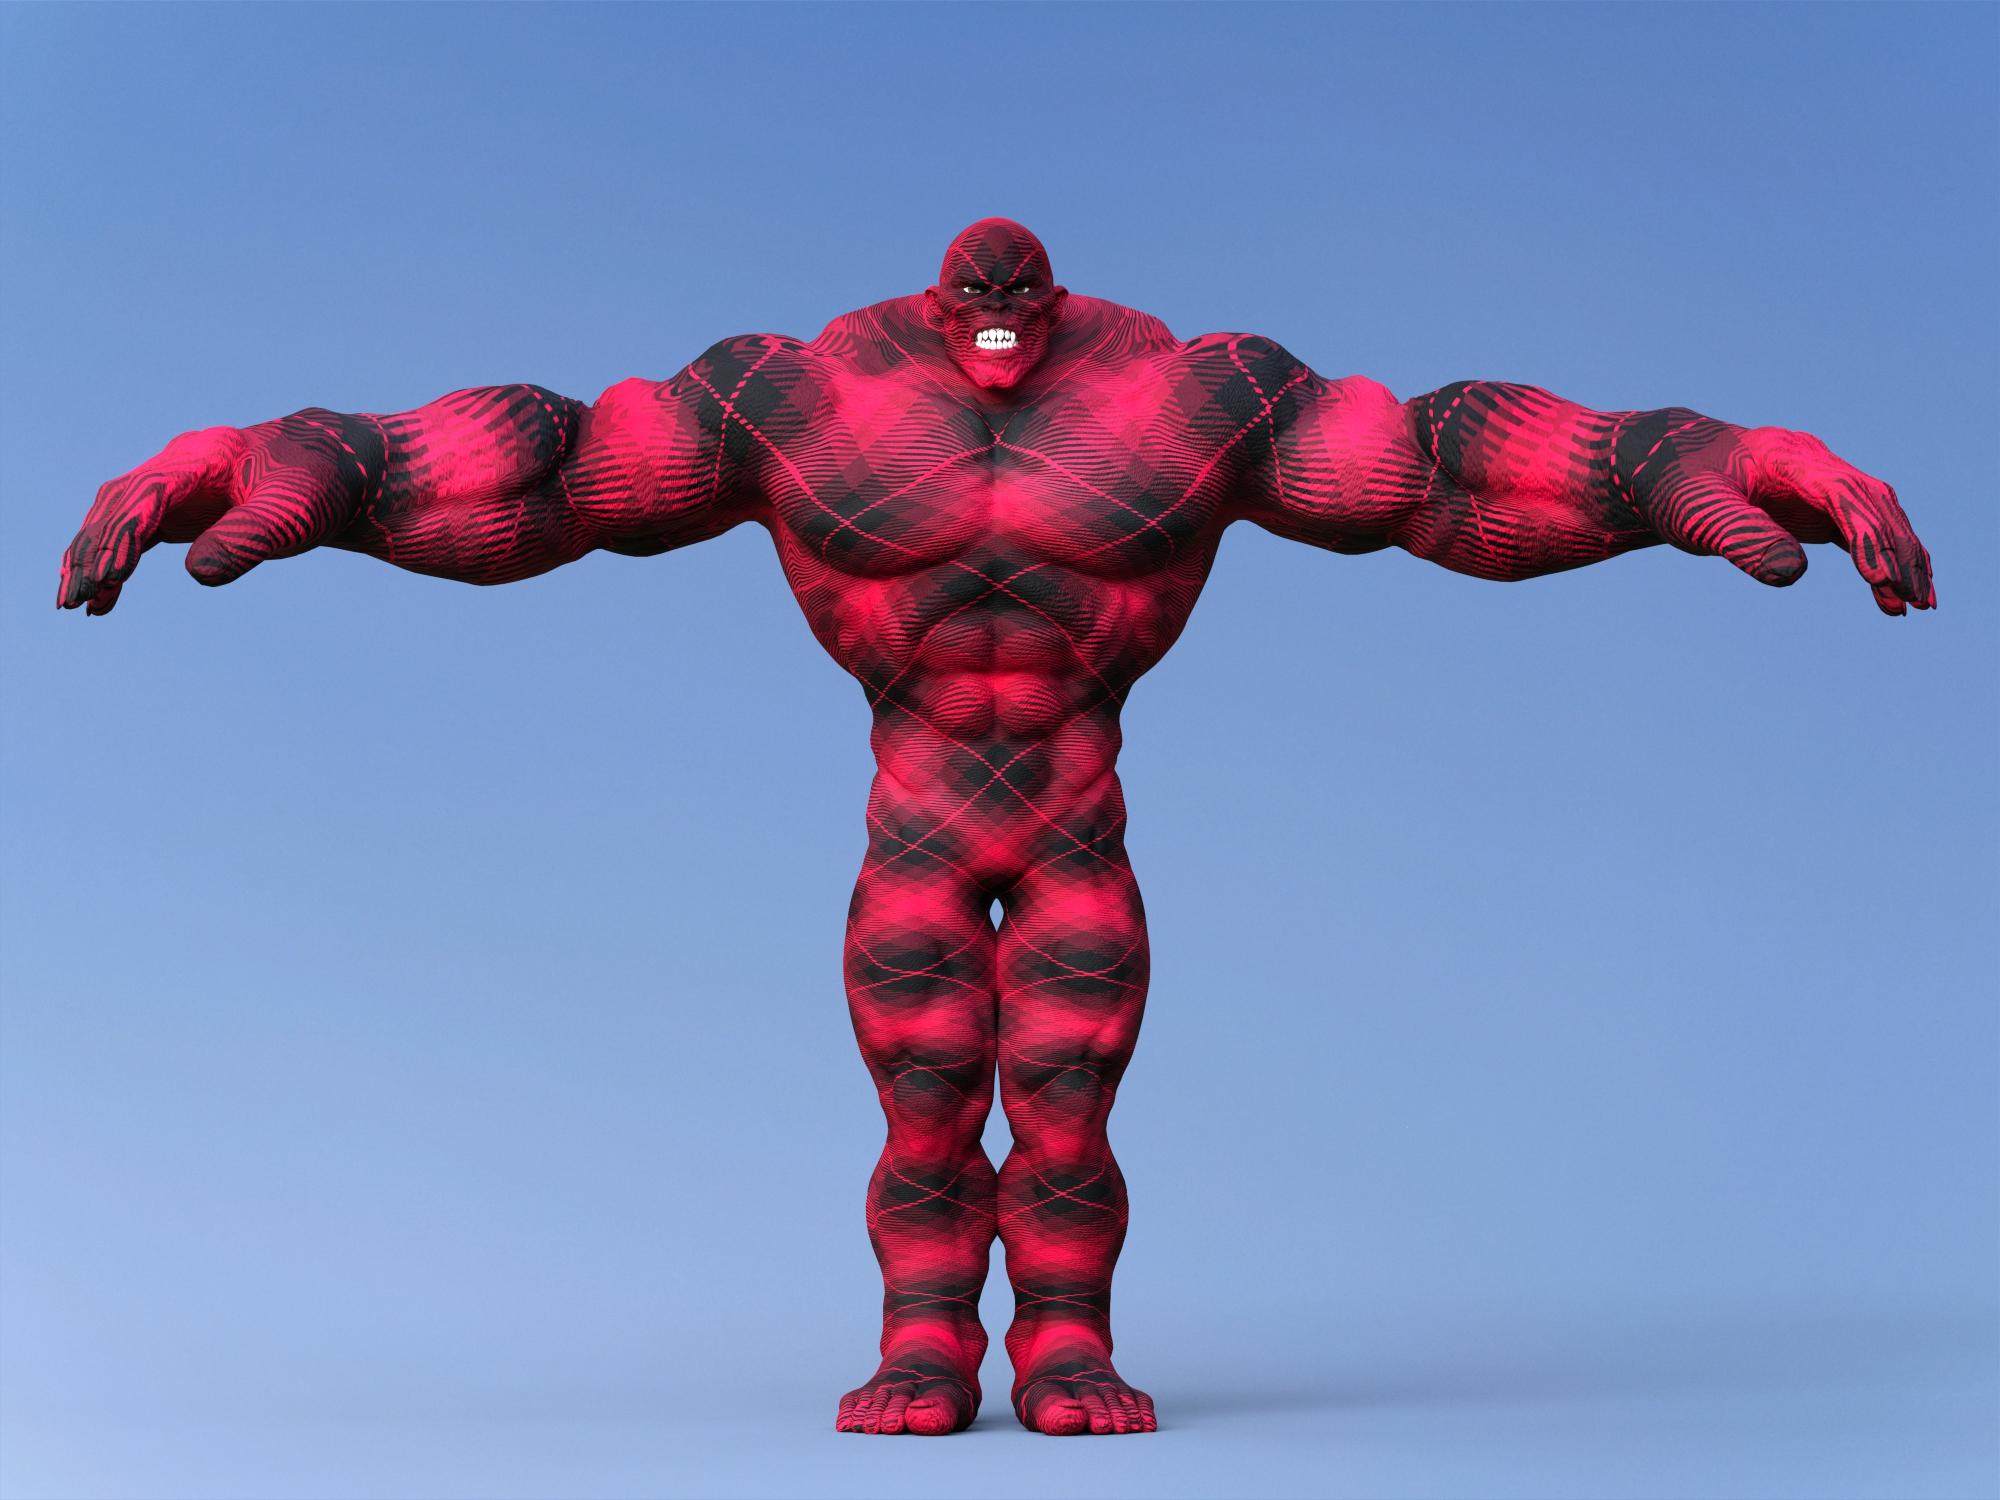
Here is a Genesis 8 Female with a procedural shader from esha's Procedural Gem Shader for Iray A procedural shader does not distort when the character is morphed.
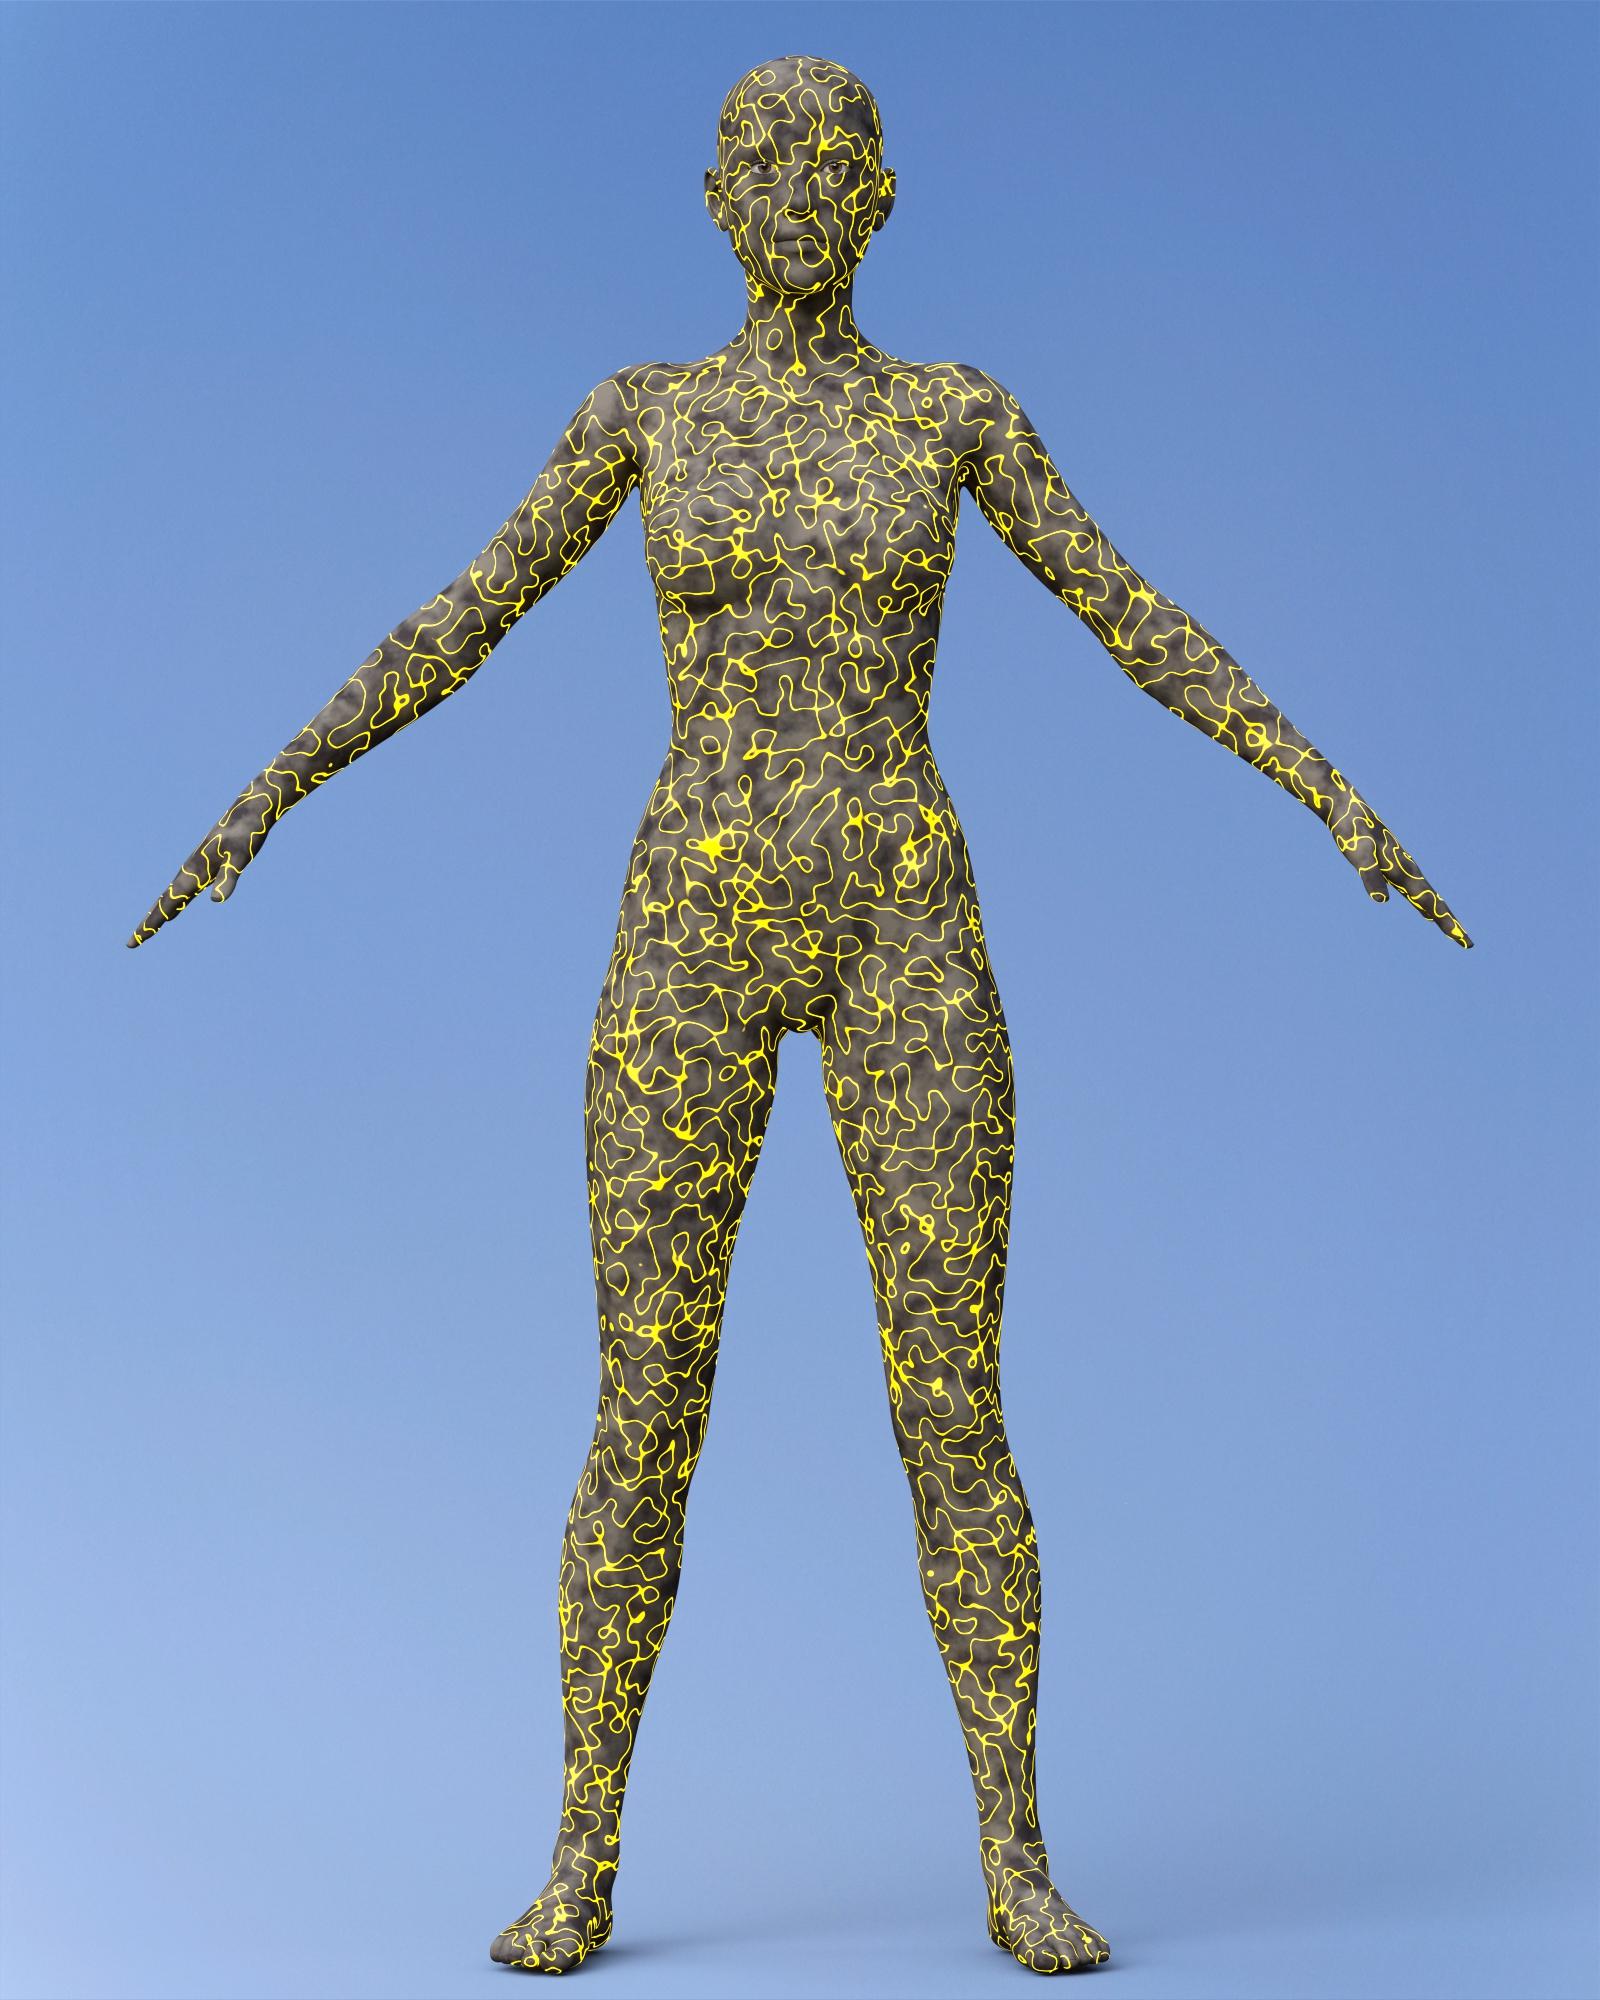
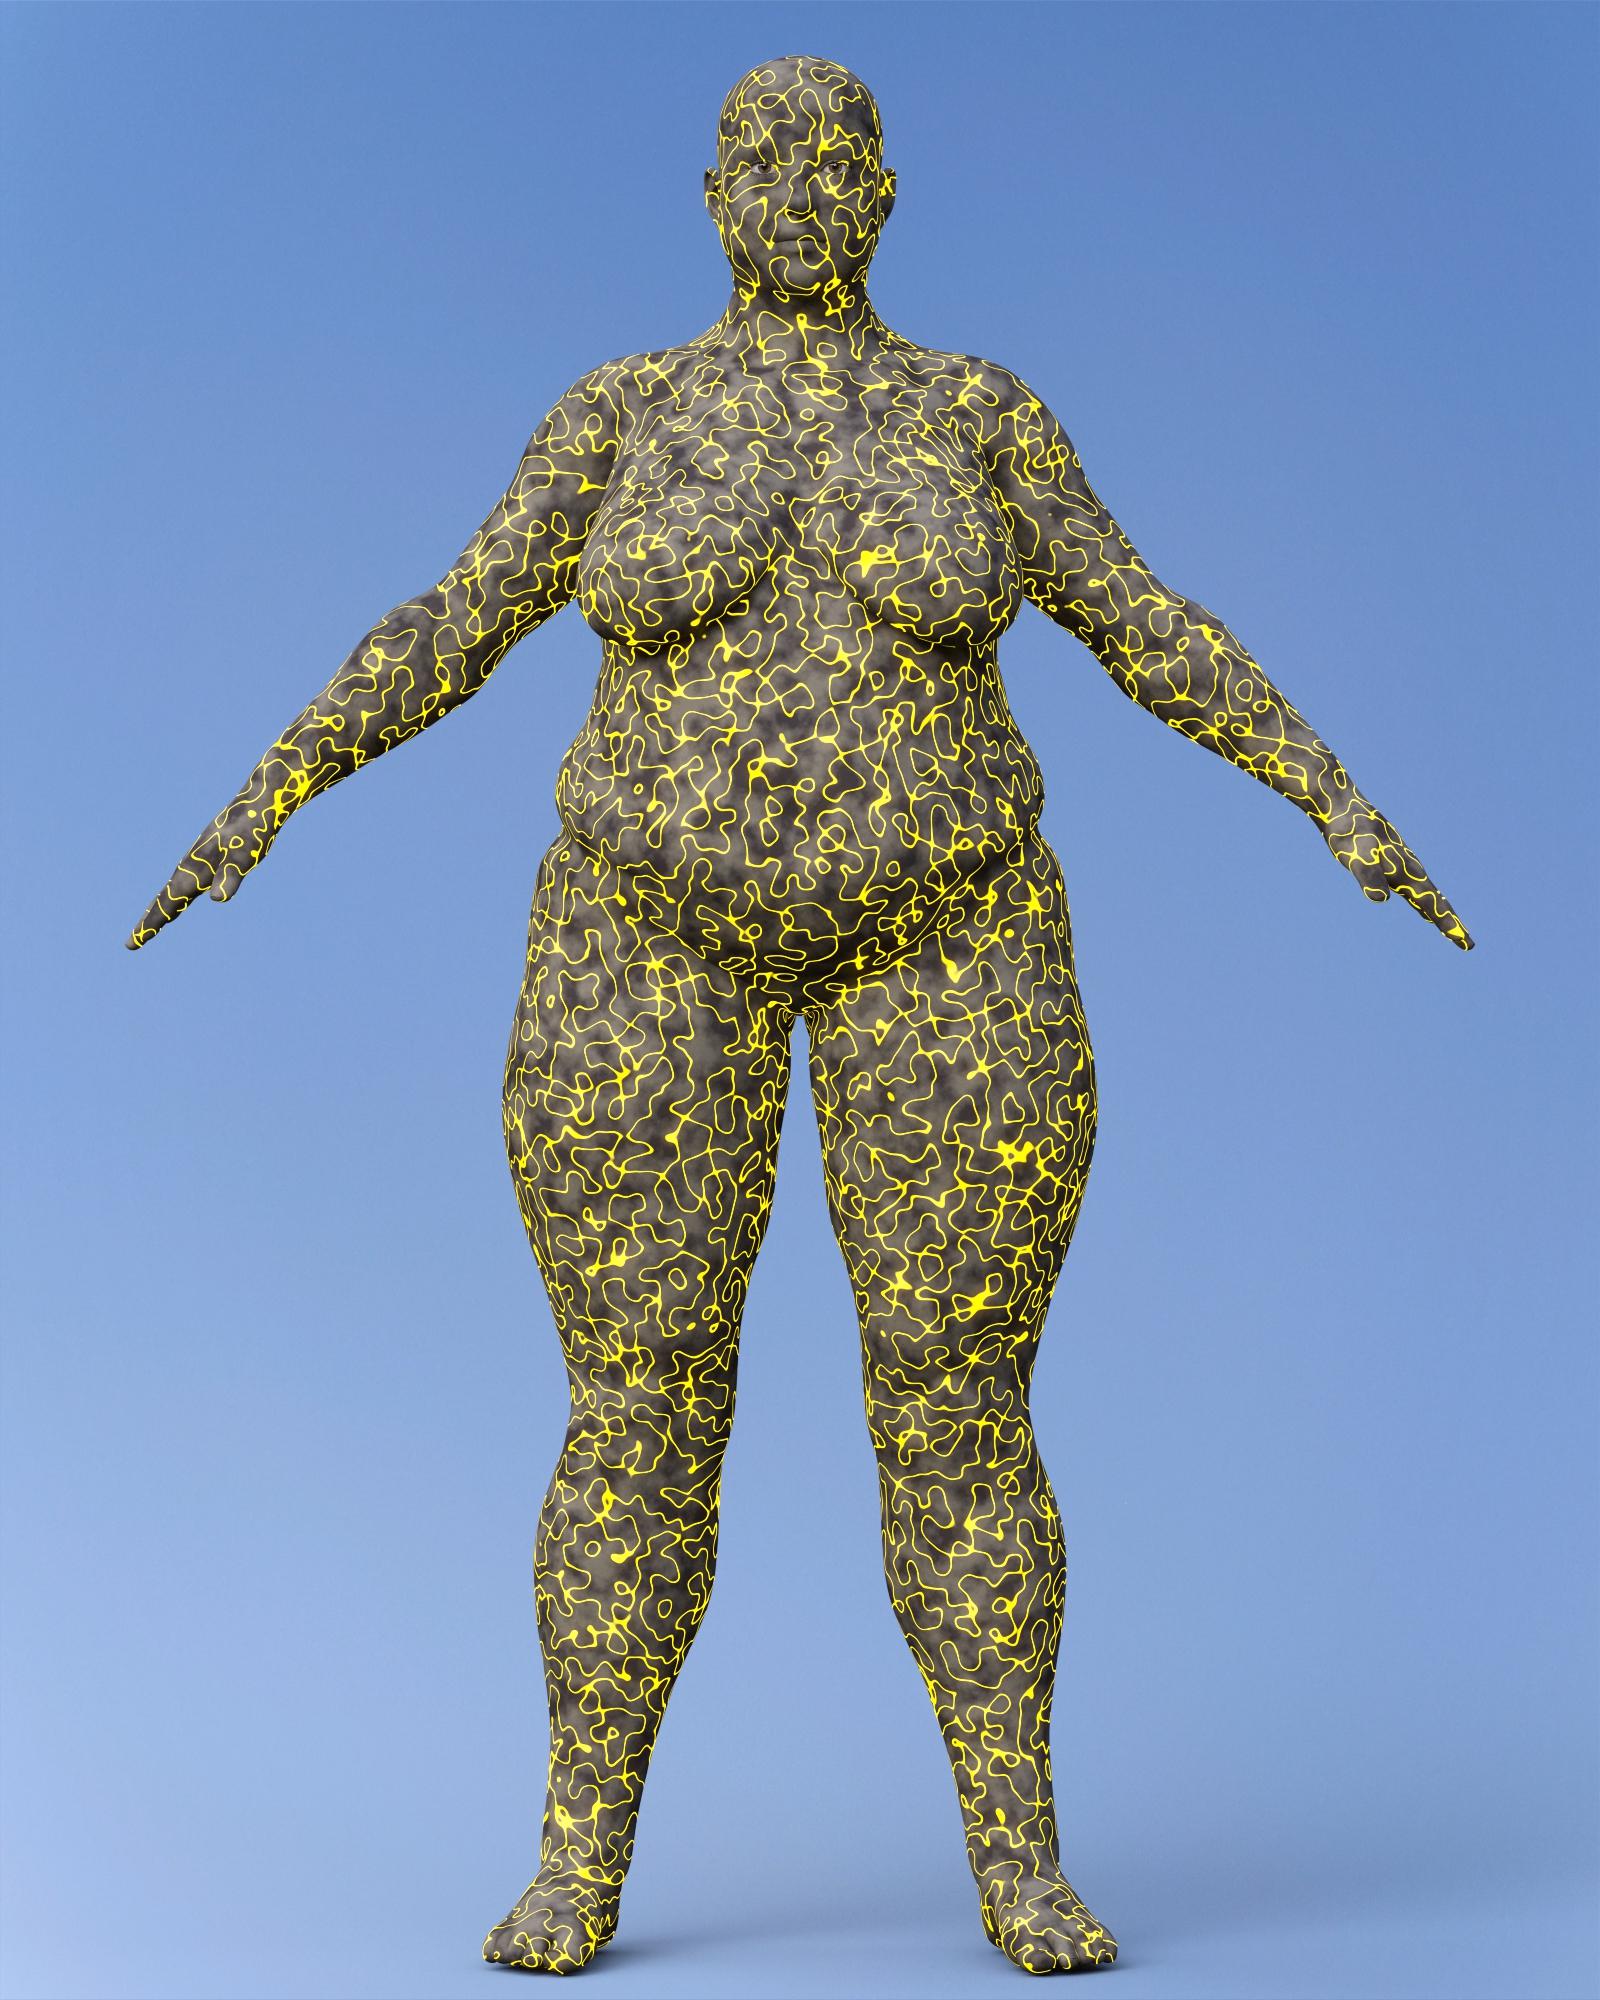
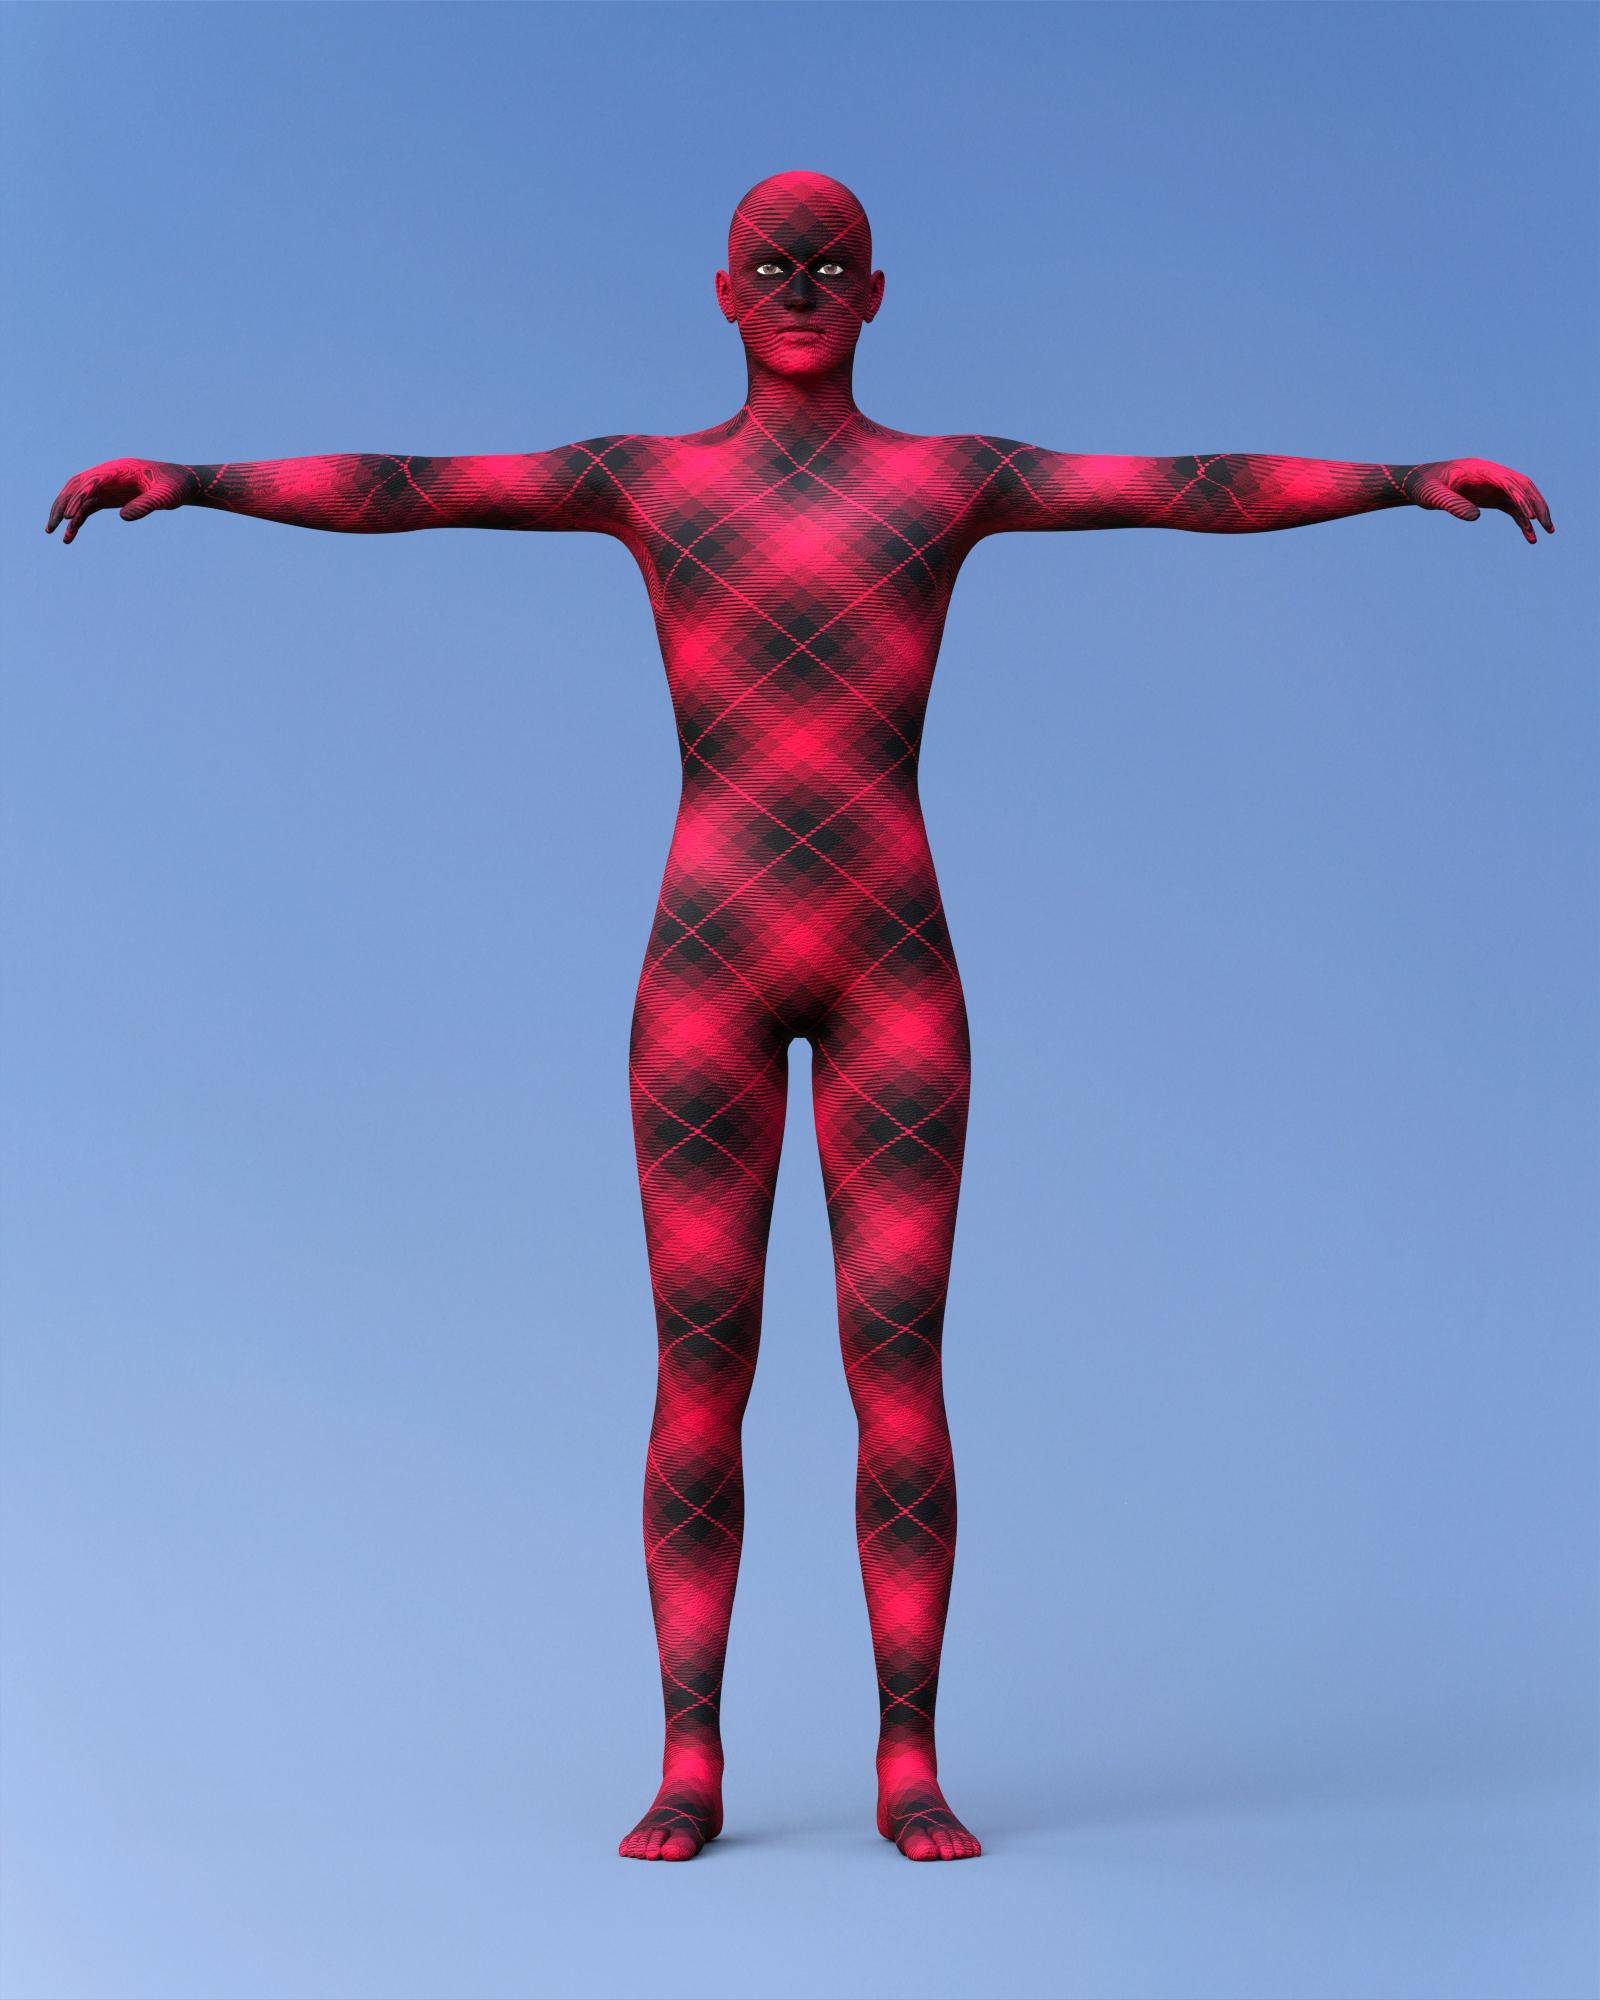
Here is a Genesis character with the Sculptural Ultra Fun Kit UV. Note that this UV allows you to use any tiling texture. If the character is morphed, there will be more distortion in the pattern caused by the morph stretching of the skin. There is still no ugly seam line between body parts, though.The texture I used is from PD Iray Shader Kit 2.
 Morphs from G3 to G8
Yes, it's not going to fly to tell John & Jane Doe tht they have to reconfigure all their DAZ content product path names to use something they've bought out of the DAZ Store. There were quite a few people last year that returned a couple of products that wouldn't won't work if the DAZ content was changed from anything but the default DAZ configuation.
I know it can be done. I just didn't expect it to cause this particular issue. Ultimately, I think the script has to be written such that it runs correctly even out of the connect library, which is no real issue. The final script will default to library 0 but will give the option to save to any library but connect, (just because I don't know how to safely save anything there, and think it's probably a bad idea to try). But I'm pretty sure there's actually a method in DzDir that automatically searches all content libraries for the relative path provided. So it should be easy enough. For testing, it was a low priority, again. I was sure there would be issues like the as yet unsolved long fingernail issue that need solving, and unfortunately, there's not an easy fix for these things because, unlike the old system, there no easy to predict what this will do unless you stress test it. Before, when there were distortion, I could say "this vertex here is getting the wrong data. it's either out of order or it's mis placed in the "clone" morph, and it was fairly simple to figure out where it needed to be. In this system, I still haven't a solid clue as to why the nails are doing what they do. Given that I'm 99.999% sure there's a plug and play solution to getting the script to run from anywhere, It's not a first line issue to solve.
Sakura 8Transfering brows is non-intuitive. The trick is do not use projection templates if using Transfer Utility, which is the same as not setting the "what type of Item is this" in autofit.
Basically, a template is a figure the target figure wears, but it often has different bones. This allows you to have special templates to give bones to skirts rather than having them use the figure legs. In the case of the full body and hair templates, they do not have the face rig bones, and the brows of G3 and higher are bone controlled.
So not setting a template should cause the brows to be affected by the face rig.So I tried this and something incredibly weird happened.
- I loaded Kenshin then used the autowear function to get the eyes, eyebrows and eyelashes in place. It worked for the eyelashes and eyebrows, but the eyes weren't as successful.
- Deleted the eyes and parented them instead. Everything looked good, so I saved and attempted to render it... except that DAZ crashed on me.
- Reloaded the scene and the eyelashes had these two weird lines going down. I did a quick viewport render and you can see the black lines. (Look below)
- Figured that by deleting them and loading new ones the problem would be fixed... I did that, using autowear to get them back into place... but things got even weirder.
- As long as the eyelashes were there and unhidden, I couldn't get the figure to render. Not in the viewport (with iray preview) and not in the actual render.
- BUT if I hid the eyelashes, then I could render the figure just fine.
- Conclusion: I've no idea what's going on with those eyelashes. Eyebrows seem fine, though, and they do follow the facerig now.
I'm stumped too, frankly. I've never tried fitting lashes. I've tried making them, and that worked out okay (could be better), but it takes some thinking about the way the lashes work, which is a bit weird. I'm not sure if the S8 lashes work like the base lashes but if they do, try loading them without a figure, and then zero figure them. They should fold up into tiny lines.
I think they are like this because they won't properly take the morph projection otherwise. Since they stick out from the mesh but need to move with the eyelids, their base shape is rolled up so that morph projection from the lids is what sould first impact them.
It looked like you go a good fit without using this specific method, and the thing about autofit is, what works for one type of thing may not work for another. I know the thing about fitting brows work, but obviously there's issue with lashes. It might be that to autofit, you need to make sure that the lashes are zeroed first. It could be auto fit uses "current" shaping which would tend to mess up the lashes.
Bear in mind, I'm just making this up as I go, but recall that's what I had to do with lashes I made, in the end. In fact, I didn't even load the "default shape" morph until after getting them fitted, though that probably wouldn't make a difference as long as the morph isn't active. Bottom line is, I really don't have clue what's happening.MimicMolly's Renders & WIPsI imported the morph of my face I made previously into Sculptris and removed the indentation. Obviously, because this morph is of myself I've got no plans to redistribute it.
Anyway, here is the morph GenX'd to G3F. I need to find a suitable skin texture, but I think Joanna for Genesis 3 and 8 female is suitable, specifically the yellow tone. The hair is the Leyton Hair for Genesis 3 Female(s) and Genesis 2 Female(s) which comes in the Victoria 7 Pro Bundle. However, I also wanted to take the time to render another character I've been meaning to make a better render for and that's Divamakeup's Karli for G8F, a freebie character.
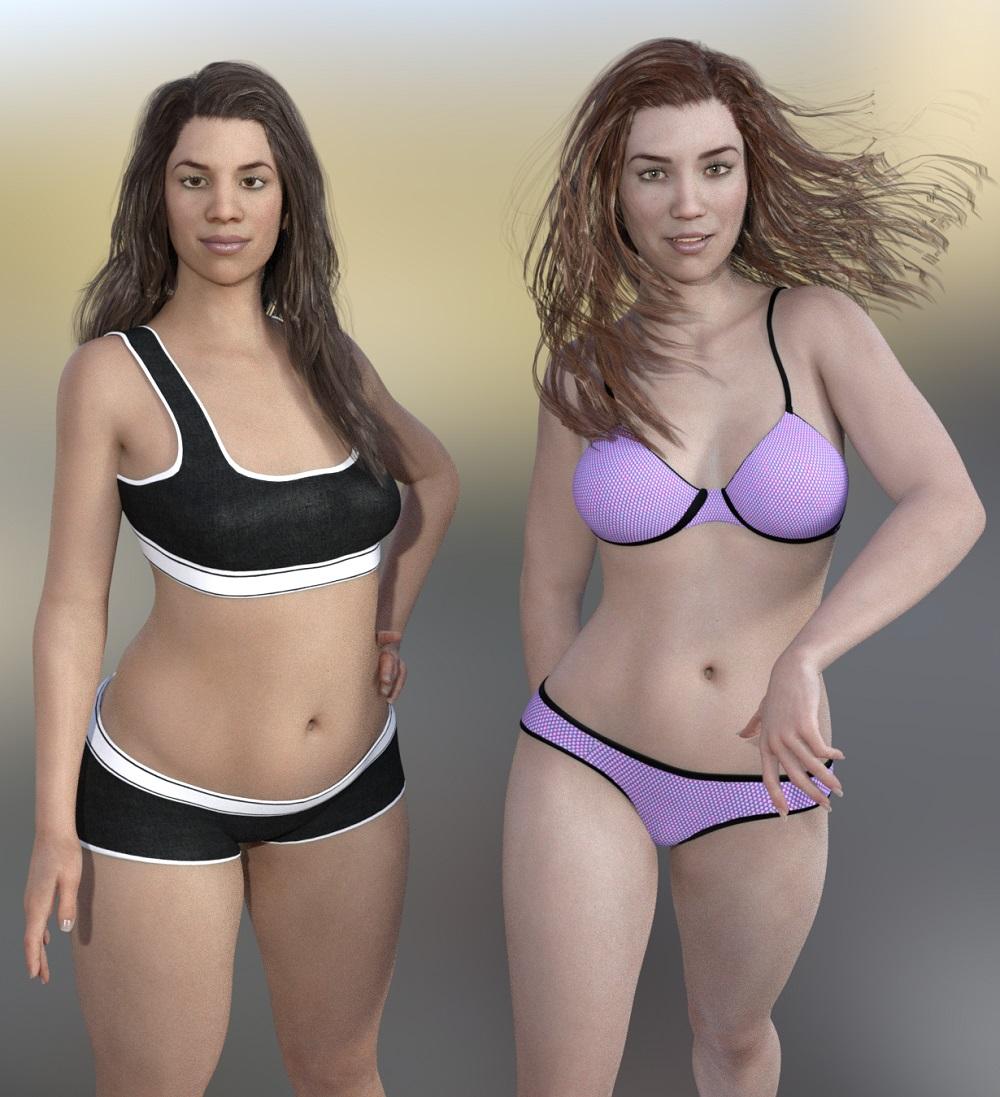
My morph is dial spun to an approximation of my build. However, I'm not scaled to what my height would be (I am 5'1", so less than 100%.) Karli also has Joanna's texture but the default pale tone. Both characters are wearing the basic wear of their perspective figures. (Hopefully, I'll get around to posting Karli. I like her because she reminds me a bit of V4, with the rounded face.)
Next, I decided to make a more toon version of myself, which means the morph has to be cutified somehow. Since I don't have The Girl 7, I used a GenX'd Girl 6 shape on G3F to mix with my morph. I think it was like 25% or so that I used because The Girl's shape is quite strong that even in small amounts it is noticable. (Please understand that this is not a problem IMHO. In fact, The Girl is my favorite DAZ Original toon and I like her a bit more than Aiko.) In this toon self portrait, I'm wearing Effortless Cool for Genesis Male, the necklace from Aven Clothing for Genesis and the hair is SAV's Aphrodite hair from Renderosity. (This hair does not autofit well, but I love it.)
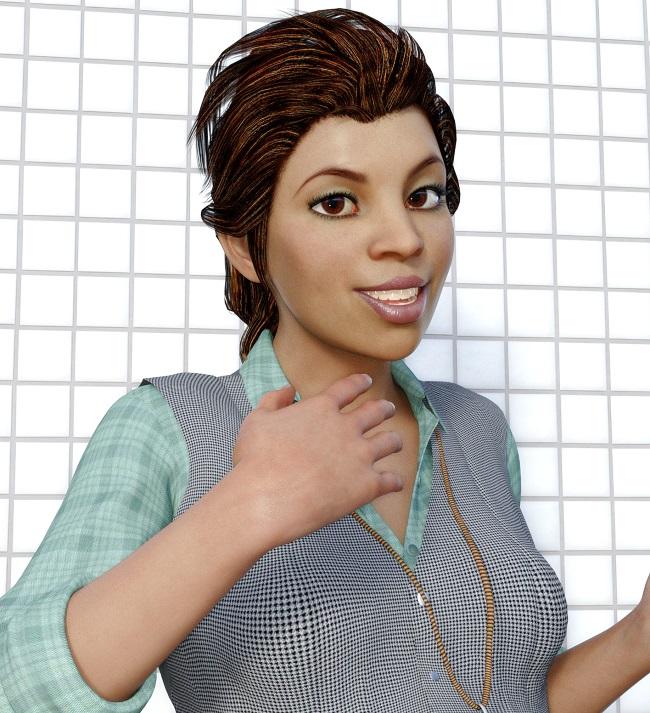
Ironically, the toon version looks more accurate to how I look like than the "realistic" one. I think the problem was the depth of field in the selfie but then basic head morphs easily corrected this issue.
i13 Retail Clerk OutfitThis is a follow up from last year. The Morph problem was never fixed (or at least I can't figure it out).
After I filled after I filled the BUG report I requested and received a refund. Shortly later I purchased the i13 Tanning Salon Bundle on sale for a great price and everything works EXCEPT THE BUTTON DOWN SHIRT.
Since I received a refund on the first purchase the Ticked was deemed Solved. I never did a follow up Ticket for the Bundle purchase.
My real question (finially) is to ask if anyone else has had a problem with the Button Down Shirt Morphs? I own a lot of i13's great products and this is the only issue I have ever had with any of them. I saw the products back on sale and it just reminded me of the morph problem.
I'm having the same problem with it.
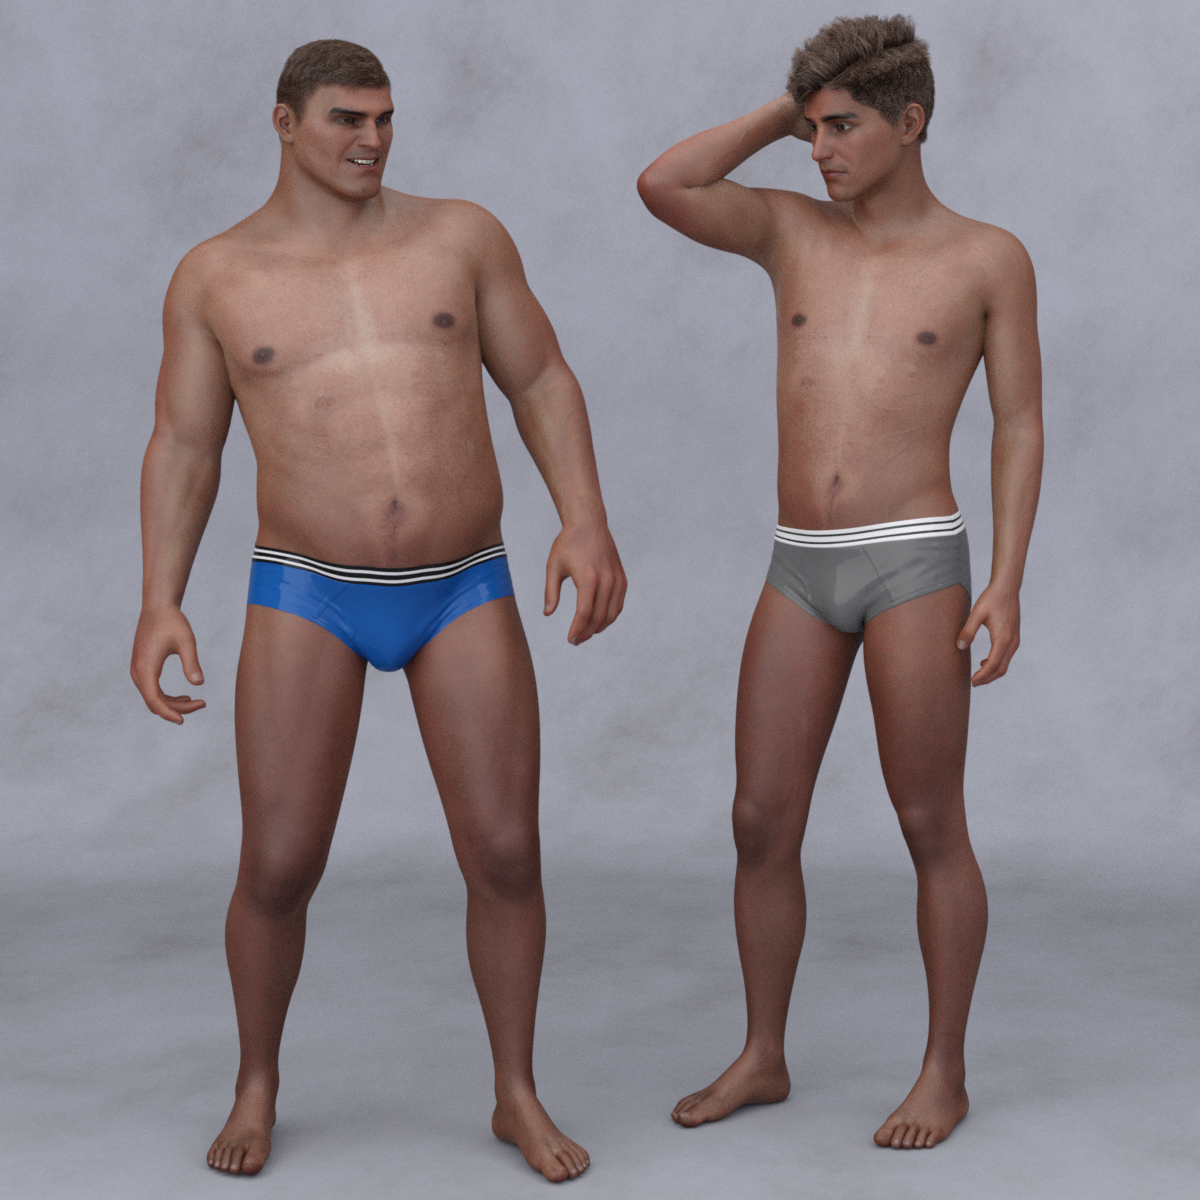
Gades for Genesis 8 maleSo, got this and then travelled for a week for work, but got back and was able to try him out.
I had Gades and 25%, then used morphs to lengthen his legs (not sure if those are in the base body morph packs or some other morph set for G8M), and scaled him down a bit to G8M height. Dialed in another character face, one of the Shimizu head morphs I believe, to "sharpen" up the features a bit. G8M without any body morphs for comparison, Salvatore skin on both. Could definitely spend a little more time refining proportions, but overall happy with having him as another body type, even for less stylized characters.
 [Tutorial] From Map Transfer to Material Presets
Bringing up this old topic as I'm trying to get a texture set onto G8F and am not having much luck.
The original texture is for M4. Someone pointed me to an item on shareCG that would add the M4 UV map to G2F
So I'm trying to use the Map transfer on G2F with the loaded textures to create a proper G2F texture set so I can load them onto my G8F that has the legacy G2F UV map.
Unfortunately, when I do the M4 to G2F transfer, the textures don't come out right (even when trying to load the new textures onto the old G2F)
I'm looking at the folders on my computer that hold M4 and G2F. The thumbnail images for the torso and limbs look very similar, with the heads having the most obvious differences. However, some of my M4 textures are at 1024 pixels square while my base G2 female has textures of 4096 square. Which makes me wonder, are the image maps for the M4 texture you want to transfer the same size as the G2F materials you're using? I'd have to revisit my own tutorial to be sure, but it would make sense to me the Source (M4) and Target (G2F) would need to have maps of the same size.If they aren't, I'd suggest using Irfanview to resize the G2F materials to match the M4 materials, in a new directory of course. Then try again.
Morphs from G3 to G8Don't know if it'll fix the issue, but you can always give it a shot :)
And it was as simple as that it seems. Apologies for missing that particular bit of information.
Thank you so much for pointing that out, it has in fact solved the issue.
Again apologies for not reading the thread carefully enough.
Not at all.
In fact, that bothers me a great deal since, in theory, Studio should be able to deal with the morphs being anywhere, at the end of the day. I'm gonna have to do some thinking about why this is happening
Mind, the script and supporting files need to be in content directory 0 (Daz counts everything from zero base, so the first of anything it is counting is item 0) so they can be sure to find each other. I hope to extend that to a more general case, but it bugs me that this actually causing it to fail to work. That's unexpected. it might have been fail ... Oh, yes. Indeed.
You get read my mind working. Lucky you.
So maybe it's exactly that. I expected the script to fail if it didn't find the support files because I was thinking the clones would break. But my first thought is correct. The clones can be in any active library and Daz will find them. What was breaking was parenting, not because of whatever broke the Sixus1 stuff, but because since the script could not find the support files, the script did not know what to rewrite the parenting data from or to. That's part of the key to making the script "scalable" it doesn't actually care what figure you attempt to run it on. the info it needs to do the translation is in the support files and it finds those files by a combo of the figure name and info in the script. Since it expects those files to be in library directory 0, it wasn't looking elsewhere for them.
Thanks everyone. I was utterly stumpted there.hi again, singular...
well, i tried running the script on that morph package subset again, and got the same results. i uninstalled and reinstalled the morph set, deleted the old studio log, launched studio, loaded g3f, favorited the morph, loaded g8f, selected g3f and then g8f, ran the script, and quit. then i relaunched studio, loaded g8f, and looked up the morph. it still shows as having a parameter range of -100 to 100, and limits are now off again.
i know zip about this stuff, but toward the very end of the script's debug output, i see: "WARNING: Object::disconnect: Unexpected null parameter".
then when g8f is loading the second time around, there's a stream of "Could not find output property for formula:" warnings, most of which seem to be related to the lHeel and rHeel geometry of the failing morph. so i opened up the .dsf file for the morph, and sure enough, lHeel and rHeel push definitions are present. (who knew breast morphs contained heel geometry? not me...)
so i'm guessing that there's some aspect of these particular morphs that thwarts translation, though they apply comfortably enough to their intended base figure. and i'm not going to fret about it, though i will be happy to retry the transfer if that's helpful to you. as i said, i haven't had any issues translating any of the PA's other zone-specific morphs with your script, breast morphs included.
happy trails!
j
I'm not sure the unexpected null is script related. I'd guess not since the log tends to expressly say things like "script [path] error line n" when it's an error there. as a guess it's an error in the IRT plugin that crops up next, but I'm iffy about that since it's almost 1.5 seconds before that comes up. OTOH it's a full 23 seconds between the last script entry and the null warning. My guestimate is that the script ould take less that 10 seconds to complete in total since it only took 2 seconds to get that far.
Are you still getting this first group of morphs showing up with no limits? Are they still not dialing in as expected? are you seeing similar issues with other morphs?
If they are still showing up without limits, please go to D:/oh3d/DAZ 3/Library 3/data/DAZ 3D/Genesis 8/Female/Morphs/3anson/3A Creative MR 01/Breast MR 1/ and right click any dsf file and use the open with to open it in a text editor. You'll see code but near the top will be a section that looks like so:"modifier_library" : [ { "id" : "PBMMorph", "name" : "PBMMorph", "parent" : "/data/DAZ%203D/Genesis%208/Female/Genesis8Female.dsf#Genesis8Female", "presentation" : { "type" : "Modifier/Shape", "label" : "", "description" : "", "icon_large" : "/data/DAZ%203D/Genesis%208/Female/Morphs/Some%20Vendor/Some%20Product/PBMMorph.png", "colors" : [ [ 0.2196078, 0.3019608, 0.3882353 ], [ 1, 1, 1 ] ] }, "channel" : { "id" : "value", "type" : "float", "name" : "Value", "label" : "Morph", "auto_follow" : true, "value" : 0, "min" : 0, "max" : 1, "clamped" : true, "display_as_percent" : true, "step_size" : 0.01 },The key point is, assuming a morph that does not show limits while loaded on G8, do the values in "channel" for "min", "max" and "clamped" read -1, 1, and false respectively. (note, "clamped" may not even appear, but min and max will.)
They should not.
As to the heel thing, that's a present limit of the prototype I'm working on. G8 and G3 don't have the same bones, exactly. specifically, the heel bone was deleted for G8. The heel error actually is a sign the morph is correctly being read, since there are no other bone failures.
What that is actually telling you is the author ran adjust rigging to shape without limiting it to the likely affected bones, which will cause G3/G8's entire skeleton to shift slightly, because the skeleton is somewhat hand made. The bones are placed where they work best, not where autorig will place them. So running autorig on an unchanged figure will often cause minor shifts in the bones. That's the issue.
By the closed beta, my aim is to have the script intelligently removing bones that don't apply to the target figure. It's a necessary aim, as the Beta will introduce Genesis or Genesis 2 support (likely Genesis, though I know people will want G2 more, but Genesis means only one figure, and G2 support means 2. Yes, I have to do all 3 in the end, but the difference between G1 and G2 are not so large as either is different from G3/8 so once G1 is integrated, G2 should be fairly easy). Because they have completely different bone structures, the script will need to have code that accounts for that, and supportfiles that know tell it what to add and remove on the fly.What morphs/textures were used to create this look (Classy Cover Photo Light by The Philosopher)?My first instinct was to say it's Bend Control, but I don't believe they make the bones on the feet stick out like that. Ultimate Natural Bend Morphs might come closer to giving you that effect.
nipple heightseems like all breast morphs do not handle the height of the nipples. for a heavier character with heavier breasts, the nipple isn't typically still pointing to the heavens. at some point, when a person is heavy enough the extract mass on the chest forces the tilt of the breat down (male and female). the heavier or bigger you morph a chest, the more "up" the nipples point... doesnt' seem right.
Krystal v1.3 (Starfox Adventures)So.. I finally rigged the leg cast and made the morphs in Zbrush for it, as you can see in the pictures I've made some showcases of the texture I made with or without a normal map. I'm still working on it but, there some flaws which I'll list here:
Texture
-
Line UV end in middle front of the cast.
-
Has Upside down UV
Mesh
-
Only works well with rThigh bone.
-
Doesn’t work well with rShin and foot bone when bending.
-
Shows some poke through the thigh and shin, when Heavy and Sandwich morph are maxed. (Fixed)
And as I said before in the post above, it is my first time making something. But I thought I'd like to share the progress so far. :)
Morphs from G3 to G8hi again, singular...
well, i tried running the script on that morph package subset again, and got the same results. i uninstalled and reinstalled the morph set, deleted the old studio log, launched studio, loaded g3f, favorited the morph, loaded g8f, selected g3f and then g8f, ran the script, and quit. then i relaunched studio, loaded g8f, and looked up the morph. it still shows as having a parameter range of -100 to 100, and limits are now off again.
i know zip about this stuff, but toward the very end of the script's debug output, i see: "WARNING: Object::disconnect: Unexpected null parameter".
then when g8f is loading the second time around, there's a stream of "Could not find output property for formula:" warnings, most of which seem to be related to the lHeel and rHeel geometry of the failing morph. so i opened up the .dsf file for the morph, and sure enough, lHeel and rHeel push definitions are present. (who knew breast morphs contained heel geometry? not me...)
so i'm guessing that there's some aspect of these particular morphs that thwarts translation, though they apply comfortably enough to their intended base figure. and i'm not going to fret about it, though i will be happy to retry the transfer if that's helpful to you. as i said, i haven't had any issues translating any of the PA's other zone-specific morphs with your script, breast morphs included.
happy trails!
j
Daz 3D is part of

Connect
DAZ Productions, Inc.
7533 S Center View Ct #4664
West Jordan, UT 84084Licensing Agreement | Terms of Service | Privacy Policy | EULA
© 2026 Daz Productions Inc. All Rights Reserved.