-
You know you have too much 3D content when...
(Finish this sentence. I'll start!)
...Vicky owns exponentially more shoes than you do.
...you move your Studio folder to a new hard drive and Windows tells you it contains 1.5TB of data and will take 8 hours to transfer.
...after a big sale, you can only download your purchases late at night because otherwise DIM eats so much badwidth that Prime Video begins to stutter and it makes your kids angry.
SereneNight's Sci-Fi Fun Thread 2Yeah! Thanks. I do know about the dilate morph. I tend to dial down the big anime iris look, but in Felix's caase he's probably an alien, so maybe they have big pupils. =-)
(SOLVED) Transfer utility broken?I used to be able to import a clothing item that had extra bones besides what the base figure had. By using transfer utility, I could transfer the weight maps, but by checking "Merge Hierarchies" I could retain the extra bones, even though they may not match what is on the base figure.
Lately, this seems to be broken. Even if I check merge hierarchies, my custom bones are wiped out. Is this a known issue, or has functionality changed for some reason?
SOLVED:
This was just me being stupid. I was trying to merge hierarchies with an obj file, which technically didn't have a bone hierarchy yet. I had to use figure setup to create it, then could use Transfer Utility for weight maps, morphs, etc.
Please carry on continuing to ignore me. ;)
zbrush size export problemsUsing standard import/export daz settings, you usually need to add 2 zeros to the end of any percent when bringing files back from zbrush. For example, without using presets , if you go from daz to zbrush and then zbrush to max or marvelous designer or daz with morph, you need to change 100% scale to 10,000%. You can use presets instead to have it do it for you, but I've had flipped axis issues using presets so I usually leave it all standard and just add the two zeros.
Import Gen 2 and 3 in unityI'm experiencing the same issue. My animation works with other Unity characters but not Gen 3 or 8 - it leaves the mouth open. When I go to configure the CC_Base_JawRoot to another bone - after I click Done & Apply - it reverts back to the CC_Base_JawRoot?! (see image) When I go to Muscles & Settings, I can use the Open close slide bar under Muscle Group Preview and but when I try to close the mouth using Jaw Close under the Per-Muscle Setting - nothing happens?! (see image). I've also tried closing the mouth using blendshapes but nothing there. Any ideas?
You have to select and export your morphs when you export your character from Daz3d.
When you export your model go to "Edit Morph Export Rules". After that add all your head or face morphs to the list. Daz does not export these morphs by default.
How do I transfer pictures from iPad to pc?I would think that if your pc has bluetooth, you could pair the tablet with the pc then transfer over bluetooth.
Welcome to Hatsune Miku Anime Manga Cafe ☕Fan art for Ryan Kerns and andres character Mugena
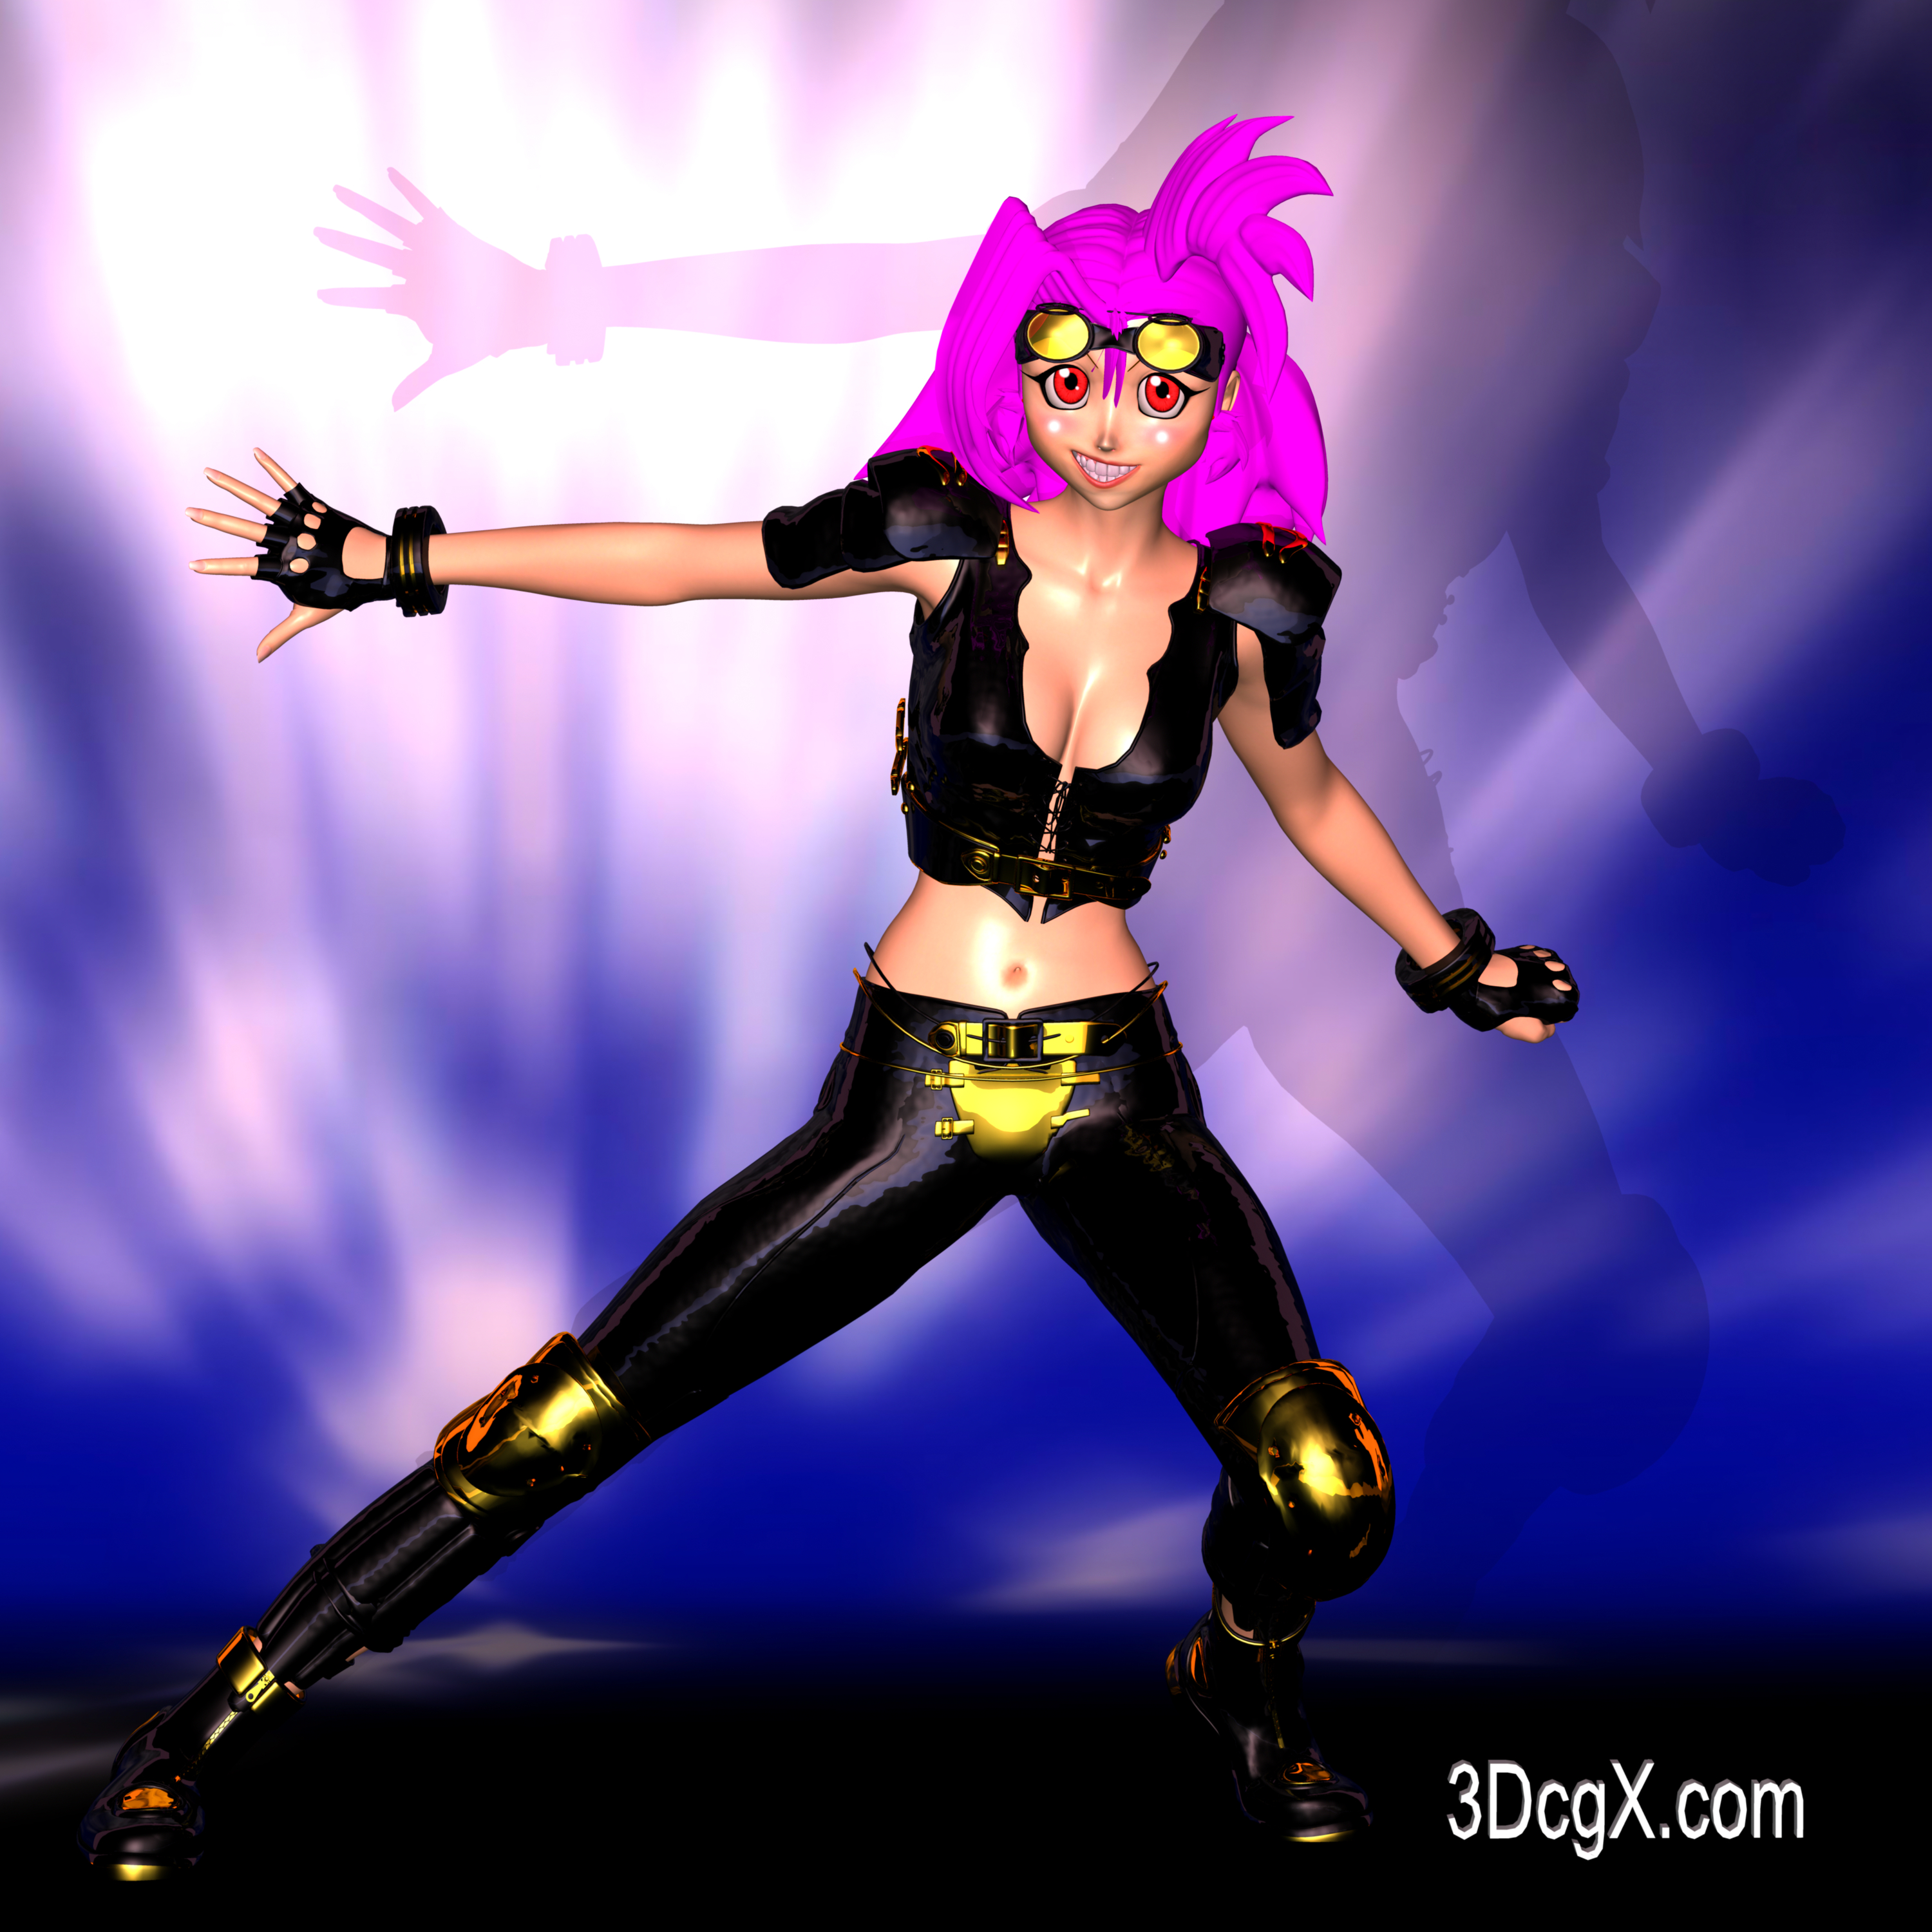
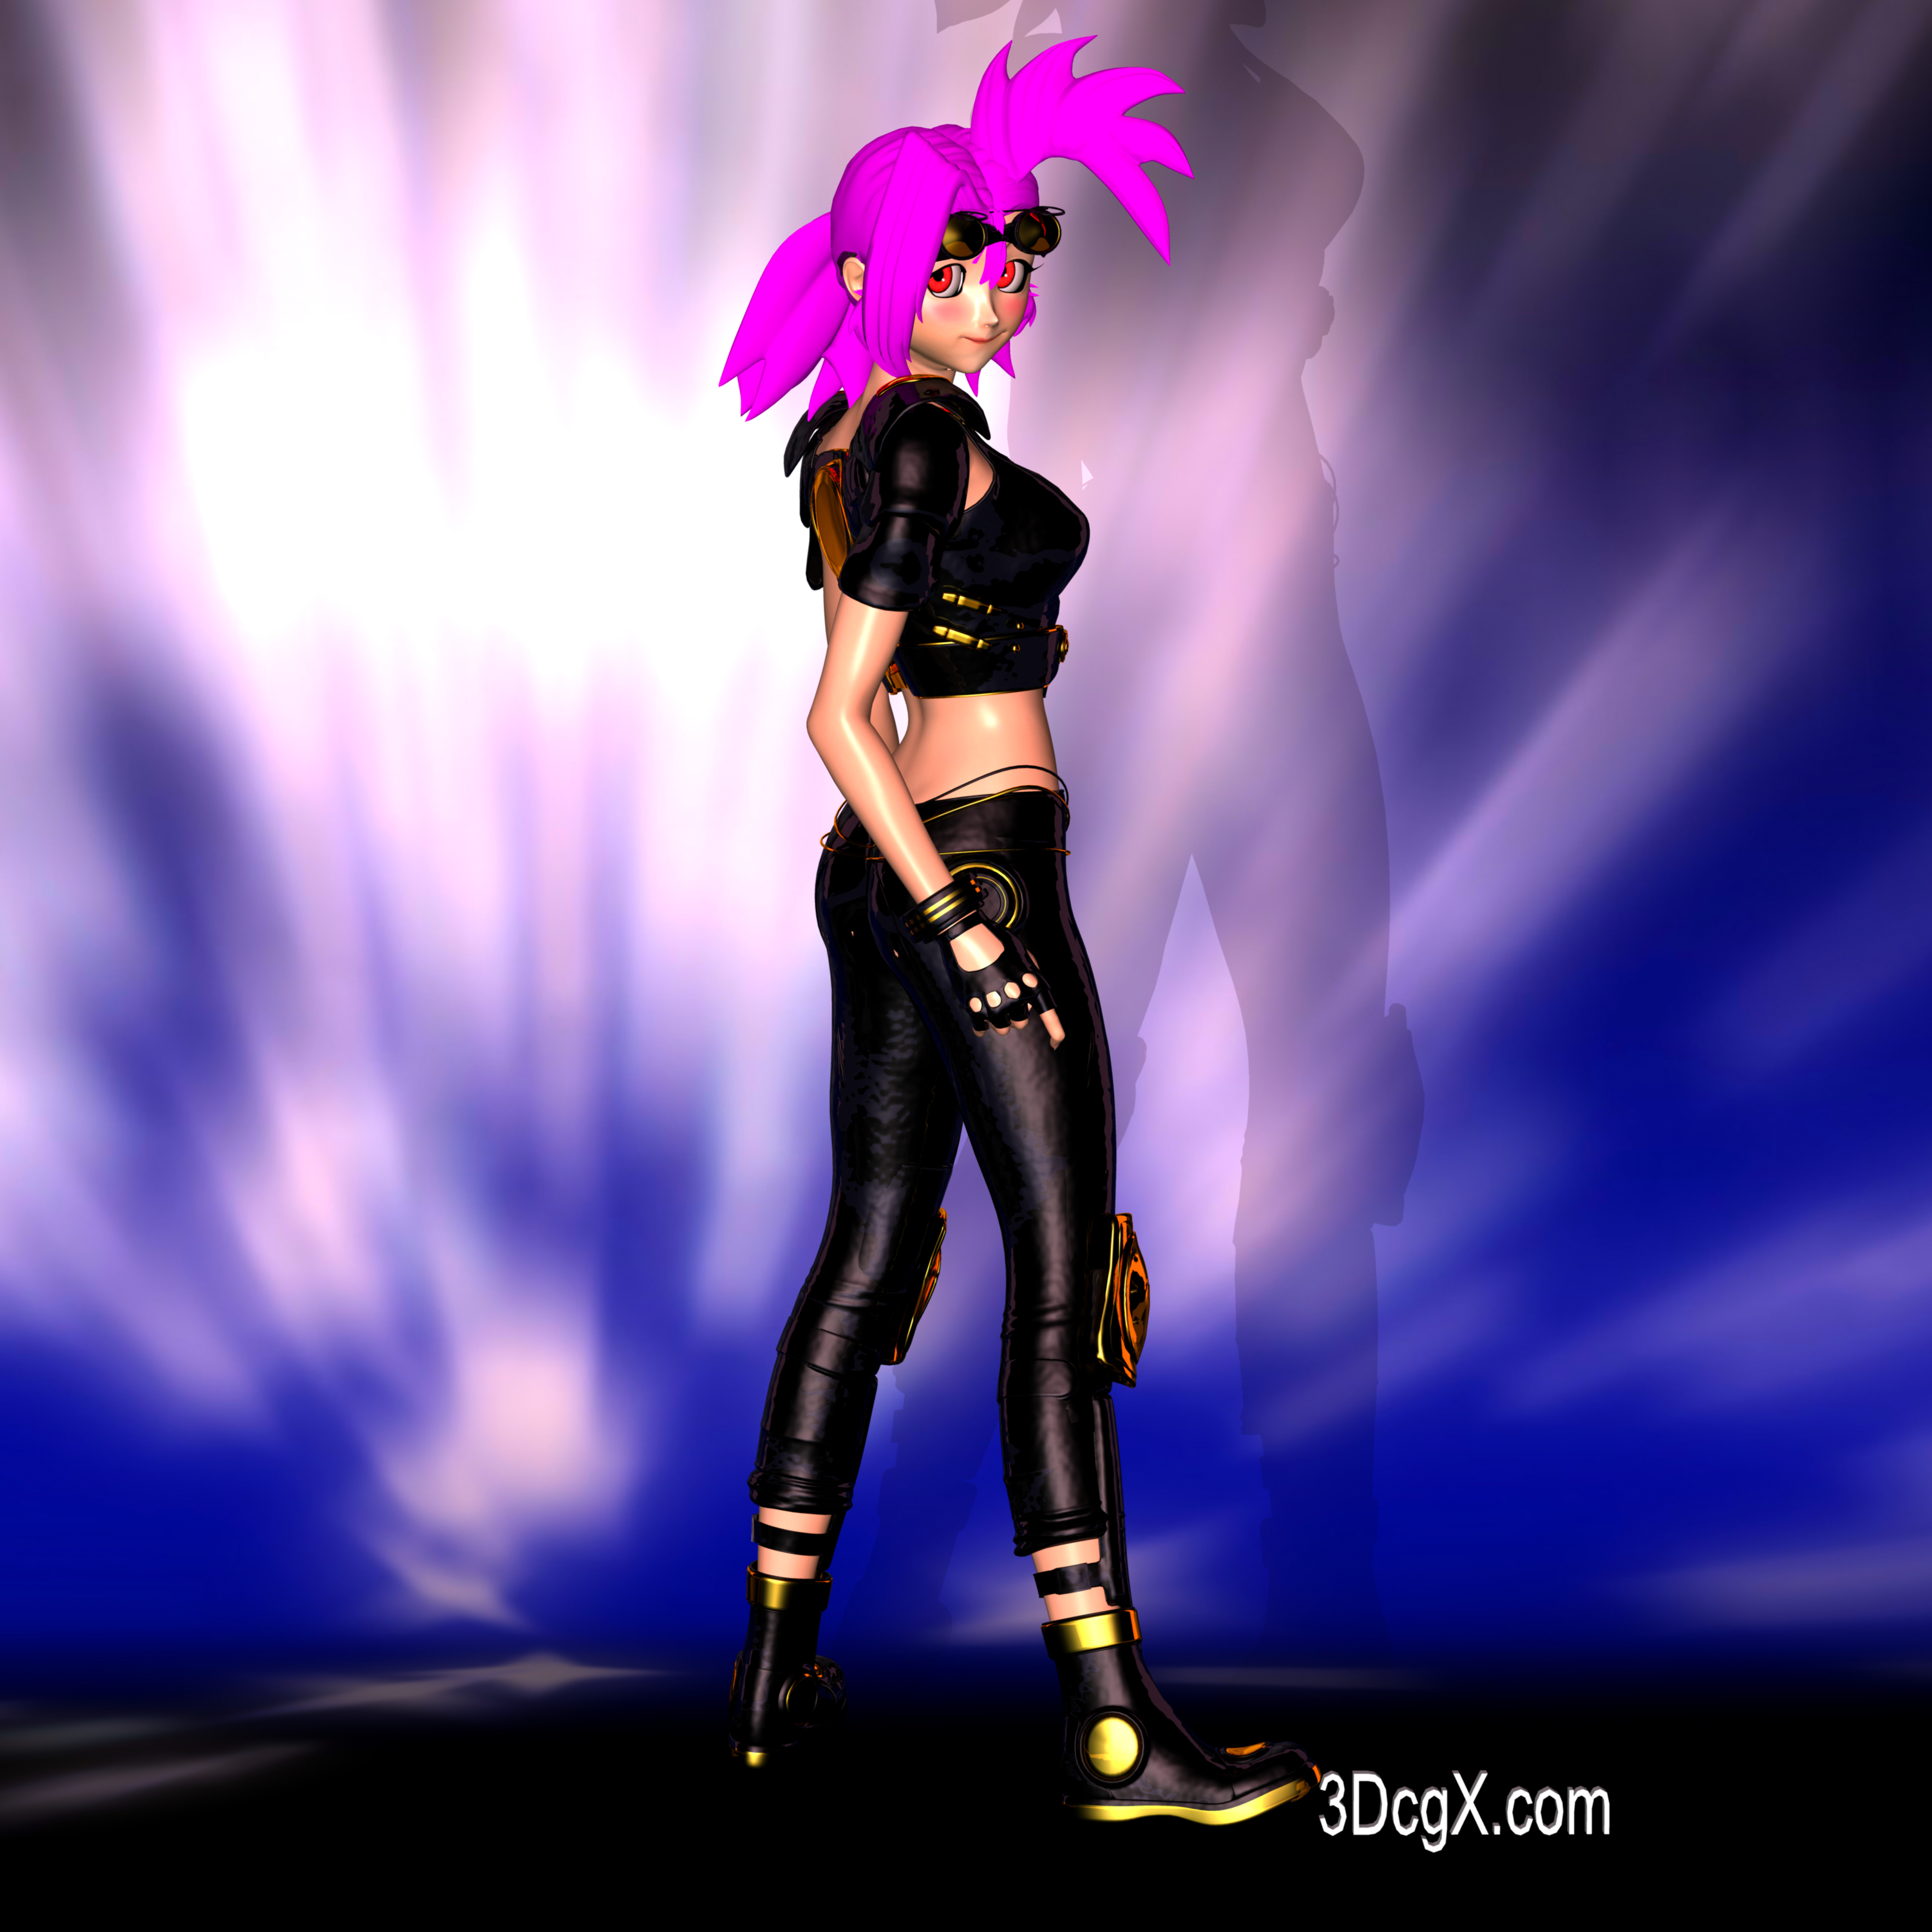
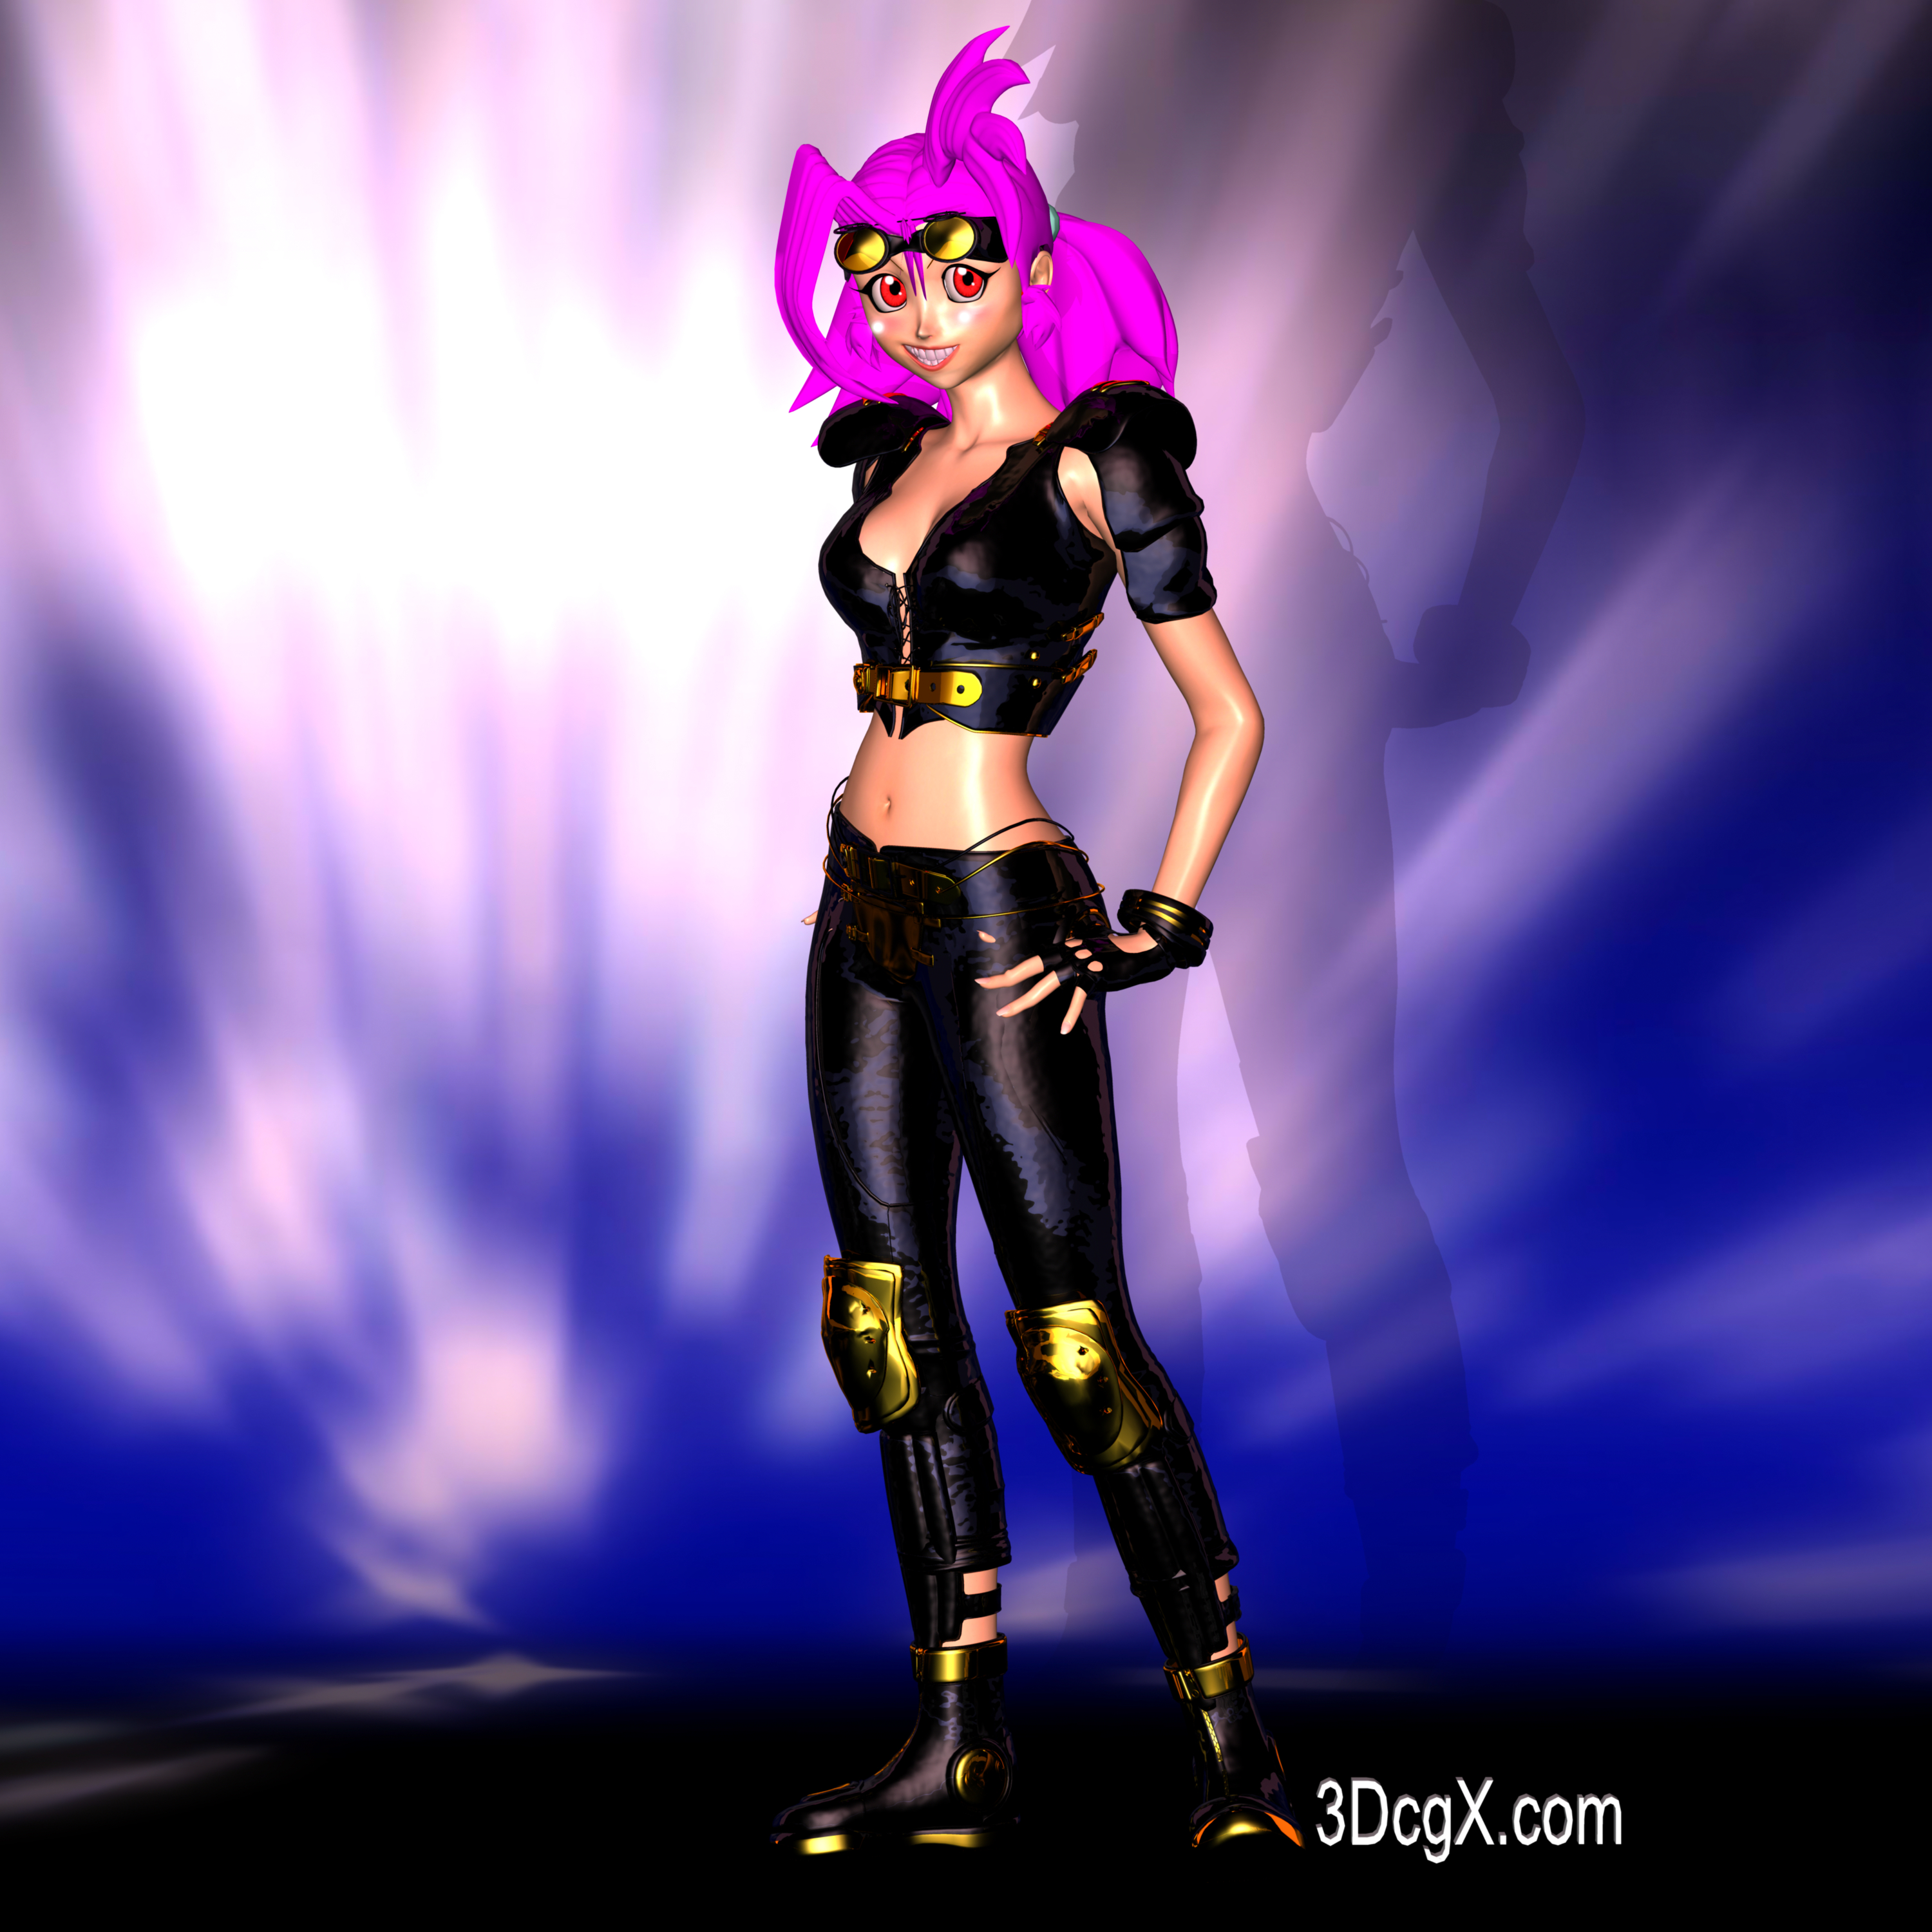
character Aiko 3 with kioki morph
hair is a custom
outfit various for Aiko 3
rendered in Carrara
How do I transfer pictures from iPad to pc?What is the best way to transfer pictures taken with iPad onto my PC to use in photoshop cc on the computer? I cannot use email as my email account is too full of attachments. The computer has Bluetooth so is there a way to transfer photos from iOS to windows 10 via Bluetooth? Or is there a better way?
edit; computer is updating so unable to try it out now.
zbrush size export problemswhen a base g8 is imported into zbrush and exported as obj, (without any modeling done to the g8 base at all), the size is always changing so will not morph successfully-can anyone offer some advice thank you
SereneNight's Sci-Fi Fun Thread 2You can reduce the size of the pupils with the Dilate morph.Morph for Shorter Toes on Genesis 3 Male/Female?Is there a morph that can allow a figure to have shorter toes on Genesis 3 Male and Female figures?
[Updated] Chimpanzee for Genesis 8 Male [Commercial]I am having a duplicate Id error with this, but I can’t seem to find the morph in the lists to fix it, anyone else having this happen?
If you email me the log file (see my signature for the address), I can check what’s going on. Cheers
[Updated] Chimpanzee for Genesis 8 Male [Commercial]I am having a duplicate Id error with this, but I can’t seem to find the morph in the lists to fix it, anyone else having this happen?
Creating mold for castingOff topic: some time ago I saw 3D scanning with kinect and the results were quite ok. I have a 3D camera so I’m wondering if I can do the same (either scan a person with 3d camera or with a phone).
https://www.3dflow.net/3df-zephyr-pro-3d-models-from-photos/
the resulting triagulated mesh is horrendous topology wise, you'd never be able to rig it
but you could maybe use it as a guide for a sculpt on a DAZ figure and if using Blender as well as shrinkwrapping you could bake and transfer the textures over.
Don't ask me on that I use Ultimate Unwrap 3D
Shape Rigger Plus(Commercial)If each morph is at 0 dial strength when rigged via Morph Rigger, they shouldn't dial up when the other is dialed.Saving a UV in zBrush (related to GoZ)If I create a UV on a Genesis 8 Female model in zBrush (like UV master), how do I save that UV as its own file and reload back onto the same model for later use at a different time?
Now I know what some of you are going to say. For example, the UV becomes a part of the model and therefore there is no need for a separate file. You load the model up and the UV is right there with it.
However, here’s my problem why I need a separate UV file.
If GoZ a G8F model from Daz Studio its UV follows through with it. (I know this to be true because zBrush will let me delete the UV from its menu item.) I apply a mask on the G8F model. I want to reuse this mask in the future and I create an alpha.
I examine the alpha and see that the original daz G8F model’s UV created seams in the mask alpha. If I clear the mask on the model in zBrush, I reapply the mask using this perverted alpha then the seams show up in the mask applied to the G8F model. The mask now differs from the original created mask. Totally not what I want!
Workaround. Go to UV Master and paint protect and attract areas on model. Unwrap the model. This means I have a new UV. I create a new mask and create an alpha on it. The alpha preserves the mask as originally designed per the new UV. I have exactly what I want, but I can’t reuse it again for later use. It’s a one trick pony.
You see I use GoZ to bring the model back and forth from Daz Studio to zBrush. If I were to load a saved G8F model with the new UV it won’t go back to Daz Studio because Daz Studio didn’t send it and Daz Studio won’t receive back what it didn’t send originally. (Digression: There is an exception, that is if the newly created mesh in zBrush was built on sent the G8F model and is a new zBrush subtool, GoZ will allow it to transfer back as if it were the G8F model.)
Therefore, I need a separate UV file to apply on the G8F model each time Daz Studio sends the model to zBrush so that new model being created from the mask in zBrush will fit G8F model’s pose or deformation. In other words, a G8F model has pose in Daz Studio which is equal to say deformation in zBrush. It comes over to zBrush via GoZ. The new model mesh I create in zBrush from the mask matches the pose and GoZ sends it back to Daz Studio as a perfect match.
I can’t do that perfect match with a saved model. I need a saved UV file, which I can reuse, and apply it the model each time it comes from Daz Studio from GoZ.
Another anticipated response I see being given to me is I can save the protect and attract painting schema on the model in UV Master. I can save and reload it for reuse. I agree with you, but each time you click the Unwrap you get a new UV which differs from the previous one. Different UVs means an alteration on the alpha mask once the mask is applied to the model. The shape of the mask may be consistent on the alpha, but once it’s applies to a different UV which the mask was not created from, then problems will arise. Therefore, I need one consistent UV file I can save once and reuse over and over again.
So, lets review the original question:
If I create a UV on a Genesis 8 Female model in zBrush (like UV master), how do I save that UV as its own file and reload back onto the same model for later use at a different time?
I appreciate your time and patience.
Shape Rigger Plus(Commercial)Having a slight problem. I do custome morphs in Zbrush and want to rig them so they can be applied independantly, however when I do a Head morph and a body morph the head seems to be linked to thebody slider. i.e. adjust the body and the head morphs at the same rate as the body, which I dont want. I have tried shutting the system down between generating the rigs etc but the issue continues. Any Ideas Guy's
Dave
[Released] Rock Jewelry for Genesis 3 and 8 (Females) [Commercial]There are sixteen items in the Rock – Tribal collection, four bracelets, three necklaces, three pendants and six rings, all sculpted in ZBrush and textured in Substance Painter.
All bracelets, one pendant and all rings are static props. The necklaces and the other two pendants are fully rigged. There are wearable presets for all items so they can be loaded up to any Genesis 3 or Genesis 8 female figure. The bracelets and the rings may need adjustments when you use them with a character morph. The necklaces support a variety of Genesis 3 and Genesis 8 DAZ female morphs. You may need to adjust them if you dial in a character morph.
There are many morphs that support adjustments and styling for the necklaces.
You may unparent the pendants from the necklaces and parent your own pendant prop to that “link”. In that way you can use the necklaces as bases for your other pendants.
Take a look:


 Shape Splitter - Divide, Combine and Save (The new version is already available. 1.2.1)[Commercial]
Well I finally broke down and purchased a copy. Even though I have limted use for this product, I did have several figures with full body morphs only and I wanted to be able to use either the head or the body when needed. I tested this on the Ronen character which only came with a full body morph. I love the body morph, but not the head and was told my the creator that the reason they were not seperated is that it would create unsightly artifacts due to the nature of the morph. Needless to say that is not the case and this product worked perfectly and I am thrilled with the results.
Ronen on the left (no hair) and the Ronen body (Xmorph) only with my face morphs on the right
If you only want to split the head and body then there's a tutorial for that on YouTube using the Developer Loader. If I can manage it I'm sure anyone else can though you need some patience, but it is a very helpful video, no waffle, no selling, just the information you need (though some steps can be combined).
Shape Rigger Plus(Commercial)"After running your script, it does not center the lPectoral and the rPectoral to the center of the nipples."
Hi. This happens because we do not use orientation in the script, due to pose irregularites on the figure if that is enabled as a whole. Having the pec bones not point directly to nipples doesn't really affect the rig and posing. But if you want them orientated to nipples as you have done, then use your method for now. It won't really make a difference in that area. In the update we hope to add selective orientation on bones that does not affect pose results. But as a whole, orientation isn't a requirement when rigging a morph. This also freaked me out at first because bones weren't pointing where they should, but the morph shapes responded better with orientation off.
Thanks for the quick respone Zev0 :). Will continue what I am doing for now. Looking forward to your next update / upgrade of this script.
Daz 3D is part of

Connect
DAZ Productions, Inc.
7533 S Center View Ct #4664
West Jordan, UT 84084Licensing Agreement | Terms of Service | Privacy Policy | EULA
© 2026 Daz Productions Inc. All Rights Reserved.