-
Breast Utilities for Genesis 9 - where did they go upon install?SOLVED partially)
I purchased and installed this package this evening and I have no idea where the installation ended up, or I cannot find them. There are 2 scripts in utilities for randomizing, and a material entry, but no shaping morphs or anything. This is not the first package that has ened up lost somewhere that I have installed. I have another couple morph utility packages that are not anywhere to be found as well
Breast Utilities for Genesis 9 | Daz 3D
According to dim they are located in
/data/DAZ 3D/Genesis 9/Base/Morphs/Soto/Breast Utilities but that is not within Smart Content or Content Library.
Where are they and why not showing up anywhere?
Dolved partially, The other package is still AWOL -Genesis 9 Essential Shapes Bundle | Daz 3DToggle Visibility from Scene Pane and Parameters becomes unresponsive. Is there a workaround?suffo85 said:
crosswind said:
Now... since you've Ctrl + clicked to hide them, you have to Ctrl + click to show them again... otherwise their children nodes are still hidden.
Hey @crosswind thanks for the reply. :)
Unfortunately I tried to toggle the setting as you suggest, but it made no difference and was still unresponsive. When using control + toggle you always have to untoggle the same way, or you won't untoggle all the children. :)
The only way I've found to circumvent this problem so far is to save my scene and restart it. Then DS allowed me to toggle visibility on and off. I was hesitant to do that before on other large scenes I was working on--worried I would be "saving" the problem along with the scene so I would just reload my last saved file that did not have any of my recent changes in it, so I would lose work but ensure my save file would not have problems. Since I was in a much smaller scene and had just finished making my morph I was pretty much done with what I was doing there and felt okay with experimenting a little bit with the issue, nothing I tried worked, but as I mentioned it did let me save and reload the scene without a problem.
Some folks ever reported the similar issue of being not able to toggle visibility back... well then, the culprit was either Lock was turned On on Visible property or there's another control property linked which prevented Visible from being "clicked back". The culprit on your side seems a bit weird though...
The reason why I was toggling those items in the first place was because I wasn't exporting the default G9 (I would have used a Dev version if so), but a PA character which I had attached a custom geograft to and I was customizing and modifying that geograft in Blender both using edit mode and sculpture mode but without adding any vertices so I could just bring it back as a morph with reverse deformations, then using morph loader on the geograft instead of the character. I'm not sure if that's the "correct" way to go about it but it works for my intended purposes.
Yup, better use Dev Load in most of the cases. And if with a geo-graft, the method is the same: still use Filter Objects option when exporting OBJ. Then you'll get a merged OBJ of G9 + geo-graft(s), which'll be easily for you to edit / sculpt the mesh in Blender as a whole. Then when importing OBJ back to DS with Morph Loader Pro, use the option: Primary Figure from Graft (Facet Order). Then you're able to either update G9 figure per se or the geo-graft(s) as per what you select in Scene pane ~~
Toggle Visibility from Scene Pane and Parameters becomes unresponsive. Is there a workaround?crosswind said:
Now... since you've Ctrl + clicked to hide them, you have to Ctrl + click to show them again... otherwise their children nodes are still hidden.
Hey @crosswind thanks for the reply. :)
Unfortunately I tried to toggle the setting as you suggest, but it made no difference and was still unresponsive. When using control + toggle you always have to untoggle the same way, or you won't untoggle all the children. :)
The only way I've found to circumvent this problem so far is to save my scene and restart it. Then DS allowed me to toggle visibility on and off. I was hesitant to do that before on other large scenes I was working on--worried I would be "saving" the problem along with the scene so I would just reload my last saved file that did not have any of my recent changes in it, so I would lose work but ensure my save file would not have problems. Since I was in a much smaller scene and had just finished making my morph I was pretty much done with what I was doing there and felt okay with experimenting a little bit with the issue, nothing I tried worked, but as I mentioned it did let me save and reload the scene without a problem.
The reason why I was toggling those items in the first place was because I wasn't exporting the default G9 (I would have used a Dev version if so), but a PA character which I had attached a custom geograft to and I was customizing and modifying that geograft in Blender both using edit mode and sculpture mode but without adding any vertices so I could just bring it back as a morph with reverse deformations, then using morph loader on the geograft instead of the character. I'm not sure if that's the "correct" way to go about it but it works for my intended purposes.
Baking IK rig animation to FK rig?Hi,
In Motionbuilder, I can select a character's rig and then bake its IK animation down to the rigs FK bones (Skeleton) and back.
However, I can't for the live of me figure out how to do that in Blender.I've tried MHX > Animation > Transfer IK => FK, but that is not the same as baking down the position of the IK limbs to FK bones.
When I play the animation back with Set FK All, the limbs are moving. When I set them back to Set IK All, they once again stay in place.I'd like to have the FK bones follow the IK bones and any constraints that where used, plotted down to a simple bone animation, playing
back the same but without the need for IK or other bone constraints.I'm assuming that this is somehow possible in Blender as well?
Genesis 1-3 bugs in more recent versions of DazI couldn't reproduce the issue...with 4.23. Which morph property you dialed on G3M to be exactly ?
You can easily check if there's any culprit morphs unexpectedly dialed on G2/G3 in Parameters pane. (I never use G1...)
Accessories Distort when attached to charactern.aspros123 said:
crosswind said:
Distortion comes from the Auto Follow full body morph and partial body morphs from the figure... it's a commonly-seen issue. You can zero out the Auto Follow morph properties on the accessory (Show Hidden Property... firstly in Parameters pane...)
Thanks for replying. @crosswind.
I clicked where the arrow is and 4 lines. Preferences > Show Hidden Properties. I could not find Auto Follow morph...? See revs Equip 6 Param.
Select Currently Used, if the equipment is fitted on the figure - Jill, you should be able to see Auto Follow morphs.
Genesis 1-3 bugs in more recent versions of DazThese figures have some morph issues that only occur in newer versions of Daz. Tested in older versions like 4.11, and they were fine.
1) Genesis 1 gloves will bug out if you increase the character's chest depth. This also happens if the gloves are autofitted to newer Genesis models.
2) Genesis 2 and 3 hair will also bug out if you increase the character's head scale.
There may be more bugs that I haven't come across yet. Is there a way to fix these issues besides hoping Daz does it themselves, or installing older versions of the program?
Accessories Distort when attached to charactercrosswind said:
Distortion comes from the Auto Follow full body morph and partial body morphs from the figure... it's a commonly-seen issue. You can zero out the Auto Follow morph properties on the accessory (Show Hidden Property... firstly in Parameters pane...)
Thanks for replying. @crosswind.
I clicked where the arrow is and 4 lines. Preferences > Show Hidden Properties. I could not find Auto Follow morph...? See revs Equip 6 Param.
Accessories Distort when attached to characterDistortion comes from the Auto Follow full body morph and partial body morphs from the figure... it's a commonly-seen issue. You can zero out the Auto Follow morph properties on the accessory (Show Hidden Property... firstly in Parameters pane...)
You can fix it by using Rigidity Group.. better plus Blender (or Mesh Grabber) if possible to move the parts to have a perfect fitting.
How-to: https://www.daz3d.com/forums/discussion/comment/8765141/#Comment_8765141
Or, cut that distorted part from the original suit / gear, make it as a Smart Prop.
Toggle Visibility from Scene Pane and Parameters becomes unresponsive. Is there a workaround?I was working on a scene, well, working on things I am putting in a scene and had the need to export a character to make a custom morph in Blender so I hold control (to automatically toggle all the children), and toggled visibility on G9's eyes/mouth/lashes etc by clicking the eye icon in the scene pane, so they would not be included in my export. After importing my finished morph I went to put the character's stuff back to visible and I can't? Control toggling isn't letting me toggle the eye in the scene pane, nor can I toggle the children individually, and if I select the objects that refuse to toggle and try to turn on Visibility in parameters it *says* it turned on but it doesn't. If I go to another pane and back to Parameters it has reset back to visibility off. This has happened to me before so I'd like to know if there's a workaround anyone knows of, or if I'm triggering this to occur somehow without knowing it. Or if it's a bug, how to avoid it... so I don't have to keep re-creating the things it happens to. I can't reproduce the problem all the time but it happens once in a while seemingly spontaneously, with no output to the logfile to reference.
Any insight would be appreciated.. :)
Edit to add this happened just now on the current stable release of DS 4.23.0.1, nvidia drivers 561.09
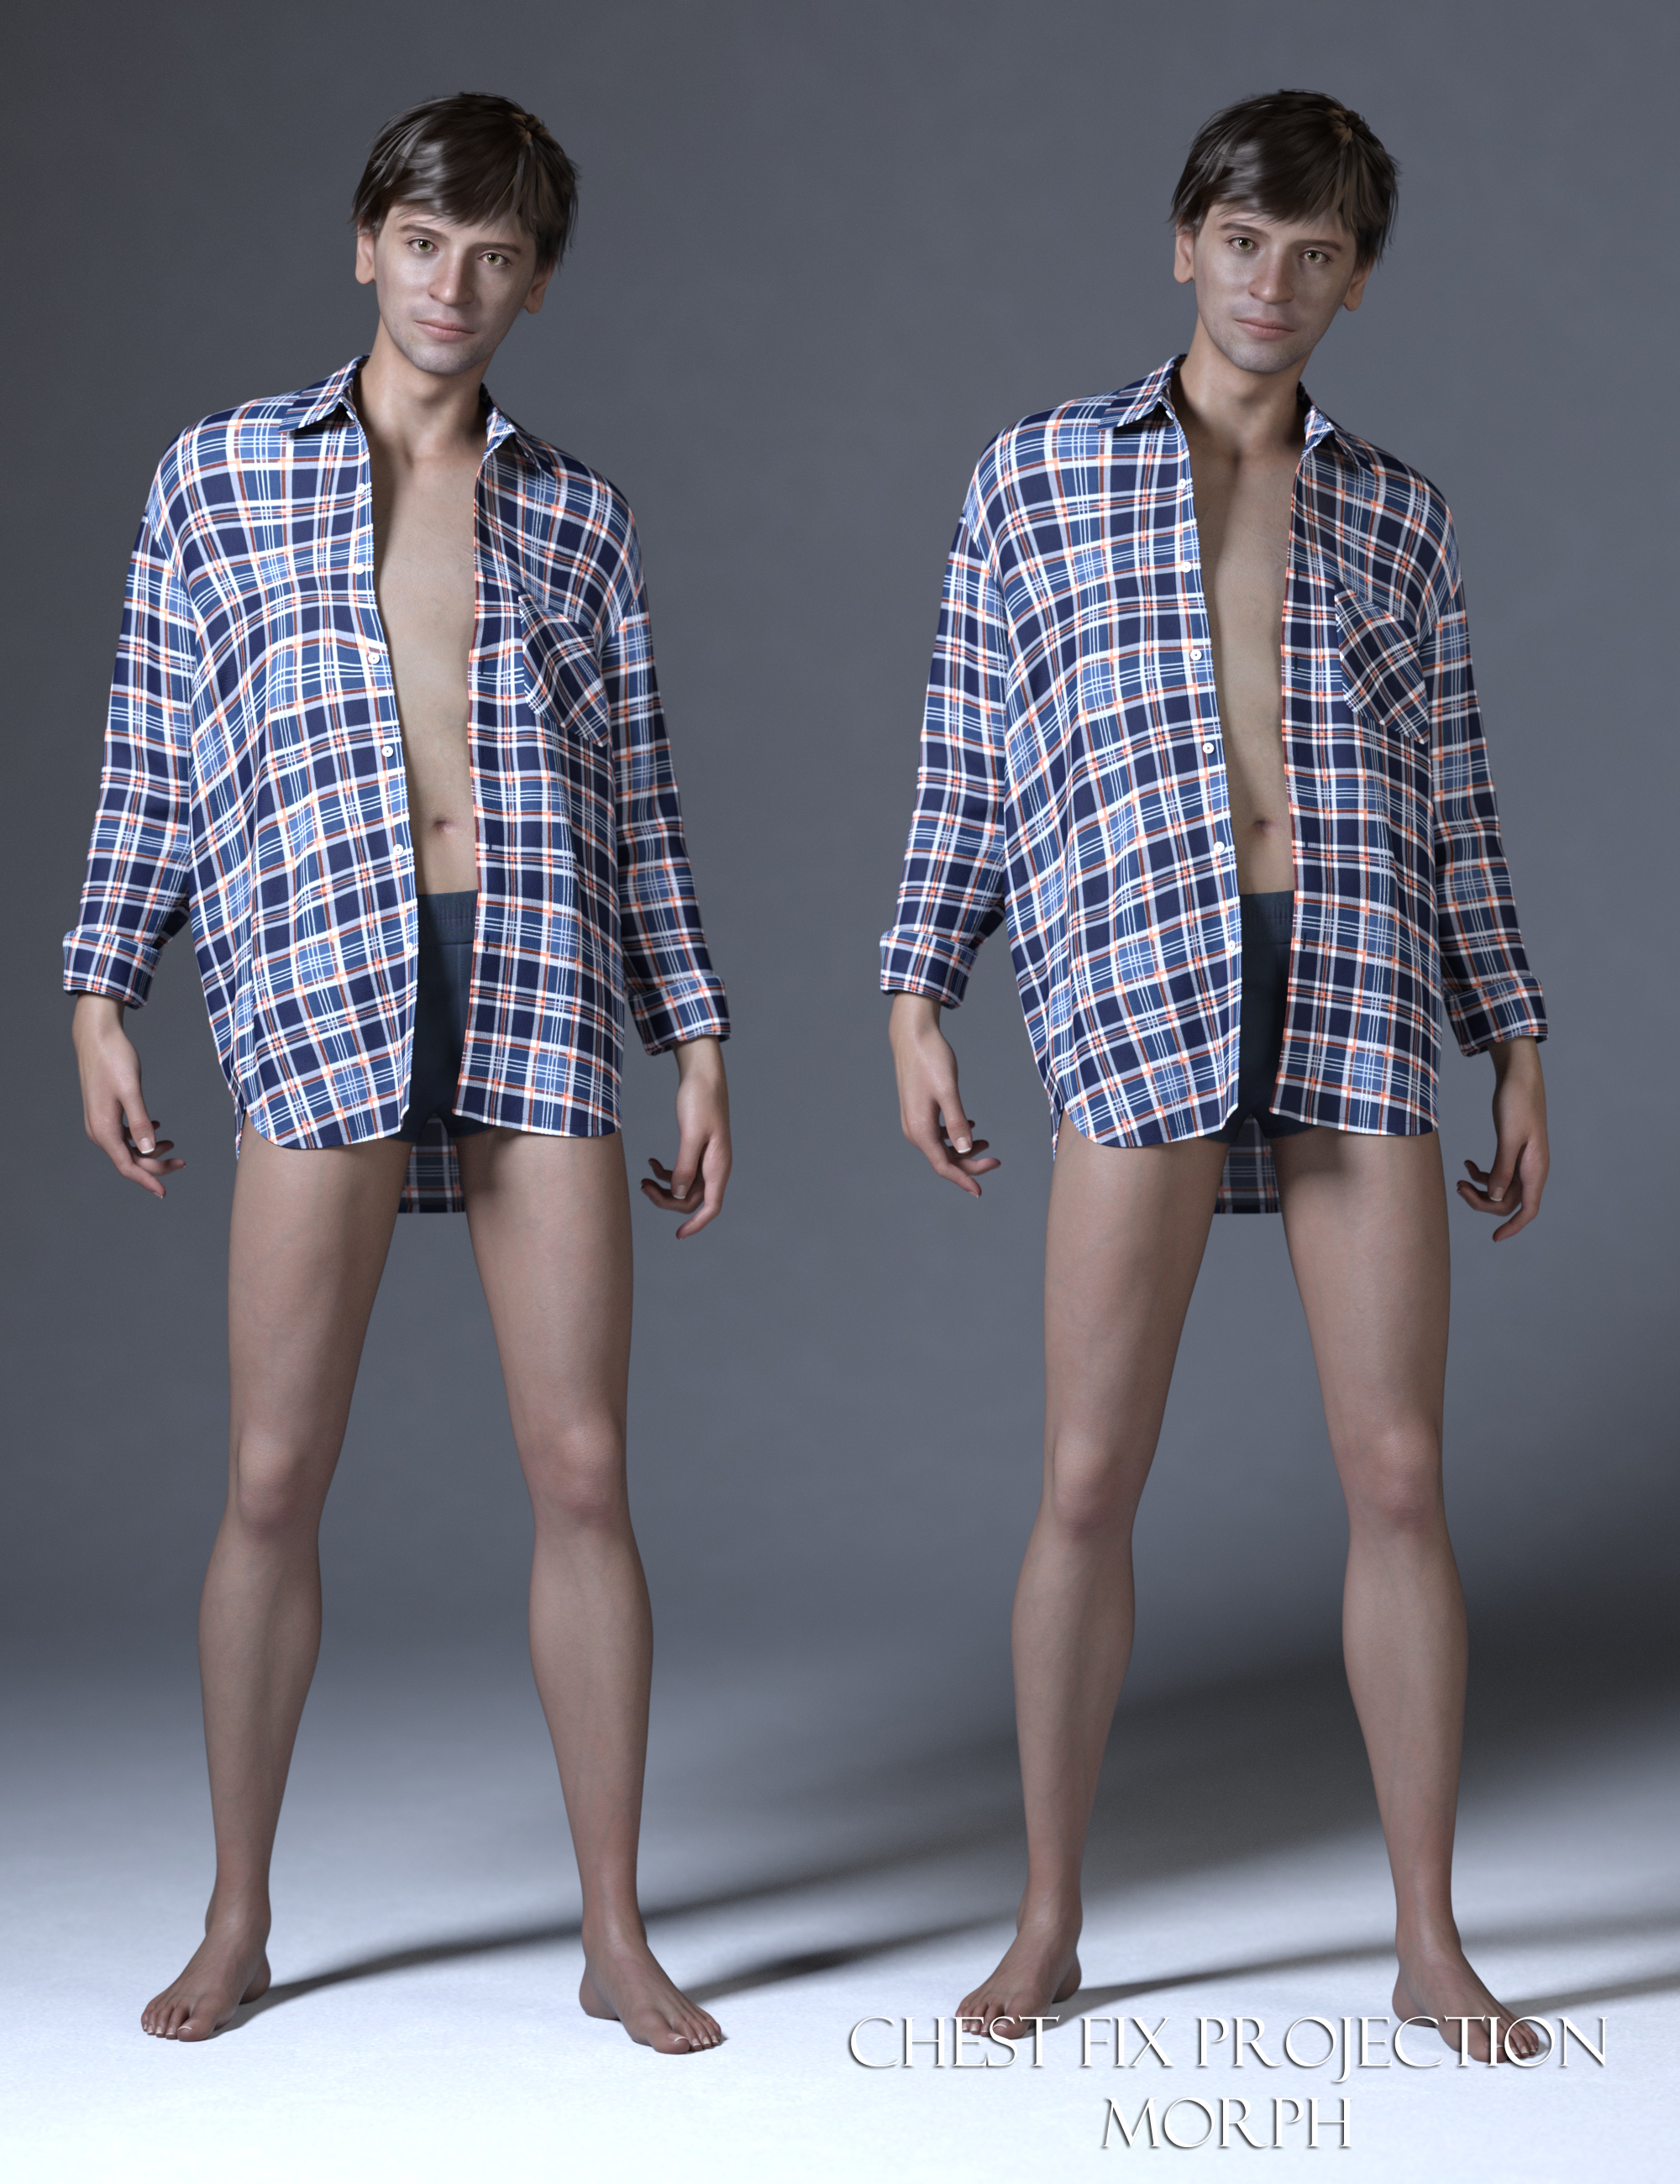
Let's appreciate/discuss today's new releases - more ongoinger threadThanks to Phoenix1966 for giving us the long-needed Chest Projection Fix Morph in the PHX Wally HD package.
 Is it possible to put an alias of a control morph into the main body of Genesis?[solved]
Richard Haseltine said:
A is Alias and M is Morph, P is anything else - not just a pose. Names must be disctinct for each proeprty on a given element, not just the root node.
Yeah, that was a brain fart on my part.
Best i've come up with is that P is either Parameter, or Property, but i have yet to find anything difinitive in the wiki.
Wouldn't happen to have a link?
As for Names(not labels), that's not true for alias's(A type), based on M type.
Hence why i asked my original question, as i was able to move Alias's, as long as they were from M type, but P type wouldn't move.
I was using 4.22.0.16 and 4.23.1.36(beta) for testing this.
Is it possible to put an alias of a control morph into the main body of Genesis?[solved]...The reason for the confusion, you seem to keep missing i'm working with ALIAS parameters.
You don't have anything in the hip node, because you haven't created a new ALIAS and put it there, unlike i did.
You did, inadvertantly, solve my problem though.
An Alias(A designation parameter) cannot have the same Name(not label) as a P designation parameter in the root node.
By changing the Name(not label) of the ALIAS, i was able to put it back in the root node, create a new DSF and it works as intended.
Thanks.
Right ~ I didn't thought of that you wanted to Move an Alias back to Root Node... Usually, all control or morph properties are 1stly created on Root Node before cloning Alias on other Nodes, though the workflow can be done reversely...
But yes, editable Node Names of the properties that have same Owner must be distinct, e.g. in your case, A and P have the same Owner... while if with different Owner, Node Names can be identical, e.g. M and P(or A, R).
A couple minor corrections though.
As i understand it, P is "Pose parameter", M is "Morph Parameter" and A is "Alias parameter".
P for "Property" (General Purpose), and R for "Rigging", I just know these 4 types.
P and M type will load from a dsf created for them, even if they don't do anything, but A type won't, if there's no association with a parent parameter..
In regards to Presentation Type(modifier, modifier/shape, etc) this has no real correlation to the P, M or A designation, nor does changing it change the designation.
Basically, it's upto the PA/creator what type is used, if anything, as None is an option by deafult
As a couple of examples, G8F's Chest Scale has a P designation, but a type of Modifier/shape and Breast Control's Center shift is M type with Modifier/Pose.
Content Type of Properties are mainly related to Saving Preset filters and some DS built-in functions... so reasonably and correctly setting Content Type really matters, for instance:
1) Saving Shaping Preset dialogue only lists properties with Modifier/Shape. Restore / Zero figure's Shape only deals with the properties with Modifier/Shape.
2) Saving Pose Preset dialogue only lists properties with Modifier/Pose. Restore / Zero figure's Pose only deals with the properties with Modifier/Pose.
3) Clear Generated Morphs only clear the morph properties with the designated setting of Modifiers, yada yada ~As for the example you mentioned. Chest Scale is a property ERC Freezed with Scales of some sub-Nodes of the figure... rather than a real Morph, so P just works fine.
Center Shift has delta vertices embedded, so it has to be M first of all, otherwise Morph Loader Pro cannot import OBJ to it or update it. Since Breast Controls deal with the breast shapes for posed figures, when Restoring / Zeroing poses, the stacked "morphs" need to be restored / zeroed, so the Content Type of those properties have to be Modifier/Pose.
It's also possible to make a custom type, by ediing the "type" under "presentation" in the DSF. Though, this doesn't appear to carry over to the drop down for other parameters.
You can only modify Type in DSF files according to the values in enum list of Content Type of a property. They're built in DS application and cannot be customized (create new...)
The Leprechaun for Barnabus RagwortPhoenix1966 said:
RCDeschene said:
Though, I'd love to see the outfit on a regular Genesis 9 human.
Keep in mind that this is an original figure, not a morph built off G9. It will take a little work to fit the clothes to Genesis 9.
I made a rough clone but sadly that cannot be shared
(don't have this outfit yet but I can swap out clothing between Ragwort and Genesis 9 with it)
The Leprechaun for Barnabus RagwortRCDeschene said:
Though, I'd love to see the outfit on a regular Genesis 9 human.
Keep in mind that this is an original figure, not a morph built off G9. It will take a little work to fit the clothes to Genesis 9.
Is it possible to put an alias of a control morph into the main body of Genesis?[solved]A is Alias and M is Morph, P is anything else - not just a pose. Names must be disctinct for each proeprty on a given element, not just the root node.
LIVE! In the store NOW!! LowPi - the Low Poly Figure, and Crowd Creator ScriptsI see the same error message as @tmreiter23 when I load FF Standing Kit and uncheck the Casual tag. So, instead of unchecking the Casual tag, I tried selecting the FF Standing Kit and set the Casual Clothing Grp Pres to 0. I unchecked Child, Feminine and Unisex, so only Masculine was still checked. The crowd generated, but I still got Women in skirts in the crowd. Something seems to be wrong.
Edit: No, they are not women! I checked the morphs used on each LowPi and they are all Masculine and Head Masculine. But something is still wrong. Why are Masculine LowPi wearing skirts? These are not Unisex. None of the LowPis generated have any Feminine morph dialed in. Something is still not working as expected by the user.
Is it possible to put an alias of a control morph into the main body of Genesis?[solved]crosswind said:
Property Mover can only move the Properties that vendors or users created by using : Create New Property... (with icon P)... their Owners are Nodes rather than Morphs. Properties with icon M are Morphs (Modifier/Shape) with Owner: Morphs, they cannot be "moved" across Nodes with Property Mover. (ss1) Morphs can be only "cloned" rather than "moved"... so I really wonder how you made them moved by using Property Mover.
On the contrary, "Control property" as well as Pose Controls (both with P marks), again, their Owners are Node, they just can be simply "moved" via Property Mover (as long as there's no property with same Node Name in the target Node). (ss 2 ~ 4)
I wonder why it didn't work for you ~~
Edit: if as you said, from Hip to root node, I don't have any movable or cloneable properties on Hip node (G8/G9). So I wonder what you were referring to... If they're Transforms properties, nope... they can be neither moved nor cloned. If they're the ones you moved from other Nodes, you can move them to any other Nodes by using Property Mover, or clone them with Aliases by using Property Cloner.
The reason for the confusion, you seem to keep missing i'm working with ALIAS parameters.
You don't have anything in the hip node, because you haven't created a new ALIAS and put it there, unlike i did.
You did, inadvertantly, solve my problem though.
An Alias(A designation parameter) cannot have the same Name(not label) as a P designation parameter in the root node.
By changing the Name(not label) of the ALIAS, i was able to put it back in the root node, create a new DSF and it works as intended.
Thanks.
A couple minor corrections though.
As i understand it, P is "Pose parameter", M is "Morph Parameter" and A is "Alias parameter".
The primary differnece, P and A type do not include the 'morph" line of code in the file.
Functionally, an M can be a morph, and/or a pose/control, depending on whether it contains the rest of the morph code, such as vertex data.
The designations can be changed by editing the DSF, though they may not function properly on subsequent loads.
P to M and A to P, don't appear to cause problems, but M to P and A to M do. at least in my testing.
Create New Property, can create P, M or A designated parameters
This is determined by the node selected, and whether the "Create Empty Morph" box is checked or not.
If the root node is selected, P or M are created, with M being created by checking the box for "Create empty morph".
If a sub-node, such as Hip, is selected, P or A are created, with A being created by checking the box for "Create Empty Morph".
P and M type will load from a dsf created for them, even if they don't do anything, but A type won't, if there's no association with a parent parameter..
In regards to Presentation Type(modifier, modifier/shape, etc) this has no real correlation to the P, M or A designation, nor does changing it change the designation.
Basically, it's upto the PA/creator what type is used, if anything, as None is an option by deafult
As a couple of examples, G8F's Chest Scale has a P designation, but a type of Modifier/shape and Breast Control's Center shift is M type with Modifier/Pose.
It's also possible to make a custom type, by ediing the "type" under "presentation" in the DSF. Though, this doesn't appear to carry over to the drop down for other parameters.
LIVE! In the store NOW!! LowPi - the Low Poly Figure, and Crowd Creator Scriptstmreiter23 said:
Hi, I recently bought the Lowpoly Crowd Creator Bundle and am having a very hard time getting it to work properly. I installed it via DIM and read the manual, but it did not address my issues. Here are problems I'm having so far:
1) the biggest issue is that I can't get the crowds to finish generating....it will generate crowds, figures will appear, but then when it appears to finish, it just hangs, for hours (a spinning circle), and I have to kill Daz Studio to get it to stop. I've tried with 50 figures, then 40, then 20, but get the same result every time. I've got a GForce GTX 3060 and 64 GB of RAM, so I doubt that computer specs are the issue, but dunno.
2) Another major issue is that he crowds it is generating are basically the opposite of what I tried to create: I tried to create a crowd of men in business attire, but got crowds of women in casual attire. Perhaps I'm choosing the wrong set, but I only have three to choose from: FF standing set, FF moving set, and sitting people (I chose FF Standing). I unchecked the boxes for women, children, and unisex in the bottom right. Aslo, when I unchecked all the tags except business in the top right, the program would not let me generate a crowd, saying that it didn't have any sets with the tags I chose--it would only generate a crowd once I'd checked the casual box as well.
Was looking forward to this product but so far am getting pretty frustated, and would appreciate some help.
Hi,
First, which version of Studio are you running?
Anyway, follow these steps...
(1) Mark the area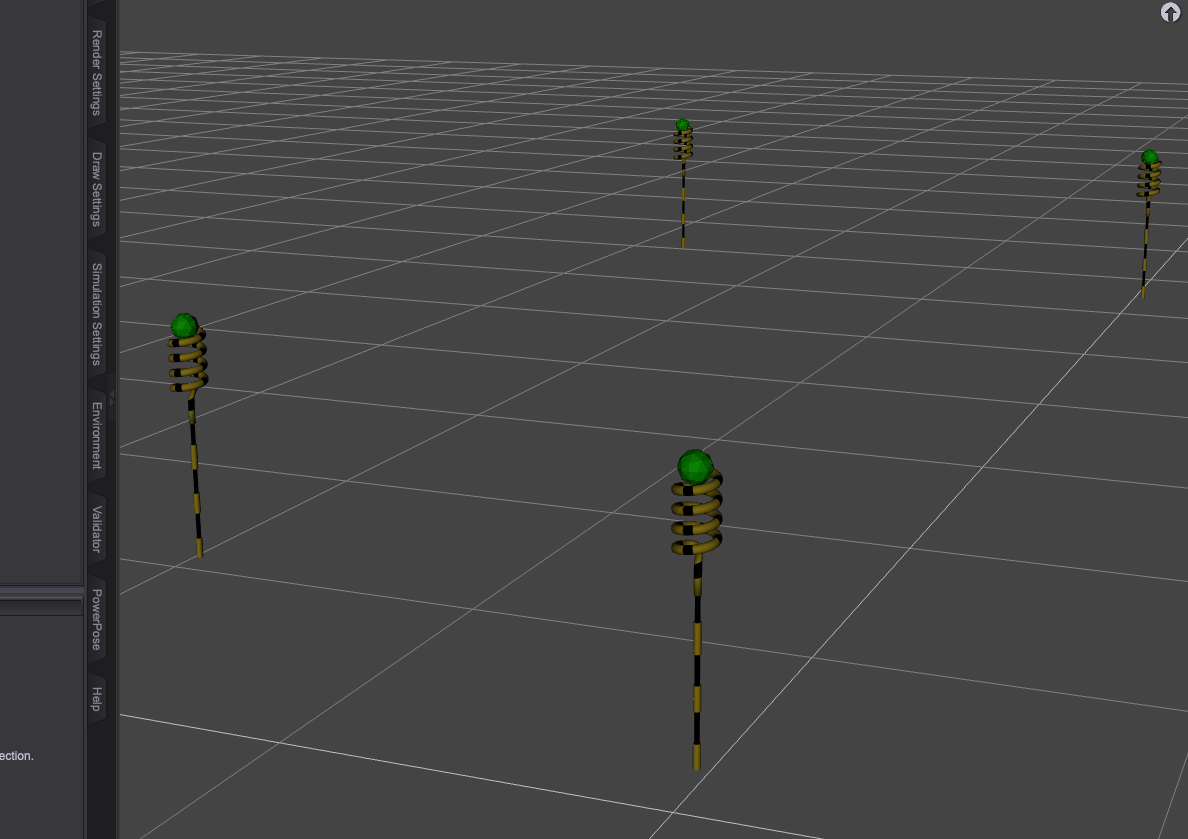
(2) Setup the crowd
Set Causal to 0 if you dont want any causal attire, and go to the LowPi Morphs tab and select your morph random settings
(3) Run it
You will see which LowPi it's working on and the progress
(4) Done AIUTO...CHI CONOSCE L’ITALIANO? PARTE QUATTORDICI
Crios said:
Oltre al Base Morph, a volte anche le UV Map sono diverse Ad esempio l'UV Map di V7 è diversa da quella di Genesis 3 Female, anche se di poco.
Fortunatamente questo non comporta troppi problemi, basta scegliere la UV che preferisci e puoi usare i materiali che vuoi. Raramente ho avuto problemi ad usare, per esempio, le texture di Ribbit su un personaggio umano.
In ogni caso, in molti casi si può acquistare un morph basato su un altro senza dover per forza prendere anche la base. Io ne ho parecchi e funzionano alla perfezione anche senza la figura a cui si appoggiano, l'unico inconveniente è che non è identico al "prodotto completo". Per farti un esempio se le orecchie hanno una forma specifica, senza la base avranno comunque la forma giusta ma meno marcata.
Daz 3D is part of

Connect
DAZ Productions, Inc.
7533 S Center View Ct #4664
West Jordan, UT 84084Licensing Agreement | Terms of Service | Privacy Policy | EULA
© 2026 Daz Productions Inc. All Rights Reserved.