-
Victoria 8 / Genesis 8 compatibility??
How about the possibility of shaping and using morphs based on the real early versions (from Vicky 1 to Vicky 4) for the later versions (Gen to Gen 8)? I've seen applets on here that do transfer some morphs from some version, but not the ones that early. I've got really old stuff and attempting to convert them for use with the later versions hasn't been successful so far.
How to PROPERLY save a WIP so sliders/dials stay intact for further work? Scene? Or some other?Ah. that may be the key to the problem. I, too, have many morph packages for G8F and I have found that some play nice together, others not. I haven't had particular problems with nose morphs, but I have with those for the mouth. In fact, I have made a habit of trying out mouth poses before saving anything, since that will usually reveal any issues. If I find something, I then need to go back and isolate the problem sliders through trial and error. As a rule. I usually try to avoid using more than one slider for a particular effect, although I know how easy it is to inadvertently duplicate things. I have even found instances of where I dialed up a feature with one package and then later dialed it down with another. I cannot say for certain that it is the combination of sliders that is causing your issues. It could be something else, but I cannot think of anything offhand, sorry.
Carrara Non Photo Realistic WorksHeres Two Dogs from the two dog thread

A long time ago I used poser to rebone the daz dog (just the head) and it saves the morphs - sadly they took the tut down and when I wrote to them told me it was old fashioned blah blah blah - but you can do the same thing in the carrara plug in daz studio
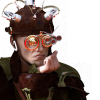
Means I can have a head that will morph into different breeeds - here it i stsuck on the pumpkin headed man
the dog on right is low res - hint when posing the dog tail uses the paremeters - and don't forget to hit 'smooth' in the vertex room for the mesh
post work with photodonut
!! Side Renders - More Xerr! - Double More Xerr!! - Other Creatures Also !!wow, lots to see and dog ... er I mean do. thanks for theadsup on oz birds Stezza, Xerr The Unloved he should be called.
Bumyip Black Cockatoos round here are toe munchers
Heres Two Dogs
A long time ago I used poser to rebone the daz dog (just the head) and it saves the morphs - sadly they took the tut down and when I wrote to them told me it was old fashioned blah blah blah - but you can do the same thing in the carrara plug in daz studio
Means I can have a head that will morph into different breeeds - here it i stsuck on the pumpkin headed man
the dog on right is low res - hint when posing the dog tail uses the paremeters - and don't forget to hit 'smooth' in the vertex room for the mesh
post work with photodonut
Helpful Blender Scripts - shapekey transfer and material slot combinerThanks for sharing your scripts. As they are designed for your own workflow, could you expand on what that is, in particular how you transfer your Daz characters into Blender, and where the scripts fit into your workflow? That would be useful in understanding how and when these scripts will help the rest of us.
Sorry for the post and ghost. I wanted to put together a quick overview of my workflow and where these scripts fit in. It took longer than I thought.
I should probably make another whole post just for details if anyone is interested. It's has been a little while since I did these from start to finish, details are a bit rusty.I start with the Basic Male or Female character and add any geografts I might need,
I save copies with default UVs, and 2nd UVs if available. Then I use the Diffeomorphic Daz to Blender plugin to export and save a copy too.
I then merge fitted figure's geometry, delete the extra meshes that are created and convert the character back to SubD if needed.
In 4.11 and 4.12 there is a bug that makes the eyelashes disappear. I did submit the bug, hopefully it will get fixed.
I export the character as an FBX file 4 times
1 Base resolution UV1 no morphs (Base Poly)
2 Base resolution UV2 no morphs (Base Poly)
3 Subdivision 1, UV1, with Mouth Open, and Eyes Closed Morphs (1Subdivision Poly)
4 Subdivision 1, UV2, no morphs (1Subdivision Poly)In Blender
I import the 1Sub Poly first then the Base Poly next.
I remove the eyes from both ( I think i used a script for this too)
I apply a subdivision modifier on the Base Poly mesh, then transfer mesh data - vertex groups - to copy weight paints to the 1Sub Poly mesh.
There is a lot of cleanup to do after this as some of the weight paint get copied to the wrong vertex if they are too close.
Mostly around the mouth and eyelids, but also around the toes. Having the mouth open and eyes closed morphs helps when the rigging isn't working right.
Once I am happy with the cleanup efforts I import the 2nd uv character and transfer UV's to the one with UV1
I now have a 1 Subdivided Poly Daz model, fully rigged, with multiple UV channels.
Back in Daz Studio I start exporting my purchased characters.
I will dial in Aiko and click Currently Used in the shaping tab to see what morphs are applied to her.
I will dial out the Aiko Character morph and reapply the Body and Head morphs. This will make the head and body the correct shape but not adjust the size. Important for animations.
Can be resized later with math and stuff)
Add geografts, Save file and export and save using the Diffeomorphic Plugin
I Merge fitted figures like before, remove extra geometry, convert back to SubD if needed
Export FBX 2 times. 1Sub Poly with no morphs and one with any morphs you want to have.
Then I open the 1 Sub Poly Basic Character file was working with and import the 1Sub Poly -no morph Aiko. Remove Eyes, Join as shape to apply Aiko Morph to Basic Female character then remove the Basis Shapekey.
I now have Aiko with all the 1Sub Poly, with Weight Paint and 1st and 2nd UV info.Import Aiko into Blender using the Diffeomorphic plugin and run the Bone uitility to orientate the bone rolls correctly. Save Blender file.
Back in the 1Sub Poly Aiko file, append the Rig from the Diffeomorphic file and parent the 1Sub Poly Aiko mesh to her correctly sized and orientated rig.Almost done. I Import Aiko 1Sub Poly with all her morphs, remove eyes then (here it is!!!!) run the transfer shapekeys script to copy all the shapekeys to your characters and shorten the names to remove the "Genesis8Female__" part
Save a file as backup.
I will usually run the Material Script last and save as a separate "finished" file as it cannot be easily undone. It merges together material slots that are using the same texture.
Why is this important? In Blender and Unreal Engine 4 it is not necessary to have a separate material slots for the the Face, Lips, Ears, and EyeSocket especially if they are using the same texture. You can still achieve the same results of being able to change the lip colors or even textures applied to the ears by using masks instead. Also in Unreal Engine there is a cost per material slot you have in as scene so keeping the amount of slots to a minimum can help performance.
As always I look forward to any feedback or ideas.
Wolf Dog 8, Husky Dog 8, and German Shepherd Dog 8 ??
Yes. There's a morph to make it female and another just to neuter.Stupid doggo question: Does Dog 8 have a "non-male" morph?
Suddenly can't delete Morph keys??And to add the the weirdness, if I do a "Create Keys" in the morph section, which creates a key for every morph at that time, then select a few of the keys in the upper (non-curve) portion of the timelime, then click "Delete Keys" in the dropdown list in the upper right panel, it will delete all the morph keys at that time, including the keys I couldn't delete any other way.
[Released] Character Converter from Genesis 3 Female to Genesis 8 Female(Now Conv JCMs) [Commercial]Message to RiverSoftArt
For some reason I am unable to access my messages, I'm also unable to create a new message?!? Will file a support issie with Daz when this comment is sent.
The answer to the question "Did you convert things twice without deleting morphs? " is that I deleted all morphs in the data folder manually before I comverted the character agan.
The /data/ morph directory chreated when converting Victoria 7 was "DAZ 3D,Heysun Oh,Yannek", converting Victoria 7 HD created the /data/ folder "DAZ 3D,Heysun Oh".
Looking into the original Victoria 7 files, the "pJCMVictoria7ShoulderBndFwd_110_L.dsf" file formulas look like this;
"formulas" : [
{
"output" : "Genesis3Female:#pJCMVictoria7ShoulderBndFwdR?value",
"operations" : [
{ "op" : "push", "url" : "lShldr:/data/DAZ%203D/Genesis%203/Female/Genesis3Female.dsf#lShldr?rotation/y" },
{ "op" : "push", "val" : [ -110, 1, 0, 0, 0 ] },
{ "op" : "push", "val" : [ -85.5, 0, 0, 0, 0 ] },
{ "op" : "push", "val" : 2 },
{ "op" : "spline_tcb" }
]
},
{
"output" : "Genesis3Female:#pJCMVictoria7ShoulderBndFwdR?value",
"stage" : "mult",
"operations" : [
{ "op" : "push", "url" : "Genesis3Female:/data/DAZ%203D/Genesis%203/Female/Morphs/DAZ%203D/Victoria%207/FBMVictoria7.dsf#FBMVictoria7_v1?value" }
]
}
],And the formulas in "pJCMVictoria7ShoulderBndFwd85_L.dsf" look like this:
"formulas" : [
{
"output" : "Genesis3Female:#pJCMVictoria7ShoulderBndFwd85L?value",
"operations" : [
{ "op" : "push", "url" : "lShldr:/data/DAZ%203D/Genesis%203/Female/Genesis3Female.dsf#lShldr?rotation/y" },
{ "op" : "push", "val" : -0.01176471 },
{ "op" : "mult" }
]
},
{
"output" : "Genesis3Female:#pJCMVictoria7ShoulderBndFwd85L?value",
"stage" : "mult",
"operations" : [
{ "op" : "push", "url" : "Genesis3Female:/data/DAZ%203D/Genesis%203/Female/Morphs/DAZ%203D/Victoria%207/FBMVictoria7.dsf#FBMVictoria7_v1?value" }
]
}
],As stated earlier I don't know enought about dsa files to know whar the formula does but it is the only difference in the original files so that may indicate the reason for the:
WARNING: ..\..\..\..\..\src\sdksource\fileinput\dzassetdaz.cpp(5978): Unsupported formula: /data/DAZ%203D/Genesis%208/Female/Morphs/DAZ%203D%2CHeysun%20Oh%2CYannek/Victoria%207/pJCM_RS_Victoria7ShoulderBndFwd_110_R.dsf"Cheerio for now.
I apologize! Somehow I missed your post.
You can try a solution from the forums (https://www.daz3d.com/forums/discussion/22220/duplicate-formulas-error-solved-thank-you-bejaymac):
- load Genesis 8 into an empty scene, you'll get the error message, just click it to carry on.
- Find the offending morph(s) in the Parameters tab, in this case it Actor/Universal/Fantasy SciFi and it's the HFS_Shapes_Head01 morph.
- Dial the morph to make sure it works and then zero it again.
- At one end of the dial you'll see a little "cog", click on it and in the little menu that opens click on Parameter settings.
- In the new window that has just opened you will see a Color A & a Color B, click on Color B to open the color picker.
- Set the color to 254, 254, 254 and click OK.
- Click "Accept" at the bottom of the Parameter Settings window.
- After that window closes go "File > Save As > Support Asset > Save Modified Assets".
DS will do a quick scan of the figure and open a small window that should only have the one file listed, accept it and DS will replace the old file with a new updated one.
Suddenly can't delete Morph keys??For some reason I can't fathom, I can add, move, and adjust Morph keys on a figure animation, but I can't delete the keys! I thought maybe it was just a corrupt file, but even if I open old files or create new ones, I have the same problem. I've restarted twice. I'm using DS 4.12 on a PC, but haven't changed anything that I know of since two days ago when this worked fine. Any thoughts??
Bad Hair Day! My hair is not working.If you mean the line angling up towards the middle from her left brow I'm not sure that is actually a bit of hair as such. Is the figure moved away from its loading position? Sometime, in Iray, that can cause problems with - for example - the transparent skullcap showing up in places (though that's usually blockier than that). You might be able to use an expand morph with a negative value, if the hair has one, to tuck it in a bit more or you might simply move everything so the the fgure was on the origin. If it is hair another option is to apply a dForm to suck that area out of sight, though that would probably be easiest with a weight map.
Broken Morph - Growing Up for G8MPlease switch the display to Smooth Shaded when taking a screen shot of a nude figure, even if it is lacking its anatomical elements.
The distortion on the head looked like a distorted bone placement rather than a bad morph, but with just the base and growing up installed I can't think how that would happen. You might go to Edit>Preferences and click the button to clear the DSON Cache.
Broken Morph - Growing Up for G8MThe morph activates some others, but as you can see the distortion is present even when I dial all others to 0.
EDIT: Guess I should give him some briefs to accomodate to forum policy.
Broken Morph - Growing Up for G8MCould it be there is another morph still active? New product you recently installed? There is a setting to show all morphs, see if any are diales active on a new character that shouldn't. I once had a character always was "on" by default, messing up the geometry like your example.
Broken Morph - Growing Up for G8MHi there,
For several days now this makes me go crazy:
When i apply the "Youth Morph" to a new G8M it looks legit at first, but when i save the morph/figure as a scene subset and re-open that, it just looks like a deformed monstrosity.
I had several morphs installed, but deleted all of those. Now I even deleted everything and did a re-install of DAZ 4.12 and just the G8 basics and GU. It didn't solve the problem. I don't know what else I am supposed to do. The log doesn't show any problems with the morph and there are no hidden morphs shown that explain this.
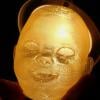
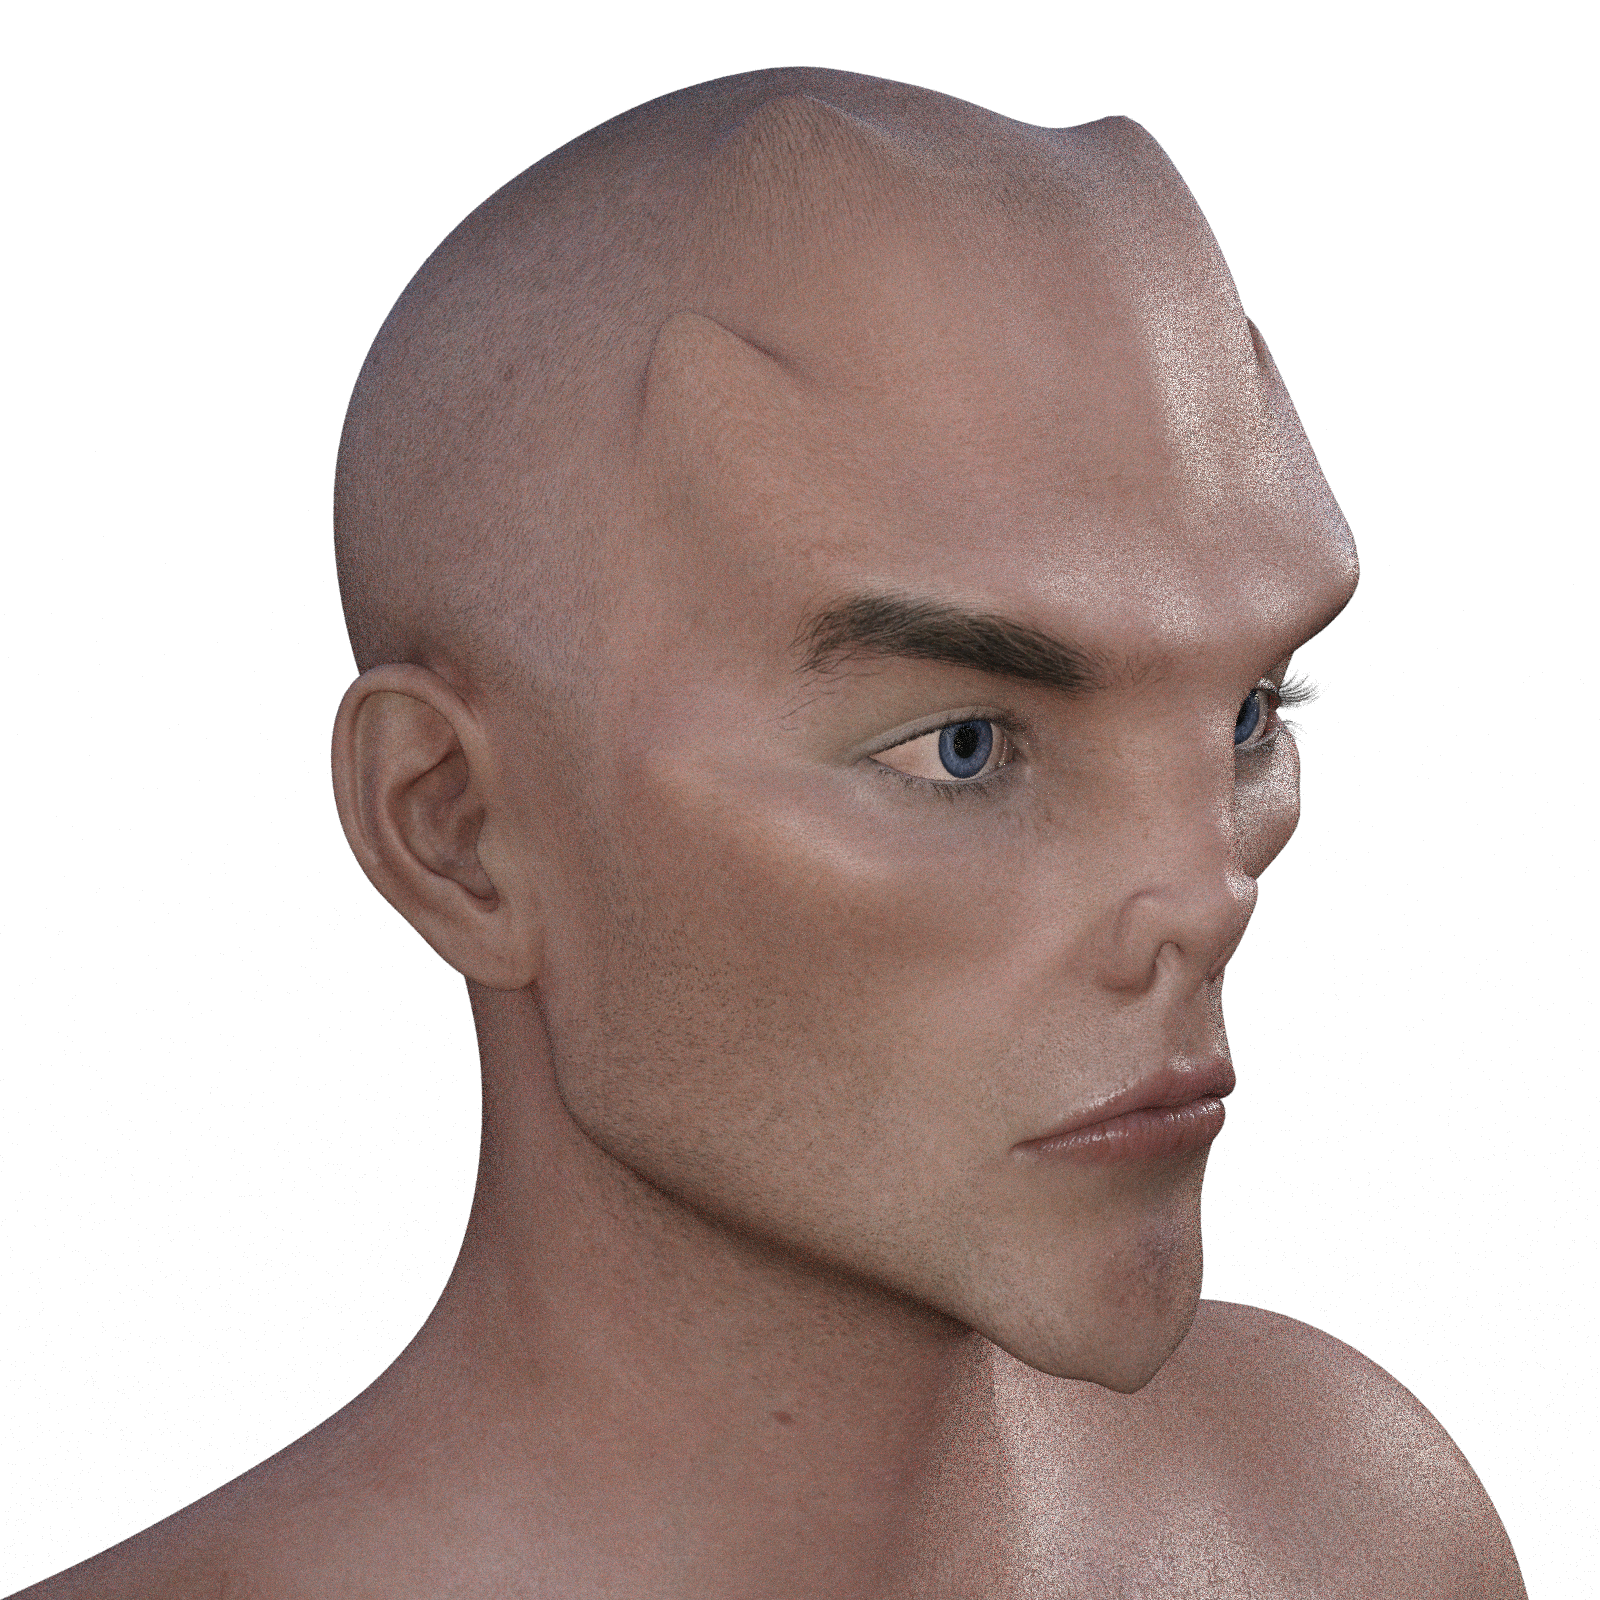
How to make a head morph ignore the ears?Never mind, I solved it. First, you apply the split deformers included with Shape Splitter, then you run the actual Shape Splitter script. Go to the Weight Map subtab under the Divide tab, select the two ear DFormers, then change Preview/Save from Selected to Remaining. This will apply the morph to everything BUT the ears. This will only work for the specific morphs you want to run this process on, so if you only need this for a couple of morphs, it's fairly painless. There's probably a way to do this more generally with DFormers, but I don't know it.
Here are the results of applying this method to the HFS Demon head morph:
Before
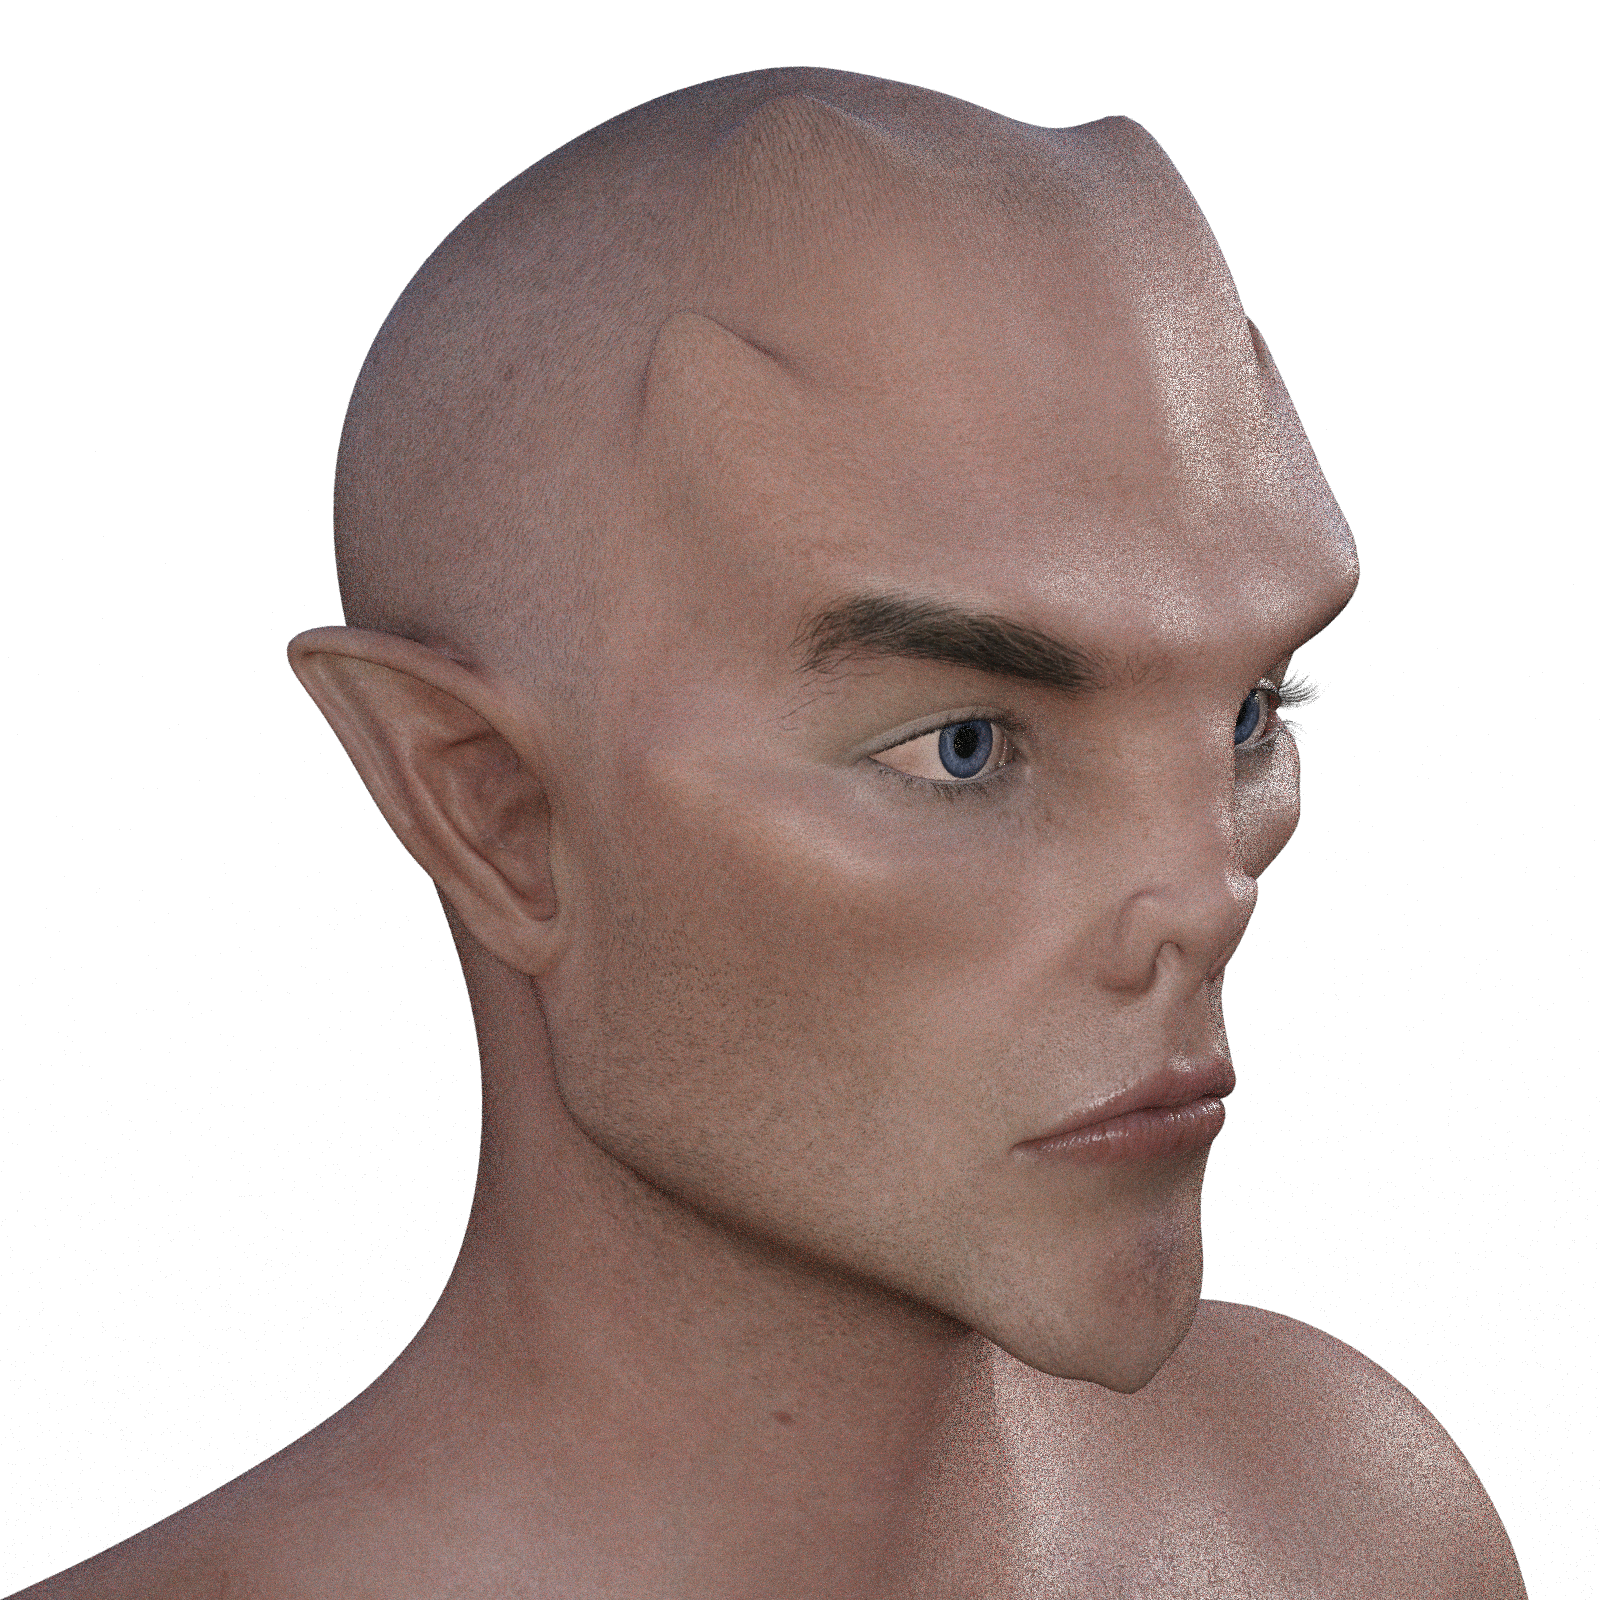
After
 Helpful Blender Scripts - shapekey transfer and material slot combiner
Thanks for sharing your scripts. As they are designed for your own workflow, could you expand on what that is, in particular how you transfer your Daz characters into Blender, and where the scripts fit into your workflow? That would be useful in understanding how and when these scripts will help the rest of us.
How to make a head morph ignore the ears?Actually, Shape Splitter can morph just the ears using dFormers, so if you could make an inverted dFormer, you could exclude the ears from any head morphs.
How to make a head morph ignore the ears?To my knowledge you can't only apply part of a morph.
I looked at this product https://www.daz3d.com/shape-splitter, but it seems as it doesn't have an option allocated to the ear.
If you can copy the ear morph, you can then dial that to -100% to reset the head morph in the ear area.
And copy the ear morph should be possible in a modelling program, although I am not sure about the most optimal way of doing it.
How to make a head morph ignore the ears?How to make a head morph ignore the ears?
Nearly all character head morphs change the ear shape, is there anyway to prevent that? I want the head morph to leave the ears untouched as much as possible.
How to PROPERLY save a WIP so sliders/dials stay intact for further work? Scene? Or some other?Hi SixDs! No, I have not created the morph slider yet - I am at the WIP stage of moving sliders around, making my character. I save the scene, hoping that I can come back later when I have more time. But, the mesh looks very different to where I left off when I load the scene.
This does not seem to be happening with ALL sliders. I am using several Merchant Resource morph packs together, as each contains sliders that adjust the same areas in slightly different ways. For example, the test WIP I was saving earlier had been playing with various nose and mouth sliders. When I reloaded the saved scene, some work seemed to have been saved but not all - the G8 mesh in the viewport looked a mess where I had edited the nose.
Daz 3D is part of

Connect
DAZ Productions, Inc.
7533 S Center View Ct #4664
West Jordan, UT 84084Licensing Agreement | Terms of Service | Privacy Policy | EULA
© 2026 Daz Productions Inc. All Rights Reserved.