-
Auto Muscle Enhancer HD [Commercial]
Over in the Content Library under Genesis 8 Male/Chaeracters/ there is a D.Master folder, and inside are ON and OFF buttons for the Auto Shape Enhancer, so I click ON and set the slider to 100% and still nothing happens.
When you pose the figure with ASE on, you don't see any flexing of the musculature? I don't think you'll see much (any?) change unless the arms, legs, waist, neck, etc. are posed.
Lee
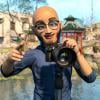
I applied a pose. The one on the right has all the ASE sliders set at 100%. I really don't see any difference. The sun is hitting them at a slightly different angle, and the perspective of the view on each of them is slightly different. The ASE one on the right looks like he has a slightly pointed elbow. But looking at that list of sliders, I sort of expect to see some noticable change. The render of them standing, the elbow looks a little pointed, but other than that, I don't know, I mean, even with the slight difference in the angle of the sun, the knees, and abs, and rib cages, and shoulders look exactly the same. The sternocleidomastoid looks slightly enhanced.
The files must be installed in the right places on my computer because the folders and buttons and sliders are showing up in the correct places.
Yes you obviously installed Auto Shape Enhancer correctly. I suggested before maybe you could consult the product page to understand what ASE is doing?
The Joint Controlled Morphs apply to only certain body regions and kick in only under certain poses. The most noticeable is the armpit Joint Control Morph and the squish morph for the back of knees/thighs. You angled your camera away from the knees/thighs so you wouldnt have seen the effect in that view.
If you do a pose with arm raised to expose the armpit, you should observe a noticeable difference.
The Marvelous Designer ThreadAnyone found a good workflow for adding zipper morphs from marvelous designer to daz3d? You can't reimport a piece of clothing back from daz3D with the zipper because once you simulate it goes flying, also the zipper no longer works.
The only workaround I can currently think of is to have your finalized particle distance, to keep poly count the same. Export zipper + zipper tape seperately to the garment at different stages from unzipped to zipped. Do the exact workflow you did the first time round so everything has the same poly count, import back to daz3d and apply that morph.
Rinse and repeat, over and over for unzipped to fully zipped.
OR, would simply having the original fully zipped or unzipped version work inside daz3d, then you simulate it the opposite way and import that version as a morph, then it should zip up and down normally when going from range 0 to 100? Need to try this when I can get around to it OOT Mega Wardrobe broken Knee at Jeans
I say 3Dl because when you load the Jeans it have those hidden parts to morph to the other jeans and those parts are 3DL styled, see my first screenshots. (which I can't see... WHY? its not the first time that I can't see my own attachments -_-)
How to use eyebrow props?wearing fibermesh on top of texture is great. But if the position is off it wont work.
I learned this trick to move around the fibermesh without morphing the face. Use the transfer utility to transfer the morphs from g8 to the fibermesh. in transfer utility click on "morph targets" and set "from source" to "all". Now you can use the morphs on the fibermesh.
Help aligning sleeve tattoo - Gen3/8 femaleIs the tattoo a jpg or a png file? If it's a PNG you could use the Layered Image Editor to place it on the torso and arm individually and use the movement/scaling dials in the LIE to fit it.
I did find a tutorial from L'Adair on using the Map Transfer in studio to go from Genesis 3 to 8 you should be able to just swap in Genesis 2 for the Genesis 3 references and be good.
There are also a couple of products from Cayman Studios in the store that will automatically transfer the Genesis 2 skins to Genesis 8 if you don't want to go through a ton of work:
Legacy UVs for Genesis 8: Genesis 2 Female
Legacy UVs for Genesis 8: Victoria 6
As a side note I do own most of Cayman's UV transfer sets and they are all really well done.Hope this helps!
ElliWhich Genesis generation puts smallest load on processor and memory?the days of loading only the morphs you needed are a bygone dream.
i heard of a script that will strip out the mophs not being used, cant remember who made it.
Not sure if the script would be relevant in current morph loading process. First of all, the unused character morphs and their relationships are not saved with the characters/scene. Those character morph dependencies are derived based on all installed characters that are available in the content library during the character/scene loading process. Secondly, even if one were to write such a script that prunes all character morphs from the loaded character/scene all those morph relationship would still get recalculated on the next reload of the scene.
In fact, I made a detailed suggestion couple of days back on a new approach for adding/removing morphs into a loaded character, but that would require significant changes to the morph loading process. In the meanwhile, I would suggest avoiding installation all characters that you own in your main content library which should contain only the base genesis characters for each generation and some common morph packages (a "minimum viable set" of morphs). If you are using manual install, you may benefit from creating separate content libraries for each of your scene and having only those characters installed in them that you require in that scene. Otherwise, as Havos suggested, saving a scene-subset of each genesis figure in your scene before converting them to a prop may help in some scenarios. Not any cure by any standards but probably some band-aids on the shelf, at least for now.
product to inj face rigging to V4 and M4i want to keep my characters presets, but i like the elegance of rotation animated face posing to linear morphs movements.
also great for face sculping.non symmetrical face structuretoothless in the dragon movie had over 6000 controls
I don't think you'd be able to keep your character presets, because the mesh has changed. You would need to transfer them the way we already do with the Genesis figures.
More advanced animation tutorials?Thanks for replying. OK, five frames is what I was using for blinking, but it's good to hear it confirmed. :) Thanks for the link, I don't really want to mess with aniblocks either, but the video gives me ideas on what to try. I've got enough body morphs to give it a shot.
I did some experimenting and figured out what TCB falloff is; you basically enter values in the three boxes in the bottom right corner of the timeline depending on what you want and it affects the ease-in/ease/out between keyframes. It's a nice way to adjust motion without having to do a lot of additional work.
...and then last night, I read a tiny bit about Blender's animation tools and almost wept. sooooo much better...I really need to learn that one day. ;)
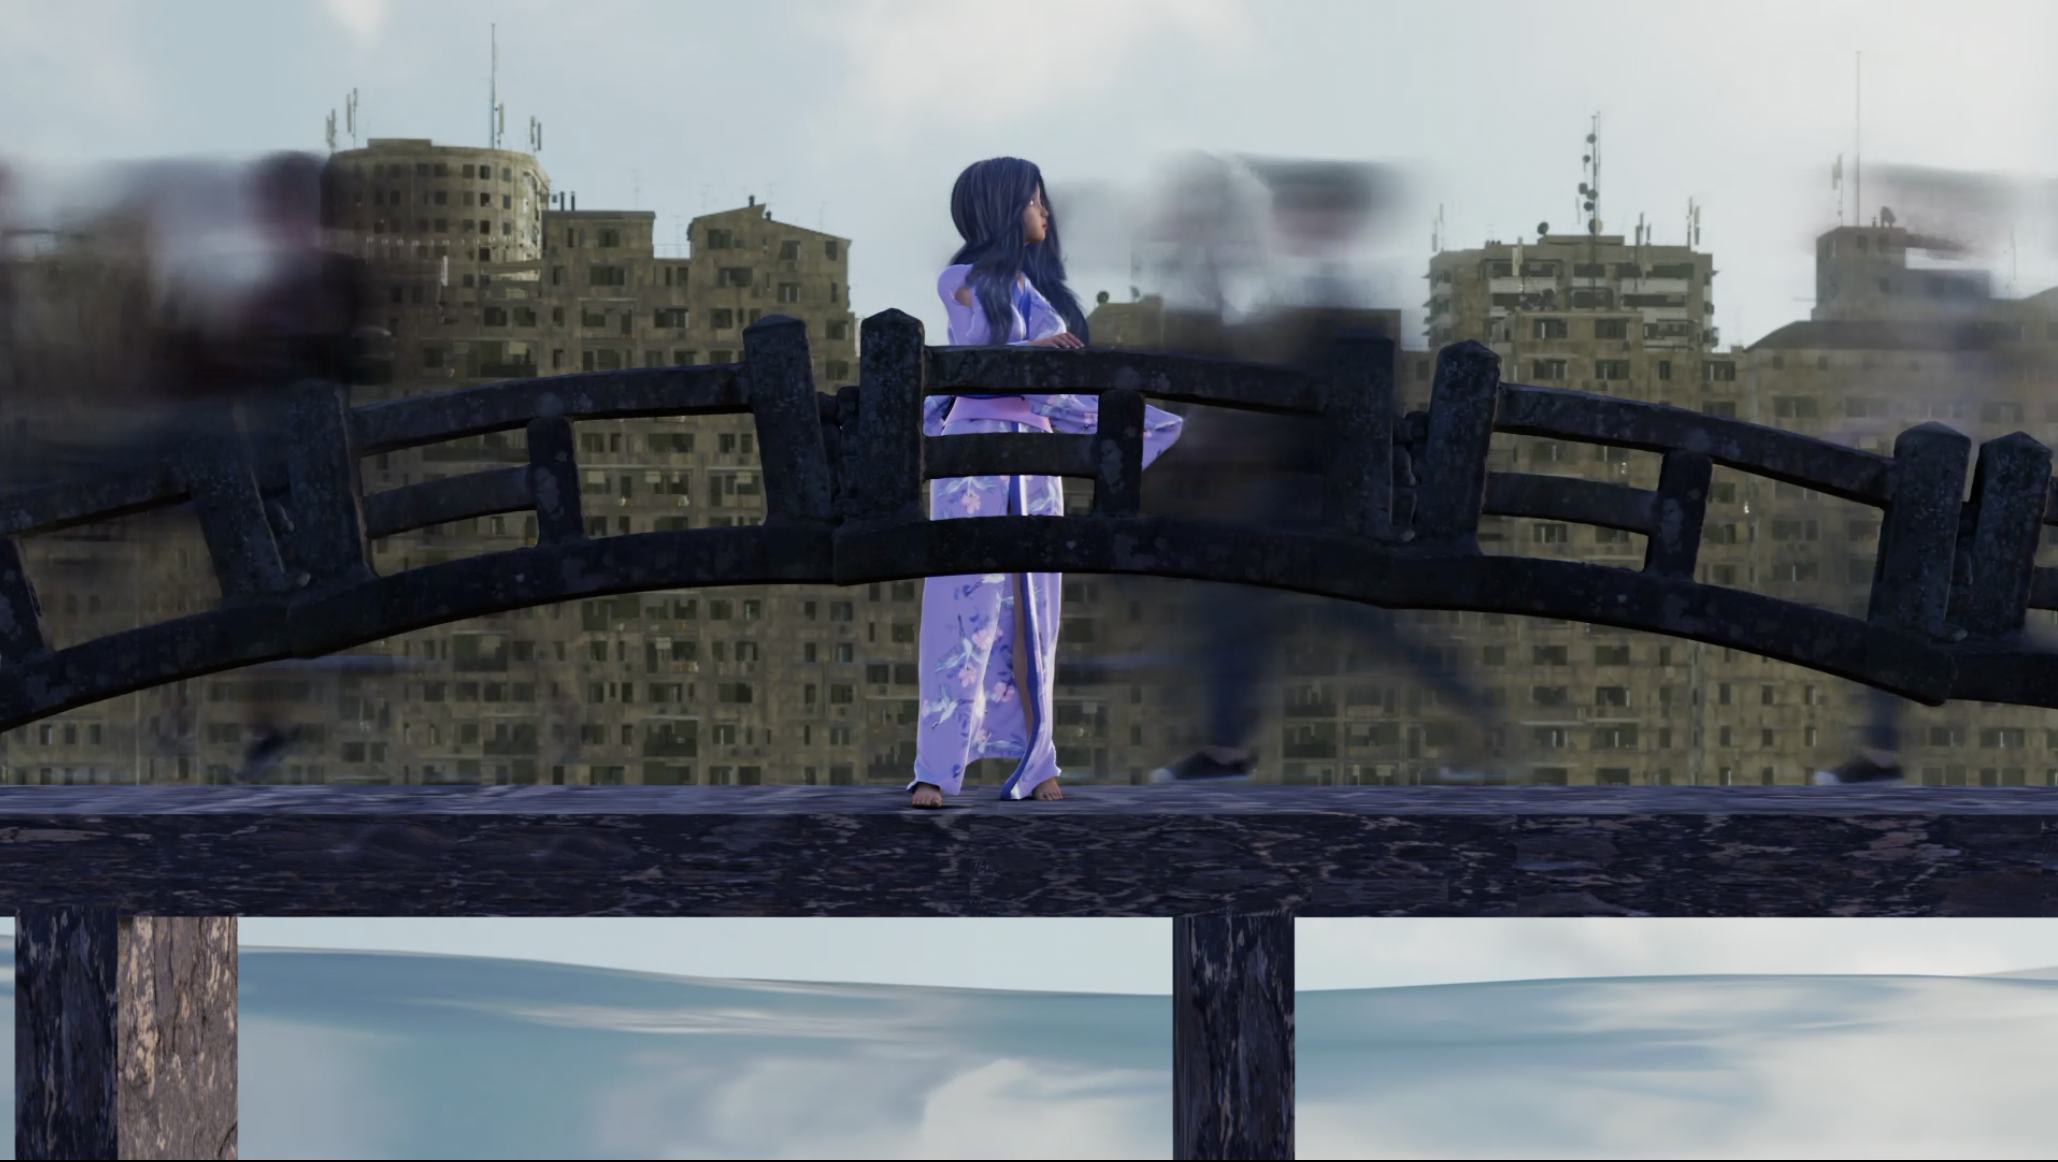
I've been using Blender now for the past couple of months and I'm in love with it and Daz assets are surprisingly super easy to transfer over and use, and they look amazing. I've been animating in Daz for the past like three years now and it took me at most two hours or so to figure out Blender once I got a character in with the diffeomorphic tool. I started an animated film in the beginning of April and I've already got about eight minutes animated and rendered out thanks to Eevee being near real-time rendering. I'd be done but I did a time-lapse shot that spanned like six three centuries and had to render out about 50 characters walking across a bridge and then layer them over and over in After Effects, there was something like 260 layers lol, it took a week to do but totally worth it. I'm putting some screen grabs here so you can see how Daz characters and environments look in Blender. You can also use Mixamo files with the diffeomorphic BVH Importer.
The animation itself looks so smooth. You can put rigify on the character through the importer and with that, you can move the torso around and the hands and feet don't move, so you can really have control of the limbs. There's no more feet sliding if you hand keyframe things. I used a Mixamo file for one walk up a stairway and there's sliding from that and I might go back and just keyframe it by hand. Plus with rigify, if a part of the body is moving unnatural, the bone bends backwards so you have to then adjust the hip or torso so that it would be correct and you have realistic looking poses. I love it.
I also got the cloth sim to work, so you can basically do DForce with whatever they're wearing and you can set it up to do that with hair.
And you can bring environments into Blender via the diffeomorphic tool as well.
If you take the time to try and learn it and have any questions, please don't hesitate to ask! The parts of importing the assets into Blender will probably be the part that holds you up the most if you already understand the basics of animation, the importing is what took me about a week to truly get the hanng of, so just let me know and I'll be happy to try and help and make the process quicker for you!
The TCB falloff sounds like a wonderful tool that I never about! I'm going to have to look at that when I open up Daz next.

 Blender Sculpting DAZ Characters help?
Hi :) I'm not sure I understand or explain correctly because I use a translator,
I'm not sure about the technique I rarely use blender, try this with a quick sculpting, use the "multiresolution" modifier, make your "sculpt" as you wish once done, apply the "apply base" option in the multiresolution modifier, then delete the "multiresolution" modifier, import in daz your morph and apply change the resolution of the character
When I hit "apply base", it makes the object all spiky, not smooth.
Hopefully these images come through in order. Slightly crumply ear is what I get in DAZ. Smooth side of the head is the Sculpt, and the weirdo spiky geometry is after hitting "Apply Base"I think you'll find your normals are messed up around the ear. The mesh is probably fine, but when Blender renders the area, the crazy normal orientations make it look glitched.
Star Trek Builders Unite 8: THE REBOOTI have ran into a problem with the Planetary Smuggler. He comes with four fingers and toes. The fingers I can deal with, but I found the feet are causing a split in the shoes. There is no separate body or head morphs for the character, and I looked at the promos and tried every outfit listed and each of the shoes split because of the four toes. I own pretty much every morph package for Genesis 8 Male and Female, but could not find anything that would fix this. Does anyone have a suggestion? I have no idea how the PA was able to show the character with normal looking shoes in the promos.
Thanks ahead of time,
Mary
PS, love the renders!
Something must have gotten busted. That is set up to account for that. I will look at submitting a fix.
Star Trek Builders Unite 8: THE REBOOTIf you're comfortable with the geometry editor you could edit the feet/toes out of the morph, save/export it as an OBJ, and then load it as a new morph. I've had to do that on occasion with some of my characters because clothing goes wonky trying to conform to some body parts.
Auto Muscle Enhancer HD [Commercial]hoʻomākeʻaka
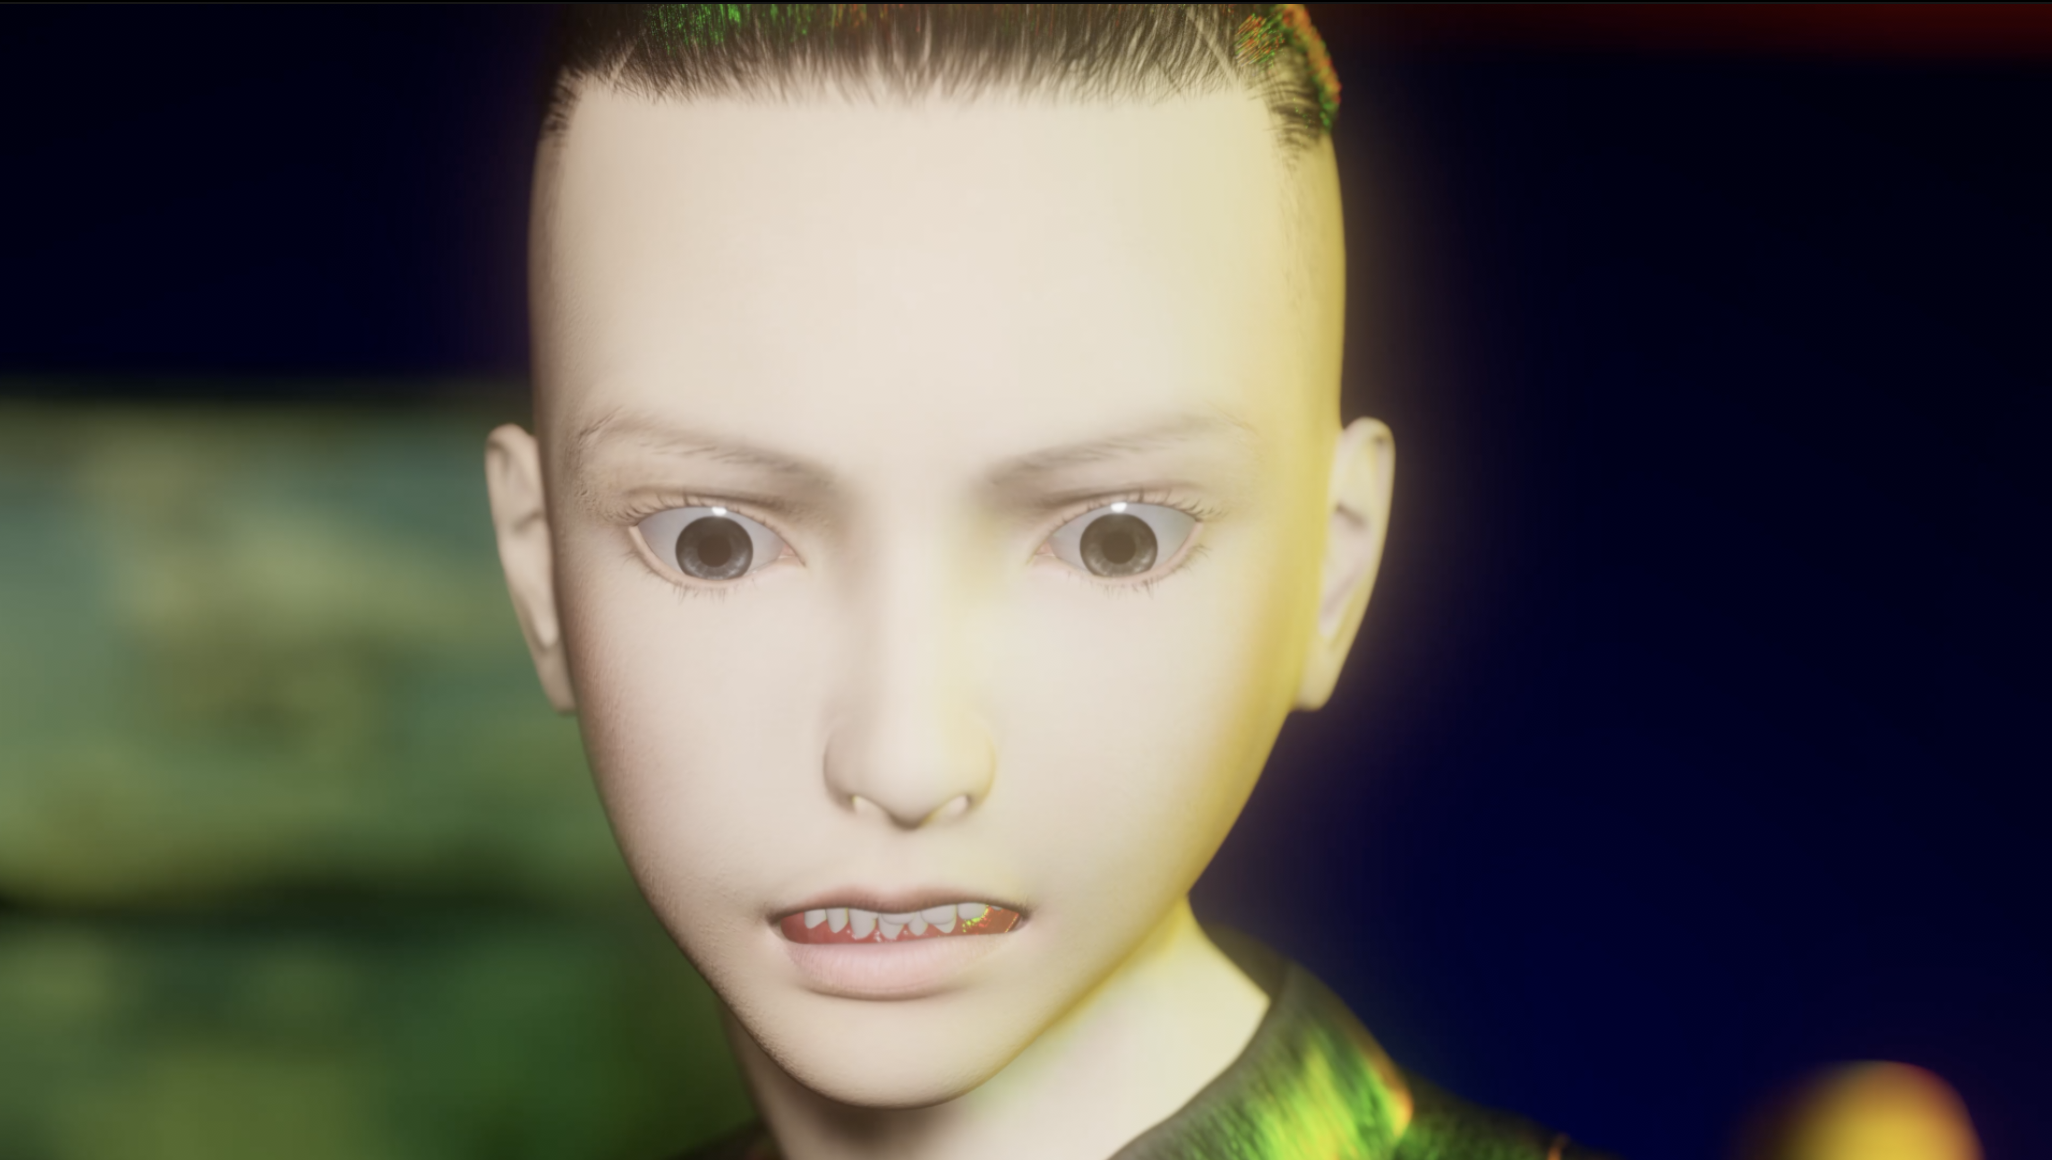
What's humourous about it? Here's Orrin. On the left is out-of-the-box unadjusted. On the right is with the Muscle and Shape Enhancers cranked up to 100%. I see that it is working. But it isn't working like your promo images. What am I doing wrong?
(I'm sorry I'm frustrated and annoyed - I have been in quarenteen for SIX WEEKS and haven't been out of the house because my partner has a fever that comes and goes)
The issue you're running into is what I tried to describe back when I was testing it and making some promo shots. It works great as "Muscle MSG", you want to add bits and pieces of it to your other muscular character. Like you throw a sprinkling of MSG into a dish to boost its flavor. AME is an actual figure like Dain or Orrin. If you want what D.Master posted, you need to just dial in AME on a blank g8m to 100%. Taking an existing figure morph and then dialing AME to 100% is going to get you a lot of distorton, same as you would if you dialed two character with extremely different shapes to 100%. Some people do like the super stringy, over-cooked chicken look, if that is what you like then you'll probably want to dial it to 100% on top of another character.
That's disappointing to learn. I have been anxiously waiting for the female version so that I could enhance developoment of some of my existing characters, but it sounds as if one might have to start all over? I hope I'm wrong, because these tools are not cheap. If it means you have to re-develop characters from the floor up, then it seems like a potentially expensive mistake.
Auto Muscle Enhancer HD [Commercial]hoʻomākeʻaka
What's humourous about it? Here's Orrin. On the left is out-of-the-box unadjusted. On the right is with the Muscle and Shape Enhancers cranked up to 100%. I see that it is working. But it isn't working like your promo images. What am I doing wrong?
(I'm sorry I'm frustrated and annoyed - I have been in quarenteen for SIX WEEKS and haven't been out of the house because my partner has a fever that comes and goes)
The issue you're running into is what I tried to describe back when I was testing it and making some promo shots. It works great as "Muscle MSG", you want to add bits and pieces of it to your other muscular character. Like you throw a sprinkling of MSG into a dish to boost its flavor. AME is an actual figure like Dain or Orrin. If you want what D.Master posted, you need to just dial in AME on a blank g8m to 100%. Taking an existing figure morph and then dialing AME to 100% is going to get you a lot of distorton, same as you would if you dialed two character with extremely different shapes to 100%. Some people do like the super stringy, over-cooked chicken look, if that is what you like then you'll probably want to dial it to 100% on top of another character.
Setting shaders and morphs with one dial?Is there any way to set materials or shaders together with a morph target by one single parameter dial?
Vyusur Janna etc in CarraraMay the Fourth be with you - Attack of the Clones
I often use that Carrara Plugin that they have to give away to convert clothing using clones !
Genesis 3 Female for Genesis 2 Female(s) - https://www.daz3d.com/genesis-3-female-for-genesis-2-female-s
Genesis 3 Male for Genesis 2 Male(s) - https://www.daz3d.com/genesis-3-male-for-genesis-2-male-s
Wear Them All - Autofitting Clones and Clothing Smoothers for Genesis 3 Female(s) - https://www.daz3d.com/wear-them-all-autofitting-clones-and-clothing-smoothers-for-genesis-3-female-s
Wear Them All - Autofitting Clones and Clothing Smoothers for Genesis 3 Male(s) - https://www.daz3d.com/wear-them-all-autofitting-clones-and-clothing-smoothers-for-genesis-3-male-s
Victoria 4 for Genesis 2 Female - https://www.daz3d.com/victoria-4-for-genesis-2-female
Not clones but in DAZ Studio you can morph away
Generation 4 Legacy Shapes for Genesis 2 Female(s) - https://www.daz3d.com/generation-4-legacy-shapes-for-genesis-2-female
Generation 4 Legacy Shapes for Genesis 2 Male(s) - https://www.daz3d.com/generation-4-legacy-shapes-for-genesis-2-male
Mugshots - lots of them - is this the product for creation?Daz Genesis models are modular in nature, so it is very easy to change how they look. You can very easily press a button on a skin preset to make the same shape look completely different. Shapes are easy to change as well, you can click shape presets or use the sliders. Just about all shaping morphs can be dialed from 0 to 100%, giving you a lot of freedom in how strong you want that particular shape morph to be. You can also change eye and hair color very easily.
If you have some texture editing skill, you can also change textures. Since we are dealing with just faces, you can add blemishes and whatever to the base textures.
I would think Daz would be one of the better options for such a project. Provided you can render quickly in Iray, you can whip a lot of faces up with this.
There is even a product sold here that can randomize face shapes for you each time you press it, which could be ideal. https://www.daz3d.com/ej-easy-face-generator-for-genesis-8-females There is another for males.
Now there may be one other option you may like. https://thispersondoesnotexist.com/ This site will randomly generate an image of a person each time you click it. However, I do not know what legal details there may be for it. But if it is legal to use the images in your project, then this would be the fastest and easiest tool possible. You literally get a new face each time you click in a fraction of a second. You cannot beat that! There is a contact link on the page so you can contact the people behind it for information. You can even create your own version of this, as there is a link to instructions. The downside is this is totally random and not repeatable. If you do not save the image, that image is forever gone when you click the website again. Though since the code is available, it may be possible to tweak it to your liking.
Wow, just checked out that site. I'm guessing that's how all the social media bots and troll farms get their profile pics! Scary!
Successfully eGPU'd a Tesla M40USB 3 is 5 gbps, or about 640MBps. PCIE gen 3 is 8 Gts (transfer roughly to a bit) or about 985 MBps per lane. So USB 3 is roughly equivalent to a single PCIE lane. That should make loading the scene on the card take longer,maybe a lot longer if you're loading all 24 GB. But it should not substantially effect performance otherwise.
It is entirely possible the M40 is undervolted, we have done that routinely in the past. It is also possible the card is failing in some way, these used cards have seen some pretty serious use.
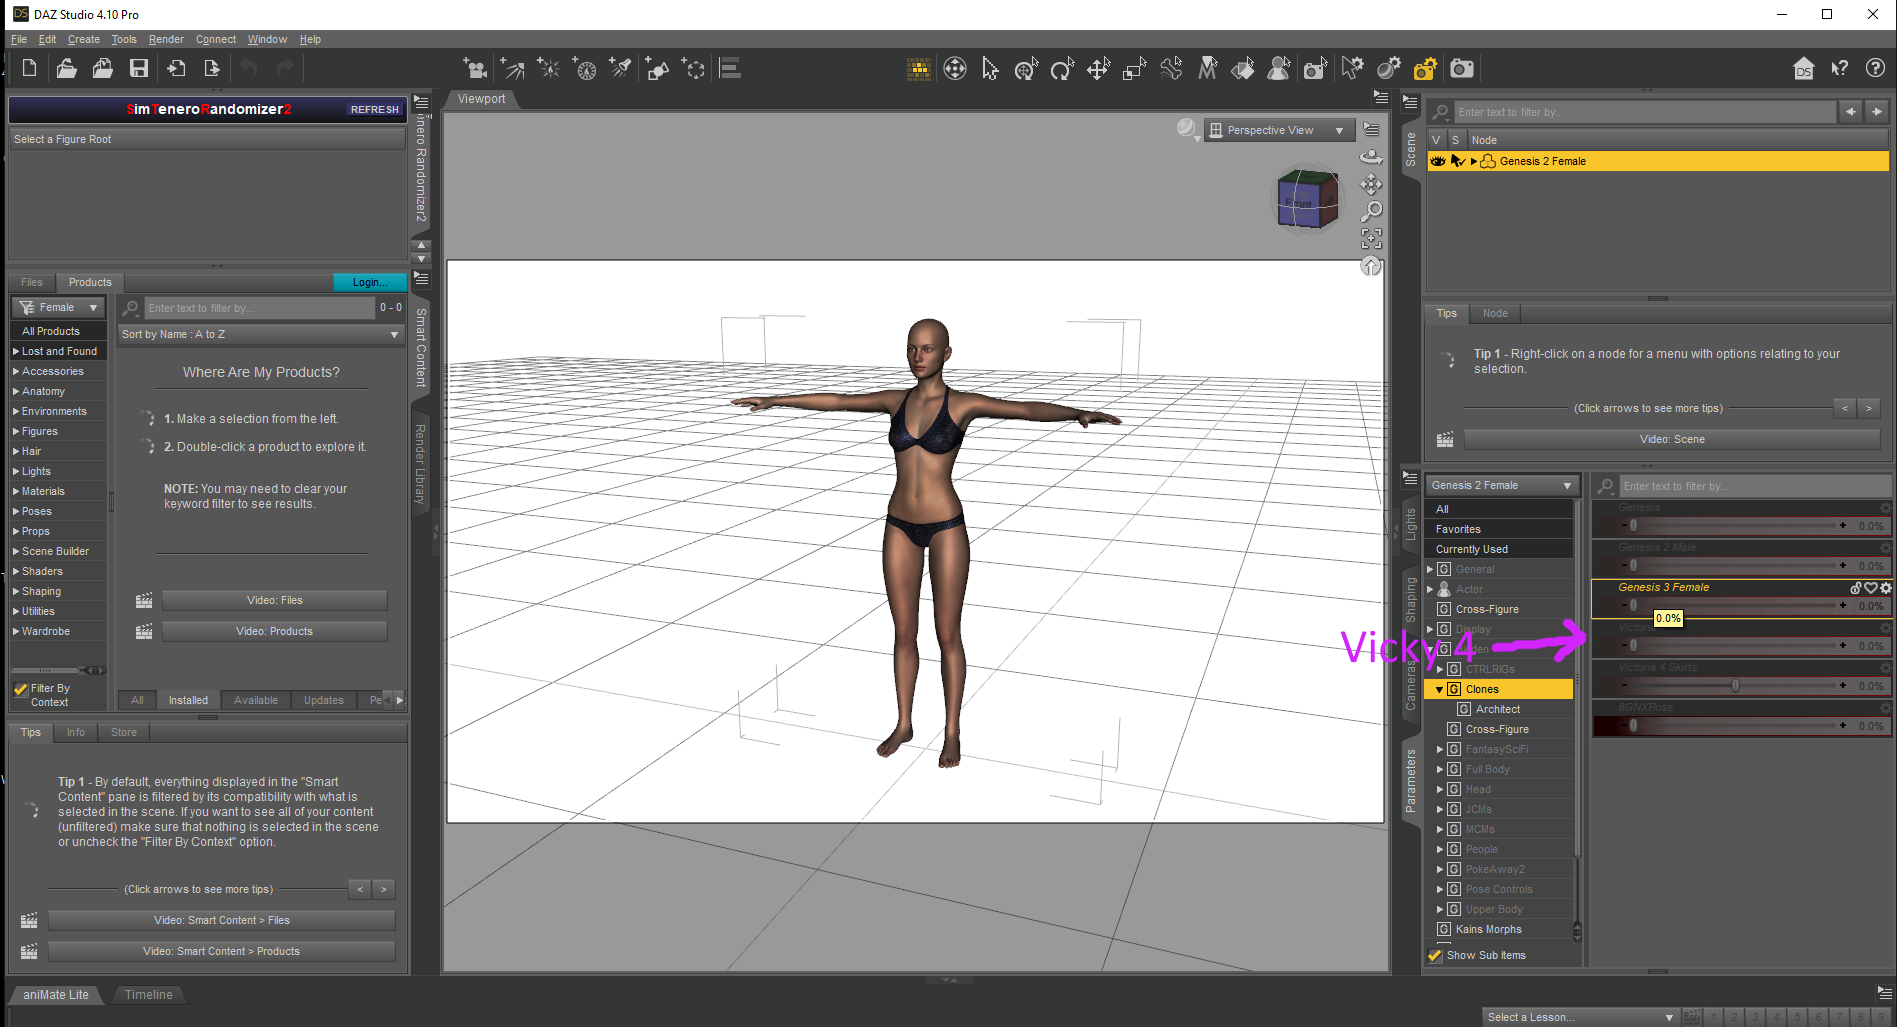
Vyusur Janna etc in Carrarabut for those of us who still use G or G2 with Carrara we can't as there isn't a clone for them so it's the long way round

If someone interested in, Genesis 8 clone for Janna is available on Rendo.
So cool! I've recently bought several of SickleYield's clones. Work great!
I know a lot of people don't like reading directions, so I just want to pass this along (leanred from SickleYield):
If we want to use a clone to convert clothing from one figure to another, with the notion to then save it to the library for further use, don't use the clone in Fit-To
Instead, deselect the target figure before loading in the clothing or just Cancel the Fit-To popup
Now use the Transfer Utility to fit the clothing to the target figure. In the dialog from the Transfer Utility, always click "Show Options" and put a check into Remove Source from...xxx whatever it says. You'll see it in the list.
Also, after you're done with the Transfer Utility, save the item to the library before firing any morphs. Save it to the library then delete it and bring it back in from the library or things can go all caterwonky.
So if you make a clothing conversion and it's going all caterwonky, that means that you ignored that last thing and now must start over from the beginning - which isn't a long process, so no big deal. But that's something to look out for. Caterwonky = Start over - this time save, delete, load from library before checking morphs. :)
So many steps! I don't have enough time to mess with all those conversions. With my clone I just fit them all like a charm.
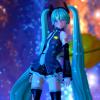
Welcome to Hatsune Miku Anime Manga Cafe ☕Same goes with Star! It's Aiko 3 Kioki
Feel free to ask for morph challenges.
Vyusur Janna etc in CarraraIf someone interested in, Genesis 8 clone for Janna is available on Rendo.
So cool! I've recently bought several of SickleYield's clones. Work great!
I know a lot of people don't like reading directions, so I just want to pass this along (leanred from SickleYield):
If we want to use a clone to convert clothing from one figure to another, with the notion to then save it to the library for further use, don't use the clone in Fit-To
Instead, deselect the target figure before loading in the clothing or just Cancel the Fit-To popup
Now use the Transfer Utility to fit the clothing to the target figure. In the dialog from the Transfer Utility, always click "Show Options" and put a check into Remove Source from...xxx whatever it says. You'll see it in the list.
Also, after you're done with the Transfer Utility, save the item to the library before firing any morphs. Save it to the library then delete it and bring it back in from the library or things can go all caterwonky.
So if you make a clothing conversion and it's going all caterwonky, that means that you ignored that last thing and now must start over from the beginning - which isn't a long process, so no big deal. But that's something to look out for. Caterwonky = Start over - this time save, delete, load from library before checking morphs. :)
So many steps! I don't have enough time to mess with all those conversions. With my clone I just fit them all like a charm.
Daz 3D is part of

Connect
DAZ Productions, Inc.
7533 S Center View Ct #4664
West Jordan, UT 84084Licensing Agreement | Terms of Service | Privacy Policy | EULA
© 2026 Daz Productions Inc. All Rights Reserved.