-
Why Are my Genesis1 Legs Becomming Distorted
From what it sounds, you only need to remove the better bends files that were transferred to Genesis 1. Is Generation X the only conversion you used to transfer figures?
This may be tougher, but did you convert any characters that contained better bends? It may be possible that you need to delete those converted characters that are causing this. It seems like all of this stems from some kind of conversion, and better bends somehow got baked into the conversion. I do not know how GenX works, and sadly Dimension3D is no longer with us to provide support.
If you still have issues, then you could go for the nuclear option and try wiping all instances of better bends across all generations, plus the characters that you converted (not the original character, just the G1 conversion.) Then once everything is working you can convert those characters again. If better bends is totally gone, then the conversion should not include them. GenX is pretty fast at converting, so hopefully this doesn't take so long.
You will not forever screw up you characters if you delete all instances of better bends. Better bends, like it says, is just for joint control. It will not effect the character's morph. It should just make joint control like it was before you installed better bends, which may be both good and bad. It is possible that if the saved file uses better bends, it will give you an error, but it will still load. If this happens, just resave the scene, this way it will not ask for better bends again. Since this controls joints you might see some differences in poses on the joints. But if it avoids this issue, then that is a very minor thing.
The distorion happens with the Genesis base figure, a base figure I've done NOTHING to, not moved, not morphed, not textured, no character added, - NOTHING. I just load Genesis. Bend the shin (or almost anything else) and the distorion happens. I also notice that Generation X is there, already in the base Genesis figure.
"Freeing" the content? What's this now?Forgive my butting in, but how do you apply those shape key "morphs" in Blender? I'm a newbie to posing/animating in Blender (though I've used it a bit for basic modelling and morph creation for Daz Studio characters) I've seen those Shape Keys but am mystified as to how to use them in this case.
Go into Object mode (not Pose). Select the figure and go into Object Data Properties tab. Scroll list of shape keys to find one you need eg. eyes closed. Set Value field between 0 and 1.
Ah, thank you - I couldn't get anything to happen but I think I was in Pose mode. I'll try this tomorrow.
"Freeing" the content? What's this now?Forgive my butting in, but how do you apply those shape key "morphs" in Blender? I'm a newbie to posing/animating in Blender (though I've used it a bit for basic modelling and morph creation for Daz Studio characters) I've seen those Shape Keys but am mystified as to how to use them in this case.
Go into Object mode (not Pose). Select the figure and go into Object Data Properties tab. Scroll list of shape keys to find one you need eg. eyes closed. Set Value field between 0 and 1.
Why Are my Genesis1 Legs Becomming DistortedFrom what it sounds, you only need to remove the better bends files that were transferred to Genesis 1. Is Generation X the only conversion you used to transfer figures?
This may be tougher, but did you convert any characters that contained better bends? It may be possible that you need to delete those converted characters that are causing this. It seems like all of this stems from some kind of conversion, and better bends somehow got baked into the conversion. I do not know how GenX works, and sadly Dimension3D is no longer with us to provide support.
If you still have issues, then you could go for the nuclear option and try wiping all instances of better bends across all generations, plus the characters that you converted (not the original character, just the G1 conversion.) Then once everything is working you can convert those characters again. If better bends is totally gone, then the conversion should not include them. GenX is pretty fast at converting, so hopefully this doesn't take so long.
You will not forever screw up you characters if you delete all instances of better bends. Better bends, like it says, is just for joint control. It will not effect the character's morph. It should just make joint control like it was before you installed better bends, which may be both good and bad. It is possible that if the saved file uses better bends, it will give you an error, but it will still load. If this happens, just resave the scene, this way it will not ask for better bends again. Since this controls joints you might see some differences in poses on the joints. But if it avoids this issue, then that is a very minor thing.
"Freeing" the content? What's this now?I am very fresh when it comes to human animation. Have relied on preset animations/animate in the past. Would like to explore facial animation more in Blender using the plugin (which so far works quite well for me).
Question: I am finding the eye lids quite tricky to pose eg. create a blink action for the NLA editor. The three bone handles dont seem to move that intuitively? Is this me just too used to the "close eyes" slider in Daz lol??
If you click on the character itself, not the armature, and go to the object data button (t's the three lines that look like a triangle on the right hand side) you'll find the shape keys, and there's a ton of them which apparently is why the files are so huge, but you can do a lot of facial expressions there, control all the parts of the face just like in Daz. If you import expressions from Daz, like when it asks when you click on the bridge, this is where those will show up as well I've found.
Forgive my butting in, but how do you apply those shape key "morphs" in Blender? I'm a newbie to posing/animating in Blender (though I've used it a bit for basic modelling and morph creation for Daz Studio characters) I've seen those Shape Keys but am mystified as to how to use them in this case.
Introducing the Daz to Blender Bridge & native Blender File FormatsI got the Bridge working and it's looking quite good (I expecially like the support for applying poses from the DS library), but I did immediately hit a problem with clothing fit. I dressed Michael 8 in the simple shorts from the starter essentials and they fit perfectly well in DS, but when they arrive in Blender there is considerable poke-through.
Any hints for fixing? (Or am I doing something wrong at the export end?)
Attached are a screenshot of the imported M8 and three Cycles renders after applying poses.
Try to add a solidify modifer in Blender (thickness -0.01 to -0.03). But the best way is to delete faces under the garment. Surfaces over surfaces is not a good design specially for rendering
Thanks for that tip.
I got the Bridge working and it's looking quite good (I expecially like the support for applying poses from the DS library), but I did immediately hit a problem with clothing fit. I dressed Michael 8 in the simple shorts from the starter essentials and they fit perfectly well in DS, but when they arrive in Blender there is considerable poke-through.
Any hints for fixing? (Or am I doing something wrong at the export end?)
Attached are a screenshot of the imported M8 and three Cycles renders after applying poses.
It probably used smoothing in in DS to fit perfectly. Sadly Blender does not have smoothing with collision.
Your 2 simplest options imo:
in DS before exporting use "bake smoothed morphs" to and bake the smoothing for the morph, in this instance you would uncheck everything except the michael body morph (I also find this tool so generally useful that I have it saved to a custom toolbar so I dont have to click through menus to get to it)
In blender select the clothing or figure and enter sculpt mode. The inflate brush in particular is very good at pulling out or pushing in your mesh just a little bit. I personally find this much easier and less likely to cause isses than deleting polygons (which will somtimes mess up yr shapekeys)
as mentioned adding a solidify modifier is another good option - though on complex meshes can be weird if a mesh already has solid elements there can be artefacts - on the other hand if your starting from a thin mesh it can just make the model look better anyway and can be worth adding even without pokethrough.
Ah, that also sounds promising. I actually tried a bit of scaling in Blender, but it didn't really work out - sculpting may well be a better solution, if the morph baking doesn't solve it.
Thanks very much for giving me some ideas.
How to Import Marvelous Designer Clothing to DAZMarvelous Designer can be used to: 1) make clothing and 2) simulate clothing.
If you want to rig MD clothing in Daz as part of content creation pipeline, then you should simulate in MD on the Daz figure in Zero-pose then import into Daz as on Obj. You can rig the clothing using Transfer Utility. (There are some Transfer Utility templates in store if the default ones dont work well enough). Alternatively, you can also bypass rigging and simulate the clothing in Daz using Dforce from zero-pose (make sure you export as welded obj from MD).
If you want to simulate in Marvelous Designer (MD has better simulation, better than dForce), then you should simulate in MD to your final pose and then export as Obj and import your simulated clothing back into Daz as an obj.
Obj export settings in this thread: https://www.daz3d.com/forums/discussion/364011/the-marvelous-designer-thread/p1
Introducing the Daz to Blender Bridge & native Blender File FormatsI got the Bridge working and it's looking quite good (I expecially like the support for applying poses from the DS library), but I did immediately hit a problem with clothing fit. I dressed Michael 8 in the simple shorts from the starter essentials and they fit perfectly well in DS, but when they arrive in Blender there is considerable poke-through.
Any hints for fixing? (Or am I doing something wrong at the export end?)
Attached are a screenshot of the imported M8 and three Cycles renders after applying poses.
It probably used smoothing in in DS to fit perfectly. Sadly Blender does not have smoothing with collision.
Your 2 simplest options imo:
in DS before exporting use "bake smoothed morphs" to and bake the smoothing for the morph, in this instance you would uncheck everything except the michael body morph (I also find this tool so generally useful that I have it saved to a custom toolbar so I dont have to click through menus to get to it)
In blender select the clothing or figure and enter sculpt mode. The inflate brush in particular is very good at pulling out or pushing in your mesh just a little bit. I personally find this much easier and less likely to cause isses than deleting polygons (which will somtimes mess up yr shapekeys)
as mentioned adding a solidify modifier is another good option - though on complex meshes can be weird if a mesh already has solid elements there can be artefacts - on the other hand if your starting from a thin mesh it can just make the model look better anyway and can be worth adding even without pokethrough.
Morphs linkedYou use File>Save As>Support Assets>Morph Asset and select your properties.
Who is this character??This is about the most asked character in the "Who is this" category :)
It's https://www.renderosity.com/mod/bcs/osuine-for-genesis-8-female/126928/
By Sangriart
Maybe with a slightly tweaked morph here and there, but the skin definitely is.
Who is this character??It's definitely not Zsazsa. It's a custom character Goldtassel uses for a lot of promos that uses the skin from Osuine at Renderosity, who's based on one of Doctor Who's companions. There's a thread or two where people have put together characters that mimic the morph.
Morphs linkedYou don't need to create the controller slider as an empty morph - that option is for creating a property that will hae actual morph deltas added later. You do want to set its type to Modifier/Shape, and of course for a preset to work the morph needs to have been saved as a morph asset.
Show us your Blender Renders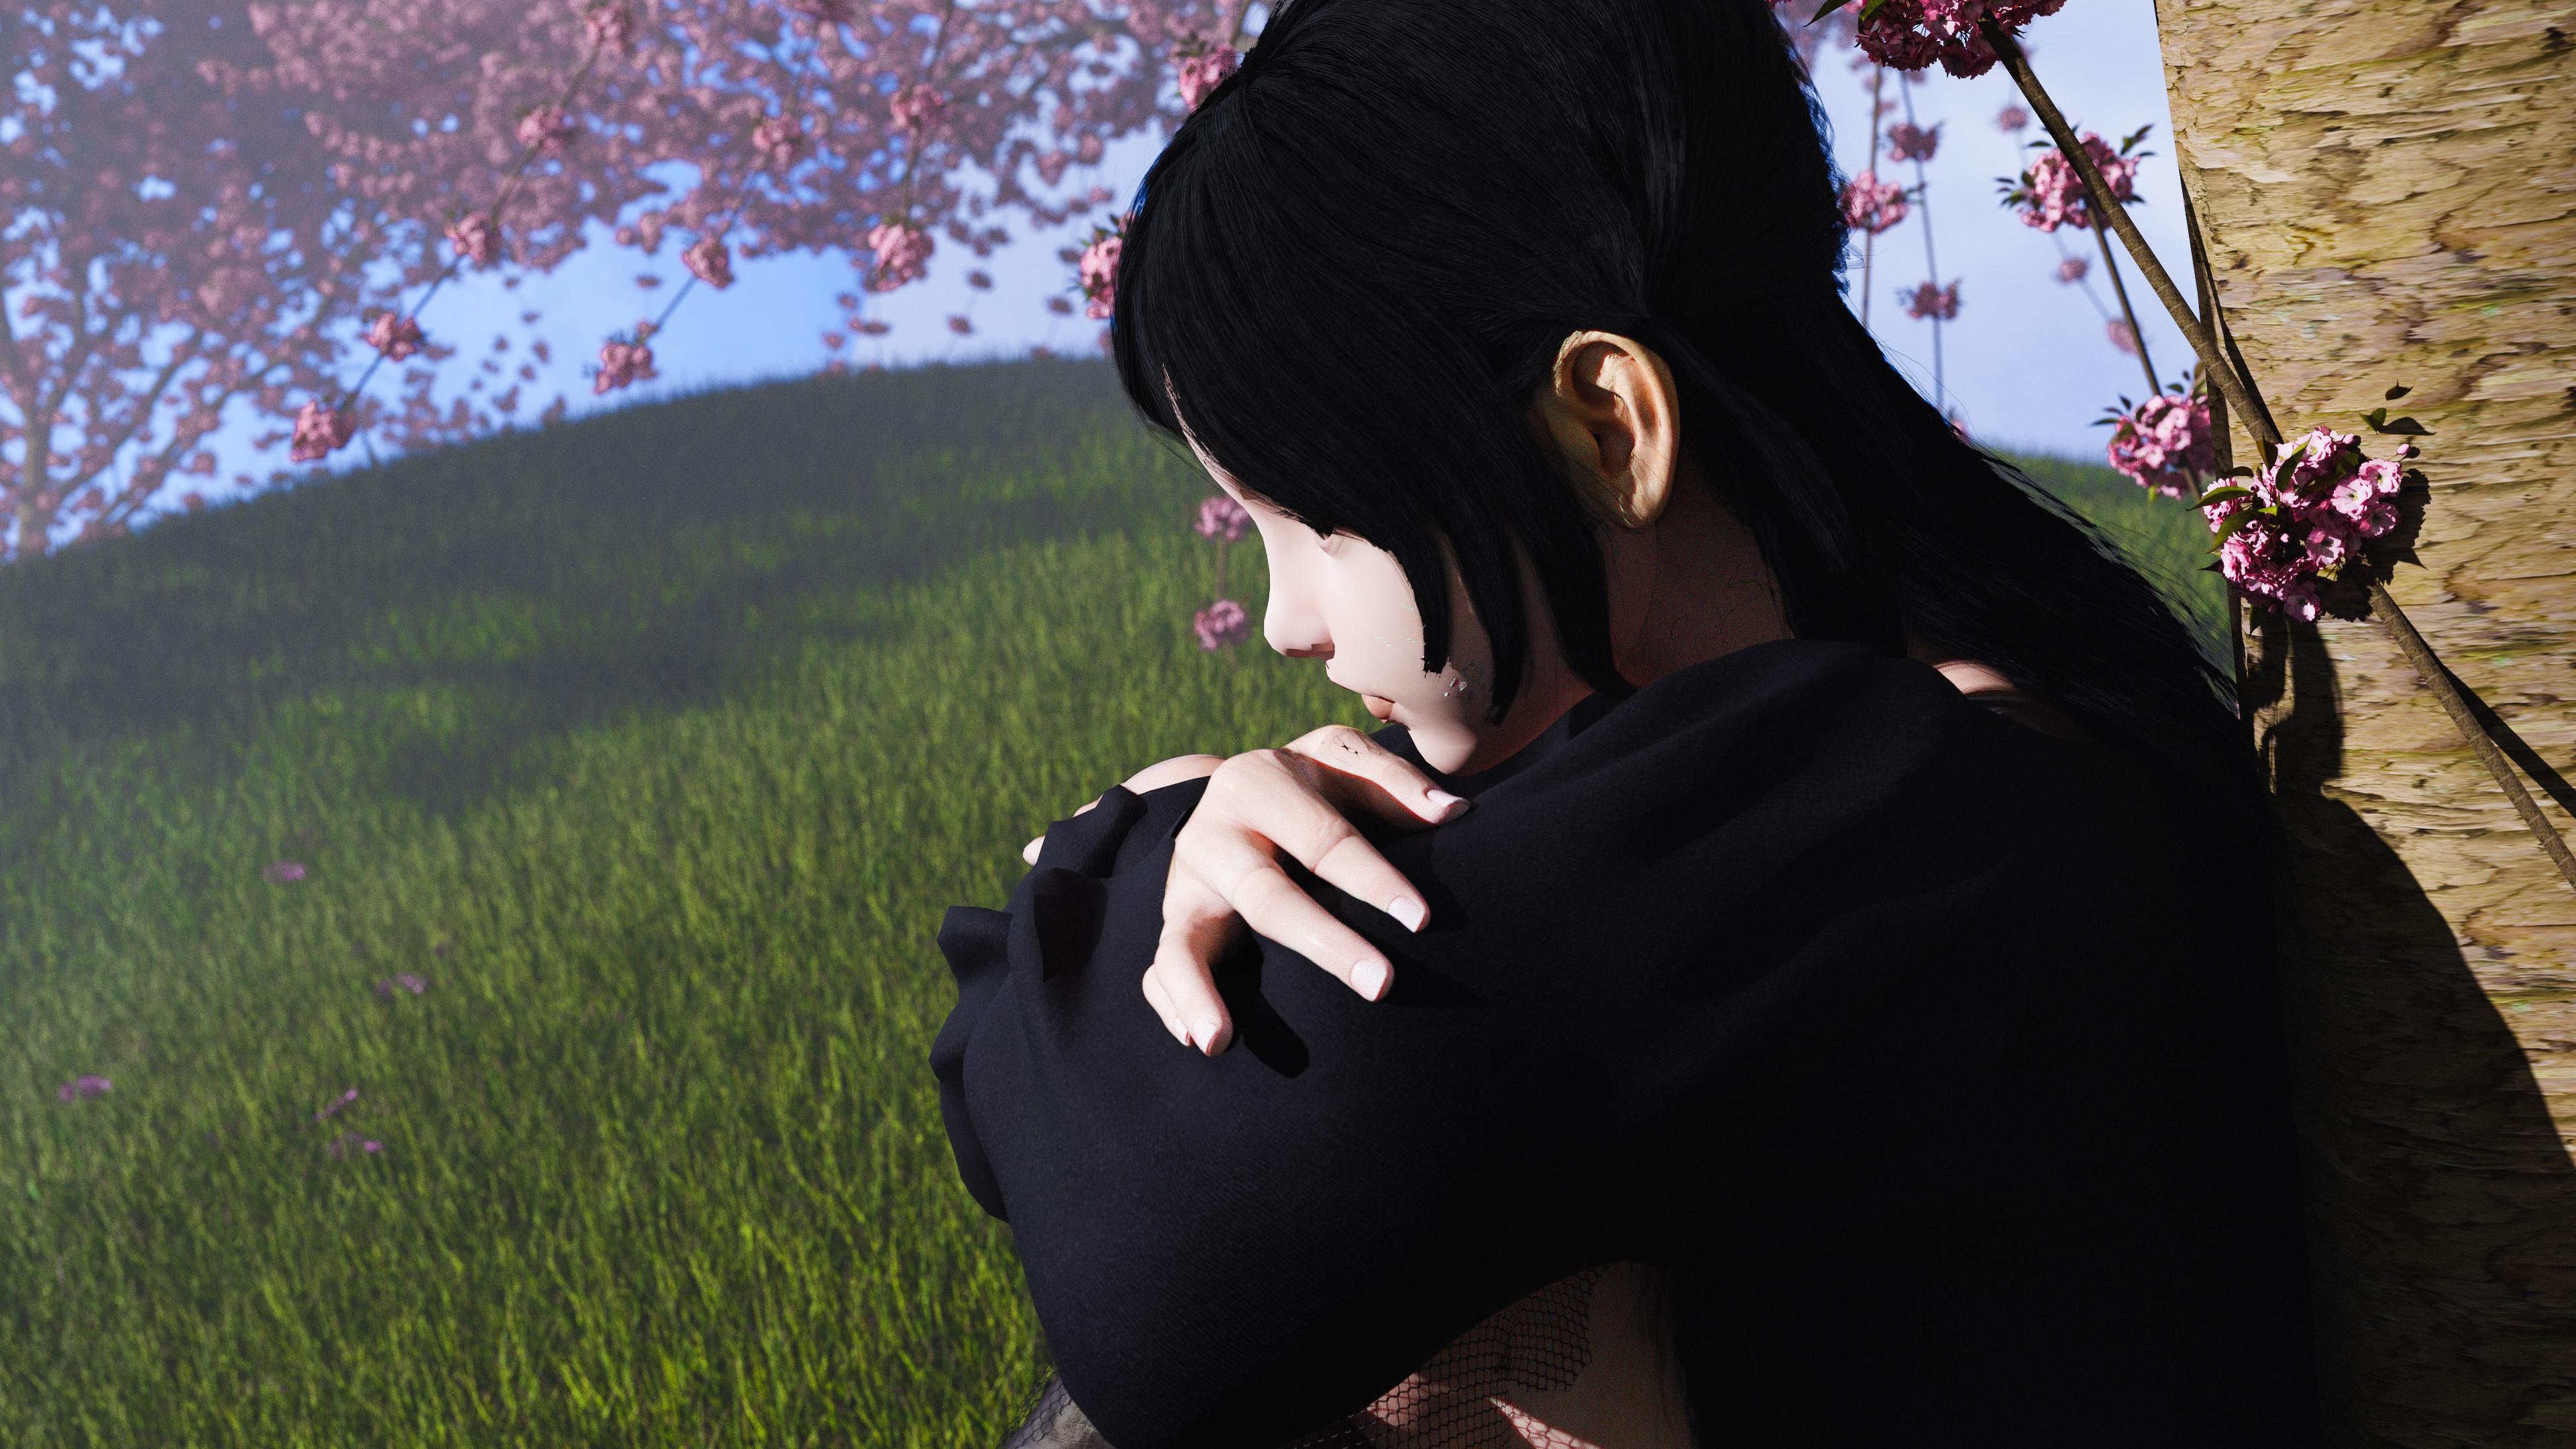
I got this set up (took forever because the file size is so large) and by the time the render got to her face and the fingers it was already about two hours in and I wasn't about to stop and start over so I just let it finish, but the nose is kind of jaggedy here with some weird block shadow on the underside and some weird green specs under the cheek, but otherwise I'm happy with how this turned out. If those were fixed, I'd be ecstatic with this as the grass turned out really great (grass clumps from Quixel scattered with the particle system) and the cherry blossoms turned out wonderful as well (those are from the Grove).
I either have to upgrade my computer to more Ram to accomodate these huge file sizes as one character and the terrain were like 14GB and my memory usage was at like 92% so I'd click on something and have to wait ten, fifteen minutes for it to be movable lol, never had this issue with Diffeomorphic's transfer. Until I either upgrade my system or the bridge gets more efficient sizewise in a future update, I'll go back to rendering backgrounds in Blender and comping with the characters from Daz as this photo took me about 6 hours to get together after all the assets were already together in the scene.
Morphs linkedHello Richard! It works well! I told you! I missed something! Some option forgot! I didn't find the empty morph to save the preset after the Control Property has been created! There the option to click "Create empty morph" to use, otherwise don't save it. I talk about the slider that otherwise disappear anytime reset DS. All this for a purpose, get presets per each parts, body, head, body with head, Apply/Remove. Anyway also if seems tangle speech," now it works any preset. If there's a simplest way to do that, I don't know! Meanwhile it works! Will see what QA think during character test. Meanwhile thanks. Let you know if it's a usual procedure.
 Show us your Blender Renders
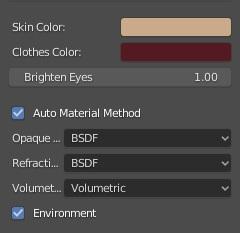
@andya If you added the hdri yourself be sure to set the intensity to 2 the same as daz studio. Then Leisa should work fine with the volumetric skin if you render with cycles and the required minimum settings. If you have any doubt as for cycles settings then let the plugin update them for you or set them to full global illumination so you're sure you're good.
Does Victoria 8 work fine for you ? I can do a comparison with her if it may help.

The idea here was to compare the results of the two transfer methods against Daz Studio Iray with as little user intervention as possible. People using these tools may know very little about Blender, so may judge only by what they get 'out of the box'. The defaults are also I think the closest to an 'apples to apples' comparison.
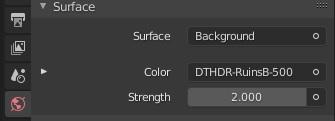
So, I did a fresh install of both plugins and used the defaults provided. Daz Importer was downloaded today. As noted, DazToBlender sticks a Sun light in the scene (maybe because the only light is an HDRI?), so I deleted that. The strength was set to 2 by the Daz Importer, which I used first, and I did not change it thereafter The Daz Importer is set to Warn for the Lighting, and does not warn me, so I assume it is satisfied. It is set to Update for Rennder Settings.
Victoria 8 gives similar results to Leisa 8 - not surprising really as they are both Daz models. Again, neither gets very close to the Iray result, and both would need some work on materials.
Problem with render outputThat does not look like an Iray render; that appears to be the OpenGL viewport. (The Iray preview mode will not normally show the grid floor).
Also, to my eye, this looks like the old "African Elephant" model, which dates from 2004, and will not be to the same standards of quality as newer figures. (Indeed, this considerably precedes the newer weightmapping and morph technologies). I believe the model is at fault rather than the render engine.
Daz Studio 4.12x running very slowMorphs wouldn't have to be activeto affect load times - when loading the figure DS has to read all of the morph files to add the channels and set their relationships, though it discards the actual shape data (deltas) until needed.
DS to Luxcorerender?I used LuxRender for a while. The major issue was materials.
There are effectively no products in the Daz shop with Lux materials. So you can transfer the scene over no problem but then you need to walk through every surface of every object in that scene and assign materials to it. For me that took many times longer than setting up the scene in DS did. The results IMO were as good if not better than iRay, from 3 years ago, but the investment of my time just wasn't worth it.
With the Daz to Blender bridge being free I'd take a look at that before I'd buy anything. Cycles is very well thought of and will run on CPU just fine.
daz bridge to maya doesnt export pose properlyhttps://helpdaz.zendesk.com/hc/en-us/articles/360046688951-FAQs-for-Maya-Bridge
Should I pose/add textures in Studio, or in Maya?
- It’s not recommended that you pose before exporting, as that will likely cause certain features to break. You can add textures in Studio before transfer, or continue to texture your character in Maya after the transfer.
There is a dedicated Maya forum herehttps://www.daz3d.com/forums/categories/maya-discussion
Show us your Blender RendersNo artistic merit here, just sharing a comparison I did for my own interest. It is Leisa 8 with Rose hair (because I just bought them) and the default Ruins HDRI. (I deleted the Sun light that DazToBlender added for some reasons of its own. Other than that everything is default settings, so 'Auto Material' setting for the Thomas Larsson Daz Importer.) I am using a recent (June) download of the development version of the Daz Importer.
Honestly, I don't think the results are great with either transfer method as materials go. I would have to spend some time working on all the materials in either case. Using Cycles in both cases, Blender rendered both faster (much less than 1 minute) to 100 samples than Iray to 100 iterations (1 mn 20 secs). Iray render included for comparison.
Daz 3D is part of

Connect
DAZ Productions, Inc.
7533 S Center View Ct #4664
West Jordan, UT 84084Licensing Agreement | Terms of Service | Privacy Policy | EULA
© 2026 Daz Productions Inc. All Rights Reserved.