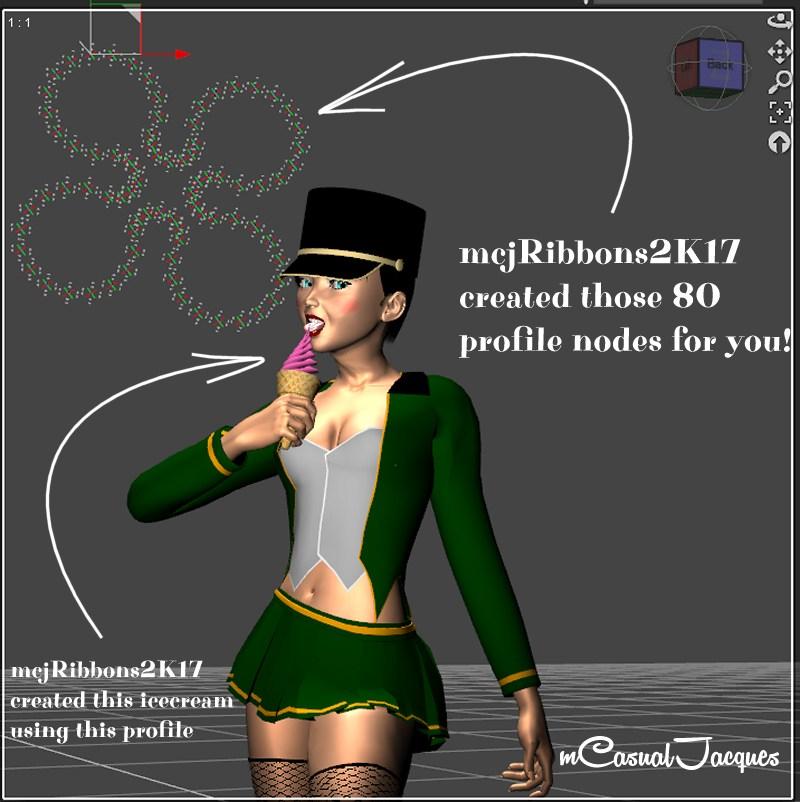
mcjribbons2k17 - Build things ( extrusion ) in Daz Studio, PC and MAC !

it's the next-level version of the 2010 script mcjRibbons
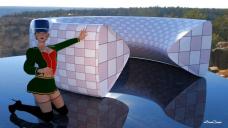
the principle is simple, animate a group of null nodes in space and the script creates an envelope around those paths
https://sites.google.com/site/mcasualsdazscripts8/mcjribbons2k17


mcjRibbonsPromo.jpg
800 x 800 - 71K

lickin.jpg
800 x 802 - 105K

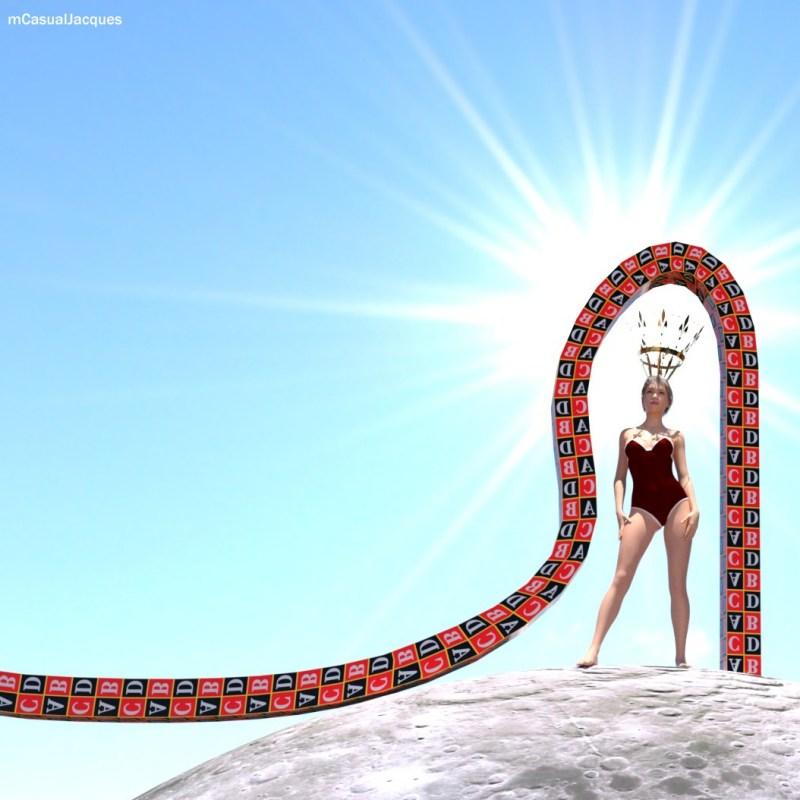
sm10stars.jpg
800 x 800 - 86K
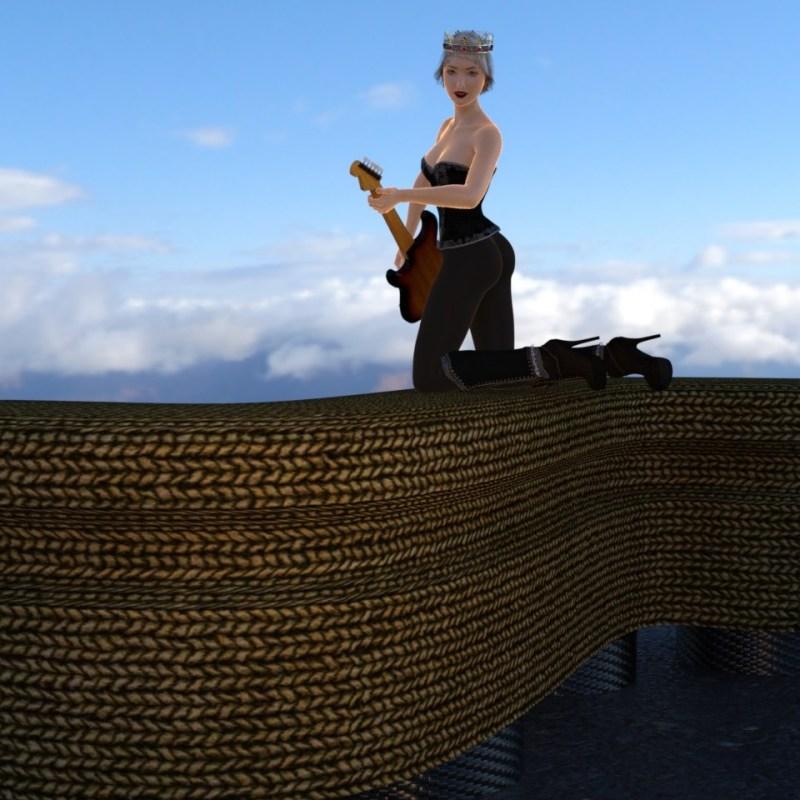
smonthecounter.jpg
800 x 800 - 114K
smdonuts.jpg
800 x 450 - 70K
Post edited by mCasual on
Daz 3D is part of 
Connect
DAZ Productions, Inc.
7533 S Center View Ct #4664
West Jordan, UT 84084
Licensing Agreement | Terms of Service | Privacy Policy | EULA
© 2026 Daz Productions Inc. All Rights Reserved.
Comments
more images from the making-of
Modeling a Hard-Turn Frame Corner in Daz Studio Using mcjRibbons2K17
1 - Start mcjRibbons2K17,
2 - Select the "classic_reeding" shape,
3 - Set the "Mold Width" at 2
This will give us a 2cm x 9.9 cm shape,
4 - Click the "Create Profile Node Group" button,
5 - Exit mcjRibbons2K17
6 - In the scene find a node named "Profile_classic_reeding"
The Profile Group Node contains 45 child nodes named pixx0 to pixx44
For better visuals, select all those nodes and scale them down to 3%
7 - Select the "Profile_classic_reeding" node
8 - Set your Daz Studio timeline (animation) frame to frame 0
9 - Click the keyframe button
10 - Set the timeline at frame 1
11 - In the parameters tab, change Z Translate from 0 cm to 49.5 cm
this would create a 49.5 cm reed moulding but we want to turn a corner
12 - Still at frame 1, In the parameters tab, change X Rotate from 0° to 45°
there's a problem, this would narrow the width of the moulding,
in this case sin( 45 degrees ) = 0.707. so we need to scale it up by 1 / 0.707 = 1.4142
13 - Still at frame 1, change Y Scale from 100% to 141.42%
14 - Click the keyframe button
15 - Set the timeline at frame 2
16 - change Z Translate from 49.5 cm to 50 cm
17 - Click the keyframe button
we made 2 cuts with a 0.5cm spacing because we want to 'harden' the corner
18 - Set the timeline at frame 3 19 - change YTranslate from 0 cm to 0.5 cm
20 - Click the keyframe button
21 - Set the timeline at frame 3
22 - change to YTranslate 50 cm, Y Scale 100%, X Rotate 90°
23 - Click the keyframe button
Since by default the timeline playrange covers 31 frames...
a 31-rings tube would be created, but we only animated frames 0 to 4 so ...
24 - Set the Timeline's "Total" to 5. The 'Range' is now frame 0 to 4
25 - With "Profile_classic_reeding" still selected Start mcjRibbons2K17
since this node is branded as being a profile node group, mcjRibbons2K17 will take care of selecting all the 45 pixx nodes for you. That string of nodes is properly ordered so this can be done automatically. If you use you own custom profile nodes, you will need to select your pixx nodes one by one in the correct order. They wont need to be named pixx and can be any type of node, For example, the rear tires of an animated car.
26 - click the "Build-Save" button, save it as thatsurewasalongreed.obj
27 - click the "Load Last Built" button
you modeled something in Daz Studio! whowooddathott !
mcjRibbons2K17
https://sites.google.com/site/mcasualsdazscripts8/mcjribbons2k17
this tutorial
https://sites.google.com/site/mcasualsdazscripts8/tutorial-making-a-frame-using-mcjribbons2k17
More good stuff, thanks.