Post-Work Tips & Tricks (PS, Illustration & Lightroom)
 FenixPhoenix
Posts: 3,207
FenixPhoenix
Posts: 3,207
So, I wanted to contribute to the community here in some way, but I'm frankly more advance in photoshop than I am with DAZ studio. Thanks to @dreamfarmer, I got the idea to share photoshop postwork tips, tricks and tutorials.
~If you have any questions about how to create an effect, I'll do my best to share a solution.
INDEX
1st Page:
- Sprite Making Tutorial
- Lightroom Presets Mini Tutorial.
- Hair Tutorial.
- Adding Texture (to Sprites) Mini Tutorial + More Examples
- Included in the same post as "Adding Textures" are a list of various free textures.
- Ghost Tutorial
- Tips to create manga using Daz as a base (with Illustrator & Photoshop postwork).
Post edited by FenixPhoenix on
Daz 3D is part of 
Connect
DAZ Productions, Inc.
7533 S Center View Ct #4664
West Jordan, UT 84084
Licensing Agreement | Terms of Service | Privacy Policy | EULA
© 2026 Daz Productions Inc. All Rights Reserved.
Comments
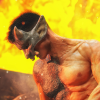
Alright, to begin with, I shared this graphic in the product thread Linerender9000:
@Dreamfarmer showed interest, so I'll explain a little more about the process.
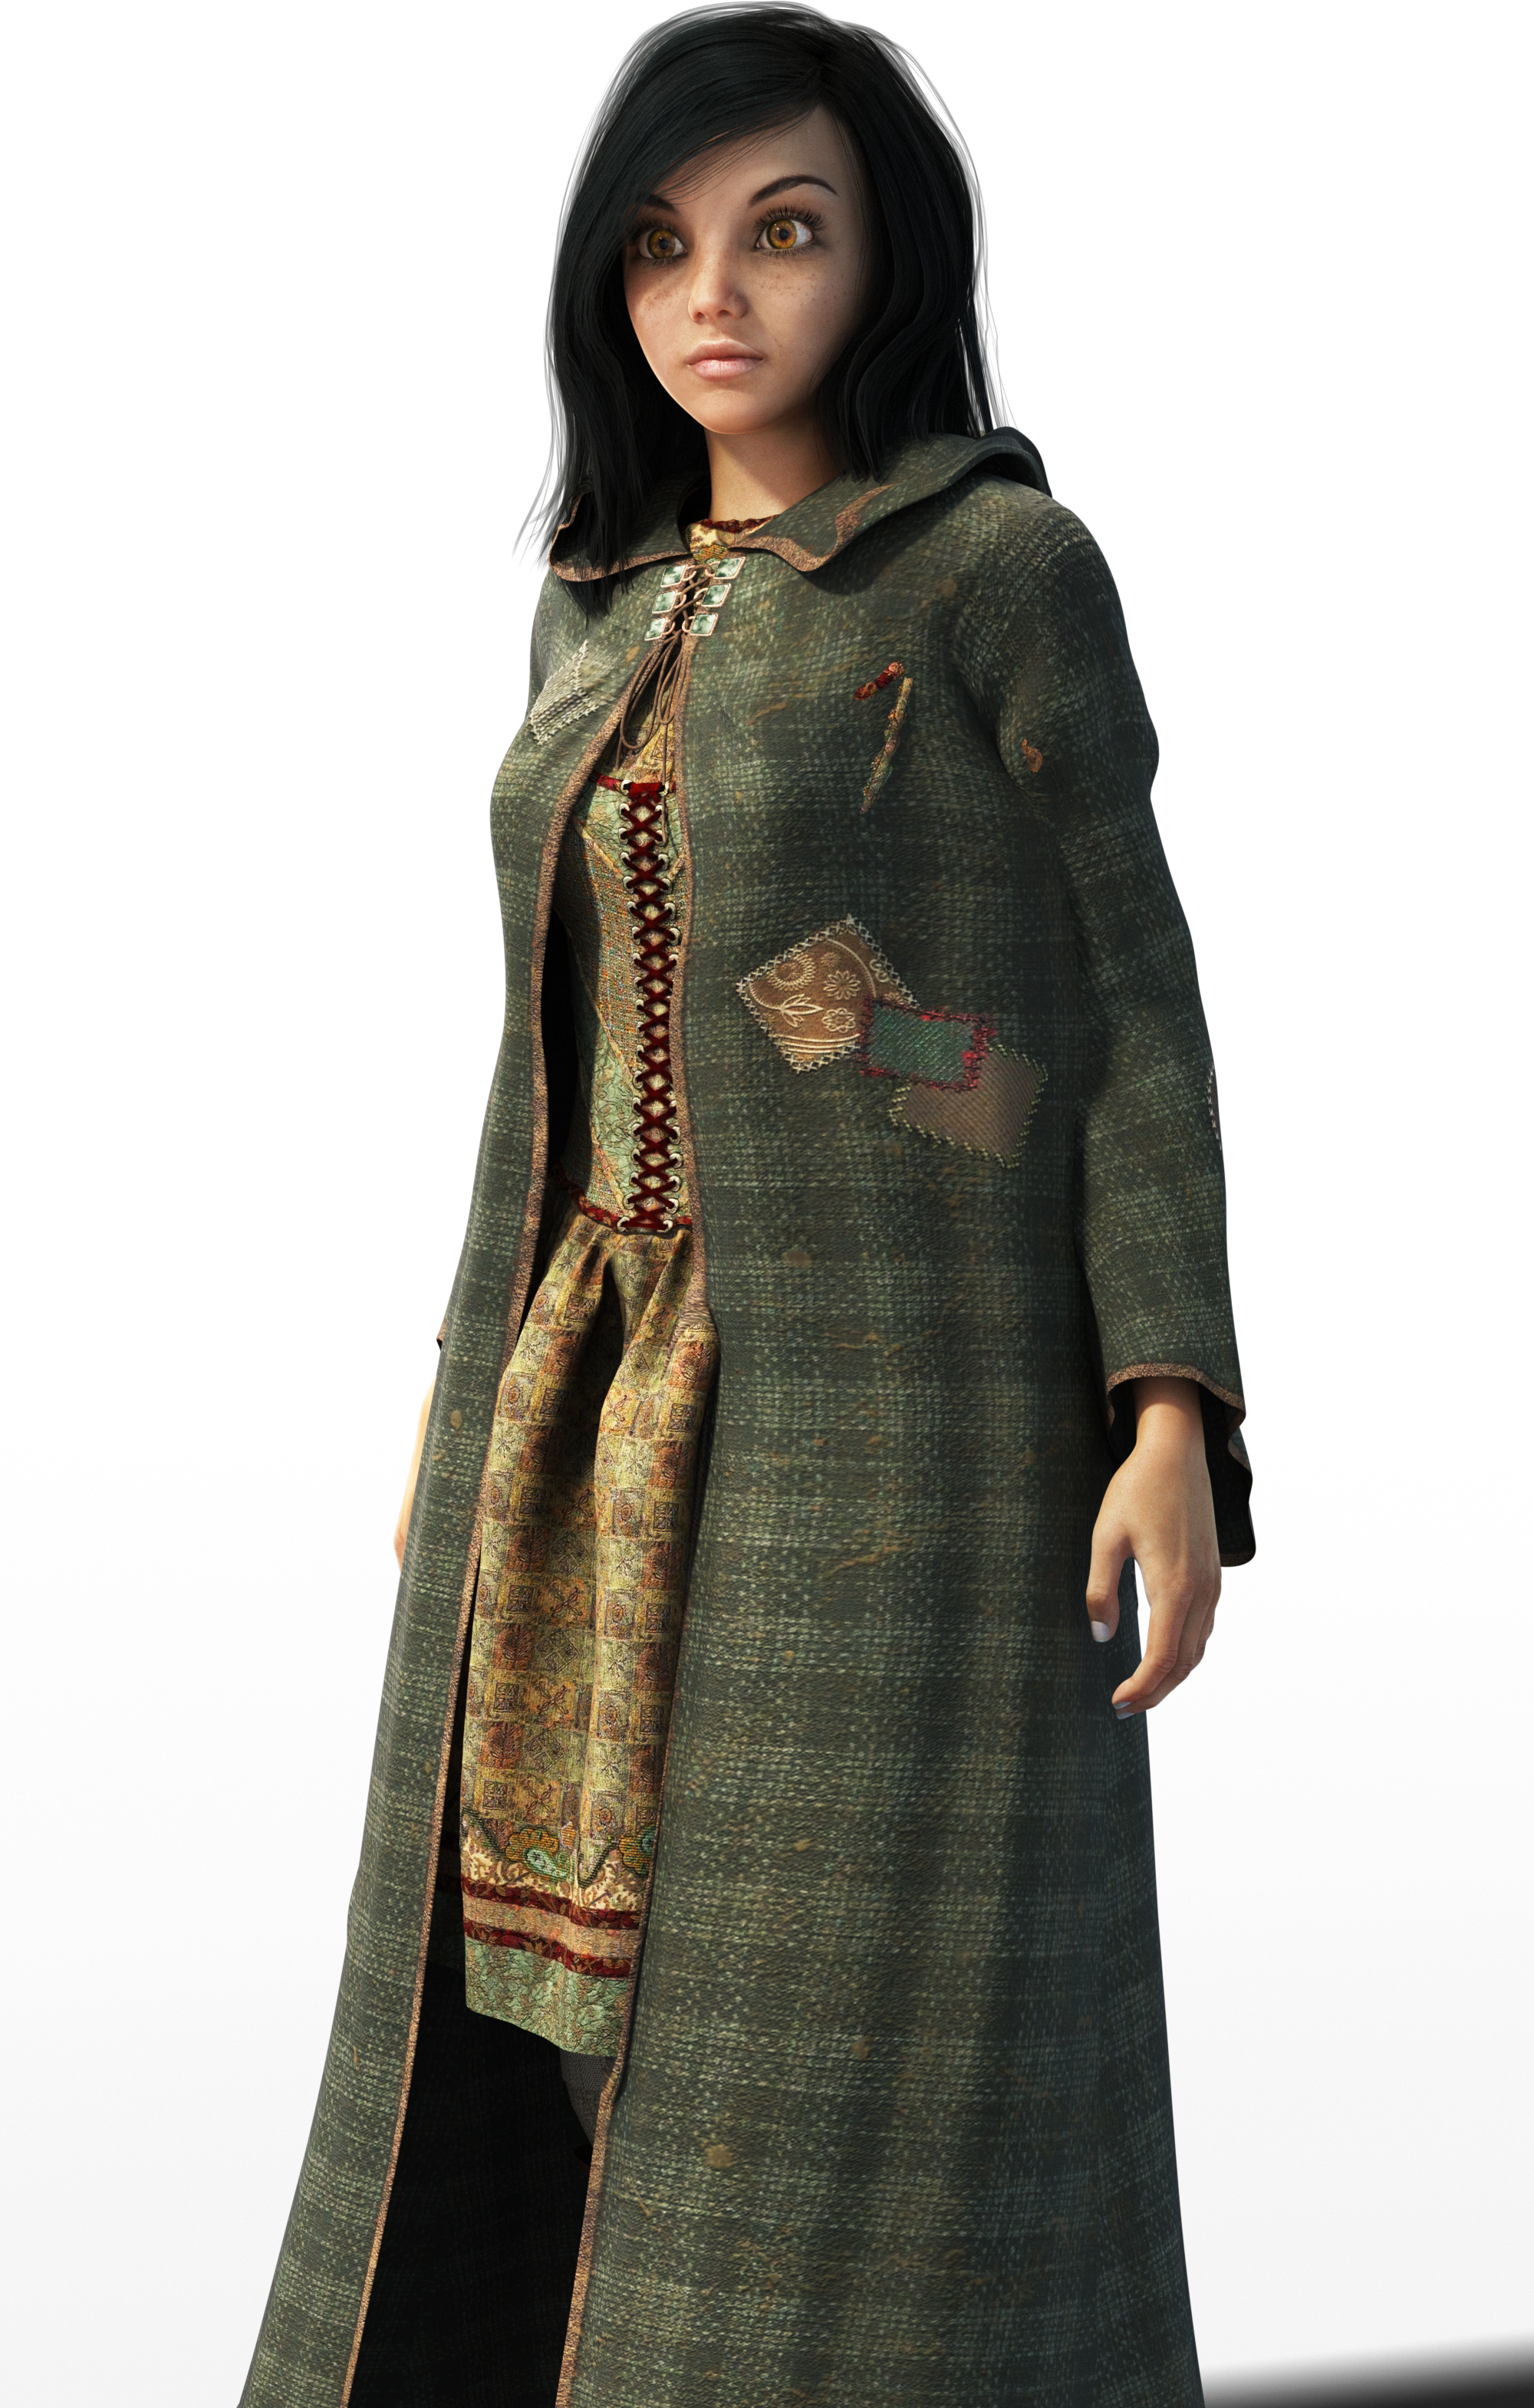
1. I rendered the character with as little shadows as possible (to give less of a 3D look). So I set my character in DAZ, used the default HDRI settings, posed the character and rotated him 70 degrees. That way the light hits him straight.
2. Next, I rendered the lines via this wonderful product LineRender9000. The settings are:
Render Script: I chose "outline". I load the composite camara & copy the values of my main camera onto that (not sure if I need to do that, but I still do). Then, for the composite passes, I just click on "add" and leave that as is. Just remember to click on enable. From the three .tiff/pngs files I get, I end up using "Normal" and "Depth."
**Edited** An alternative (if you use Mac) is to try this product out for the lineart. I can't guarantee it'll work because I use PC. But based on the description and video, it might do the job: https://www.mightydeals.com/deal/super-vectorizer-2.html?ref=ognews&refNL=behancepsdmockup
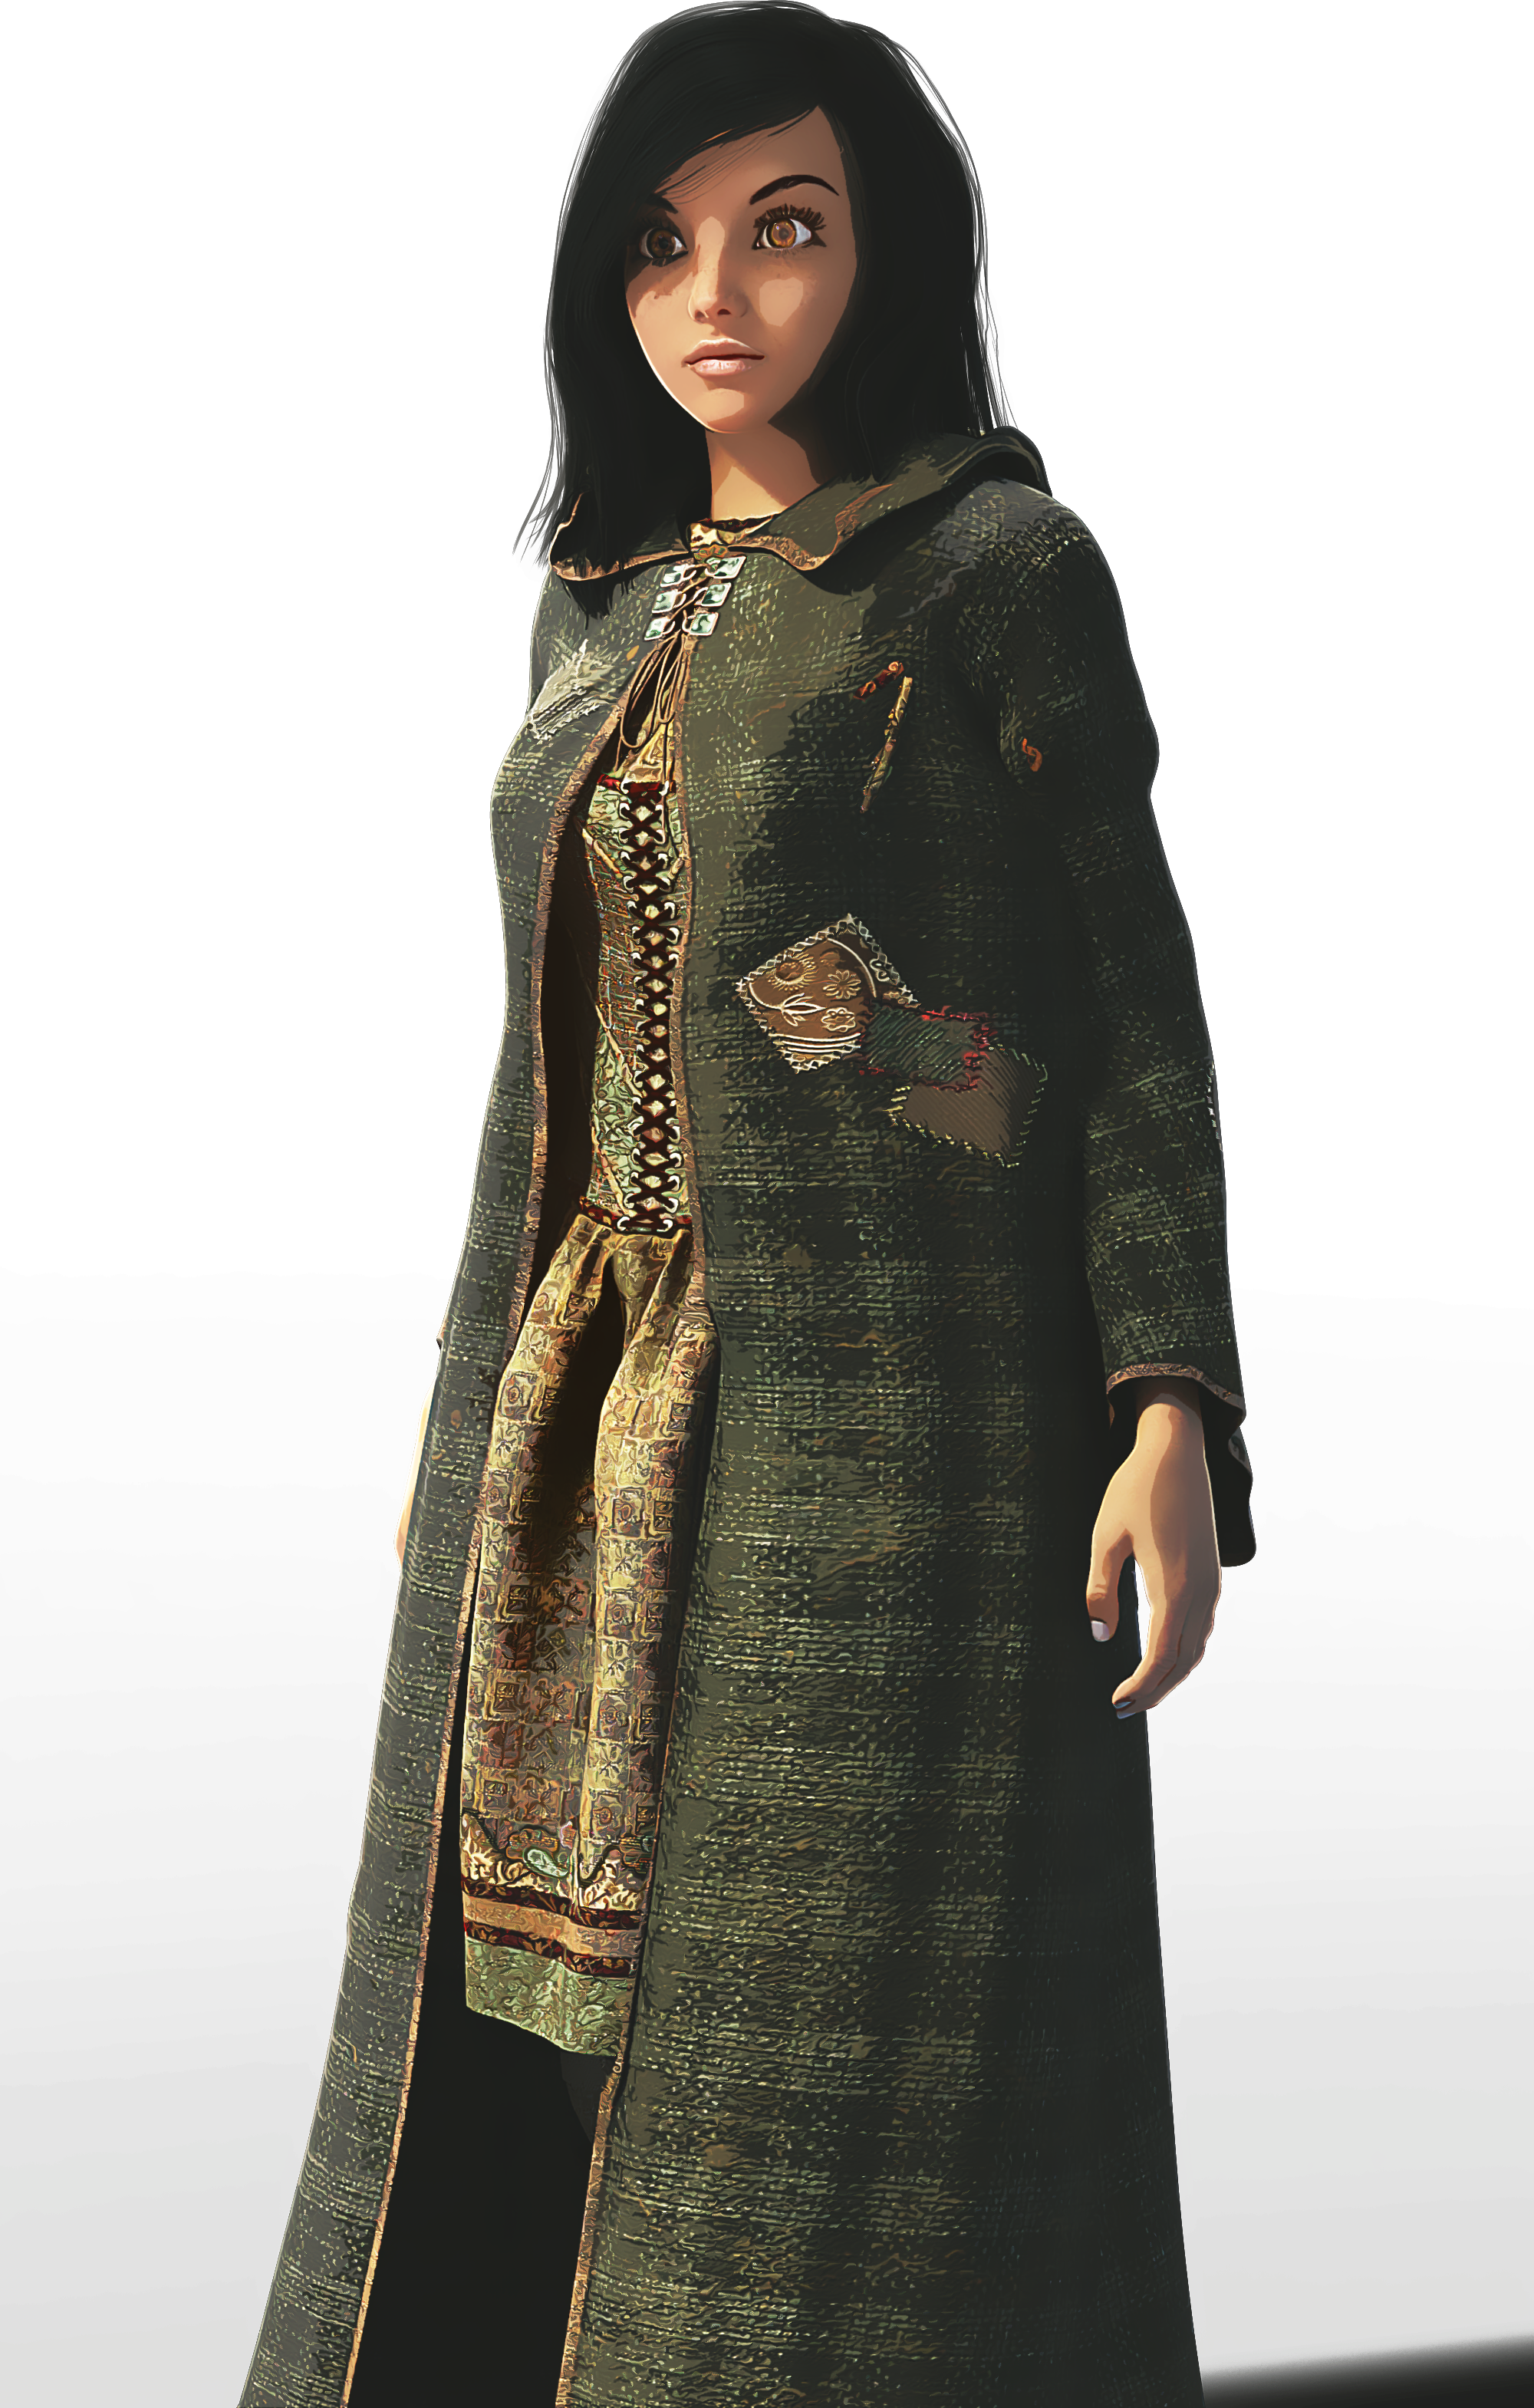
3. I brought my render into photoshop and gave it a painting quality. This tutorial by SpoonGraphics pretty much covers many of the things I did, and it's a good place for you to start experimenting.
3.2 Optional: If you still want to give the render a more "cellshaded look", then after you follow the tutorial, you can duplicate your artwork and then go to Filter>Filter Gallery... and chose either: poster edges or cutout. Then blend that with your original artwork.
4. Once you're happy with the artwork, you can bring in the render with your lines and lay it on top. The script does a great job at creating all the lines (you may want to have the lines black). Even so, you may want to use your brush and fill in more details. You may also wish to erase some lines (like the ones in the face).
5. Paint the hair and expression. There's no other way around it. I don't recommend trying to render out the hair, since it'll look funky. Better to draw it and paint it yourself. Same thing with the overall face. You can also paint shadows and highlights on the skin, or add a hint of red to the articulations (your choice).
~Hope this helps!
Nice! I'm far more comfortable with post work as well and will be watching with interest!
Thanks for the interest, @ice dragon art :D. I rely a lot of photoshop for sure.
Next up, I'll share some tricks to create a ghost-like effect, resulting in something like this: (check my gallery for full size).
I'll leave this general graphic here for now and will add a more detailed explanation on the steps sometime this weekend.
I haven't ventured into light room although I do have it. I just picked up the montly photoshop which included light room. Another thing to explore lol!
Thanks for this - I'd like to get allot more comfortable with postwork in photoshop (don't have Lightroom) so I've just bookmarked this thread.
I've just started fiddling with Lightroom, myself. But I've found that colors are easier to handle there. A good place to start is by getting these free presets by contrasty. To load them:
1. Open up Lightroom. Go to Edit > Preferences. Then click the tab for presents and click on "Show Lightroom Present Folder". Then close Lightroom for now.
2. Click on the Lightroom Folder > Develop Presents.
3. Copy the presents you've downloaded inside this folder. *Note: Make sure you have it Develop Present > Contrasty folder name > all presets. If you have two folders inside the develop presents, you won't be able to see the presents in Lightroom.
4. Now, open up Lightroom & import the picture(s) you want to play with by importing them in the "Library Tab".
5. Having done that, move to the developer tab. You should be able to see your presets on the left side. Just click on any of them to see how your picture changes. Once you're satisfied, you can save that up. Usually I would save a lot of different presets, then blend them with photoshop to see other results.
Thanks for the interest, @3Ddreamer! If there's something specific that you're looking for to learn, let me know. Otherwise, I'll randomly share tips and tricks that come to mind. XD
wow, lots of great information, this might actually help me a lot with my postwork, thanks for posting!
Thank you very much! i'm in the middle of an all day date with my husband (stopped at home to get the dinner gift cards we forgot lol) and I have to finish my Carrara challenge piece but you have inspired me to open lightroom as soon as I can and give it a try.
Hi Giselle! So excited! What settings do you use in LineRender9k to get those lines?
I'm going to go read that tutorial you pointed out and try to follow your steps. Would you be interested in seeing what I accomplish here? I'm very new to not being afraid of Photoshop (which I was for YEARS if you can believe it) and learning to understand blending layers was crucial, but I still have so far to go!
This thread is already super cool. Would you mind, @giselle3000, posting the settings you use on LR9k renders? When you posted the graphic in the product thread I tried to emulate it but I kept getting super noisy Fresnel/edge blend lines and overly simplistic main render lines. on the human figure parts. Setting material ids on the clothing is straight forward enough but the part I had trouble with was specifically the way his shoulder and collar bone rendered with nice clean lines.
This isn't technically post work though, so I can ask in another thread or PM you, if you prefer. :D
Opps, sorry. Jinx!
You are welcome, I hope it is useful!
Let me know if you need more help :D
Yes! I'll post the settings below (just gotta get some screenshots) and it would be awesome if you could share your results. That way, we can offer more advice if needed :D
Of course, let me get some screenshots of the settings and I'll post them below!
LineRender9k settings:
Render Script: I chose "outline". I load the composite camara & copy the values of my main camera onto that (not sure if I need to do that, but I still do). Then, for the composite passes, I just click on "add" and leave that as is. Just remember to click on enable.
From the three .tiff/pngs files I get, I end up using "Normal" and "Depth."
Hmm. Working on a thing to show (with some shortcuts) but my attempt to follow your lr3k settings resulted in two renders, a 'composite' and a 'default camera'. It looks like this:
I notice you're not actually using the LR3k Script cameras in what you posted. I think Outline is built into Daz? And for the composite you're just layering multiples of the same image (which is actually clever for some of those faint lines, wish I'd thought of it) but I wanted to make sure of your settings....
@Dreamfarmer, that's interesting. I'm not an expert with LR9K. Like with every program, I pretty much just click around until I get something useful. All I know of Photoshop was also done through trial and error.
BUT I am using the 3Delight Script engine (rather than normal 3Delight) that came with the LR9K. I think I saw somewhere that I didn't need to include the cameras for the LR9K to get those lines, so I only ever load the composite camera. I do also get that composite render you're showing (which I use as a mask), but I get 4 other renders as well (they look white, cause I keep forgetting to change the line color to black):
Note: make sure you set the outline directory folder correctly (sometimes I would think I didn't get the renders, then days later I would find the lines in a completely different folder). So now what I do, is I set all my directories to dropbox. That way when it's rendering, dropbox sends a notification that files have been added. I just get them from there and transfer them to the appropriate folder (overly complicated system, I know, but it works haha).
Ugh, I'm constantly getting lots of little lines across the renders, like what I showed above. Have no idea how to stop it. The outlines could be good except for that. The ones done with the LR3k cameras don't have that, though. Could you maybe take some screenshots of your camera settings for that FULLBODY camera?
double post
Sure thing, @dreamfarmer.
I'm showing just the scene set-up (only 2 cameras and no light).
These are for the "full pose" camera:
Next are the screenshots showing the values for the renderscript. I left all of them default, if I remember correctly.
But I think the key to get those lines is enabling the "composite passes" by loading the camera and then clicking on "add" on the lower part of the script settings. Makes sense now that my lines are always white since (screenshot shows) that's the only place where there's a white tint value.
Thank you. I've been messing around and at this point I think there's something screwed up with my implementation of Scripted 3Delight because those lines show up around 50% of the time no matter what I tweakand which script I run. So I'm going to move on for now to the rest of your tutorial.
Sorry to spam your thread. I'm still poking at alternatives for getting outlines but meanwhile I applied the Photoshop filter/blending stuff to a prior render and I really like how it looks. I'm having to reconsider how I want my visual novel art style to look!

Original render:
Filtered, before any kind of painting.
Meanwhile, this is my attempt at rendering something with lines. It's a pwToon preset and it has GREAT lines, but it isn't transparent.
@Dreamfarm, don't worry! Spam away! The purpose here is to share :D. And I like the girl. It's a great result! Maybe you can paint some highlights for the hair? That way you can set apart hair from skin. I'll can do a tutorial mini-tutorial on how I paint hair sometime this week if you're interested.
As to the pwToon renders. Have you tried rendering those guys normally (iray) and then overlaying the pwToon render with the original render? If you blend the PwToon layer (that has to be on top) with overlay, hardlight or maybe even legacy, you should get those lines into the artwork.
Thank you for this thread. I'm so glad you started it. Will be following along closely.
Thank you for the interest! I'll try to upload at least one tutorial per week, going over various effects. If there's an effect that you've seen and would like to re-create, you can post examples here and we can figure it out. :) I'll also share links to other tutorials & good photoshop resources.
I put together a visual novel style (sort of) render last night using the tips here! This is three different outline renders, mooshed together along with an iray base render. Happy with the result!
This is awesome, @lain105! I think if you were to add more lines to the hair and some lines to the "wrinkles" of the skirt, it'll help make it seem more handpainted.
@Dreamfarmer & @lain105, I highly recommend using these brushes by castrochew to add more detail to the hair (highlights & shadows). You can also check out his painting hair demo to get a sense of how to use the brushes.
I'll take some screenshots later today to show you.
Here's what I mean with the hair strands.
I'm also attaching a tutorial on how I paint hair (you can also find in also on my deviantArt). The result of which is as follows:
Here's a mini-tutorial for those who want to add some texture to your illustration(s). You can find really good free textures to work with at deviantar.com and over at textures.com. Good textures to work with would be: watercolor, ink and grunge. If you're looking for hi-quality textures that you can also use commercially, here's a really good bundle.
Some free textures to get you started: Dust & Scratched | Subtle Grunge Brushes | Grunge Concrete | Spray Paint Brushes | Grungy Photocopy | Watercolour | Grungy Paper | Real Dirty Textures | Artistic Textures | List of 85 watercolor textures | Halftone Seamless Textures
Ooh! I haven't had time to sit down and work on any technical renders w/ post stuff but now I have even more to play with once I DO get time. Thank you so much for putting these together
You are welcome, @lain105
Also, I'll be including links to free textures you can use on the "adding textures mini tutorial" post.
This is not quite your style but a result of your tips, Giselle, so I thought I'd show you! Thank you so much for continuing to post things.