-
-
-
-
$29.95
Optional License Add-Ons:
$1.99*Unless otherwise specified, no discounts or offers will apply to License Add‑Ons.
Optional License Add-Ons:
$1.99*Unless otherwise specified, no discounts or offers will apply to License Add‑Ons.
-
This product is in this bundle
-
Details
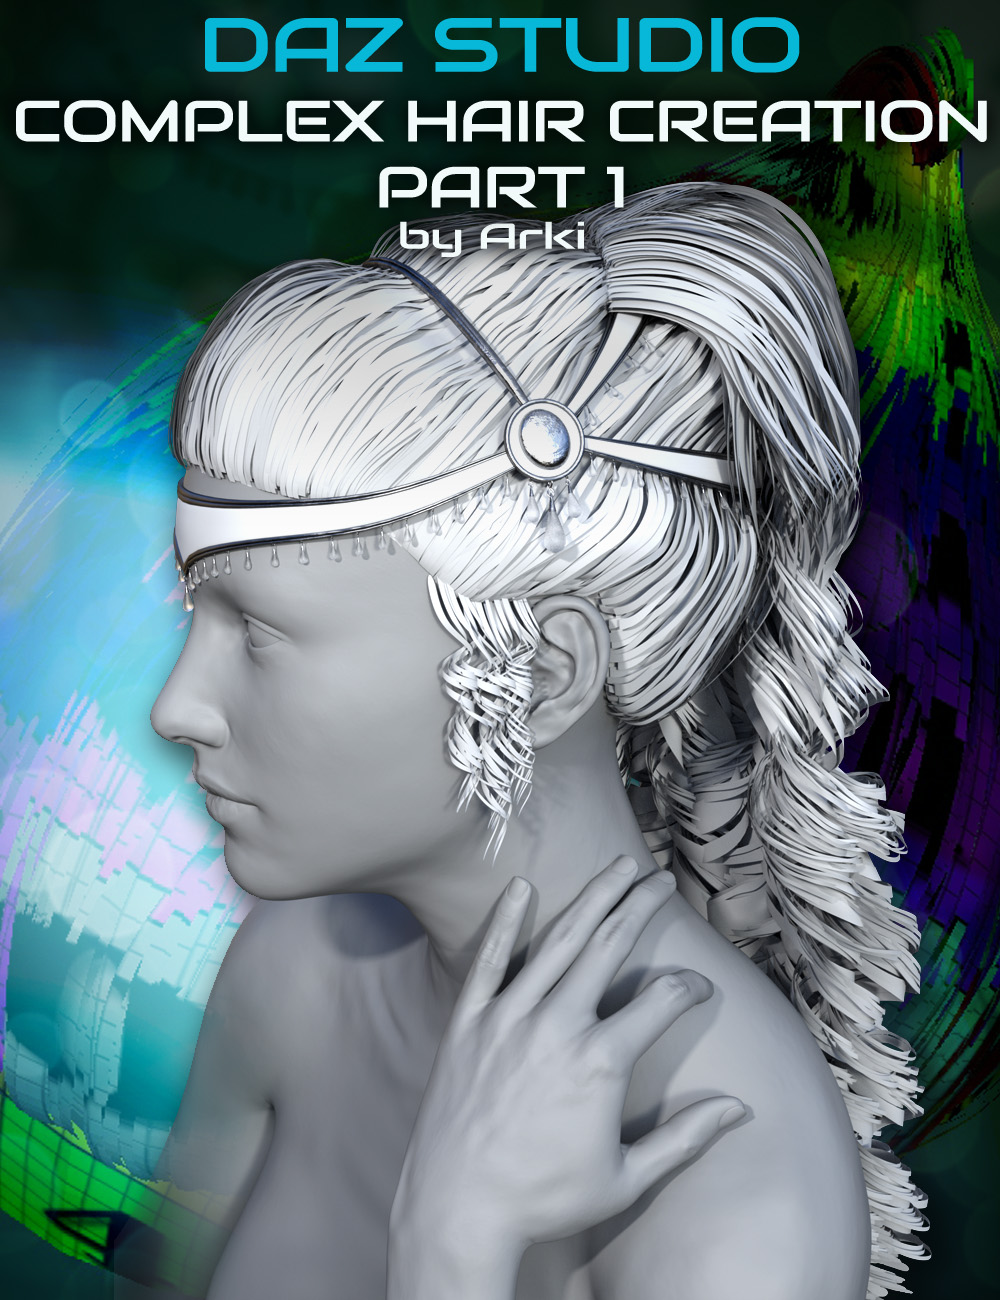
Have you wanted to create attractive hair for Daz Studio, but got stuck on knowing where to start and how to handle a project such as this?
Arki (Kim Schneider) breaks down this project in detail, simplifies the approach and takes you through the steps in this three part tutorial (this is part 1 on modeling). This was originally broadcast as a series of live webinars to a class that followed along with her techniques and created their own hair sets.
Requirements: Familiarity with Hexagon and basic modelling techniques
Video length: 2 hours
Tutorial video includes indexing so you can click and jump to different topics with ease.
Part 1 : From Rough to Fine - Hair modelling with basic tools
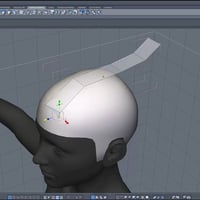
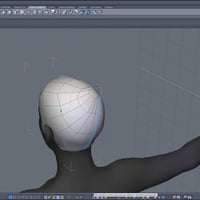
1 - Skullcap
* How to model a skullcap from a sphere shape
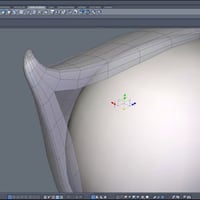
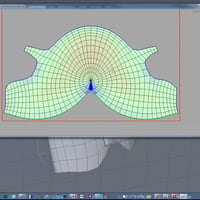
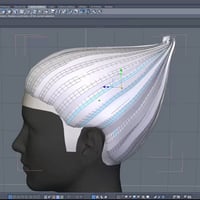
2 - Base shapes from extracted curves; for the base rough shape of the hair style
* Using curves and extracted polygon rows to create the base shape of your hair style
3 - Map these base shapes with rectangular maps
* Map your base hair shape with clean rectangular maps
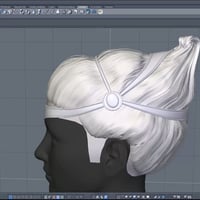
4 - From rough shape to finest strands
* Cutting, copying & pasting and refining to add detail depth to the hair model
* These techniques will be used not only on the base hair model, but also on the accessories
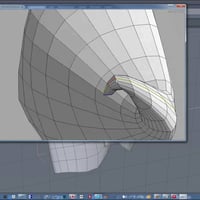
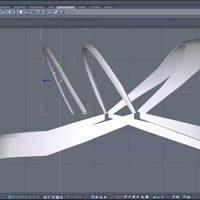
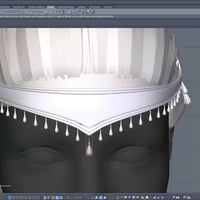
5 - Use the same techniques to model the hair jewellery base shapes
* Modeling, premapping and assigning material zonesAbout the Presenter : Kim Schneider (Arki)
Kim attended the University of Applied Sciences in Münster, North Rhine-Westphalia where she received a Bachelor of Arts degree in Media Design and Illustration.
Over the years Kim has done work in the role-playing game industry applying her illustration skills for RPG games such as Engel for Feder & Schwert, Redaktion Phantastik, and the Pegasus Spiele game—Call of Cthulhu.
Her journey into 3D Digital Art began in 2000 with Poser (yes fourteen years of Poser experience!), then Poser Pro and started vending Poser content in 2006. She's since been now hard at work at creating content for Daz Studio.
She delves into other packages occasionally including Photoshop, Quixel, ZBrush, Hexagon, UV Mapper Pro and UV Layout in her workflow.
What's Included and Features
- Session 1:
- 00:00:00 Intro
- 00:01:16 Overview of series
- 00:03:26 Session 1 - Overview
- 00:06:00 Rough Render of Final Model
- 00:07:04 Slideshow of Overall Process
- 00:09:31 Modelling and UV Mapping the Skullcap in Hex
- 00:16:10 1st Q&A
- 00:17:40 Modelling the Base Shape of Hair
- 00:19:21 Using a Curve for the First Shape
- 00:22:00 Extracting the Curve
- 00:23:16 Refining the Position
- 00:25:25 Ensuring the Middle Line is Exactly in the Middle
- 00:27:12 Creating the Top "Curl"
- 00:30:09 Extruding a Middle Parting
- 00:30:34 Mirroring the Base Mesh to the Other Side to demonstrate the Hair Part
- 00:31:19 Adding Subdivision and Another Edge to Join with the Skullcap
- 00:31:47 Very Important!!! Ensure Mesh is a Rectangle
- 00:33:31 Intermediate Q&A
- 00:35:45 UV Mapping the Base Mesh
- 00:39:53 UV Mapping the Skullcap
- 00:42:32 Reimport UV Mapped Base Mesh in Hex before Continuing
- 00:42:47 Mirroring the Base Mesh
- 00:43:41 Eliminating the Curl on the Mirrored Side
- 00:48:52 Layer 1 Strand Creation
- 00:52:33 Copy, Paste, Refine, Repeat
- 00:53:47 Completed Mesh, 1st Refinement
- 00:54:23 Layer 2 Stand Creation
- 00:57:00 Continue adding Layers
- 00:58:06 3rd Q&A
- 01:04:25 Modelling the Jewellery for the Hair
- 01:05:08 Using Curves to Create the Jewellery
- 01:09:23 Trick in Making Band Thinner at Front and Thicker at Back
- 01:11:38 Creating the Wire Across Head Using a Tube
- 01:13:56 Adding Details
- 01:21:43 Completed Bands
- 01:21:55 3rd Q&A
- 01:24:39 Fixing Wrong Facing Normals
- 01:25:49 Adjusting the Hair Fit
- 01:27:16 Creating the Teardrops
- 01:30:34 Assigning Material Zones
- 01:33:14 4th Q&A
- 01:34:36 Placing the Teardrops
- 01:36:26 Cloning or "Instancing" the Teardrops
- 01:37:48 Setting a New Pivot Point
- 01:39:47 What Changes and Doesn't in Clones
- 01:41:41 Cloning Along a Curve
- 01:43:05 5th Q&A
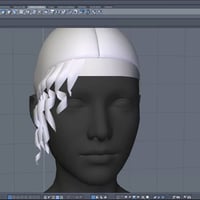
- 01:44:56 Side Spiral Curls
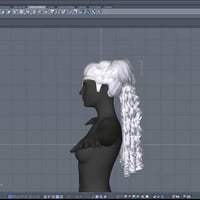
- 01:54:16 Modelling the Tail
- 01:59:12 Final Q&A
- 02:01:28 Material Zones in UV Mapper Pro
Notes
- This product includes:
- 1 General Installer
- Session 1:
