-
The Ultimate Guide to Building Low Poly Figure Scenes
-
-
-
-
$31.99
Artist:Compatible Figures:N/ASKU:101505Optional License Add-Ons:
$1.99*Unless otherwise specified, no discounts or offers will apply to License Add‑Ons.
Optional License Add-Ons:
$1.99*Unless otherwise specified, no discounts or offers will apply to License Add‑Ons.
-
Details
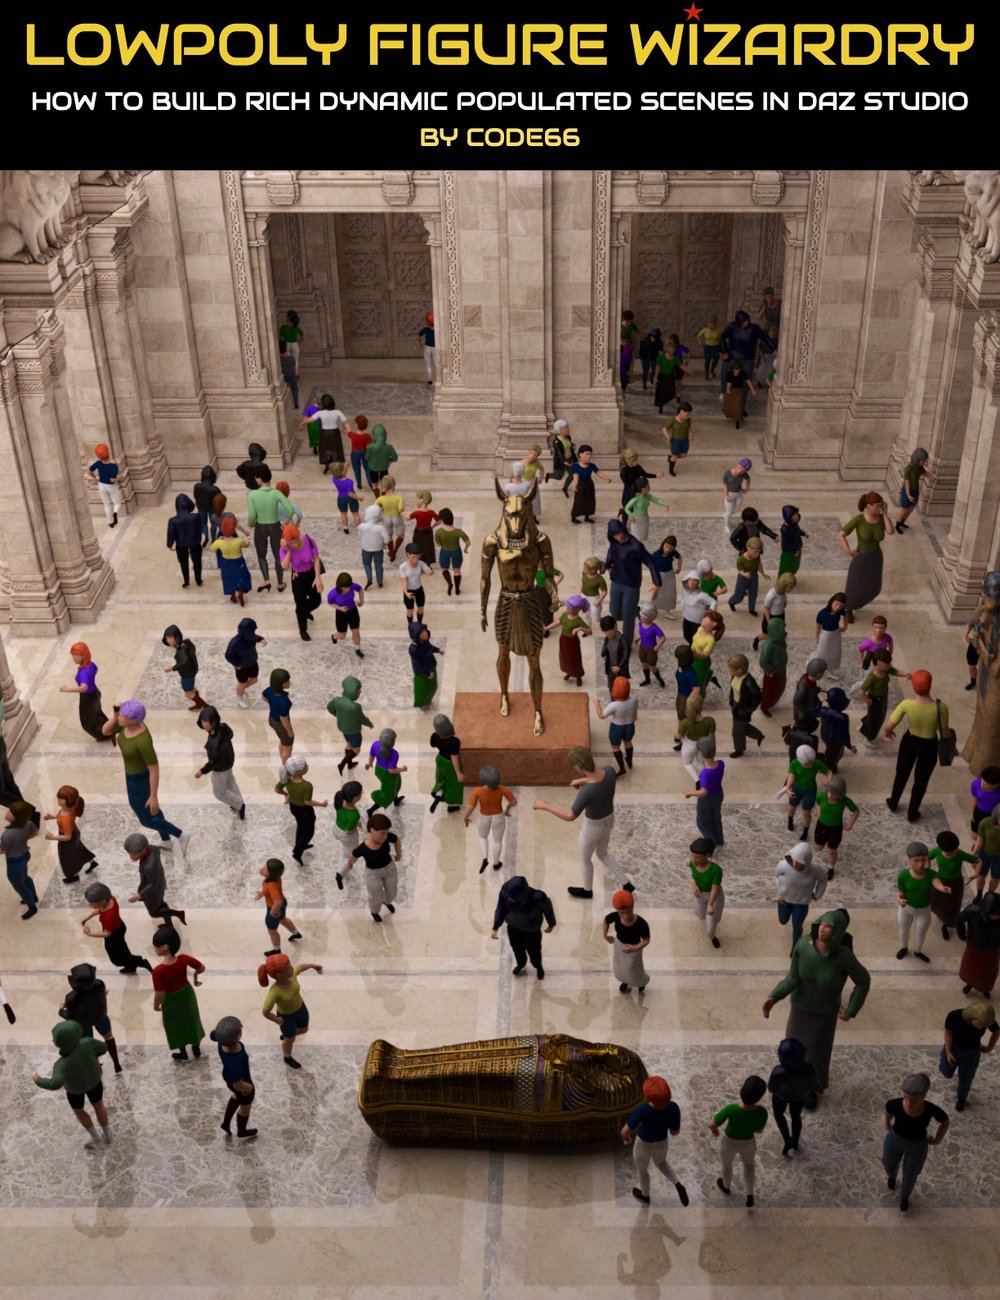
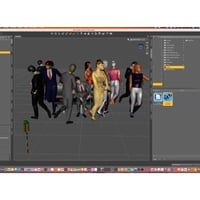
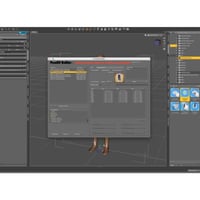
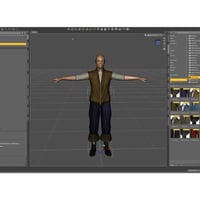
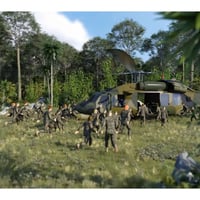
Learn about the latest approaches for scene creation with the innovative LowPi figure and powerful scripts for LowPi Crowd Generation, presented by DAZ Studio artist, Code66. This tutorial pack will show you how to make the most of versatile low polygon figures, which bring a whole new dimension to your DAZ Studio projects, allowing you to create dynamic, diverse, and realistic crowd scenes with great efficiency and control!
Part 1 : LowPi and Crowd Generation
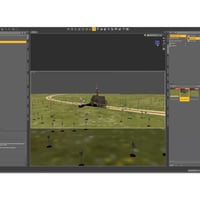
Learn about LowPi figures and this new figure ecosystem for DAZ Studio, the ultimate low-poly figure designed for seamless scene population. In this video, you’ll discover how LowPi can transform your scenes with its lightweight and versatile design. Learn the fundamentals of crowd generation, including controlling your crowds with markers and mixing sitting and standing figures. You’ll be ready to create and refine your own complex crowd scenes effortlessly.
Part 2 : LowPi Pro Scripts – Advanced Topics
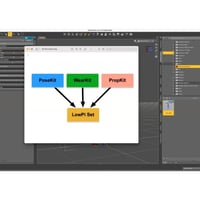
Gain the full potential of the LowPoly ecosystem with more advanced topics focusing on ProScripts for LowPi. Discover how to create and customize PoseKits, WearKits, and PropKits, and integrate them into comprehensive LowPi sets, which you can pass onto other artists.
With this tutorial set you'll gain...
- Comprehensive Guidance: The tutorial set provides in-depth instructions on creating and customizing Lo Pi figures, including advanced topics such as pose kits, wear kits, and prop kits.
- Practical Examples: It includes practical demonstrations of how to use various tools and techniques, such as Ultra Scatter for height markers and InstanceToObjects for instance conversions, to enhance the realism of your scenes.
- Customization Flexibility: Learn how to create custom morphs, materials, and compatibility settings for creating unique Lo Pi figure characters.
- Efficiency Tips: Discover valuable tips and tricks for speeding up your LoPi crowd figure workflow, to automate repetitive tasks and achieve consistent results.
- Expert Insights: Benefit from the expertise of Code66, who shares insights and solutions for common challenges to make the most of the tools available.
- Diverse Applications: Code 66 covers a wide range of applications, from creating crowds in complex scenes to generating realistic poses and outfits.
Imagine creating….
1. A School Trip Scene:
- Populate a classroom or school yard with children and teachers, showcasing a mix of standing, sitting, and moving figures to create a lively school trip atmosphere.
2. A Subway Train Scene:
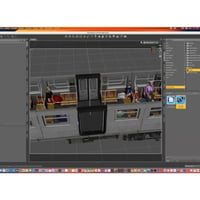
- Create a bustling subway station or train car filled with passengers. Use markers to place people in various poses, such as sitting on benches, standing with handheld props like phones or bags, and walking along the platform.
3. A Medieval Crowd:
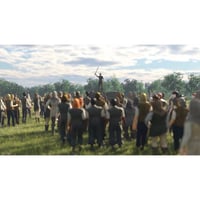
- Generate a medieval market or town square scene with villagers holding pitchforks, torches, and other medieval props. Include background people carrying bags, rolling casks, or interacting in small groups.
4. Skeletons:
- Design a spooky or fantasy-themed scene with skeletons. Populate a haunted house, graveyard, or an ancient battlefield with skeletons in various poses, some holding medieval weapons or ancient artifacts.
Sample Video
About the presenter : Totte Alm (Code 66)
Totte lives in Sweden and has been programming since the late 70s. He started to dabble in 3D back in the early 1990s with StrataVision 3D and later Bryce.
His interest for the world of DAZ Studio started around 2010, to create maps and handouts for the many table top role playing game adventures he was writing and playing.
Totte then started to create some 3D content for DAZ Studio in 2015 and then gradually moved over to create more and more script based products instead of pure 3D prop content.
His favourite tools for making 3D products and textures are Modo, UVLayout, the Substance suite and FilterForge.
Totte has been an independent IT consultant for over 20 years, and also have been using DAZ Studio renders in dialogs in many bespoke development projects for various clients to brighten up otherwise boring programs!
He spend a lot of time walking the dogs and tries to play role playing games as much as time provides.
What's Included and Features
- Low Poly Figure Wizardry
- Video 1 : 1 hour 6 minutes (.MP4)
- 00:00 Welcome. Aims of this tutorial set and encouraging viewers to experiment with low poly figures in Daz Studio.
- 00:02 Introduction to Lo Pi figure, highlighting its low vertex and face count, and discussing its standalone use and compatibility with modern clothing.
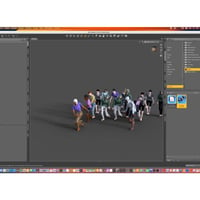
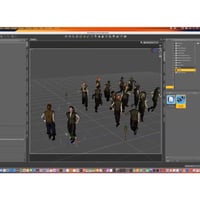
- 00:04 Examples of Lo Pi in use, including a skeleton and zombie crowd created with UltraScenery, and 2 other setups.
- 00:06 Discussion of a bug with Genesis 9 rigging affecting Lo Pi, requiring a redo of the rigging process and impacting resource efficiency.
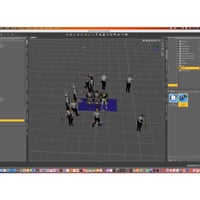
- 00:08 Introduction to crowd generation using border markers, what to watch out for to prevent errors.
- 00:10 Detailed steps on setting up border markers, and initiating the crowd generation script with specific settings and texture choices.
- 00:12 Demonstration of seating markers and fixing issues like figures standing on benches, emphasizing the importance of marker placement for realistic crowd scenes.
- 00:14 Example of adding waiters and other standing figures, adjusting settings to avoid unrealistic placements. How to block out areas.
- 00:16 Explanation of drop zones and face markers to control figure placement, with an example of setting up a scene with fine dining props.
- 00:18 Introduction of direction and packing settings for crowd generation, and detailed illustration of using drop points and directional markers.
- 00:20 Example of generating a zombie horde with specific textures and settings, demonstrating the results and troubleshooting issues with figure placement.
- 00:22 Continued setup for a dinner and show scene, with adjustments for figure placement and ensuring realistic crowd behavior.
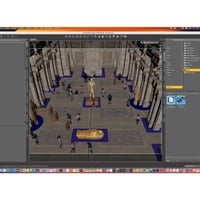
- 00:24 Detailed setup of a museum scene, using attention markers to guide figure focus and block out unwanted areas for realistic scene composition.
- 00:26 Troubleshooting marker placement issues, refining the setup for accurate figure placement and adding specific markers for different parts of the scene.
- 00:28 Further adjustments for a school trip scene in the museum, setting appropriate settings for teachers and kids, and optimizing generation time.
- 00:30 Addressing issues with instance duplication and adding more markers for entrance and other key areas to guide figure movement and placement.
- 00:32 Using round markers and additional drop points to refine the scene, ensuring figures avoid certain areas like columns and statues.
- 00:34 Demonstration of reusing setups for efficiency in graphic novels or similar projects, and adding final touches to the museum scene with drop points and attention markers.
- 00:36 Q&A session on memory usage and performance considerations, including specific machine specs and render performance.
- 00:40 Explanation of creating poses, starting with feet and hips, and adjusting for natural movement, demonstrating detailed posing adjustments.
- 00:42 Further demonstration of posing techniques, focusing on achieving realistic weight distribution and posture for the Lo Pi figures.
- 00:32 People leaving the museum with direction packing, learning and testing marker placements for walking figures, adding attention markers for specific statues.
- 00:34 Saving the scene setup, running the script to generate the crowd, and addressing questions about hair conversion for older figures like Victoria 3 and Michael 4.
- 00:36 Explanation of RAM usage and performance testing on lower spec machines, discussing common memory usage and rendering performance.
- 00:38 Starting a new scene with a subway train, emphasizing the tedious process of placing seat markers, and demonstrating pre-placed markers for seated figures.
- 00:40 Running the crowd generation script for the subway scene, adjusting settings for seated figures and optimizing for non-rush hour conditions.
- 00:42 Explanation of additional settings for randomness in figure direction, demonstrating the setup and results for a populated subway train scene.
- 00:44 Adjusting individual figures for better realism, answering questions about Victorian-themed figures for Lo Pi, and emphasizing the use of instances for efficiency.
- 00:46 Demonstration of setting up walking figures in a line, using markers to guide direction and ensure smooth transitions around corners.
- 00:48 Using toolboxes for precise marker placement, highlighting the importance of correctly facing markers and ensuring smooth movement paths for walking figures.
- 00:50 Final adjustments to marker placements for smooth transitions, emphasizing the utility of toolboxes for efficient scene setup.
- 00:52 Running the crowd generation script for walking figures, demonstrating the results and discussing the importance of detailed setup for realism.
- 00:54 Introduction to clothing conversion, showing examples of fitting old and new clothing items to Lo Pi figures, and discussing potential issues and solutions.
- 00:56 Demonstration of generating a crowd with dressed figures, using saved presets for different clothing sets, and addressing potential issues with full Genesis meshes.
- 00:58 Tips on generating crowds separately for complex scenes, showing how to save and reuse generated crowds for efficient scene composition.
- 01:00 Explanation of handling uneven terrain, emphasizing the importance of height markers for accurate figure placement on complex grounds.
- 01:02 Detailed steps for placing height markers, ensuring accurate figure placement on uneven terrain, and discussing the challenges of complex environments.
- 01:04 Final remarks on the use of markers for complex scenes, mentioning future sessions on pro scripts for advanced crowd generation and customization.
- 01:06 Closing remarks, summarizing the session's success and discussing the next session on extending the ecosystem and creating custom sets.
- Video 2 : 1 hour 18 minutes (.MP4)
- 00:00 Welcome to DAZ Studio low poly figure wizardry part two, with Totte demonstrating advanced topics, including creating pose kits, wear kits, and prop kits. Preview of a scene using Lo Pi figures and various items.
- 00:02 Overview of different kits: Pose Kit, Wear Kit, Prop Kit, and Lo Pi Set. Explanation of how Pose Kit works, including the ability to create full or partial poses and setting compatibility and pose jitter for variety.
- 00:04 Detailed description of Wear Kit, which includes wearables like clothing, hair, and accessories. Explanation of handling different combinations of wearables and setting up randomization for variety in scenes.
- 00:06 Discussion of the complexity of Wear Kits, including setting up full-body wearables and individual items like shoes, pants, and hair. Explanation of material variations for wearables.
- 00:08 Introduction to Prop Kits, which are essentially wearables that include props. Explanation of how props can be linked to poses and assigned to specific hands or body parts.
- 00:10 Overview of the Lo Pi Set, which combines Pose Kits, Wear Kits, and Prop Kits into a single set. Explanation of editing and updating Lo Pi Sets for new morphs or characters.
- 00:12 Demonstration of creating a new Pose Kit, adding poses, and setting up jitter values for natural variation. Tips on using the fake inverse kinematics (IK) feature.
- 00:14 Explanation of how to propagate jitter settings across multiple poses to save time. Demonstration of testing jitter settings to ensure natural-looking poses.
- 00:16 Adding upper and lower poses to the Pose Kit, setting compatibility and jitter settings, and linking upper poses to lower poses for flexibility in animation.
- 00:18 Saving and testing the new Pose Kit. Introduction to Wear Kits, showing how to create and save new wearables like boots, pants, and shirts for Lo Pi figures.
- 00:20 Demonstration of fitting Genesis clothing to Lo Pi figures, explaining the process and adjustments needed for proper fit and appearance.
- 00:22 Explanation of using Texture Atlas to create smaller texture maps for wearables, demonstrating the process and benefits for performance.
- 00:24 Demonstration of creating and saving individual wearables, then reloading them into the scene. Explanation of how to create a Wear Kit using the saved wearables.
- 00:26 Detailed setup of a Wear Kit, including adding hair and attachments, setting compatibility, and importing settings from other kits for efficiency.
- 00:28 Explanation of the complex process behind Wear Kits, including setting up materials and randomization for variety in scenes.
- 00:30 Demonstration of creating a new Wear Kit, importing items from another kit, and ensuring proper setup of IDs and attachments for consistency.
- 00:32 Introduction to Prop Kits, demonstrating how to add props like weapons to poses and setting up proper hand positions and poses for each prop.
- 00:34 Explanation of the importance of decimating high-polygon items before using them in scenes to save memory and improve performance.
- 00:36 Demonstration of setting up a Prop Kit with multiple props, showing how to save and use the kit in different scenes for added realism and variety.
- 00:37 Introduction to the Lo Pi Set Builder, explaining how to combine post kits, wear kits, and prop kits into a complete set. Explanation of removing unwanted compatibilities and adding new ones like zombie masculine.
- 00:38 Demonstration of linking poses with specific props in the Lo Pi Set, such as assigning a Viking spear or medieval axe to certain poses.
- 00:40 Discussion on the complexity of setting up large post kits and wear kits, using examples like the moving kit with multiple hand poses and props.
- 00:42 Explanation of how to save and test the setup, including the process of generating a crowd with different poses and props.
- 00:44 Demonstration of using height markers to adjust Lo Pi figures on uneven ground, utilizing Ultra Scatter and converting instances to objects.
- 00:46 Explanation of using Ultra Scatter for placing height markers accurately on uneven terrain, improving the realism of Lo Pi crowds.
- 00:48 Emphasis on the importance of using tool chains to speed up the process and achieve better results, combining tools like Ultra Scatter and InstanceToObjects.
- 00:50 Introduction to key files that define materials, body keys, compatibilities, and wear keys for creating new morphs or materials for Lo Pi figures.
- 00:52 Detailed explanation of JSON files for defining materials, body keys, and compatibilities, including examples of setting up a goblin morph.
- 00:54 Discussion on the importance of properly configuring JSON files, avoiding common mistakes like incorrect commas.
- 00:56 Explanation of wear keys and how to define different clothing types and their compatibility with various figures.
- 00:58 Introduction to the fake IK system and how to customize it for specific poses to avoid issues like tiptoeing.
- 01:00 Overview of the bone structure and tags used in Lo Pi, explaining how to define upper and lower poses and attach tags to clothing.
- 01:02 Explanation of shape keys and how to customize them for specific morphs, allowing for targeted randomization in crowd generation.
- 01:04 Demonstration of how to load and use custom shape keys and tags in the crowd generator, including the process of adding new morphs.
- 01:06 Discussion on the process of creating and editing Lo Pi sets, including the importance of testing and debugging.
- 01:08 Detailed look at the structure of a Lo Pi set file, explaining how post kits, wear kits, and prop kits are integrated and linked.
- 01:10 Explanation of how to use randomization scripts for wearables, such as generating different dress colors and styles for crowds.
- 01:12 Demonstration of using depth of field to enhance the realism of scenes with Lo Pi figures, particularly in crowded environments.
- 01:14 Discussion on the potential for new Lo Pi sets and updates, emphasizing the evolving nature of the ecosystem.
- 01:16 Encouragement for users to experiment with Lo Pi and share their creations in the gallery.
- 01:18 Final thanks and appreciation for the participants' interest and enthusiasm, with a reminder to keep exploring and sharing their work with Lo Pi.
- Documentation: (.PDF)
- Document 1
- Document 2
Notes
- This product includes:
- 1 General Installer
