-
Do you use characters as they come or do you modify?
I use them as is. If I ever feel the need for a truly unique character, then I'll start from scratch and make my own texture and morph.
Do you use characters as they come or do you modify?SilverGirl said:
Modify, 100%.
...same here.
Most of my characters are often a mix of various ones in my library along with merchant resource kits, morph kits, shaping kits and morph/shapes transferred to G3/G8 using GenX/GenX2, Zev0's Xtransfer and Riversoft's character transfer scripts It's the closest I can get to actually creating a character from scratch (my modelling skills are nothing to write home about).
The only characters I use "as-is" are AIko 3, Sadie, Sam, and other toon characters as well as those by PAs like RawArt. and Oso3d.
Walk Designer for Genesis 9I use aniMate 2 every single day. It's what really helps make animation techniques possible in Daz Studio - the ability to reverse, mirror, retime, combine or otherwise blend, stack, edit (in multiple ways) animation data into a non-linear animation clip (aniBlock) is what allows us to transfer motion data (MoCap and/or keyframed by hand) from the stored state to how the individual character will deliver that performance.
Of course, I also make my own custom controls to even further assist with the characterization aspects, but all of that that I just mentioned comes first. That's what I'm sending to the Daz Studio Timeline.
I have a ton of aniMate 2 (and other) information here: The Power of aniMate 2
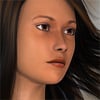
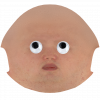
Bluejaunte appreciationFound the human morph, quickly hacked a hair neutralizing morph for her : https://drive.google.com/file/d/1QUF6Pq_TTSTo6VCviNl10mFJRkXxx6rQ/view?usp=sharing
Bluejaunte appreciationCOMIXIANT said:
bluejaunte said:
I remember her being a very niche character with equally niche sales.
lol, well that's fair enough, but to be honest I'm not surprised the sales were niche. Much as I like her, I almost never bought her myself, either, and it was purely down to the sculpted-in alien hair. Her having an alien texture for example, that's not a problem since we can get around that by using a different texture anyway.
That sculpted-in hair, though, that's definitely going to put customers off because they realise they cannot have that fantastic face sculpt without the alien hair dialling in with it. But oh well, it's a damn shame because that body type is hard to find. There was only ever one other Genesis 8 character that I found that had a similar body. Can't remember what she's called off hand, but she was also perfect for blending with Amala for getting a very toned, athletic/dancer type body.Yeah that was dumb in hindsight. Should have just released a purely human variant at the same time. Or do the alien hair as a separate morph. I even started working a human version but that was later I think and then it just didn't make sense anymore.
Do you use characters as they come or do you modify?It depends - for background figures or where the focus is on the landscape or buildings then I often use out of the box characters, but if the figure is the focus then I normally mix morphs from different characters/morph sets/my own shapes.
How to achieve the Desaturated Rembrandt Style?UncannyValet said:
This is also what I do and supplement with emissives primitives where needed.
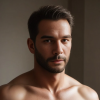
Closest i have to Rembrandt is attached, which is supposed to be a modern version of a dutch masters painting of Saint Sebastian (no postwork). I think to get a painterly effect might require style transfer or filters in something like Topaz. But for lighting, you can probably focus on getting the deep blacks and diffuse light in iray with little postwork.In a lot of those paintings, there are bloom and halo/haze effects of lights, which you might be able to reproduce in iray using bloom or something in front of the camera lens.
Beautifully done, @Fauvist & @WendyLuvsCatz. Thank you for all your input!
I took one look at your image (without reading the caption), and the first thing that came to mind was, "Looks like an homage to St. Sebastian." So, good job on the reference and image! Ironically, my debut novel, the main character is named, Sebastian. Lol.
Never really used bloom effects, but I'll give it a shot.
And thanks for all your wonderful products, @UncannyValet. I have both Vadim and Gopniks. I use the skin textures as a basis for a lot of my own work. You create interesting looking characters that look like real people. Please keep up the great work!
How to achieve the Desaturated Rembrandt Style?Write Idea said:
I have more lights and HDRs than I can use in one lifetime. I don't really use spotlights at all. I prefer just to load an HDR and play around with the way the light hits the figure until I'm happy with it.
This is also what I do and supplement with emissives primitives where needed.
Closest i have to Rembrandt is attached, which is supposed to be a modern version of a dutch masters painting of Saint Sebastian (no postwork). I think to get a painterly effect might require style transfer or filters in something like Topaz. But for lighting, you can probably focus on getting the deep blacks and diffuse light in iray with little postwork.In a lot of those paintings, there are bloom and halo/haze effects of lights, which you might be able to reproduce in iray using bloom or something in front of the camera lens.
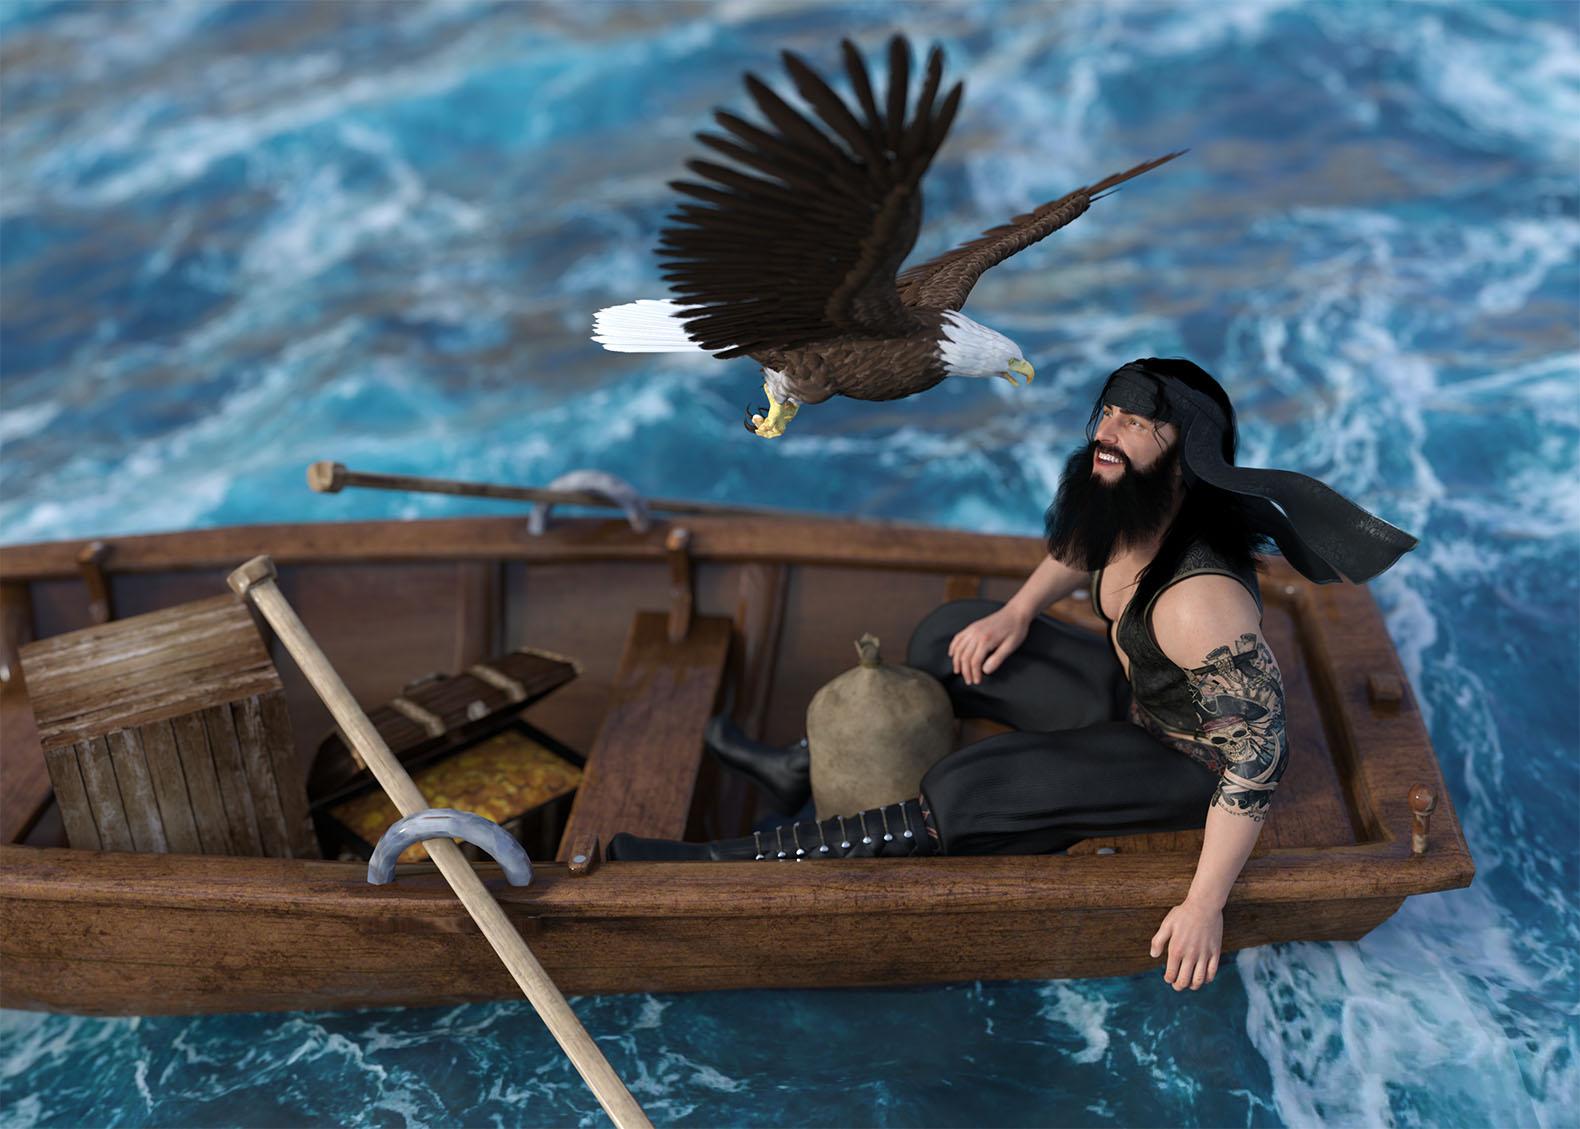
Freebie Challenge June 2025 - "Summer and Piracy!" - Entries ThreadSuccess!
The map led to a succesful treasure hunt and so he is coming home with a chest of gold coins, crate of golden objects, and who knows what's inside the sack. However, the eagle wants a share.
Post Work: Boris Optics plugin
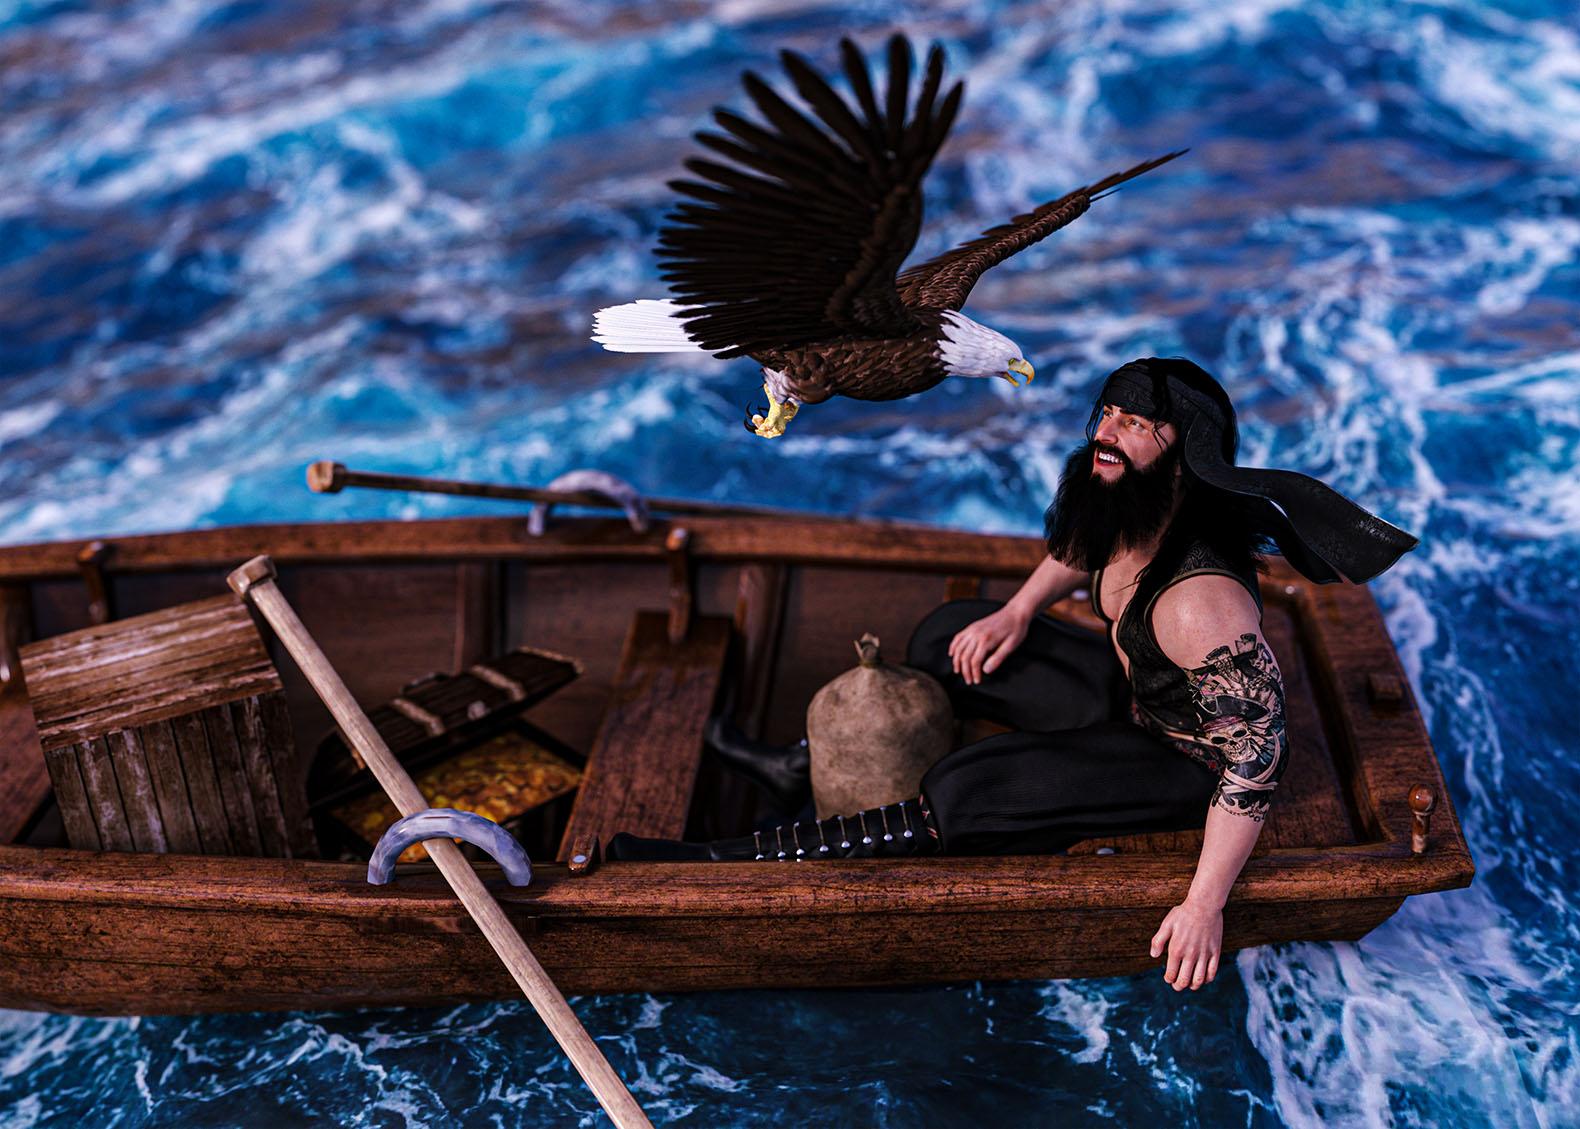
Original Raw Render:
Freebies:
Treasure Chest: https://www.renderosity.com/freestuff/items/68381/3d-treasure-chest-model
Crate: https://www.cgtrader.com/free-3d-models/furniture/outdoor-furniture/furniture-game-asset
Ocean: https://www.renderosity.com/freestuff/items/96105/free-deep-ocean-for-daz
Pose: https://www.renderosity.com/freestuff/items/86848/m4h4f4-pose-transfer-to-g8m
Paid:
G8M Character: https://www.daz3d.com/edward-8
G8M Outfit: https://www.daz3d.com/dforce-brahim-for-genesis-8-males
G8M Hair and Beard: https://www.daz3d.com/volta-hair-and-beard-for-genesis-8
G8M Tattoo: https://www.daz3d.com/lie-pirate-face-and-body-make-up-for-genesis-8
Eagle: https://www.daz3d.com/eagle
DAZ Horse 2 never seen issue
I will do that. Thank you so much for your help!NorthOf45 said:It "should", and will require a ticket, but who knows how long that will take? Meanwhile just delete the offending duplicate morph file (\data\DAZ 3D\DAZ Horse 2\Base\Morphs\Matari3D\M3DZombieHorse\M3DZH Leg Back Left Bone 01) and the problem will not happen again. (That's the one that sets the value to 100%, and is the only difference between the two files).
Obj imports without any textures after recent updaterichardandtracy said:
It sounds as if you could do with a script to run (when or after) importing an obj file to apply an uber shader to the object,
Importing an obj to daz applies an uber shader by default so a script wouldnt need to do that when it's already default behaviour of the obj importer
re-read the .mtl file, 'find' or 'ask help to find' the texture required and apply them wherever sensible in the appropiate surface shader.
Well, the OP doesnt need to do any of that and it would be a moot point if the .mtl file they have exported from Blender does not even contain texture references.
The OP still has not bothered to confirm if their .mtl file has texture references in it, therefore it would be pointless to have a script that reads an .mtl file for texture references which may or may not even be there.
Their first step is to establish they are exporting their obj and mtl from Blender with texture freferences before jumping to the conclusion that the issue is the obj importer in Daz Studio. (Hint: it isnt).
I think this would speed things up for anyone who wanted to do this and could save a fair bit of time all round.
Daz obj importer already has an option to read material file on import, so there doesnt need to be a new script created to do the exact same thing. One could just import the obj again and click read material file
I only have a very rudimentary grasp of scripting (as shown how few commands I actually used in my Pose Transfer Scripts), so probably definitely can't do it at the moment. I have quite a few poses to catch up on creating after 8 months without a DS compatible PC, and then I may be in a position to start learning what I need. I won't make any promises because I'm not sure I will ever be able to do it, but I will look at what I need to learn and see if I can do it.
It would be a waste of your time as mentioned above.
And I only ever do freebies, because I'm someone who has a tiny budget, too..
Regards,
Richard
To save anyone reading this time in future. The issue the OP is facing is probably not with the obj importer. That is a presumption fallaciously built into their question.
There are multiple steps in the process (1. importing fbx with embedded textures to blender, 2. exporting to obj without unpacking textures first, then 3. importing to daz studio as obj). The problem could be any step in that chain and the likely culrpit is obviously step 2, so that should obviously be assessed first before jumping to conclusions about a faulty obj importer.
If 2 is the point of failure, then the question becomes how to export fbx with embedded textures to obj so it writes mtl file correctly.
DAZ Horse 2 never seen issueIt "should", and will require a ticket, but who knows how long that will take? Meanwhile just delete the offending duplicate morph file (\data\DAZ 3D\DAZ Horse 2\Base\Morphs\Matari3D\M3DZombieHorse\M3DZH Leg Back Left Bone 01) and the problem will not happen again. (That's the one that sets the value to 100%, and is the only difference between the two files).
Bald guy seeks hairpaulawp (marahzen) said:
Interestingly, I'm not seeing crinkle artifacts in testing Nirv Straight Long Hair on one of my custom characters. They have historically been prone to ripples and weird artifacts in hair around the chin level. What morph settings are you using?
Okay. Here's unmorphed G8F with Nirv Straight Long Hair (81300), Color 12 material applied, and with Nirv ASLH Shapes 10 set at 100% and at 0%.

I'm going to attempt to edit the opacity image to get the bobbed shape that way, since the Blair substitute looks nice but doesn't fit my requirements quite as well.
Thanks for the advice. I'll keep checking in if more ideas come along, maybe a product from another shop or something.
[Edited for image.]
Hallelujah!
DiscipleObj imports without any textures after recent updateIt sounds as if you could do with a script to run (when or after) importing an obj file to apply an uber shader to the object, re-read the .mtl file, 'find' or 'ask help to find' the texture required and apply them wherever sensible in the appropiate surface shader. I think this would speed things up for anyone who wanted to do this and could save a fair bit of time all round.
I only have a very rudimentary grasp of scripting (as shown how few commands I actually used in my Pose Transfer Scripts), so probably definitely can't do it at the moment. I have quite a few poses to catch up on creating after 8 months without a DS compatible PC, and then I may be in a position to start learning what I need. I won't make any promises because I'm not sure I will ever be able to do it, but I will look at what I need to learn and see if I can do it.
And I only ever do freebies, because I'm someone who has a tiny budget, too..
Regards,
Richard
Bald guy seeks hairpaulawp (marahzen) said:
Interestingly, I'm not seeing crinkle artifacts in testing Nirv Straight Long Hair on one of my custom characters. They have historically been prone to ripples and weird artifacts in hair around the chin level. What morph settings are you using?
I'm not seeing any either, even with shoulders in shrug mode as here. Using Shape 10 and Back Hair Adjust - 25. Probably an issue with the character used - maybe changing the body morph may help?
DAZ Horse 2 never seen issueNorthOf45 said:
If you have Matari3d's Zombie Horse installed, it is from a morph called "Parameters->M3DZH->M3DZH Leg Bag Left Bone 02" (I assume Bag should be Back). It defaults to 100%, whereas the right side is at 0%. There also appears to be one morph missing for the back right leg, there are two on the left, and only one on the right.
[ETA] Actually, it's a little more complicated. There are two "M3DZH Leg Back Left Bone 01" morphs, one is called "Back", the other "Bag". The ID's are the same for both, but since the "Bag" version loads after the "Back", it overwrites the first definition. The second right back leg morph is still missing...
However, the "Full Zombie Horse Base" morph sets one big monolithic morph for the whole horse (back legs included), not each individual morph.
Thank you so much! That solved it! Maybe this product should be updated?!
Windows 11 + DAZ3D softwares = working fine?I used Carrera on a PC that was Win10 one day and woke up the next as Win11. As far as I could see the morph was seamless except for the fact I had to re-establish every single privacy setting. Microsoft's attitude to security and privacy is that it's an impediment to their business if I have any. As a result the machine was left insecure as the default setting. It may have changed in the 3 years since. But I doubt it. Regards, Richard.Freebie Challenge June 2025 - "Summer and Piracy!" - Entries ThreadWrong Island Mate!
The island looked peaceful at first so Jack Sparrow roamed only to be hunted by baby T-rexes. These babies are sort of hungry, well at least most of the time :)
Post Work: Boris Optics plugin

Original Raw Render:
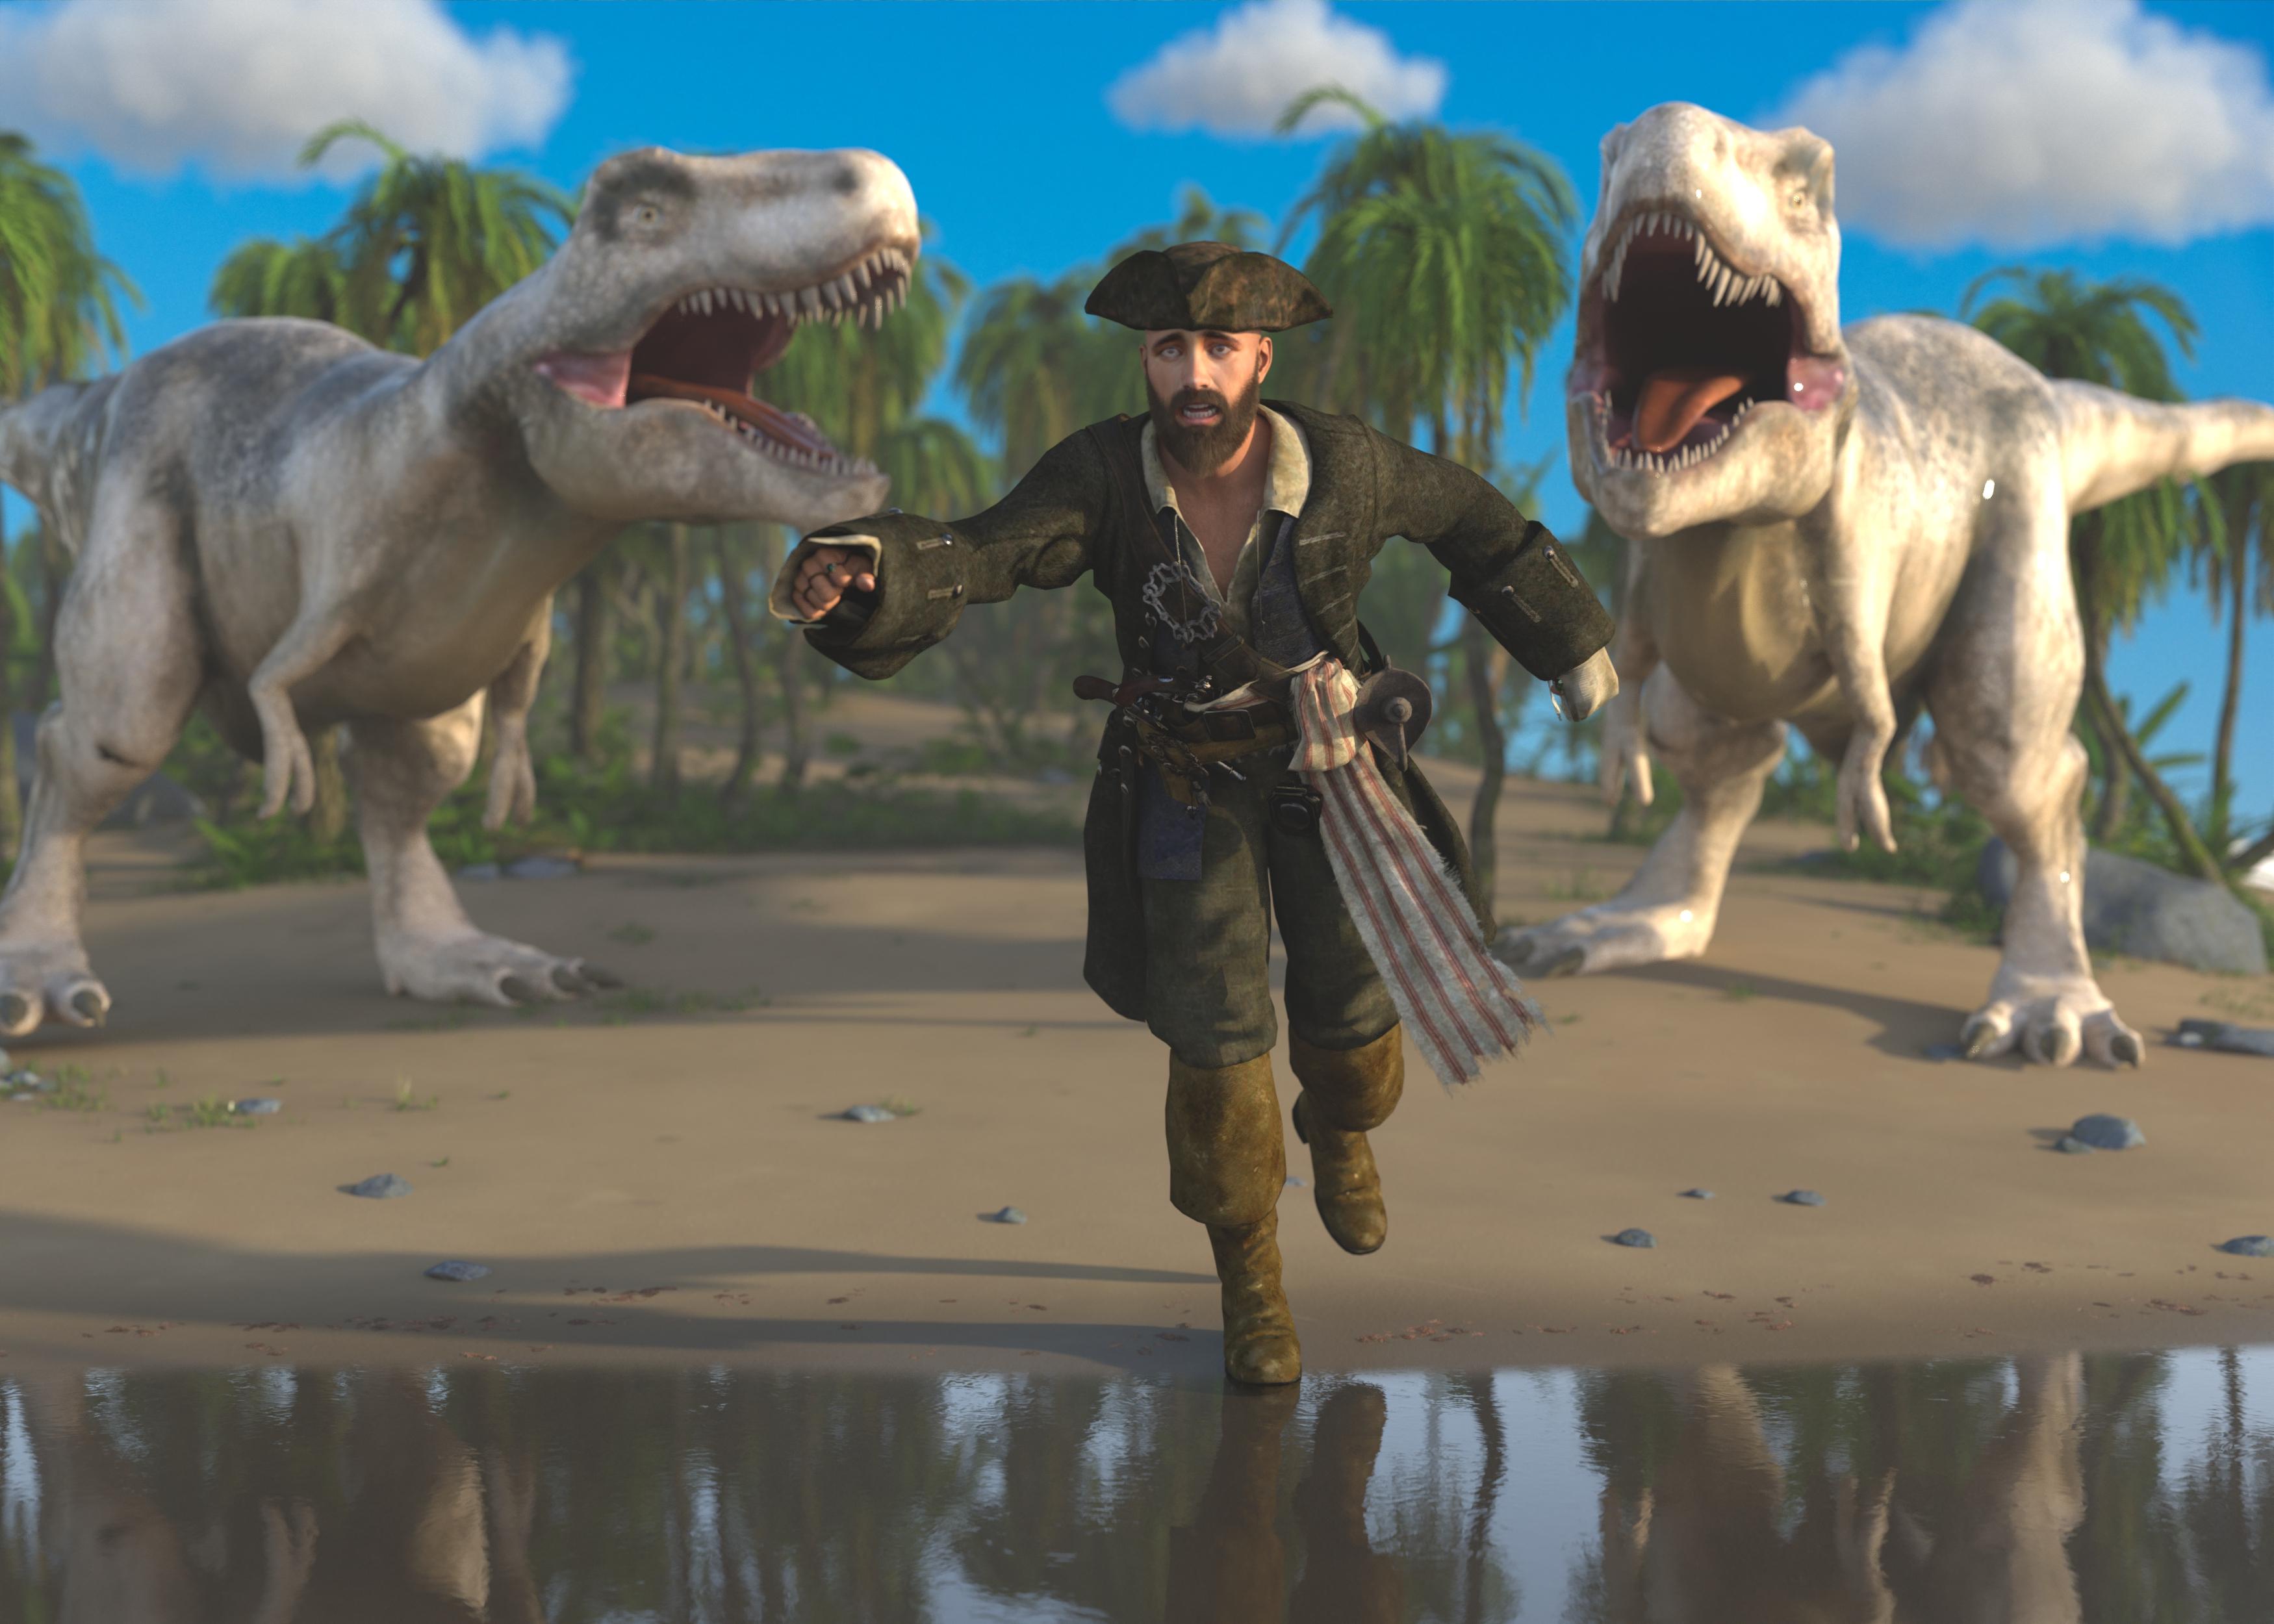
Freebies:
G8M Character: https://www.renderhub.com/ohnomen/jamesf-for-genesis-8-male-1
G8M Outfit: https://www.patreon.com/posts/jack-sparrow-for-38631136
T-rex (2 instances): https://www.cgtrader.com/free-3d-models/animals/dinosaur/tyrannosaurus-rex-47ec3ed9-ffe1-49f1-a856-056ea9a1c592
Clouds: https://www.cgtrader.com/free-3d-models/various/various-models/cloud-3d-vdb-and-model-guide
Sky Background: https://pixabay.com/photos/nature-field-barley-farming-7944405/
G8M Pose: https://www.renderosity.com/freestuff/items/86848/m4h4f4-pose-transfer-to-g8m
Paid:
Island: https://www.daz3d.com/secluded-island
G8M Beard and Moustache: https://www.daz3d.com/dark-guard-hair-beard-and-body-hair-for-genesis-8-males
Bald guy seeks hairInterestingly, I'm not seeing crinkle artifacts in testing Nirv Straight Long Hair on one of my custom characters. They have historically been prone to ripples and weird artifacts in hair around the chin level. What morph settings are you using?
Order of clothes?felis said:
As default clothing is not designed with other clothing in mind, unless it is part of the same set.
And they will therefore often clip like you see.
Different methods for reduce it.
The clothing might have adjustments morph, that might help.
If they support dForce, you could try first to simulate the shirt, with the jacket hidden, and then freeze the simulation of that.
Then show and simulate the jacket, but before start of simulation, make sure they don't clip.
You can also, subject to the same need to avoid clipping at the outset, simulate both at once with different Collision Layer values (in the Surfaces pane).
To avoid clipping there is different methods. You can use mesh grabber, to move cloth in or out as convinient.
You can add a smooth modifier. Most clothing has it, but you can change the collision object. For the jacket set the shirt as collision object.
You can add a push modifier (it can both be positive and negative (shrinking).
Finally you can take it into a modeller and make a custom correction morph.
I can see that the jacket support dForce (there is a rigid follower node). You could try adding a push modifier, and adjust it so it don't clip, and then simulate the jacket.
Daz 3D is part of

Connect
DAZ Productions, Inc.
7533 S Center View Ct #4664
West Jordan, UT 84084Licensing Agreement | Terms of Service | Privacy Policy | EULA
© 2026 Daz Productions Inc. All Rights Reserved.