-
ZBrush Error send to Daz3D (Goz)
Richard Haseltine said:
sp.creart said:
Richard Haseltine said:
This looks suspicious: Identifier: com.daz3d.carrara.GoZBrushToDAZStudio.macho.1.0.0.0
What can I do?
I am told that that has been there all along and is not playing a part in your issue. You probably need to open a support ticket. In the meantime you can use OBJ export/import (or Morph Loader) to go to and return from ZBrush - the modo preset seems to work.
Yes, exporting and importing .Obj files I have no problem, but I can't change the pose of my subject after the modifications on Zbrush in Daz3D ;( .
While why does Zbrush Goz on Photoshop work !?
New Release: Bringing Daz figures To Life in UE5dave_0aa47f5a80 said:
@Ellessarr - As I say, geoshells are not currently supported by DTL. The Maya script optionally deletes them or leaves them in place as 'static' meshes (i.e. they follow the bone they are attached to, but are not affected by any morphs). I've had a look at merging them into the single mesh when imported into Maya but have not had any success yet. Merging geoshells (and embedded meshes) looks like it will require quite a lot of vertex-level manipulation of the skinclusters that would delay the release of DTL.
So I'm putting merging of geoshells onto the feature list for a version 2 of DTL, along with G9 support, embedded mesh merging and morph-driven bone length changes.
The first release of DTL is in a working form at the moment but needs improvements to the UX. I'm currently creating options dialogs and generally making the system as easy to use as possible. I'm planning to get it released before the end of the year.
Can't wait to use this plugin just for the better JCMs along, put this on both the Daz and Unreal market, would be one of the most desirable plugins.
ZBrush Error send to Daz3D (Goz)sp.creart said:
Richard Haseltine said:
This looks suspicious: Identifier: com.daz3d.carrara.GoZBrushToDAZStudio.macho.1.0.0.0
What can I do?
I am told that that has been there all along and is not playing a part in your issue. You probably need to open a support ticket. In the meantime you can use OBJ export/import (or Morph Loader) to go to and return from ZBrush - the modo preset seems to work.
DAZ Studio Feature Request: Separate Weight map per rigidity groupHigh heels usually have rigid soles, so that would be why there were no weight maps for the toes. Rigidity is solely concerned with morph projection, it has nothing to do with joint bending.
how to edit this?I am in doubt if you are talking bending or morphing.
If you are talking about bending, you can click on the mesh to see if there is an area that you can bend to get what you want. Activating the joint editor will show which bones there are.
If you are talking morphing, i.e. moving the mesh, it requires that there either exist a morph supporting what you want, or you must take the model into a modeller and adjust it to your liking, and then create a morph based on that.
How to smooth out wrinkles without ruining your look?It's impossible to express with words the behavior of ZBrush brushes. You're gonna have to practice ZBrush a bit more to understand how sculpting works.
Only advices I could give :
- Work in ZBrush with 3D Layers when doing morphs. Import Genesis with GoZ, or by importing an obj. As soon as Genesis is imported, create a 3D Layer (name it for example Base Genesis). This way if anything goes wrong, you still have the base mesh. And then add layers for each modification or morph you're working on. Be sure to always check that the 3D Layer you work on is the good one, and is in Record mode.
- Genesis is too small for ZBrush's world scale which makes sculpting uneasy. Create a second Layer (Name it for Example Genesis Scale). Then use the Gizmo 3D (Y) to scale Genesis once until your reach "10" (the maximum scale you can do with that tool). This will give you a better control over the brushes' draw size. Be careful to not move the Gizmo. And be sure of course to slide that scale 3D Layer back to 0 before sending the morph back to Daz.
- Then create a 3rd 3D Layer and work on a morph. A 4th 3D Layer and work on another morph. And so on.
- When working on any morph, it's preferable to subdivide the Genesis in ZBrush. 1/ It's a non destructive modifier so no worries, morphs will work in Daz 2/ it'll avoid any unwanted modification of the base wireframe 3/ it'll give you a more precise control when using brushes : the more vertices, the more control you have over your mesh in ZBrush.
The rest really is all about practicing brushes. Your "wrinkles" I guess exist only because they follow Genesis' polyflow around the eyes. So move your brushes following the flow of polygons and you'll avoid creating unwanted details such as this one. The movement of a brush is important when painting, it's also true in 3D sculpting.
Good luck.
Let's appreciate/discuss today's new releases - ongoing threadShimrian said:
AllenArt said:
Shimrian said:
Thank you @AlmightyQUEST for adding some details on the vinme-morphs-for-genesis-9. I was looking at this, but am not sure I can really sculpt the faces I want to with what is offered. For example, the older faces do not seem to add glabellar lines or have controls for these on the face. Is there any way to add these using this or other G9 products?
If it were me, I'd wait for Zev0's Aging morphs product for Genesis 9. It might be awhile tho, but they're always excellently done ;).
Oh wow, just saw Aging Face Details HD and some of these dials would be perfect! Now I just need to wait for the G9 version to come out... I hope it's next for zev0!
I was more talking about these and these...the ones you linked are sort of an addon for these two ;). And these two will morph the entire body, not just the face ;)
New face morph eyes not matchingI used Twitzed Faces to create a new character face morph for Genesis 9 Female. I created a new eye position but when I tried to save it as a eye position preset it won't let me select the eye position corrective morph I created in daz studio, that is in the morphs tab and I can use the slider but it won't show up when I try to save it as a preset. I want to save it as a preset along with the head , body and character morphs presets. Do I save it as a pose?
Transfer Utility QuestionThanks, Richard. That's what I have been doing to avoid the problem. Reloading the original OBJ as a morph to restore the geometry but I was wondering if there is a way to set the Transfer Utility so that this step is not needed.
Transfer Utility QuestionIs it a single morph? If so you could just load your original OBJ as a morph in the clothing to match the shape exactly.
Transfer Utility Questionfelis said:
Is the character posed? If so, then there might be some JCMs that are affecting the result.
No, the character is in the rest position when I run the Transfer Utility. And when the Transfer Utility finishes, the geometry is a little deformed.
The figure is not the default G8F. It's a morphed version. That's why I'm using the "current" parameter in the Transfer Utility instead of "default".Any ideas?
Transfer Utility QuestionGuys, I need some help with the transfer utility. I have modeled some garment in Zbrush. Then I've imported it into Daz and it fits perfectly my G8F figure. But after executing the Transfer Utility the cloth geometry is always a little deformed. Must of the vertex are a little out of place and it is not exactly the same as before. Is there a way to avoid this deformation after executing the Transfer Utility? Maybe there is a setting in the Transfer Utility to avoid this to happen? What I would like to do is to just tranfer the rigging so I can pose the character with the cloth but I don't want the cloth geometry to be deformed in the rest pose. I would like my cloth geometry to be exactly the same in the rest pose as before executing the Transfer Utility. Is this possible?
These are the settings I'm using for the Transfer Utility.Thanks in advance,
Martha
AOBB's freebie head morph La Divina G9 for G9F based on Sophia Loren. No materials or textures.In a pinch actually means not having the exact item and needing a substitution. So using this morph as a base for a Margot Robbie-esque character when you don't have the actual Margot Robbie Morph would be a correct explanation of the phrase.
To be in a bad space or crisis is actually the phrase "In a jam".
Also, it's a lovely morph and even though I have no intention of updating to G9 as of yet....I did promise to do renders for all your morphs and have enough items that I can do so even with the G9 morphs. I just need to finish a few things up so I have the time to do it.
Let's appreciate/discuss today's new releases - ongoing threadNath said:
Richard Haseltine said:
PixelSploiting said:
Right now there's conflict between Vinme morphs and previously released morph packs for G9, I need to check which G9 morph pack exactly is causing it.
Body Morphs, at least - the morphs here have unique main names but truncate them to the name of the standard morph in the formulas, so of course they conflict.
So, do we need to put in tickets for this to be fixed, is there any chance of it being fixed, or may I as well return the Vinme morphs?
One assumes this was tested for before release, and yet...
With these errors it depends on what else was installed. I would say open a ticket, though I will be making my own report.
Carpet sweeperPlease forgive me for taking so long with this little sweeper. For some reason I had to re-mesh part of the top of the body by hand. A number of the facets weren't playing nicely and you could see distortions in the rendered result.
I have now modelled all the parts and have Tex mapped them, brought the individual parts into DS and applied materials. This is shown in the two attached renders. Now I have the bits as separate models, I need to combine them into one so I can import back into DS for the rigging.
Too tired today, tomorrow I have a big meeting with a customer and I will be too tired to do anything after getting home. So, I hope to do it Tuesday or Wednesday.
The plan is to have the two dust cups pivot around the wheel shaft, the brush bar has 10 brushes and will rig it to rotate with the wheels. The handle will be rigged to rotate fore and aft, and I'll add a handle length morph.
Regards,
Richard.
Head gamesThanks, AllenArt and Barbult.
The Mable-textured guy's shave is a little too close, I think. I tried some stubbles from my many beard sets, but they didn't look right, in a closeup anyway.
The DAZ morph package is really interesting for the 9s. Some different features than the earlier ones.
Force Feeding G9PixelSploiting said:
Lilflame made a few G9 items, then stopped. I suspect they weren't selling well enough?
It's going to be catch 22 for a while. "G9 is not popular because there's less stuff to go with G9 because less G9 stuff is being made because G9 is not popular."
I've seen a few artists that look to have done that. It's not surprising why though, since it's early days in adoption and people (me included) have a metric tonne of G8/G8.1/G3/etc. content they want to get more life out of. On a side note, I wish Day 1 launch would have included both the UV and morph converters so that it didn't feel like we were abandoning all the stuff we love.
[Released] RSE Mirror Geometry for Genesis 8 [Commercial]esha said:
Thank you for that link!
Ok, this really is a special case, although I don't know why. The rigging looks perfectly normal, no reason why it should behave so crazy.
For me, it does auto-follow. The dials are generated and set to 100% when the figure is morphed, and the auto-generated morphs do something, even though they don't follow the shape perfectly.
I have found a way to make it work better (with smoothing on), but I don't know why it works and I can't guarantee that it will work for you, too. But it's worth a try:
- With the glove loaded, run the Transfer Tool. Set G8 as source and the glove as target. Leave all other settings at default.
- Apply a morph to the figure. The glove will probably still not work perfectly. If it does, proceed with step 5.
- Delete the glove.
- Make sure the figure is selected (do not zero or reset it) and load the glove again. Now it will work (at least it did for me).
- Save it to the library: File > Save As > Support Asset > Figure/Prop Asset(s)
As I said, I don't know why this worked. It shouldn't because I didn't save it after running the transfer tool. But for some reason it does.
Please try that and let me know how it goes :)
Works like a charm :)
Still don't understand what mystery lies behind this extra step but at least I got it working :)
Now if I will ever find myself with props that behaves like this, I know what to do, thanks! :DQuick question about SubD and detail maps.1/ HD Morph
A Published Artist exports as obj the Genesis with some subdivisions. Adds details with Blender or ZBrush without modifying the polygon count. Import that as an HD morph. That's the most basic thing : HD detailing.
2/ Displacement Map
You got that right. A 2D image (displacement or height map) will affect 3D vertices. An image = pixels. 3D = vertices. If pixels are 50% gray, nothing happens. If pixels are black 100%, vertices are pushed down to the max. If pixels are white 100%, pixels are pulled up to the maximum. The more Surface Tab > My_Object > Geometry > SubD Displacement Level is a high number, the more your vertices will look like the pixels.
3/ Normal Map.
In Normal Maps (I answer quickly anyway) each 2D color means a direction in the X,Y,Z environment/space of a 3D model. My Lion has many polygons going in multiple directions. Those directions (aka normal of the polygon) are recorded (baked) onto an image and become colors. And that image, once applied on anything, will have color info about the orientation of all polygons from the sculpted object. Orientation that Iray or any other path/ray tracing engine, or real-time game engine, can use to fake the light hitting on objects... that are not there. Fooling our brains.
The brilliant John Carmak that I had the chance to work for a while ago, revolutionized 3D forever, with Doom 3 around 2003. Since then, Normal Maps are widely used in all 3D games and movies... because it's such an amazingly powerful technique, for skin pores, the weft of a fabric, small rocks on the ground, etc. and tons of other macro and micro detailing of surfaces without the need to add any geometry.
Romans were using the "trompe l'oeil" technique in their walls paintings. 3D artists use Normal Maps. Similar concept, except Normals catch light sources, create ultra believable details that don't exist, and can be seen from any angle. That's pure genius.
I'm gonna stop there. I never know how much people know before answering. My advice kindly is : if you love 3D, forget Daz for a few months. Install Blender and learn the basics of a 3D workflow :
3D blockout > 3D modeling / sculpting > 3D retopology > Defining UV Seams > Unwrapping > Baking > 3D hand painting / procedural texturing.
There are many steps in a 3D modeling workflow nowadays and if you practice them a bit (avoid the terrible f@$%king donut tutorial...) they will make you see Daz on a whole new level. If you don't spend that time learning the behind the scenes of how assets in Daz are made, you're gonna end up drowning in tons of blurred technical info and wrong interpretations. Better to invest time learning, than loose time trying to figure out things without the necessary keys to understand them.
Cheers. I really gotta go back to work ;)
P.S : Polycount Wiki is getting old. But it still has a lot of well explained info about all those technical 3D words.
Let's appreciate/discuss today's new releases - ongoing threadrichardandtracy said:
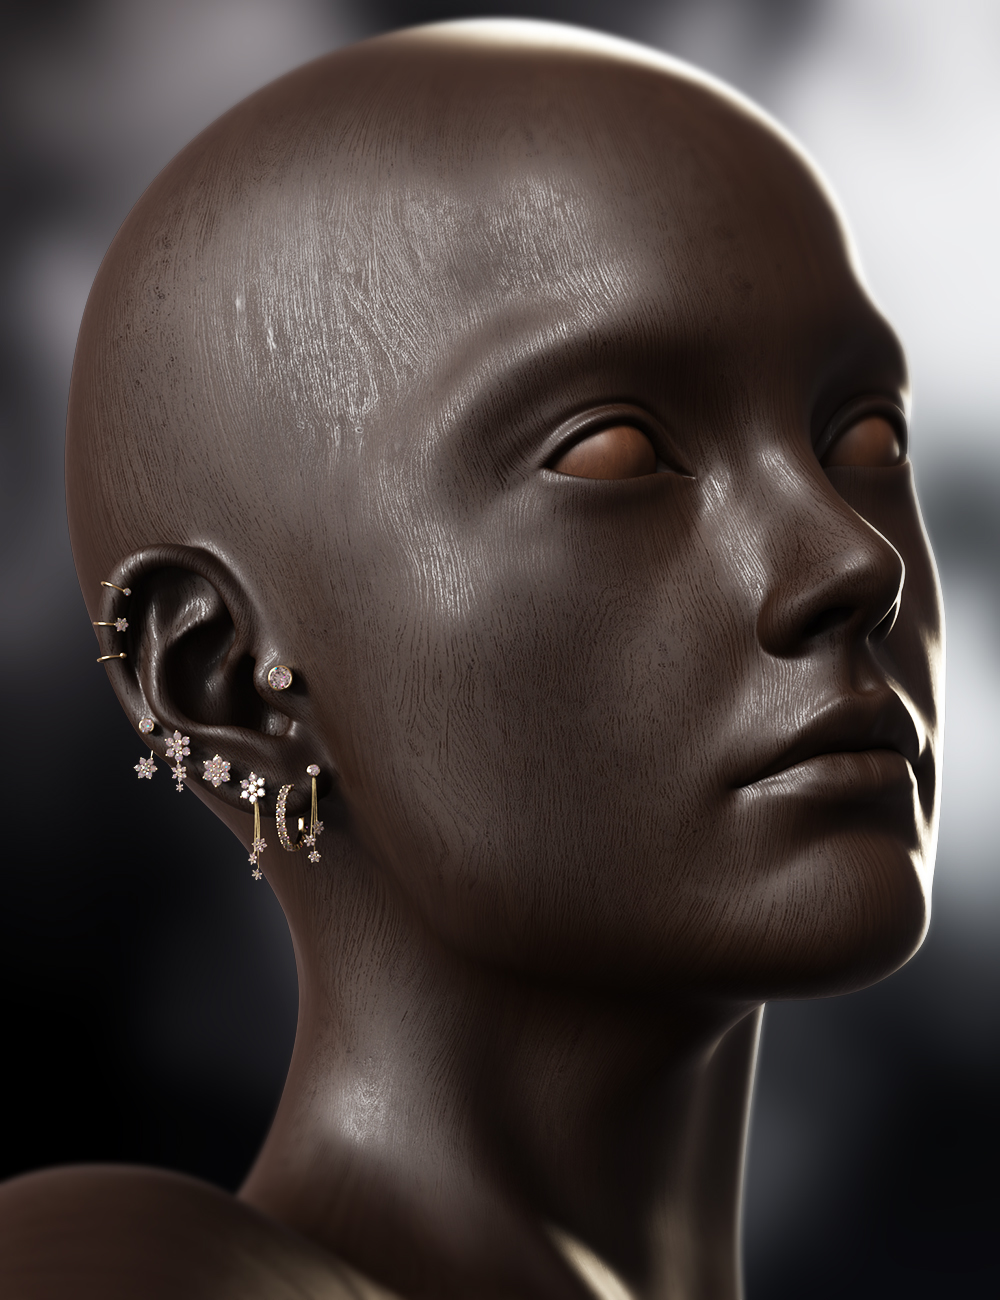
I do like the 'Classic Earring Collection' https://www.daz3d.com/classic-earring-collection-for-genesis-8-81-and-9. Nice, understated and beautifully modelled with a good range of character support. The range of material options is impressive too. Regards, Richard
Any idea who the male morph face is in the promo?
Daz 3D is part of

Connect
DAZ Productions, Inc.
7533 S Center View Ct #4664
West Jordan, UT 84084Licensing Agreement | Terms of Service | Privacy Policy | EULA
© 2026 Daz Productions Inc. All Rights Reserved.