-
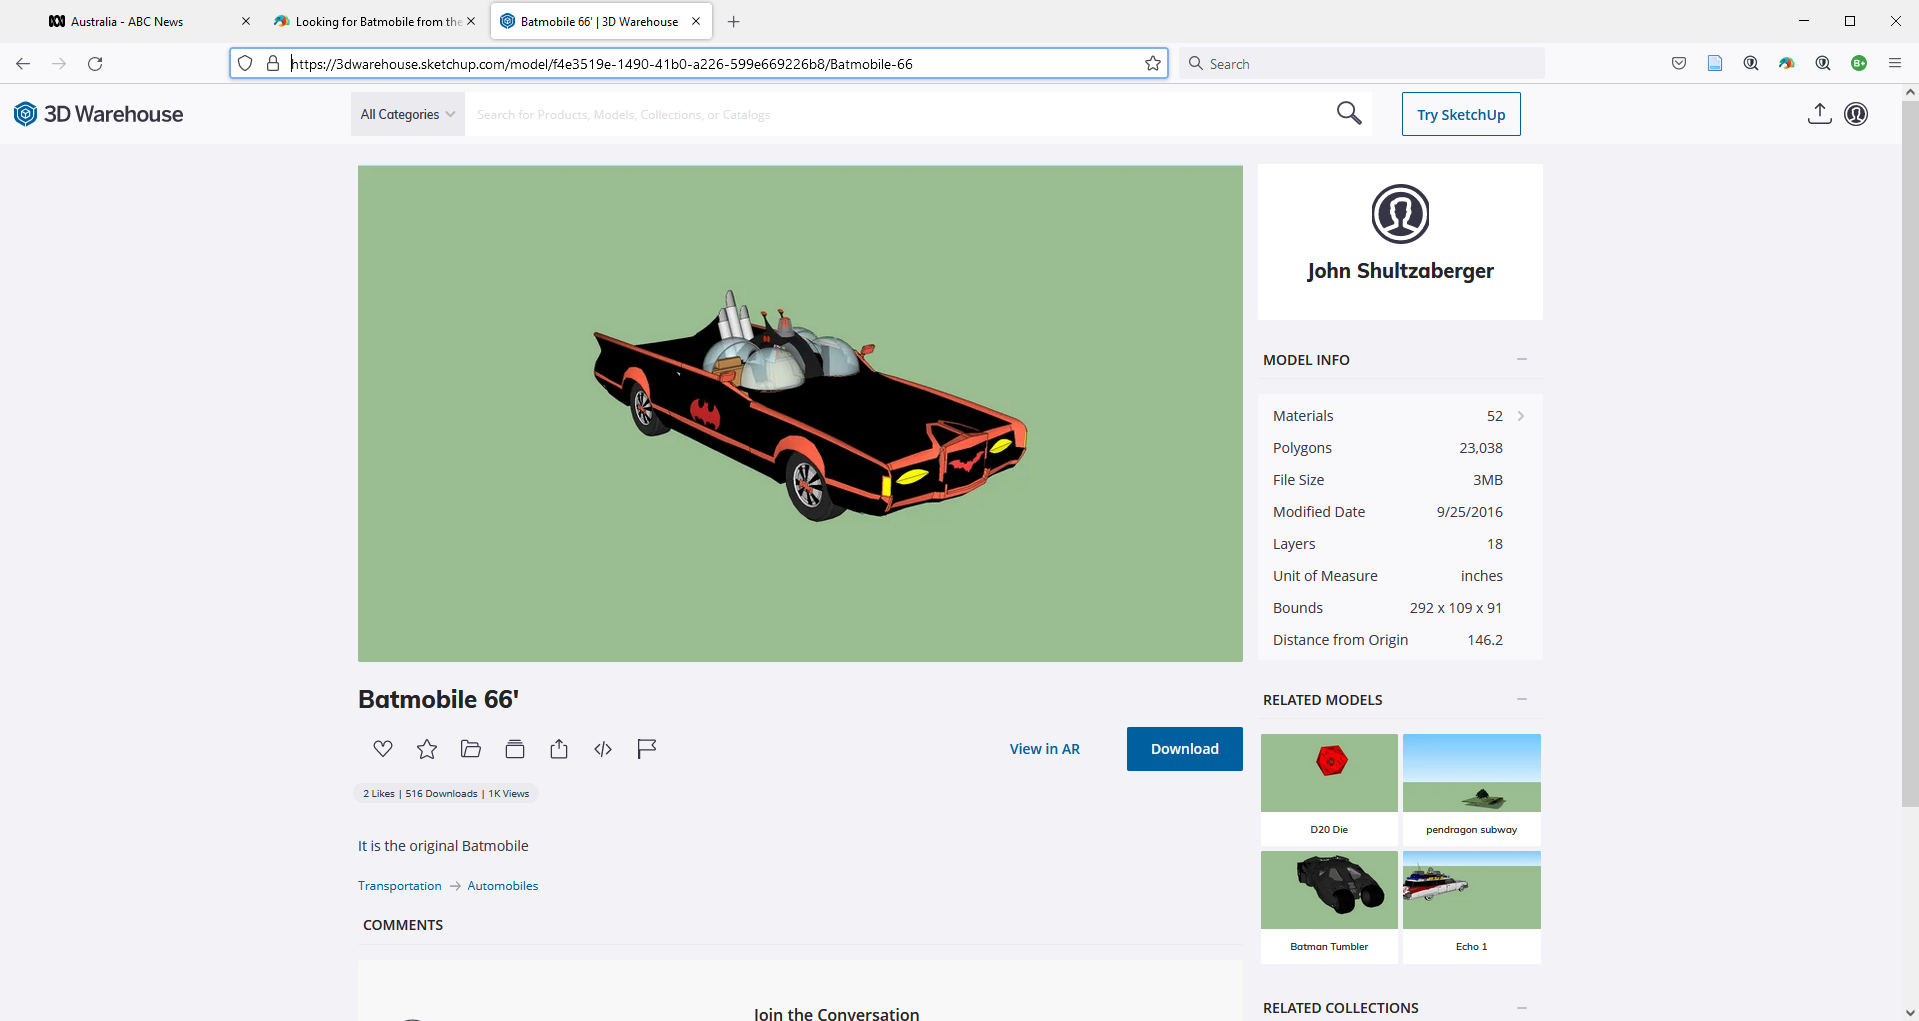
Looking for Batmobile from the 60's TV show
Needs converting, Sketchup Warehouse
https://3dwarehouse.sketchup.com/model/f4e3519e-1490-41b0-a226-599e669226b8/Batmobile-66
 Escher Gravitation 3D Model and Derivative Models and Options
Two freebie releases from me that go together:
1. Escher’s picture of a dodecastar with 12 creatures captivated by the dodecastar’s gravity is now available as a 3D model in Daz Studio format and .obj format.
I made the dodecastar from scratch in Blender.
The creatures were made by Gregory S. Dotson, in his version of the 3D model that he uploaded to Sketchup’s 3Dwarehouse website. I converted his creatures to Daz and .obj format and, with his permission, include them in this release. (No commercial use of his creatures allowed.)
2. In another download, I release my dodecastar with several derivative features.
My dodecastar can captivate, not just Escher creatures, but AntoniaDS, G3F, G3M, G8F, and G8M, or anything else you want to put on it. But I provide poses for those human figures.
Other options are to remove the ports and have just a plain dodecastar, a model of just one of the dodecastar’s points (with ports), and several materials schemes. (I allow commercial uses of my dodecastar and derivatives.)
Escher’s Gavitation as a 3D model: https://sharecg.com/v/98875/21/DAZ-Studio/Beast-Escher-Gravitation-Dotson-V1
My dodecastar expansion: https://sharecg.com/v/98874/21/DAZ-Studio/Dodecastar-Escherian-Gravitation-V1
Adobe Substance 3D Stager - Just a general set of questionsHello folks.
I just have a general set of questions/thoughts and wanted to bounce off some ideas before I start paying Adobe so much for this thing. I have always felt Daz 3D is like a 'first' step into the world of photorealism. It's fun playing around with attractive female figures in a variety of clothing and posing them around. However, I am also interested to learn what other 'photorealism' tools are out there which are easy to use, like Daz 3D.For instance, I liked how easy to use Sketch Up + V Ray to create some super cool photorealistic building and neighborhood scenes. I spent a few days on that, with the trial, and came off very impressed. I also understand, Blender has a lot of 'Arch Viz' plugins and ready to use scenes/assets that can be purchased for some super cool, photo real indoor/outdoor visualizations. I plan to explore them eventually.
Now, I have bumped into Adobe Substance 3D Stager. They have put a nice little video right there on the front page - https://www.adobe.com/in/products/substance3d-stager.html#concept-videoThe video reminds of Daz more than anything else. Mix and match models, and arrange them and do some photo realistic renders. What fascinates me is that, Stager has a 'collision' system which means, real physics interaction between models. it also has an asset library. and I am sure, there will be ways to import 3D models from online marketplaces.
Ultimately, I just want to explore photorealism as a hobby, and I want to learn more tools, simply as a hobby. Daz 3D is already doing it. I have already sampled SketchUp and V-Ray, which looks good.
So, would Substance 3D Stager, be a good next step for me?
Note : I am probalby just rambling here. For that I apologize. But, that is where I am. Just, exploring these tools. Further, I have looked at the high tools like Maya, which are beyond my scope and ability and pricing right now. So, I have to stick to relatively easy and cheaper tools like Daz and SketchUp + VRay.New modeling app coming - PlasticityReminds me of Sketchup a little ;)
Offline Rendering - General Questions and Hardware Purchase Advice NeededPerhaps, I should add some additional clarity.
@barbult
I have the 12 GB version. I am convinced that the GPU is not consumed during my final, offline rendering. However, the GPU is full utilized during my IRay Preview, Real time Rendering. Right now, I am happy with the performance of the RTX 3060 (which is all i can buy in India, anyway).
@Gordig
I am not talking about the preview, real time rendering. I am simply thinking of buying a second computer, just for the final renders. As the RTX desktop rarely uses the GPU itself during the final, offline render, I fancied getting a machine with a juiced up i7 or i9.
------------
So....
Further, from what I understand with all those videos I am watching from Unity, SketchUp and V-Ray (official tutorials, not some YouTube stuff), they seem to be imply that offline rendering happens on CPU.
Realtime preview rendering happens on GPU.
So, the information I am getting is, the final offline rendering, for instance, on V-Ray and Nvidia IRay, depends 100 % on CPU power with GPU not playing a role at all.
Are you guys saying that, offline rendering absolutey is GPU dependent? I am confused now :(One for the petsPudgy said:
"PET PRODUCT" as I have said in the same first post, "Pouch, bag or box" so I would think it would convey something you would normally purchase for your furchild. Whether it be treat, snack, food and so on.
Okay, so then I'm not crazy... okay, full disclosure... that's a lie, I am crazy, but I did get the request/question...
No, as far as I'm aware, there is no plug-in or product to create a quick model like that... if you want a fast three dimensional model of a product for a pooch, kitty or walrusie, photogrammetry is probably the easiest way to go without learning how to do traditional modeling.
What Wendy said about using SketchUp is actually a pretty good suggestion if all you want is a box of treats, like a box of Milk Bone snacks...
Actually, in my collection at ShareCG, I have a mapped cereal box which you could swap out the textures for other graphics to turn it into a box of pet treats... it's easy to do, but that would require a little experience with an image editing program like photoshop or gimp, but as long as the graphics were made to fit the same dimensions as the original, it should work just fine.
And technically you could similarly re-texture any sort of 3D food box or pouch to look like pet snacks.
Also apologies if that's not what you were looking for or you are aware of these solutions already.
Good luck.
One for the petsI think the term pet is causing the confusion here.
The OP means bespoke not an animal you have as a companion.
one way to do this is billboards which means editing a photo adding a cutout opacity map so you can place it on a plane, this means using an image editor to erase the background (black) and fill the foreground with white.
Various tools can help with this, I use colour selection myself in conjunction with the eraser tool.
It helps enormously if your object is photographed against a uniform contrasting background like a blue or green screen.
A more advanced thing I do is roughly model the object then texture it with photographs, Sketchup uses this method to make buildings for Google Earth 3d view.
Zbrush Zprojection or Spotlight and polypaint in Zbrush makes this extremely easy but before I had Zbrush or learned to do this it was a matter of tracing a photo with polylines (in Carrara in my case) filling in and triangulating the Ngon polygon then refitting the UV shape to the image as a texture, adding thickness, Sounds confusing but in Carrara which I am very used to it was actually quite easy, in your modeller of choice which may include Blender and using camera projection for the UV mapping it might be easy too.
One does not have to be a very skilled modeller as just making a very lowpoly shape, the photograph mapped to it is what sells it.
Obviously one needs an evenly lit image.
nothing complex either
its a great method for background buildings, boxes and bags can use cubes
Why is my clothing getting horizontally flipped when I use transfer utility? Driving me insane!!!kirihunter_8b4ed2f9b5 said:
This is all so infuriating. Nothing I do works. I've tried every suggestion. I can not get the bloody model to import in both the correct position and WITH UV mapping intact. I can get it to import into the correct position or move it into position, but then I loose UV mapping an my materials go to hell. Or when I use the transfer utility to parent the uniform to the Genesis 8 female the bloody uniform flips back again or glues out of position. It's unreal. No matter what position I put the model in within sketchup prior to export as an obj when it gets imported into Daz it's in the wrong orientation. Is anyone willing to take a crack at this and see if you can get it to import into the proper position? I'll send you the uniform .obj. Why is it so hard to import with UVs then get the clothing item to transfer onto the Genesis 8 figure in the same fracking position it was in before you started the transfer utility??????????????????????????????
How the hell can you lock the coordinates so when you execute an asset transfer Daz doesn't change the position?
Please post a screen shot of the import option dialogue in the version that gets the shape right but loses the UVs - I suspect all you need to do there is enable the relevant checkboxes in the lower part of the dialogue (certainly those on the left but you would usually want Read Surfaces too).
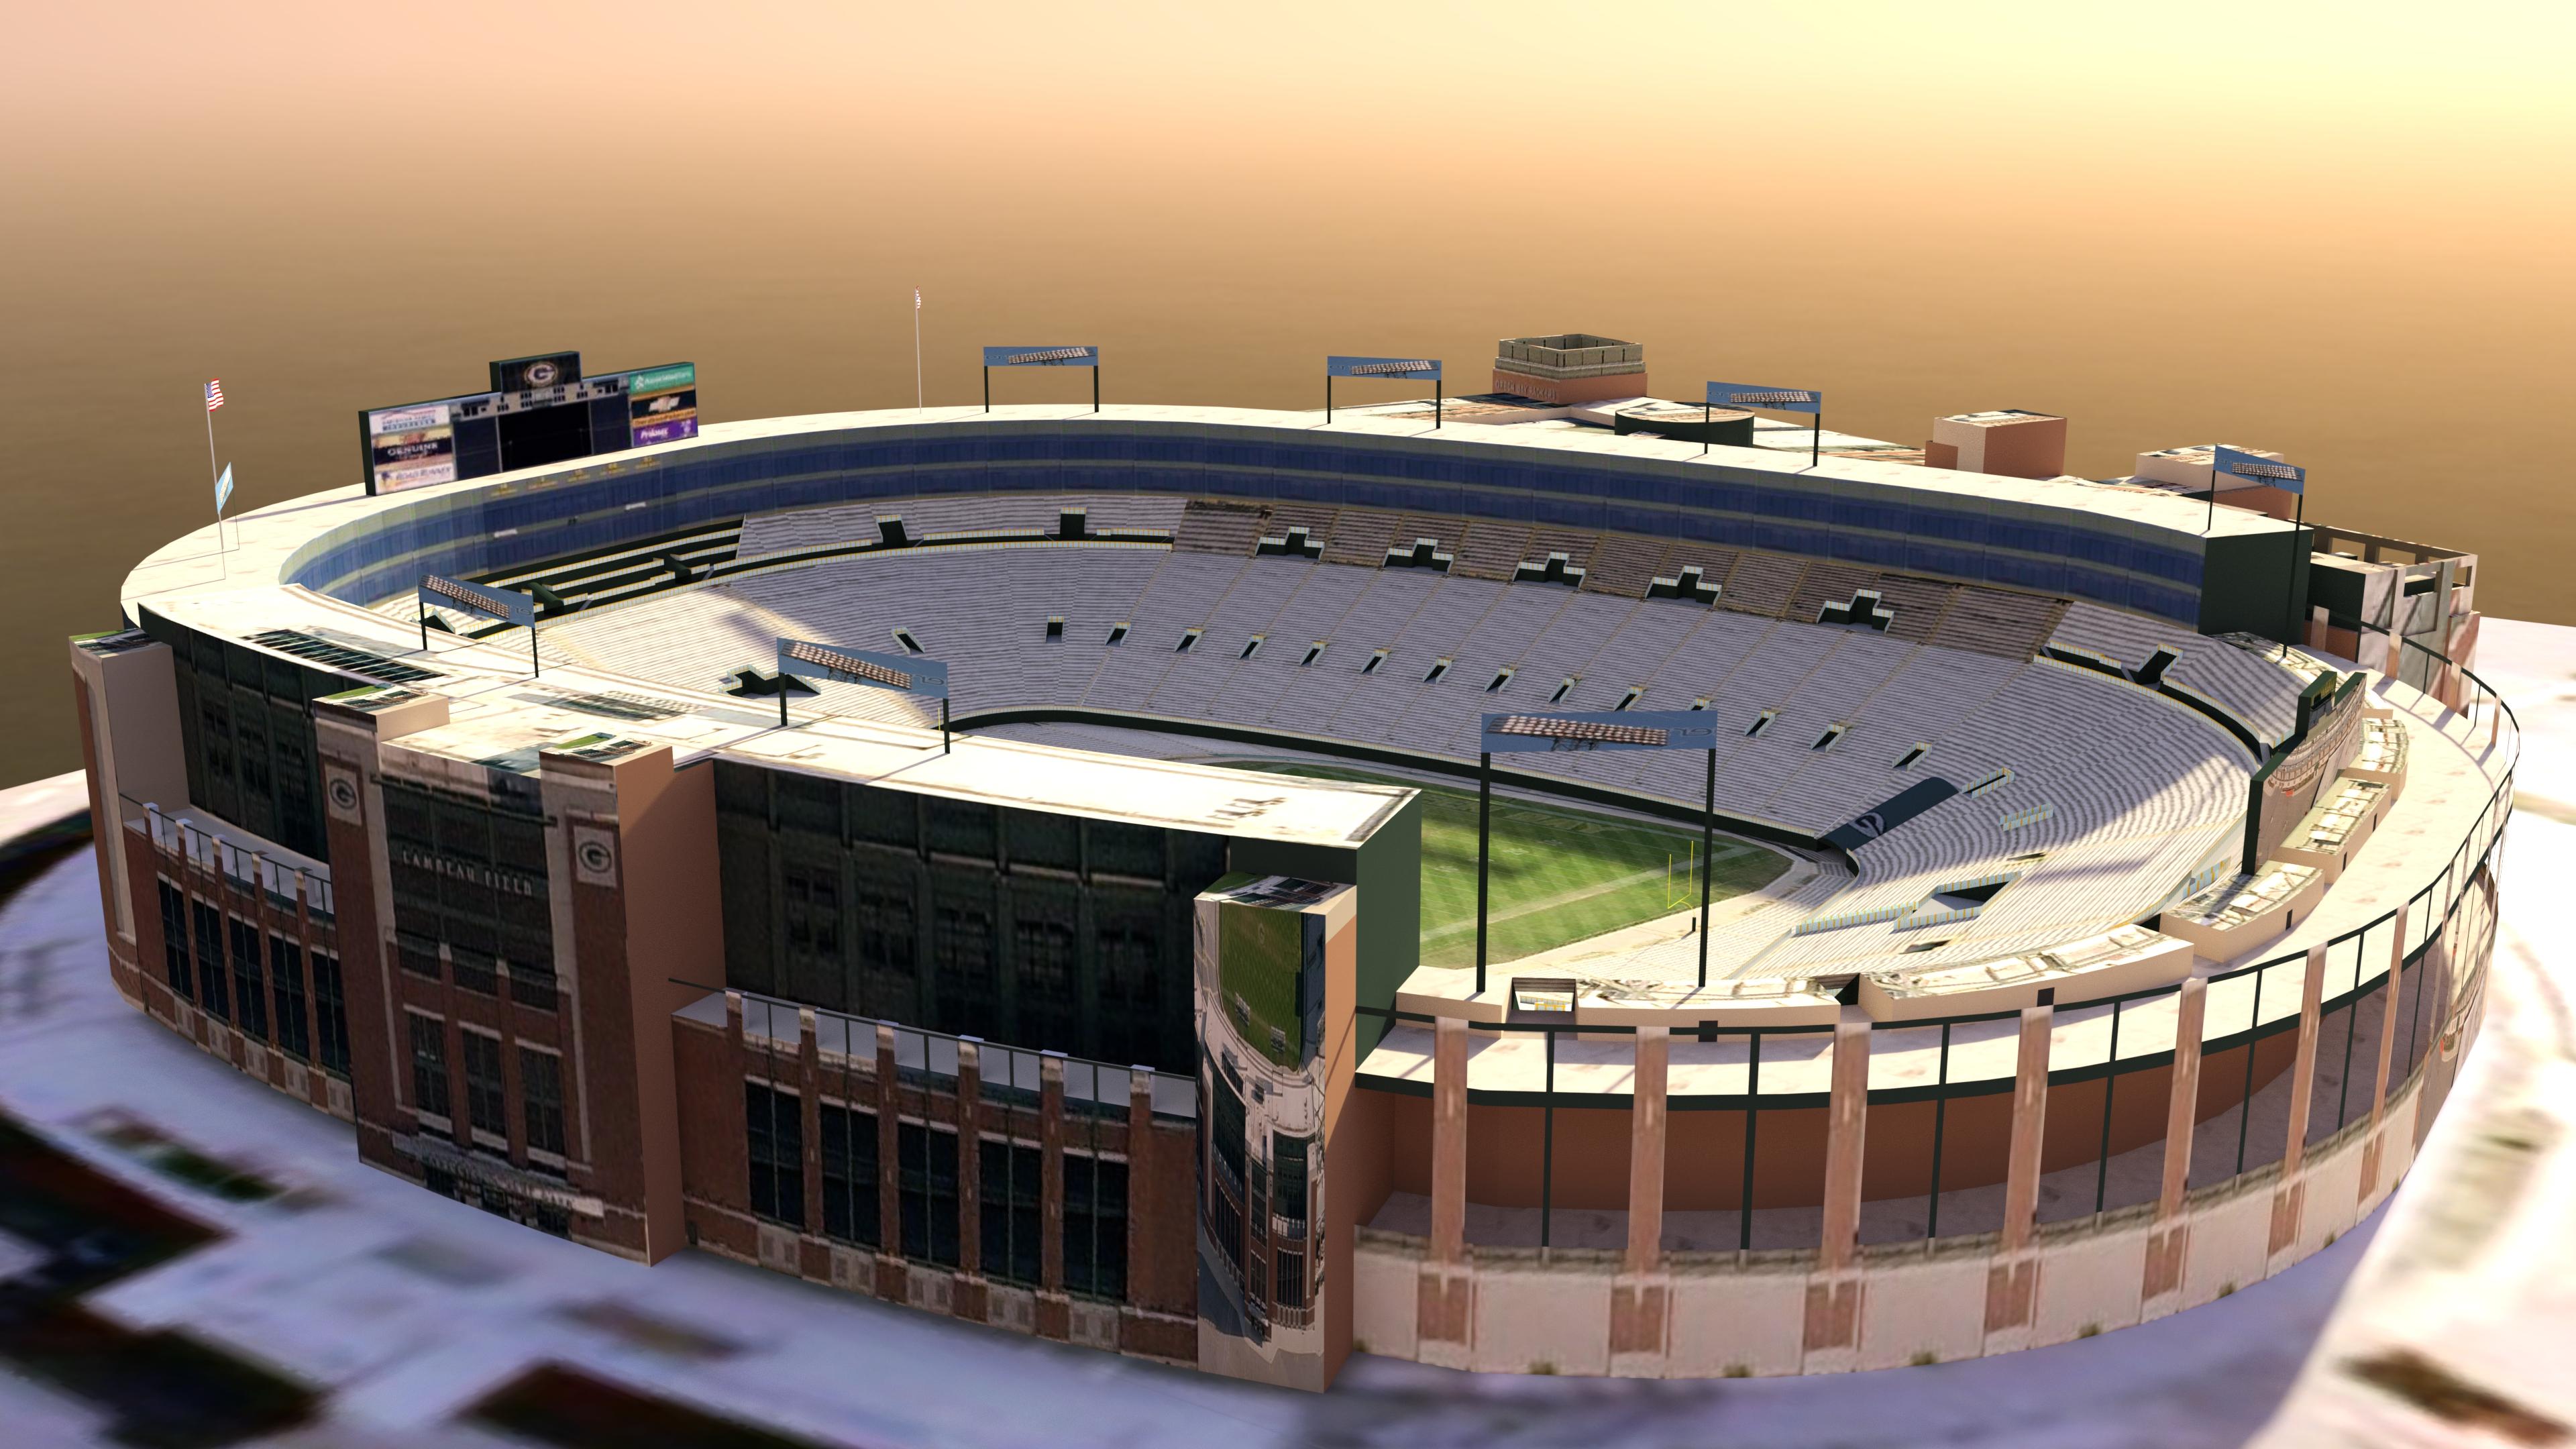
The full 9 yards Big Game Bundle - Questions about contentthe sketchup one in DAZ iray
had to update Pcon planner to load the latest skp which I exported to obj
just wanted to see what the Lambeau one looked like
 Why is my clothing getting horizontally flipped when I use transfer utility? Driving me insane!!!
This is all so infuriating. Nothing I do works. I've tried every suggestion. I can not get the bloody model to import in both the correct position and WITH UV mapping intact. I can get it to import into the correct position or move it into position, but then I loose UV mapping an my materials go to hell. Or when I use the transfer utility to parent the uniform to the Genesis 8 female the bloody uniform flips back again or glues out of position. It's unreal. No matter what position I put the model in within sketchup prior to export as an obj when it gets imported into Daz it's in the wrong orientation. Is anyone willing to take a crack at this and see if you can get it to import into the proper position? I'll send you the uniform .obj. Why is it so hard to import with UVs then get the clothing item to transfer onto the Genesis 8 figure in the same fracking position it was in before you started the transfer utility??????????????????????????????
How the hell can you lock the coordinates so when you execute an asset transfer Daz doesn't change the position?
Why is my clothing getting horizontally flipped when I use transfer utility? Driving me insane!!!PerttiA said:
kirihunter_8b4ed2f9b5 said:
I did find another soultion. I changed the orinetation of the uniform in sketchup back to the one matching the Genesis 8 female I imported to sketchup to use as a fram to model the uniform. I still don't understand why the Daz X, Y, Z coordinate system is differnt than anything else. This seems like a basic level screwup by the original program coders. All other 3D programs universally use the blue axis as the Z axis (vertical). Why on Earth Daz has the Bllue Axis as the depth axis (forward, to back or depth) is beyond stupid and very frustrating.
I'd still like to know why the INVERT POSITIVE DIRECTION selection has no effect.
The orientation of the axis depends on how the developers viewed the world, was XY plane the ground plane or a window you look through at the world.
I know it's open to interpretation, but people who don't use Y for up/down are objectively wrong.
Why is my clothing getting horizontally flipped when I use transfer utility? Driving me insane!!!kirihunter_8b4ed2f9b5 said:
I did find another soultion. I changed the orinetation of the uniform in sketchup back to the one matching the Genesis 8 female I imported to sketchup to use as a fram to model the uniform. I still don't understand why the Daz X, Y, Z coordinate system is differnt than anything else. This seems like a basic level screwup by the original program coders. All other 3D programs universally use the blue axis as the Z axis (vertical). Why on Earth Daz has the Bllue Axis as the depth axis (forward, to back or depth) is beyond stupid and very frustrating.
It isn't different from everything else, it's differnt from the Autodesk applications and some others. There are two coordinate systems in common use, right-handed and left-handed. Daz Studio uses the same as modo and Lightwave (which are the applications Daz traditionally used), ZBrush, 3D Coat (I think) etc. Use the 3D Studio preset in the importer and that should get the orientation right, then adjust the scale if needed and save a new, Sketchup, preset for future use.
I'd still like to know why the INVERT POSITIVE DIRECTION selection has no effect.
Why is my clothing getting horizontally flipped when I use transfer utility? Driving me insane!!!kirihunter_8b4ed2f9b5 said:
I did find another soultion. I changed the orinetation of the uniform in sketchup back to the one matching the Genesis 8 female I imported to sketchup to use as a fram to model the uniform. I still don't understand why the Daz X, Y, Z coordinate system is differnt than anything else. This seems like a basic level screwup by the original program coders. All other 3D programs universally use the blue axis as the Z axis (vertical). Why on Earth Daz has the Bllue Axis as the depth axis (forward, to back or depth) is beyond stupid and very frustrating.
I'd still like to know why the INVERT POSITIVE DIRECTION selection has no effect.
The orientation of the axis depends on how the developers viewed the world, was XY plane the ground plane or a window you look through at the world.
Why is my clothing getting horizontally flipped when I use transfer utility? Driving me insane!!!I did find another soultion. I changed the orinetation of the uniform in sketchup back to the one matching the Genesis 8 female I imported to sketchup to use as a fram to model the uniform. I still don't understand why the Daz X, Y, Z coordinate system is differnt than anything else. This seems like a basic level screwup by the original program coders. All other 3D programs universally use the blue axis as the Z axis (vertical). Why on Earth Daz has the Bllue Axis as the depth axis (forward, to back or depth) is beyond stupid and very frustrating.
I'd still like to know why the INVERT POSITIVE DIRECTION selection has no effect.
Why is my clothing getting horizontally flipped when I use transfer utility? Driving me insane!!!When using Transfer Utility the base model (without morphs or other seettings) is adapted.. so the clothing is adapted with a positive X scale of 100.
You can:
- edit the impot settings for obj file
- import, correct the clothing, re-export from DAZ to OBJ and reimport it
When Importing you must set how axes are placed in Sketchup:
- Vertical Z
- Lateral X
- Depth Y
If the model looks inverted, under the Lateral X activate INVERT POSITIVE DIRECTION to flip the model
Why is my clothing getting horizontally flipped when I use transfer utility? Driving me insane!!!So I modeled a uniform in sketchup. Exported as an .obj. Imoorted it into Daz. This is where the problem starts. The Blue axis on the original sketchup model which is the vertical axis in literally every modeling and rendering program in the universe except Daz, in Daz becomes the front back axis and the model imports as if it was laying flat, face down on a floor instead of standing up. In the import dialog I tried every differnt combination of switiching, Z,Y and X axis but the closest I can get it to normal has the uniform aligned correctly with the Genesis 8 figure, but the Daz red axis is flipped. The only way I seem to be able to fix this is to select the uniform, then set the X Scale to -100 to then everything is aligned correctly.
However, once I use the transfer utility to morph the uniform to the Genesis 8 figure the fracking uniform flips back to an inverted red axis!!!! WHAT THE HECK!!!!!
Two questions...
How the heck do I import a model made in Sketchup, saved as an .obj to Daz starting off in the proper alignment?
Two how do I stop the uniform from flipping horizontally when using the transfer utility?
Export posehey man , yeah snap.
dam been trying liek million ways. glad to see this post now as driving me nuts to the max. and yeah ok , i use cinema 4d , maya , 3d max , blender etc but love sketch up as i model faster in that and has sick features that when u max it it slick and many other application dont give you the same fx , i use it much with after effects and element 3d to take to next level. use scene cuts in su pro , ad to ae with element 3d and wow make some sexy fx man , so yeah annoying this pose export part . hoep this works i will read more and try but yeah man feel you on this subject , loosing hair rapidly trying to nail this now ! .
FOR ALL > does anyon knwo best method to > daz3d make pose on gen 8 model for example. export as " what formst and with what ioptions etc " and import into element 3d ( video copilot plugin for after effects ) and make it all work as in not go back to default T position and jmaitain the maniplulated pose - anyone got any experince with this ????
TIA all smileseheberling said:
Hello all,
How do you export a figure after posing it differently than the default T-pose? I've tried obj and Collada (dae) but they revert back the default pose. (I'm importing the files into SketchUp.)Thanks,
Eric[LINKS] Free Auto Modelsnabob21 said:
Thanks McGyver. And as I have no experience in doing this, how would I convert it?
I've run through this enough time to have gotten the hang of it. The basic steps are:
(1) Download your model from 3D Warehouse as a Collada file;
(2) Open the file in Sketchup (any version will do);
(3) You'll want to break down all of the components by 'exploding' them (Edit > Component > Explode). You'll have to do it a few times until there's nothing left to explode. Then;
(4) Export (File > Export > 3D model) as a Collada file again;
(5) Import the file into Blender, make sure that all of the pieces fit together;
(6) If you're familiar with Blender, this is a good place to make more tweaks, but if not, you can export it (File > Export) again (as Collada or OBJ);
(7) Now you can import it into Daz, and it should do so in one piece/without exploding.
(8) Having a good set of material shaders is really helpful![LINKS] Free Auto Modelsalso https://pcon-planner.com/en/download/ does Sketchup conversions
[LINKS] Free Auto ModelsYou could use Blender to convert the DAE to OBJ... but that requires a little bit of knowledge about Blender, it's basically just- import DAE, export OBJ.
There are free online file converters which would probably do the same, but I've never used them...
At the moment, these are the only two I can find links to...
http://www.greentoken.de/onlineconv/
Please note, that I've never used them, I've just heard of them... there is another one that I know people here have used, but I can't find the link anywhere in my collection of links and crap.
Another option is Ultimate Unwrap 3D... that's paid software for UV mapping, the pro version is around $60, but it imports and exports a ton of different formats, particularly SKP... I use SketchUp often and it's very good at converting my models to other formats.
I wrote a mini tutorial a while ago for people who are interested in converting SketchUp and 3D Warehouse models for use in DAZ studio, but nobody really seems interested and at the moment I have no idea which hard drive or computer that's sitting in.
EDITED TO ADD- Sorry, I didn't realize which thread this was, I came here from another thread and thought this was related to the Car And Bike Lovers thread, so sorry if I interrupted a thread of links.
Daz 3D is part of

Connect
DAZ Productions, Inc.
7533 S Center View Ct #4664
West Jordan, UT 84084Licensing Agreement | Terms of Service | Privacy Policy | EULA
© 2026 Daz Productions Inc. All Rights Reserved.