-
Creating a Custom Tree Structure for Content Files
Greetings:
I would like to store my content on my HD with a specific file tree structure. Question is, can DS be made to see the individual branches, or does everything have to come from a central "pool". Also, is it possible to set up a similar structure within DS? Here's a small example of what I want:
FIGURES Male M3 M4 G2M Female V3 V4 G2F SETS Buildings Interiors Exteriors Vehicles Land Sea AirEthnic Couple 7 Idea ThreadWell, the same can be said of many ethnicities. Mexico has a very diverse range since you have Spaniard, Indigenous (which also varies), Black and even Irish and Chinese and more in varying mixtures. My brother is darker complected than myself. Most mistake me for Italian. Even in Africa, those from the different coasts, central, northern, southern areas are very different. Many people have a very narrow idea of what they think a nationality looks like due to their own experiences, is what I have found.
Star Trek Builders Unite 7: The Continuing MissionOk, so I did a bunch more chopping and editing of the cargo holds in that central hub and got curious and exported the files out from Truespace and into DAZ to make sure I got the sizes right and could keep going the way I have been. The sizes are right but I have mesh errors all over the place (I hadn't optimized it or anything) but with some actual people in the sets along with shuttles, in this case the Defiant shuttle, the Weyland shuttle and the Volga runabout. Where the one character is hovering is in front of where the control room is going to go. The big yellow object is actually the lower part of Deck 2 and this bay resides on Deck 4 according to the Whitefire blueprints.
The I Wanted Mousse But Got A Moose Instead Complaint Thread.mac n cheez !! bananas with rediwhip for dessert. or desert? never can remember
mac n cheez !! bananas with rediwhip for dessert. or desert? never can remember
desert 1. a place mostly devoid of vegetation and life, harsh, arid.
desert 2. to abandon friends, family, military unit, lifestyle, etc.
desert 3. rewards, earned. As in, "He got his just deserts!"
dessert - pastry, cake, ice cream, etc., usually as the last course of a meal.

Dana
5) "Deseret" a large ranch in central east Florida https://en.wikipedia.org/wiki/Deseret_Ranches
ZDG random Daz Studio discoveries and questions.Umm...NO. Unless, even in 3Delight-land, you are doing metals, the specular color should be WHITE (maybe a grey, because as a grey it actually works as another sort of strength control...but that's another matter, entirely) and only WHITE...for EVERYTHING, all the time and forever!
A grey, unless your specular maps are pretty heavy. Remember the reflectance thing, specular is also part of it.
And coloured highlights are a nice enough "cheat" for the iris, Zarcon is right. We won't get caustics with the cornea geometry of DAZ figures.
The way most of the coding is for the shaders in Studio, the color and the map get combined, so what is being fed to the final calculation is a grey. But using a color to compensate for nonlinear/other problem is not going to help anything.
As to the geometry...yeah, but that is the reason those damnable baked highlights came into being and are still around...and unless there are none, I don't bother trying to compensate for the lack of 'real', because any baked in ones will just make it worse.
In an "oldschool" scene that doesn't use GI, a few percent of ambient can fake SSS in a pinch. Of course whenever GI kicks in, ambient goes out unless we're talking emissives.
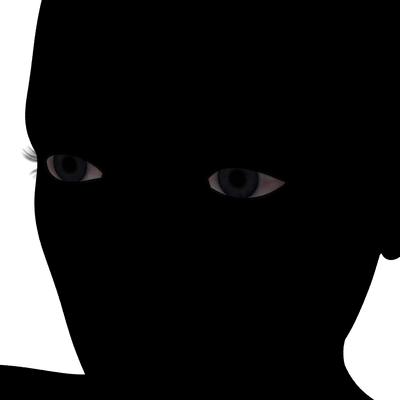
And that's the problem...a few percent, tends to be 'more than 10' in most settings...which WAAAAAAAAAAAY too much (3-5%...maybe, more than 10%...glowbug central). Those eyes at 25% are going to blow out in just about any render. If you can remove all lights from the scene and still discern details, the Ambient is definitely way too high. (Maybe for a Drow, that would be fine for a setting...but definitely not for a human...)
Here's those eye settings without any lights...rendered with 'normal' Studio 3DL settings, Progressive OFF.
 DAWG ~ Daz Authors Writers Group ~ Tell Us Your Books, Support Each Other!
Melissa- are you referring to Amazon?
if your books have a theme (let's say Paris) then you'd put Paris in the search and come up with all the images/people from Paris, and those folks would be a good target audience for your book. Here's a few tips for Instagram: (I'm a new user, but I did about a week's worth of reading so I did it RIGHT.)
Anytime you post an image, put #(keyword) at the end of your description (and having a description may get more comments/likes.) One common # is #newphoto.
Try to check at least once a day for followers, check them out, and follow back if they meet your criteria.
Many people unfollow if you don't reciprocate after a couple days. (That's what I do too. If I support you and you don't support me, I don't want only a few followers and a ton of people I am following. People look at that and wonder why everyone else isn't following you.) You will see I currently follow 33 people and have 13 followers. Four of those are from today! The people who I commented on and are following who don't follow me by tomorrow will be removed, and a new batch will take their place. This is a slow and steady process, which is why I say start as soon as possible.
I think it's okay to put a link in your bio (which goes at the top of the page) to your books. Not sure on that. Anyone know?
Also, know the most popular times to post. It's Wednesday, between 5-6pm. That may be good or bad- your posts could get buried. I had luck today between 3-5pm Central time.
Get Instagram apps- there's great ones for tweaking your images, adding text, etc.
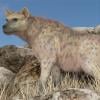
(fixed) Please DAZ... (ignore)Before the cats move in, here's a proper cute little furry animal.
Cheers,
Alex.
Hey, I know that guy, he lives in the Central Park Zoo
Star Trek Builders Unite 7: The Continuing MissionContinued with blocking out the main shuttlebay from the Whitefire Enterprise D blueprints. I basically started carving out what's labeled on the blueprints as the main cargo bays within the central hub of the shuttlebay. the really blocky rendering is of the main lower deck structure so you can geta better idea how cavernous that set of cargo bays actually is that doesn't necessarily come across with the regular exterior renderings.
I've pretty much decided that I'm not going to use Shuttlebay's 2 and 3 unless there's something catastrophically wrong with the Republic, so I need to keep working on this.
Diary of an Animator (How to / Making of Videos)I was about to say that kinda reminds me a bit of Grand Central Station . . . ;)
A great model if a little weary on our eyes now... :)
Diary of an Animator (How to / Making of Videos)I was about to say that kinda reminds me a bit of Grand Central Station . . . ;)
A Touch of Dirt can do more than add dirtHere is an example of the influence of the tiles. There is only one shell here.
I keep a first tile at 0.5 for the "macro" non repetitive aspect. I keep a second tile at 1 then 2 for the micro aspect. At 1, no repetition. At 2, they "repeat" twice, but since the first noise is not repetitive, it is fine (the central sphere is still 1 meter). If you want other details you can add local overlays with a dirt shader (opacity masks for overlays are included to ensure this is fine), or a second geometry shell with at least one other bigger tile.
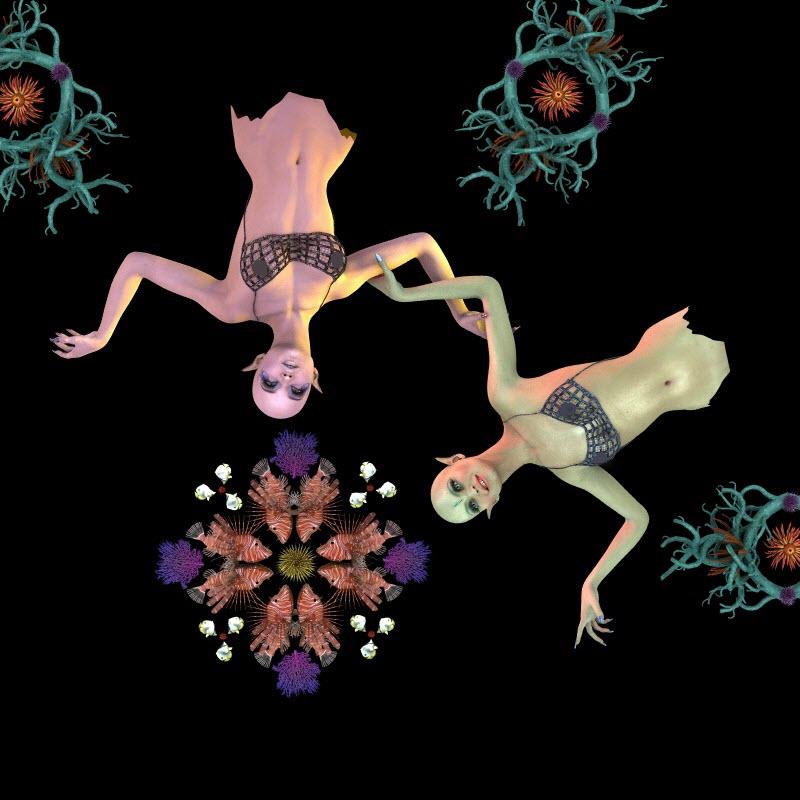
Dracorn's Render ThreadI wanted to add the background in Photoshop, so I brought in the render as Layer 01 instead of Background. I made a dot over the central urchin, and then used that to create a blue circular gradient over a black background. I wanted something that resembled the ocean but then was close to black which was simple and made the characters and motifs stand out.

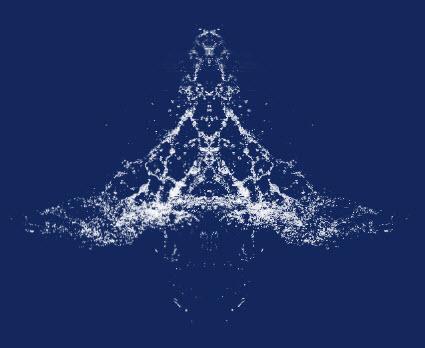
I created the bubble column and splash motifs in separate files using Ron's Water Brushes, then dropped them into a new layer and positioned them. The mermaids are actually the top layer and all my work was in layers below them. Don’t you just love the splashes looking like a manta ray? I thought it was particularly kewel.
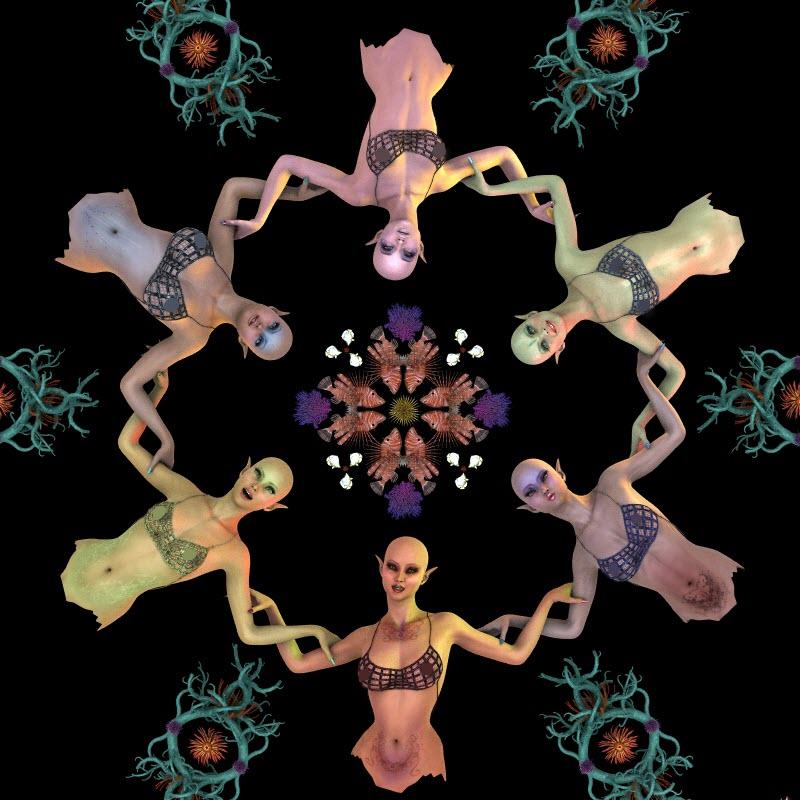
My final PSD file is 3000x3000 x 300dpi, and 42mb. I exported it to a 1500x1500 jpg to get it under the 2mb forum limit.
I'm going to upload a larger jpg to COSTO and see what happens when I make a print. COSTCO makes you crop an image, so I'm going to see if I can create a white background behind the original that's larger, so I don't care if it gets cropped off. I'll let you know how this experiment works.
Here's my final image:
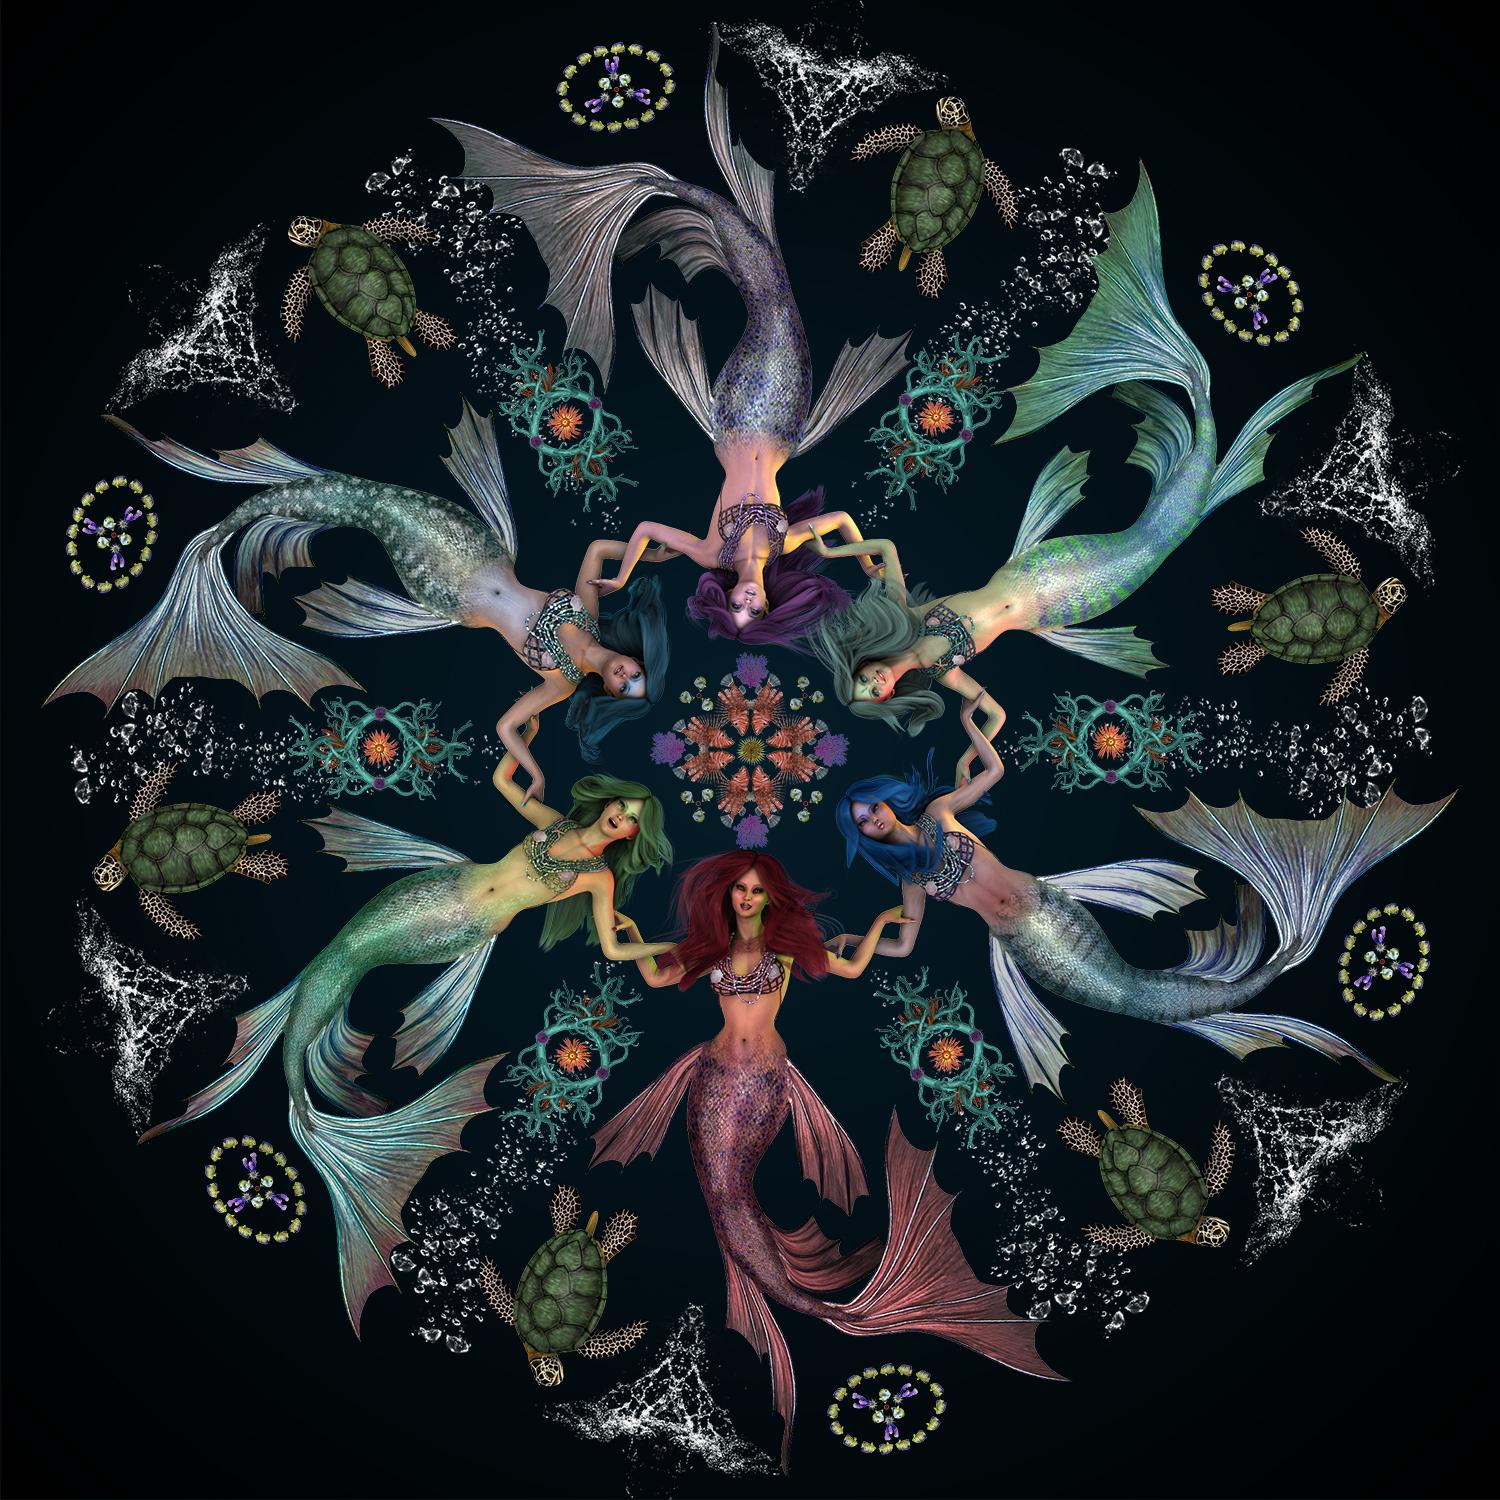 Dracorn's Render Thread
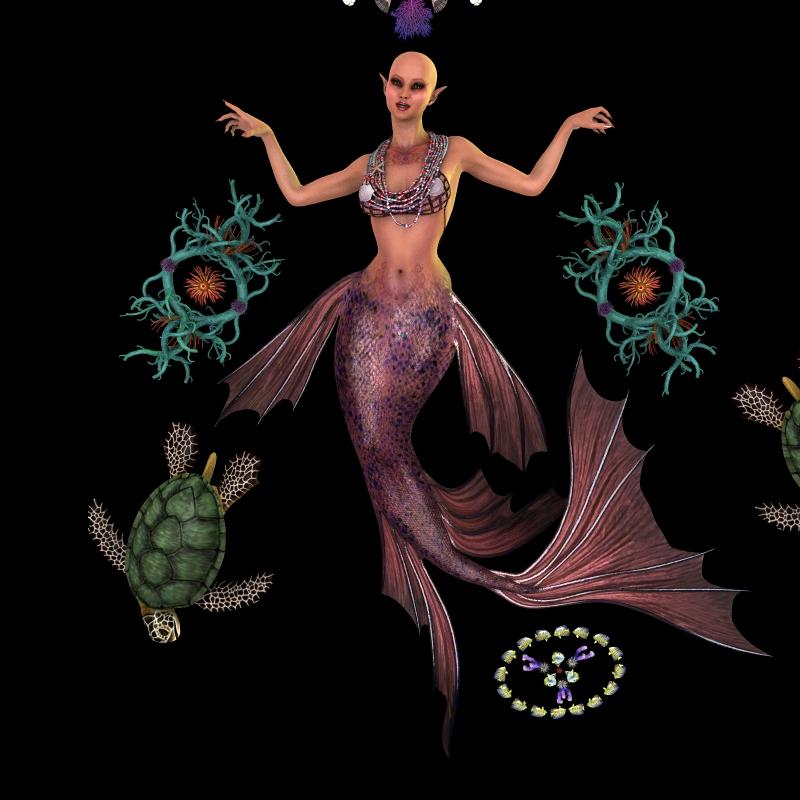
Now for the lighting. I hid everyone but Ruby and she gets to be bald for this step, 'cause I want to see her face without the hair. I wanted rim lights of complementary colors to their skin for each, so I created a green spotlight for Ruby and positioned it off to the side. By this time I changed the central urchin to yellow because there was too much purple in the center motif.
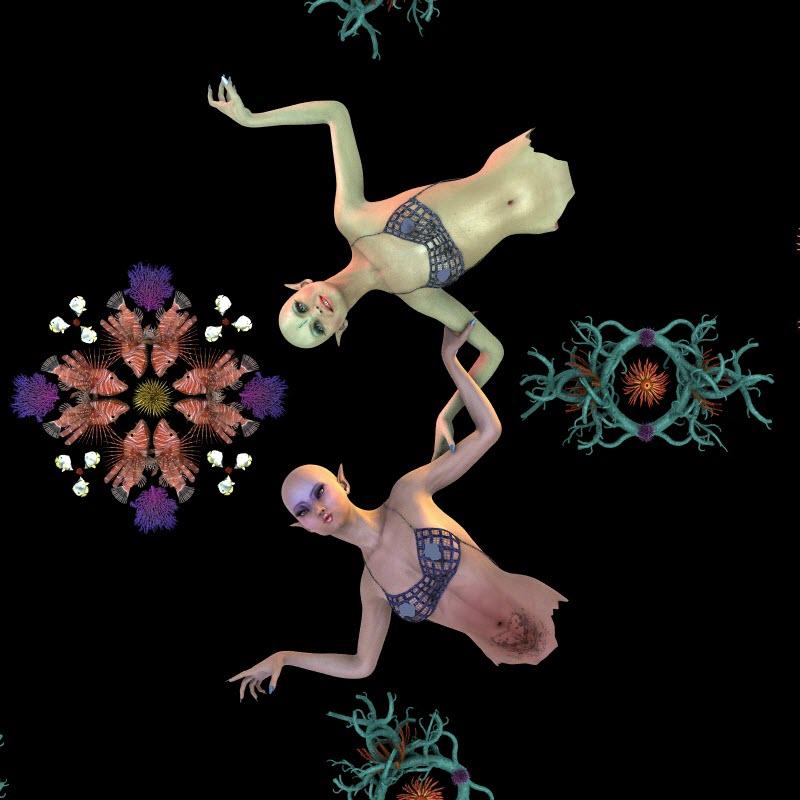
As I began to add additional mermaids, I didn't want the light from one to spill out onto another (or onto the other objects for that matter). I also hid everything I didn't need. I used Advanced Spotlight (3Delight), and took advantage of a cool feature: I set the diffuse of each mermaid to 99.1, 99.2, 99.3, etc., and set her spotlight to illuminate only an object with the diffuse of that value. So each spotlight will illuminate that mermaid only.
Trying to get the spotlight angles right by looking through the spotlight when your characters are not right side up made for some really weird upside-down views as I was doing it. Sorry, no pix, because I can’t render through a spotlight.
If you are using 3Delight, I highly recommend AOA's Advanced Lighting bundle (distant, ambient and spotlight). It makes lighting so easy and renders faster than Uberenvironment, not to mention the feature of lighting only items with specific diffuse or ambient values.
So here's the lighting in succession:
 Mayan Barbie!
Aztec name, implys origins in central america.
What Aztec name?
Zaniyah is a modern, made up, North American name.
Mayan Barbie!that
To be fair, only the Princess outfit of the bundle was "Mayan Inspired". The lady you're dissing as "Barbie" was never described as being "Mayan" to begin with. According to her description, no hint at any nationality ist given. She probably ended up the same way in the Mayan Bundle that the Voodoo stuff ended up in the Monique&Darius6.
Aztec name, implys origins in central america.
I should slap a Dirndl on a Navajo girl and sell it as Oktoberfestmaedel
Her head morph is pretty and if she had a little darker skin it would have been an instant sale.
LOL thats kinda awesome thats the first thing they come up with." We need a theme for Darius and Monique. what do those people do anyways?"
"I know, voodoo!"
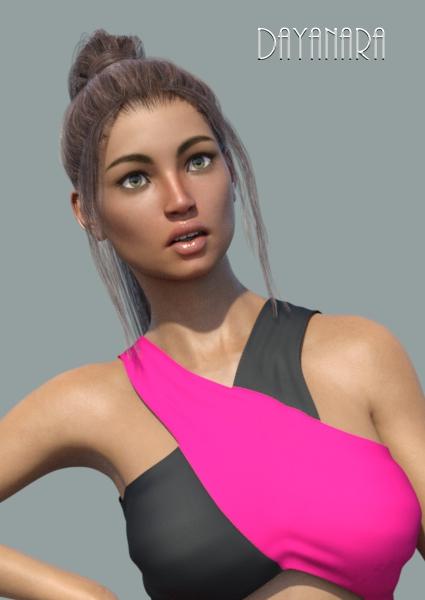
Novica & Forum Members Tips & Product Reviews Pt 7FWSA Dayanara, wearing Geneva Hair, then Christina Hair. Outfit is Summer Star. Dayanara has fairly dark skin, and has good sheen. No postwork, this is the true colors, used the Latitude and Longitude lightset. (I like Central Mexico, Dry Season)
With Expressions, she poses very easily. Mouth responds well, no poofiness or puckering. I did a few different ones to show you.

 Fantasy Features package
I've noticed a lot of PAs putting out a few 'creature' like characters that used to need the critter pack, so wondering if DAZ is going to put one out at all. Would be nice for them to post a list of what's in the works at DAZ central, don't really need dates but what's in development.
TangoAlpha's Coming Soon Thread [Commercial]Very nice! Congratulations on another fine set!
How many does it seat? About 90 to 100?
Kind of off topic, but you said you've been on the stage many times there. As an actor or musician? I'm always looking to cast my next play. So if you're ever in north-central Wisconsin, let me know. ;-)
Novica & Forum Members Tips & Product Reviews Pt 71stBastion's Atrium P3D Fukiko Business Suit (G3F)
When you use the Business Suit, be sure and load the shirt first, then you have to change the jacket's default parenting from your character, to the shirt. Otherwise you may get really bad pokethrough.
I did not remove anything from the scene, am seeing how long it takes to render. IN PROGRESS. Looks like it will be hours.
7:35am Central- the pandas are eating bamboo!
47 minutes: 9%
1 hour 45 minutes 52%
2 hours 61%
2 hours 45 minutes 83%
3 hours 92%
Huge render. Click to enlarge, click again. I would be interested in how other folks are lighting this, I found it difficult to light anyone near the front without having washout on the raised planter. I darkened that light post to a gray so it wouldn't wash out, and the figure is still pretty dark.
You could probably hide or remove the front glass wall from the scene, no point in it calculating the light that would shine through the glass, if you don't see the glass wall in the render. Glass reflections and metal reflections will always add calculations to render times. As for light a character, movie lighting generally adds a spotlight just outside of frame pointed at the figure. There's also a separate emitter available inside the light post's light that can be textured to emit light.
Celebrity Look-a-Likes for 3D figures Part 2In my continuing quest to replicate the curved slope of Juliet Landau's central/upper brow/nose area, I noticed these, today, which I could technically get both of on discount. Both seem to have a gentle sloping curve in that area and I'm wondering if I could dial one of their heads in, then modify the rest accordingly.
Source pictures:
http://www.gloriesworld.net/wp-content/uploads/2014/10/juliet-landau-8.jpg
http://www.deverillweekes.com/blog/wp-content/gallery/juliet-landau/juliet-landau-12-28-11-2.jpg
But which one looks like they have the most applicable 'upper nose' area?
http://www.daz3d.com/viola-for-genesis-3-female-s
http://www.daz3d.com/disa-for-genesis-3-female-sViola's nose is definitely closer.
Daz 3D is part of

Connect
DAZ Productions, Inc.
7533 S Center View Ct #4664
West Jordan, UT 84084Licensing Agreement | Terms of Service | Privacy Policy | EULA
© 2026 Daz Productions Inc. All Rights Reserved.