-
Excluding certain body parts in morphs
Is that a character from Daz? if so please report this as a bug, it's most likely the result of applying sub-division with smoothing in ZBrush. It is possible to remove the effect of the morph on the teeth - but if the head scale has changed that will have undesirable consequences of its own so before doing anything else can you compare Emma with the base shape and see if the head size changes (if it does then removing the morph will leave the teeth projecting through the face or shrunk inside the mouth). It may also be a good idea to look at the Currently Used group in the parameters pane to see if any other morphs are in use, in case it's simply amatter of removing oen of those rather than a fault with the Emma character.
Excluding certain body parts in morphsHello,
I am still fairly new to Daz and the world of 3D animations, but a the short time I've come very far. Although I am having an issue with something and have tried to figure it out on my own, but to no avail. I recently purchased a character named Emma. I've been using her body and face morphs as a main character in a story I was working on. I've spent countless hours on different scenes, poses, storylines etc. and I was 100% satisfied with everything until I had a scene where the main character opens here mouth to speak and realized that her teeth were all messed up. Chipped, thin and gangly looking, you name it. I was extremely dissapointed when I realized this because she is supposed to be a super model in the story line and with the amount of work I have done to create all the other scenes am extremely reluctant on using another character. I spent hours trying to figure out if there is a way to morph everything but the teeth with this "Emma" character, but haven't been able to find a way. If anybody out there knows of a way that this can be achieved I would be greatly appreciative.
Thank you in advance,
Martin
Is It A Secret?Put the mouse down and step away from the computer. :)
You are trying to make a morph for the head, is that correct? If you are trying to save, you have then gotten the morph made and into Studio. I still haven't seen you say what you used to make the morph and if you kept it at base geometry. Did you use the default as I suggested to keep the default of Morph Loader Pro to make it easier to find the morphs? Just until you learn to save things properly, you could keep them in this default area.
To save properly, save as a morph asset. This will save the proper data file so that your parameter slider will remain when you start Studio up again. Otherwise, the parameter dial will disappear. The only other option is to save a scene with the morph dial in place. Either way, you want to eventually save it properly.
It will help us help you if you answer the questions I ask here and earlier. :)
The OceanQueen Megabundle question - *pose and texture the dragon plus missing files update"know if the dragon works in Daz Studio version 4.6?"
Well, yes, and no. Everything that is there loads fine in 4.6, and all the morph and pose sliders function as expected, but ...
The membranes seem to be problematic. With the dragon loaded in the zero-pose position, the membranes (which are separate props) load correctly and parent themselves to the dragon's chest. However, if the wings are adjusted using the pose sliders, the membranes refuse to follow. Attempting to use the sliders for the membranes to duplicate the position of the wings was an exercise in futility. Strangely, if one of the canned poses was applied to the dragon, and the same pose applied to the membranes, everything seemed to fit as it should. I'm not certain what is going on there, and its going to take some sleuthing to try and unravel it. For myself, I have Poser anyway, so a lot will depend on how much wrestling I want to do. Others may have some ideas and it certainly isn't beyond the realm of possibility that I missed something simple. But if that was the case, it certainly was not for a lack of trying.
As for the missing texture maps and the files for the M4 version of the clothing, I believe that I know what happened there. DAZ and RDNA tended to package their content for download differently. RDNA was all manual downloads only, of course, and they tended to break up large downloads into bite-sized zip archives in deference to those who may not have the bandwidth to handle everything in one gulp. The Ocean Queen megabundle, for example, original was broken up into 14 separate downloads. From experience I know that these archives tended to be given somewhat cryptic filenames that did not reveal which elements each contained. Not really a big issue - download them and extract them all to your content folder and everything ends up where it is supposed to be. It looks to me like someone had intended to separate everything into individual zips by the products in the bundle, then found out that was easier said than done, so some stuff simply got lost in translation, with two archives basically ending up being empty. So its easy to understand how it could happen.
Transfer Utility distortionJust the one. It wasn't even necessary for me to use the Supermodel morph, but I did.

Hmm, so do you keep running the same collar through the Transfer Utility then? Once to create the conforming clothing item, and twice more for the V5 and Supermodel morphs?
Thanks again for your aid! Really, I was trying to create something I could then open up in Carrara and use on Victoria 5 there. The Supermodel part of it I just saw and applied without thinking much on it.
Is It A Secret?My brain hurts!! Ok, so I'm reading Sickleyield's tutorial, but let me tell you what I discovered (BTW, I'm using Daz Studio Pro 4.9). Just to see what would happen, instead of saving it as a morph asset, I clicked Figure/Prop Asset I got what you see in the screenshot below, with choices of what to save it as etc. The choices in the drop down you see were: Preset>Morph>Apply>Head, which is what I chose.There was also an "Inject" and "Remove" rather than apply, but I haven't tried those yet. Then you choose Set Catagory, I chose Default/shaping/apply/head. Then choose the compatability Gensis3 male. Then it actually appears in Daz where I can find it in Figures, posted as a "shape". However, when I click on it, it creates a new character with the morphs, rather than applying them to the chosen one already in the scene. I feel like this is just getting rediculous, but I really want to learn this!
By the way, I already know how to package, what I'm basically trying to acomplish is getting all the head morphs into one file instead of having a list of files with every morph from brows to chin and getting it to apply correctly. In short, to compile it all into one file morph that actually works! I already packaged one and placed it for free over on Renderosity. But it's not a single head morph, but an entire file of head mophs. People have been downloading it and only one complaint, so I'm guessing they know how to get around my mistake. You can check it here: (link removed)
July 2016 New User 3D Art Contest “Portrait Rendering” – WIP ThreadSo if I could ask a couple of clarifying questions:
1. If I use an HDRI map, am I basically giving up control of my lighting to the map? It seems that if I add lights when I am using an environment map, they are being ignored.
2. I set a direction light to be the sun node in "Sun and Sky" mode... and all I get is a black image. This isn't my first time toying with Iray, but everything I do I feel like I am giving up control of my lighting, shouldn't the sun node be... well... my main source of light?
Not all HDRI maps are built the same and some are better than others when it comes to good lighting. It's a matter of trial and error for the most part. The washed out colors might be helped with a few adjustments in Tone Mapping under your Render Settings. Gamma and Saturation settings are usually the culprit for that washed out effect if you played with those settings. Without knowing what your current settings are, I doubt I could help. I'm still learning a lot of that stuff, too, but I or someone else might be able to offer some suggestions if you show a print screen of your tone mapping settings. However, usually going up in the settings makes things a little softer and going down increases or intensifies the color. Crush Blacks and Burn Highlights can also affect how the colors look. You can use other lights in a scene besides HDRI. Make sure your Dome is set for both Dome and Scene. I believe the default is Dome Only and you need both Dome and Scene if you are using the HDRI and scene lights. Make sure that you turn off the Headlamp on your camera, too, as this added light can really mess up your lighting and give you effects you don't intend. I do like the pose and camera angle.
As for Sun and Sky mode, I haven't used it much, but from what I can tell, that mode is ONLY Sun & Sky, no other lights. That mode does seem to completely take over the whole show and you need to change things around by changing the time of day, the date, and longitude and latitude to make any real difference. I believe one of the PAs had a product that used the power of Sun & Sky effectively, but I don't have it. A tutorial about using that mode effectively would be nice, but I haven't seen one yet. Maybe Sickleyield will tackle it at some point in the future. Some people find it useful. Like I said I haven't played with it much. My preferred lighting is the use of HDRIs and Scene lights.
My latest progress. fixed eyes and other tweeks. changed point light color in front of girls face. Been looking for a youtube video from way back that tackled the volumetric shader (or something like that) for dust in the lighting but can't find it anywhere. Darn I really wanted to try that affect out. Anyone know a good link (with video if possible).
It's a really easy trick and Sickleyield, that goddess of all things when it comes to Iray tutorials, has an excellent tutorial on doing exactly that on her YouTube channel.
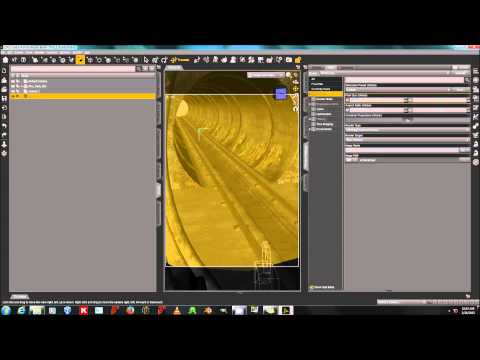
Just trying this one out.
Sonja, I love this. I love the intensity of color on her eyes in the first version which seems to have gotten toned down a little in the postworked version. Is there anyway to tone it back a little so that her eyes are as intense in color as in the first one and still have the great parts of the second? It looks like a great start and I love her expression and the lighting. Very nice.
Version c. Made a change to the settings on the blade itself so the light wasn't washing out the face.
Shinji - The face looks much better with the bloom toned down. It seems like it could use a few lights to highlight the figure more. It's very monochromatic and your figure seems to wash into the background and not stand out. Maybe some kind of light hitting the back of his head and shoulders?
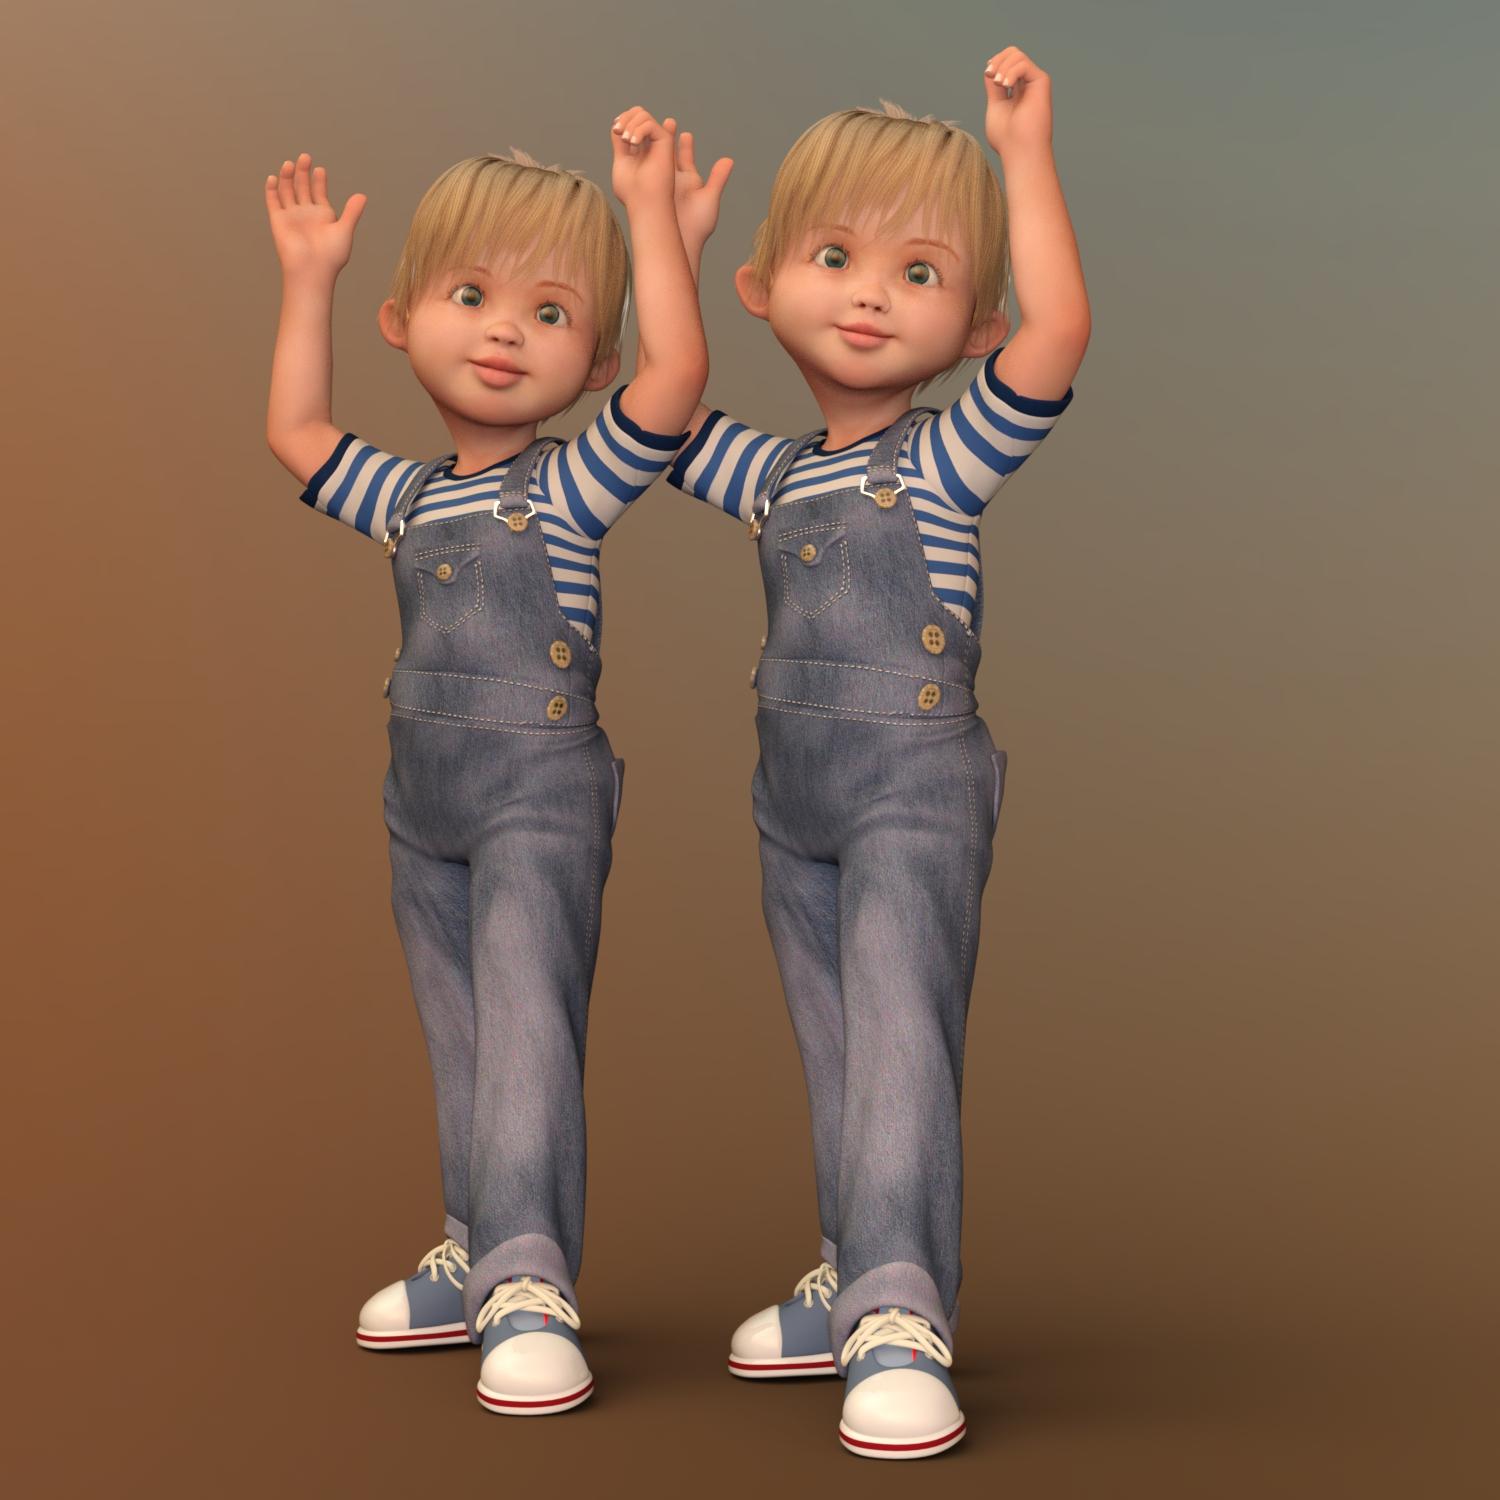
Okay, so I've been playing with some characters in recent weeks for a story idea I had for a children's book. Mostly, I've just been trying to create my own characters using the Little Ones morphs. You can use G3 morph dials on them and it's been interesting trying to create new characters because the morph dials don't work exactly like they do on a normal G3 figure. I think there might be some hidden controls in there to prevent the user from completely breaking the Little Ones stylist appeal. Which is a good thing because I really like the characters. So, my story revolves around two best friends and I thought I'd do a portrait with my current version of their morphs because I haven't actually done any real renders with them, just test renders. So, here are best friends, Makenna and Toby, who have lived next door to each other the entirety of the young lives and have become inseparable getting into all kinds of trouble much to their parents' dismay. I still have a lot of work to do as this is just a test render of what I've done with posing so far. Still need to work on things like background and possibly different lighting. It's just a start.
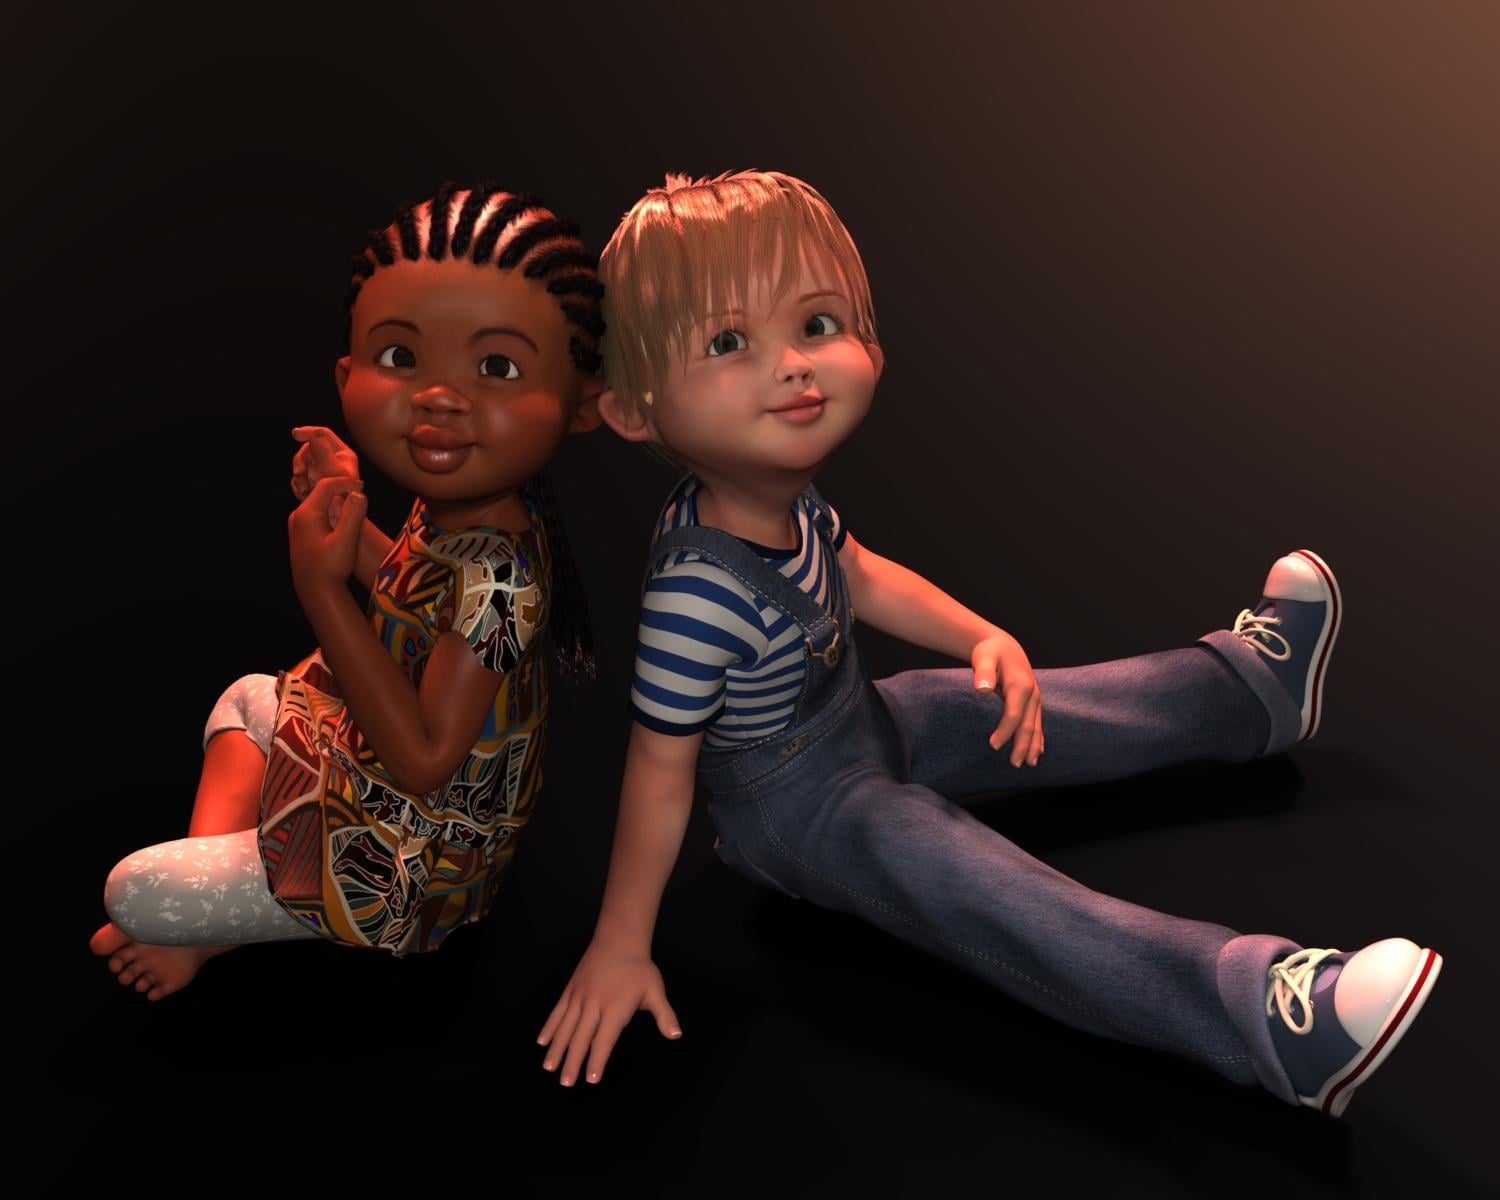 The Little Ones-Question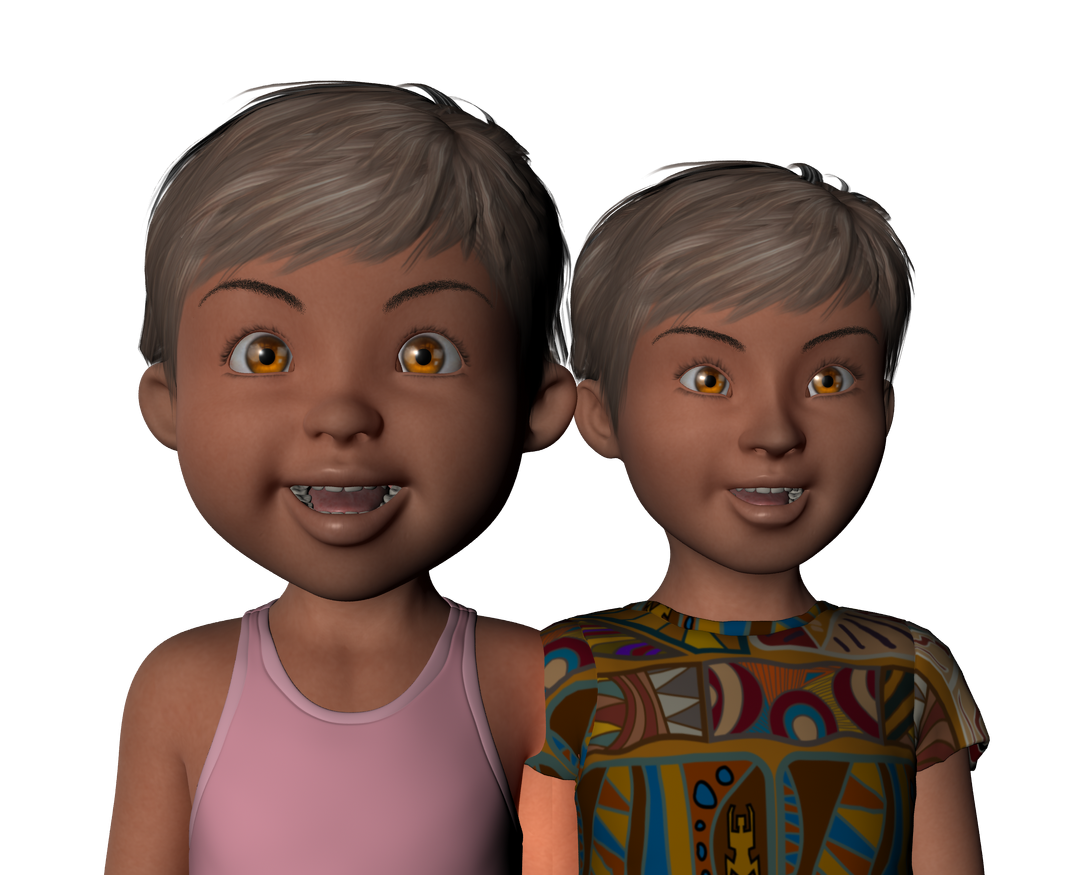
Here's an example I did ,one on left is Little One full morph ,one on right is head 50% with various morphs in the face used to change the eye shape a bit mouth,etc
Have a CigarHas anyone ever done a mouth morph to simulate someone having a cigar in the corner of their mouth? Since I don't think you can partially open the mouth only in a corner, I would think this would not be possible with sliders (but then again, there are more talended folks on here than me, so I thought I'd ask).
Transfer Utility distortionThanks again, Richard!
Your memory is correct! The V5 Supermodel is indeed two morphs. Looks like I outsmarted myself by using that as my manikin in Hexagon.

Sorry to be a bit dense, but I can't seem to figure out where to start as to following your suggestions. Do I keep the 1st converted mesh, and then create two more morphs with the Transfer Utility as V5 and Supermodel?
I tried doing just that but I'm not seeing a morph slider on either of the generated instances, let alone a gear icon.
The Little Ones-QuestionYes, they can use most of the morphs built into G3. I think there are some hidden parameters so that the Little Ones morphs don't break, but you can absolutely morph a Little Ones character into your own unique character. Just to give you an example, I have a couple of comparisons with morphs I've been playing with for a couple of characters for a story. On the left are the original Little Ones character morphs and on the right are my morphs from spinning dials. I'm still playing with them to get the look I want. Of course, changing up the skin and hair will also help make the characters more unique, too. Hope this helps.
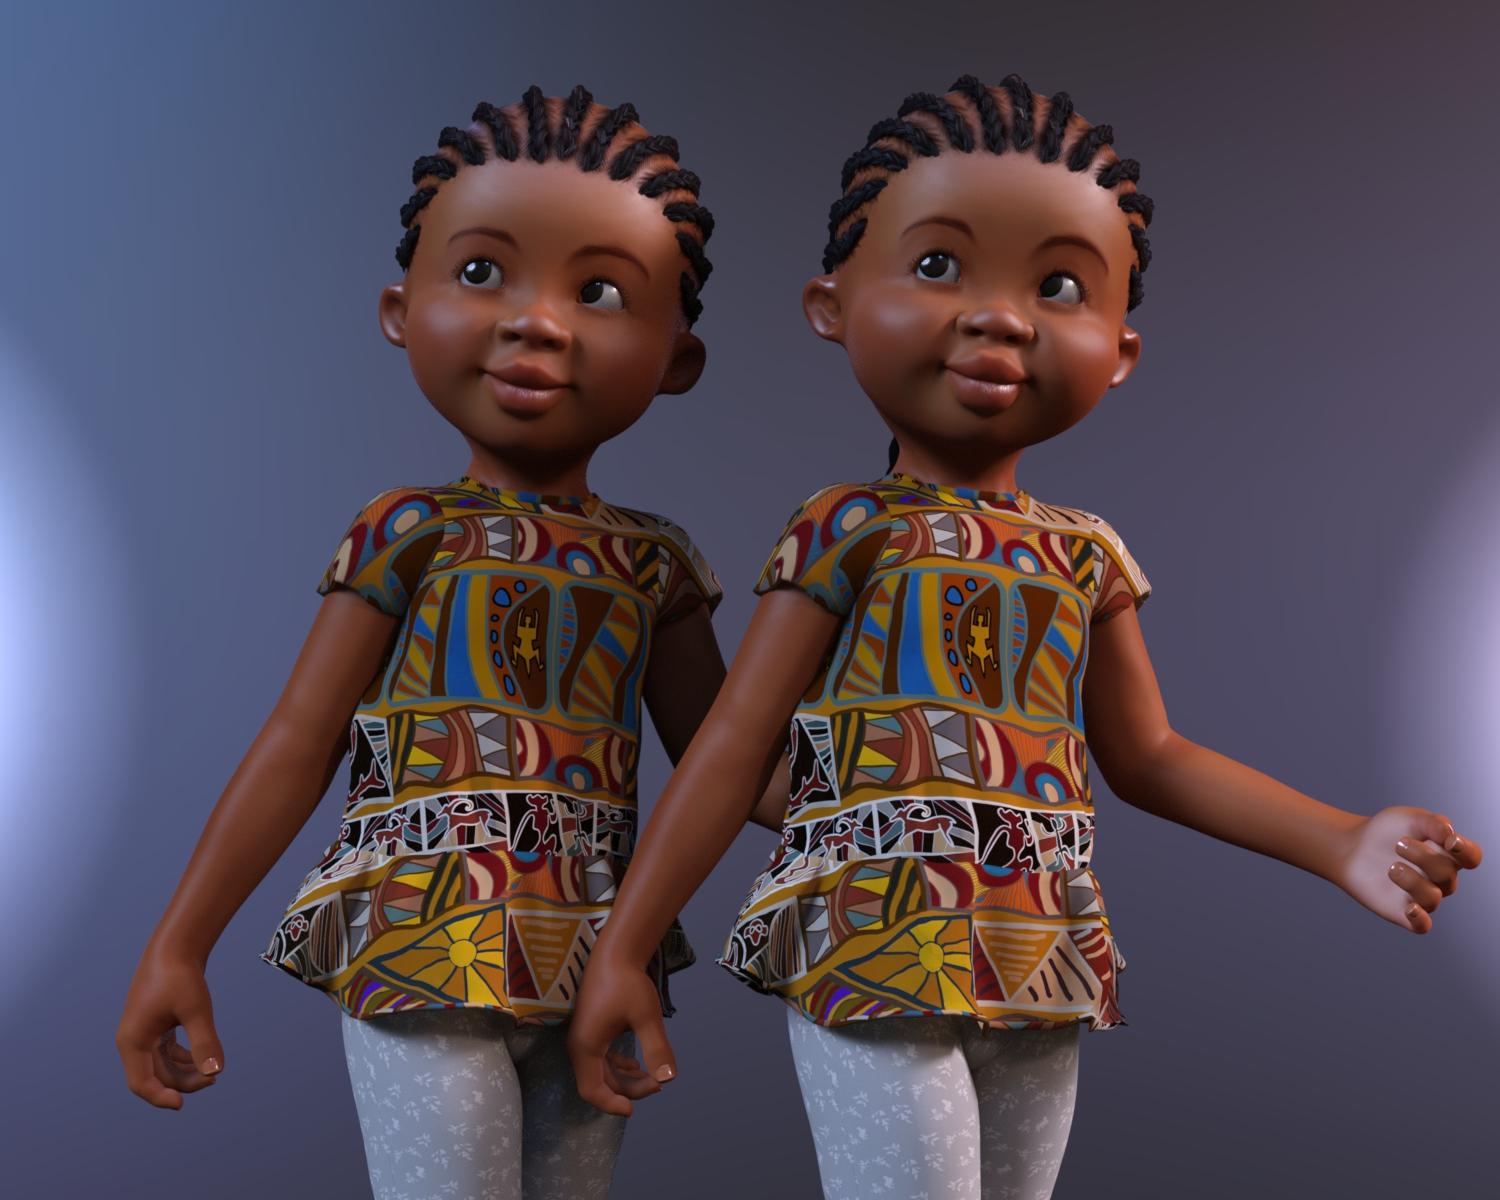
 Rig fix after import
I made it another way. Took the rig from another model (G1 to G2). Transfer rigging. It worked.
The Little Ones-Questiondigitell ,any of the G3 morphs work with the Little Ones ,I usually dial in the Little Ones morph to the Genesis 3 ,and then any other morphs I want to play with ,and raise or lower the percentage of LittleOnes to the mix gives you variations too, hope this helps
beauty fingers and toes for genesis 3I know exactly what Siciliano1969 means. Overall, G3/V7 is lovely, and the beauty fingers and toes morphs help. But the point where her toes meet the base of her feet (lower instep) often causes a sharp, unrealistic crease. I am hoping some morph makers will note this, and create a fix or two just to address this issue.
V4 Morphs++ not loading properlyGo to the content library you installed to, then inside that \Runtime\LIbraries\!DAZ and run the DzCreateExPFiles-v4.bat file (Windows) or DzCreateExPFiles-v4.command file (Mac). As long as that's also the content library to which the base figure was installed, and it isn't in a protected location like C:\Program Files, that should set things up so that the INJ All pose (or the individual morph injection poses) will work on a nwely loaded figure (not one saved in a scene, unfortunately)..
Worked like a charm, many thanks!
Did i make big mistake accidentally Buying Dynamic clothes Or can i convert to Conforming?Michael 4 is not a weightmapped figure, so you can't rig items for him with the transfer utility, you have to use the figure setup tools.
What are those tools?
Did i make big mistake accidentally Buying Dynamic clothes Or can i convert to Conforming?Update. I did all the steps you said . Then i did this although probably i just made it up without knowing if it's good to do
1. Select michael4. Edit/Figure/Rigging/Convert Fig To Weight mapp. Select Triax Weightmap
2. Now selected M4 again and Edit/Figure Transfer Utility.
3 . Now unlike before M4 does appear in the list of items to select so i selected M4 on the right and the pants on the Left.
and boom. now the pants seem conforming. they move along with M4 movment.
EXCEPT!!!!!!
They don't fit exactly well. ANd thirdly, there is no FIT TO thing on the right side like there is for other conforming clothes. ANd plus let's say it did work, how would i save my item to the libraries to use later? Here's a picture.
Did i make big mistake accidentally Buying Dynamic clothes Or can i convert to Conforming?Michael 4 is not a weightmapped figure, so you can't rig items for him with the transfer utility, you have to use the figure setup tools.
Did i make big mistake accidentally Buying Dynamic clothes Or can i convert to Conforming?Kaotkbliss. Thanks aot sorry got back to you late i just started working on this again after being busy. So i do all this
I think I forgot a step in there :(
After the karate suit is converted to a prop, you need to re-convert it back into a triax weighted figure
select the suit and go to edit->object->rigging->convert prop to figure
Make sure triax weght map is selected and click ok
Once that is done, load up your G2M figure and go to edit->figure->transfer utility (top of the list)
on the left side drop down for the donor figure select your G2 character and on the right side for target figure, select the karate suit.
and then what happens is There is no Michael 4( the clothes are for M4) in the ldrop list on the left. So i can't choose him. In both left and right drop list there's only "NONE" and "the Karate suit item"(the karate suit comes separated into pants, etc. ).
So how can i choose M4 if he's not in the list? DO i have to do something to him too?
It's not V4 customers DAZ needs to capture.Maybe not a lot of people were aware of the inexpensive morphs at Rendo that turn V4 into various kids, with much more believable results than k4? Some of my kid images made using V4:
...these (as well as K4) came out after I did most of my work since V4.2 was still pretty "new". The only thing I was able to find at Rendo at the time was a flat chest morph freebie that worked pretty well. For more petite physiques I used the body morphs from Thorne's fey characters. Steph 4 was the biggest help as she had a smaller physique/stature and the NPM morphs. Clothing fits were still a bit of a pain as the shoulder blades and centre of the chest still would have poke through. I usually was able to fix that using the Morph Follower in 3.1.
Daz 3D is part of

Connect
DAZ Productions, Inc.
7533 S Center View Ct #4664
West Jordan, UT 84084Licensing Agreement | Terms of Service | Privacy Policy | EULA
© 2026 Daz Productions Inc. All Rights Reserved.