-
More Non-photorealisitic Renders (NPR II)
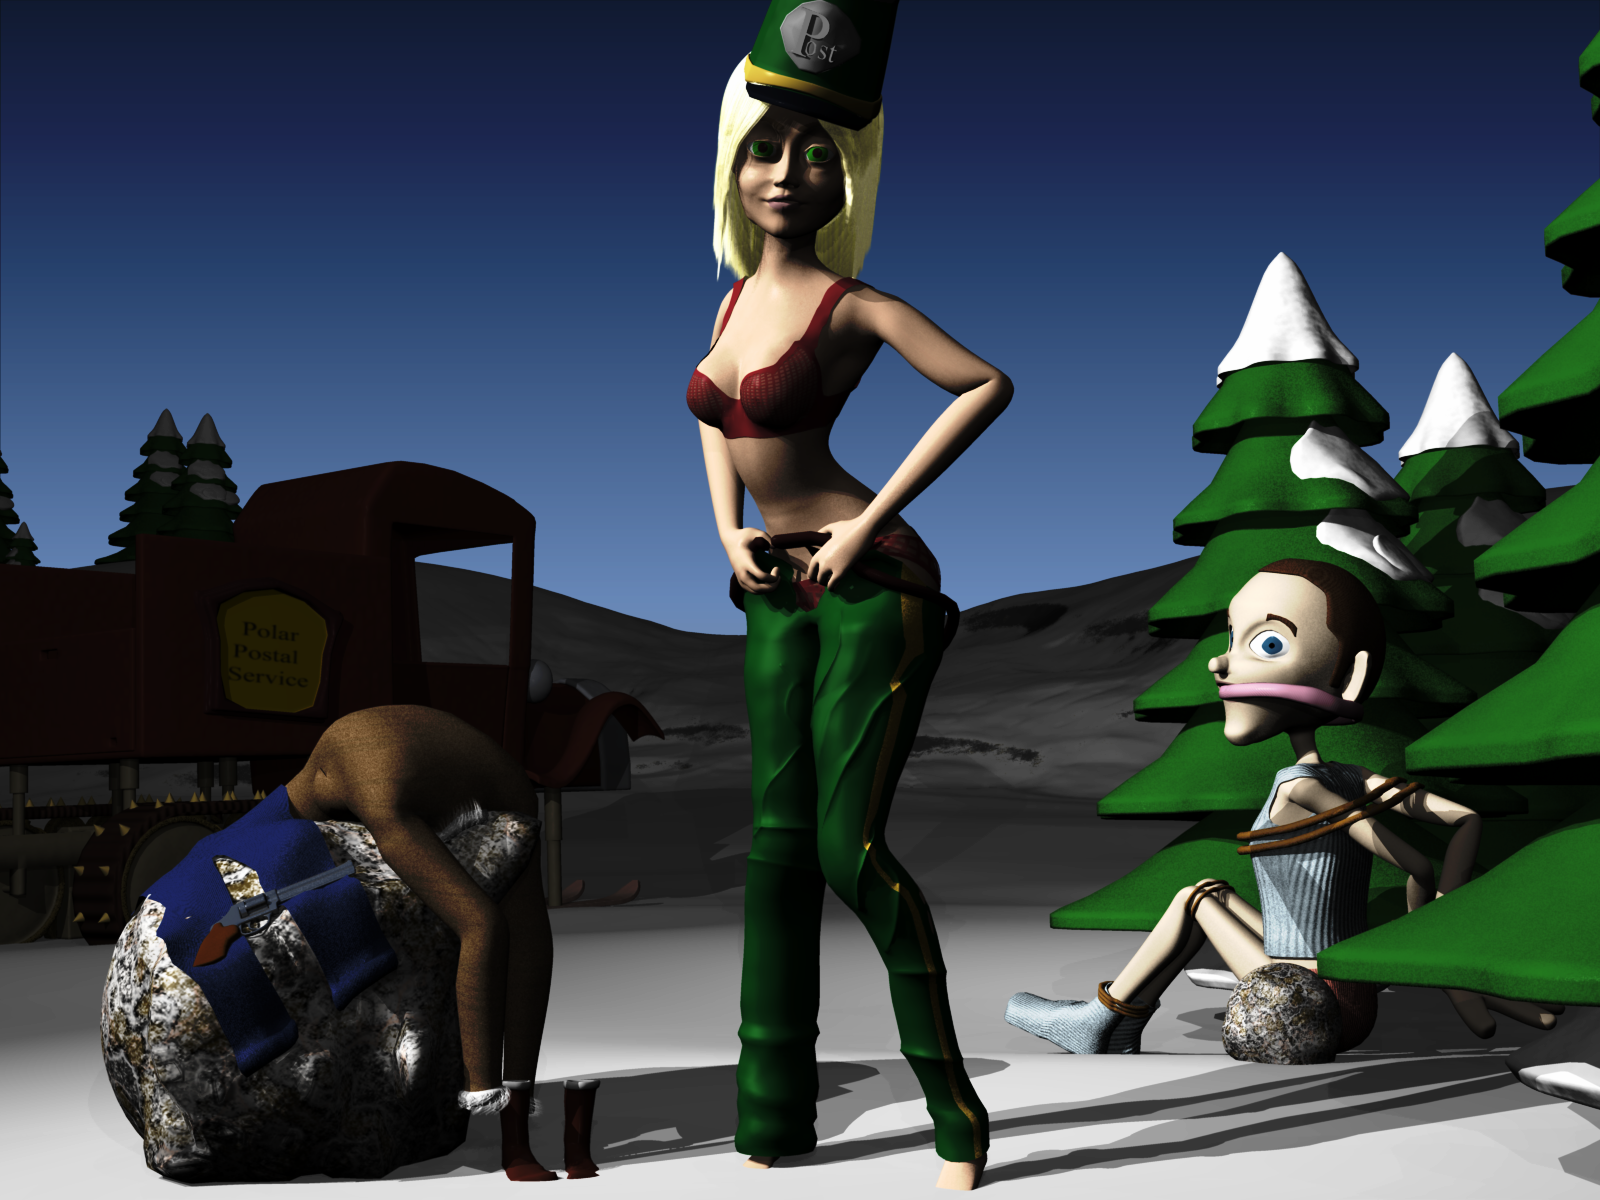
Very cute! Has an old school animation look to it. Perhaps a different treatment on the sky and a hint of blue on the snow would enhance the cartoony look? Really love those trees – where did you get them?
Thanks for the sky and snow suggestions. I'll experiemnt some more with them. The trees and everything was modeled, rigged, and textured in Carrara. I created an initial Studio rig of the claymation figure, but the weightmaps are still too rough for practical use. I'd like to get the Studio rig more polished so I can use the transfer utility.
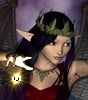
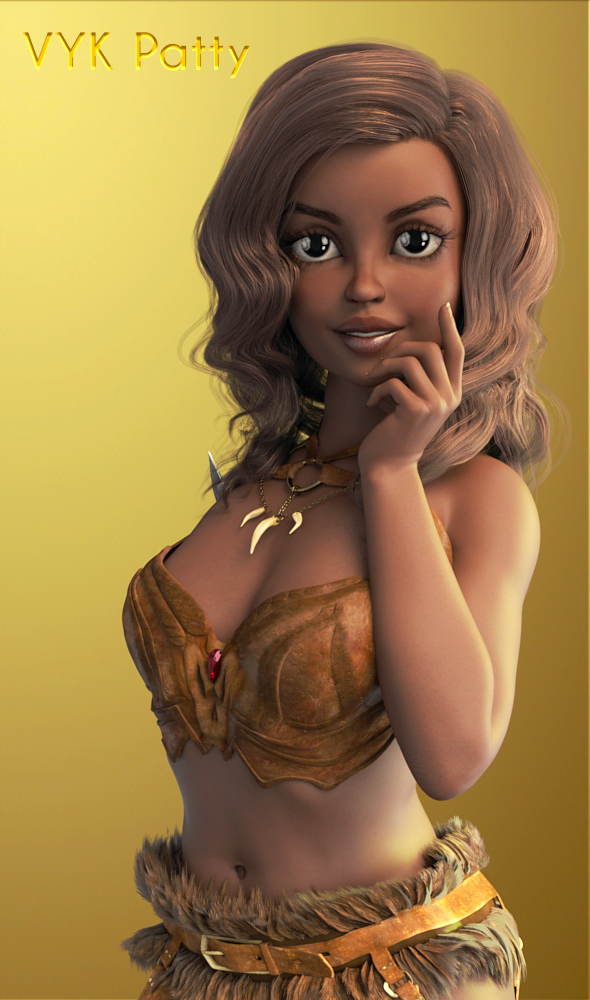
Novica & Forum Members Tips & Product Reviews Pt 11Untamed Warrior for Genesis 3 Female(s) VYK Patty for The Girl 8 Lana Hair (Gen8F/ Gen3F)
IN PROGRESS WILL BE ABOUT HALF AN HOUR OR SO.
Obviously, this is not Patty out of the box. This outfit fits fantastically from Genesis 3 to Genesis 8 and is in the sale items! Wanted to start this post in case other people haven't checked out yet. Still working on the render but the outfit is autofitted PERFECTLY.
TIP: to get a more normal chest on The Girl 8 figures, with some downward slope and to avoid the huge fake implant look:
In Parameters>Actor, select chest (with your Patty or character selected in the Scene pane)
You need to click the cog and undo the limits on each morph. The cog is to the right and above the end of the slider.
For Breasts Natural, -110% To drop the breasts down and get rid of the hard as rock chest.
For Breast Downslope (so you get a nice curve downward and eliminate the hard round contour) 220%
Areolae Perk on Patty reduced to 0, but some is fine.Thank you for this @Novica, I've been trying to get a top to fit.
Selection and parameters tabIn DazStudio there is this concept of having a current value and a default value. Have a look at the Parameters Settings of some morph or in common any Property - click the gear icon at the top right of the slider.
Regardless of the color theme you are using you can see the current values have lighther and the default values are of darker color in the Parameters pane.
You have options to manipulate the values of what is selected in the scene by the set of actions called Zero, Memorize, Restore and Clear for Figures and Items. These actions can be found in the Options Menu of the Paramerts pane its the icon with the triangle in front of 4 lines somewhere at the top.
- Zero: resets everything to the base shape as it is saved in the library
- Memorize: sets the current value to also be the default value
- Restore: sets the default value to be the current value
- Clear: will erase all keyframes from the Timeline and Restore all values to the default ones (could be something you have memmorized before)
- Alt+click on a current value and it will Restore to default and Clear all keyframes
Another method would be right-click the Parameters pane and choose Edit Mode from the menu. Now you can select more than one property at a time with holding Shift or Ctrl. Next you can right-click again and the menu offers a lot more actions what to do with the selected Properties - one is Set > Value to have a dialouge for chaning the Default and Current Values all at once.
Zero and Restore descriptions are incorrect. Restore results in properties being set to their respective memorized values. Zero literally sets to the value 0; with the exception of properties that would cause issues at a value of 0, like Scale.
Bulge Map issue?It's G8. I transferred the weight maps using the Transfer utility, and for the most part it's bending well. But now I'm checking the limits and I'm getting this thigh funkiness with the shin bend. As the pic shows, the shin bend looks fine until I push it between 147 and 155 degrees (the upper limit)
I'm still learning DS so be patient with me. I know what I'd need to check in Poser, but still trying to translate Poser-speak to DAZ Studio-speak. I'm lost 8-)
PS ... Hi Richard, Long time no see! LOL
Novica & Forum Members Tips & Product Reviews Pt 11Untamed Warrior for Genesis 3 Female(s) VYK Patty for The Girl 8 Lana Hair (Gen3F)
Dramatic Iray Lights from OOT are the lights from OUR right side and backside.
Obviously, this is not Patty out of the box. This outfit fits really well from Genesis 3 to Genesis 8 and is in the sale items! Wanted to start this post in case other people haven't checked out yet. Still working on the render but the outfit is autofitted great except for the front flap, that section pokes through.
TIP: to get a more normal chest on The Girl 8 figures, with some downward slope and to avoid the huge fake implant look:
In Parameters>Actor, select chest (with your Patty or character selected in the Scene pane)
You need to click the cog and undo the limits on each morph. The cog is to the right and above the end of the slider.
For Breasts Natural, -110% To drop the breasts down and get rid of the hard as rock chest.
For Breast Downslope (so you get a nice curve downward and eliminate the hard round contour) 220%
Use Breast Gone to get the breasts FLATTER, and Breast Small to reduce them overall.
Areolae Perk on Patty reduced to 0, but some is fine.So here's the adjusted natural-looking chest. Gallery image is here.
 How to Use dForce: Creating a Blanket, Draping Clothes on Furniture, and Much More [Commercial]
Well part of what I think aggravates so many content creators is that for each pose there is an art to making the morphs for the conforming cloth look as dynamic as possible. If my figure is in a standing pose the created morphs, using the sym, looks good but you pose him in another pose and the cape does strange things like the area I have set up to NOT move away from the figure DOES move away from the figure (talking about the fasteners and the top of the cape I have set up to be less affected by the drape sym). So now I get why some published artists include support for some pose packs as they just sym the cloth and save that out as a morph target that correlates with the figures pose, but trust me, it won't look good if you try that pose preset for the clothing with another pose, it just won't look good. So a cape that looks realistic will HAVE to be sym'd in order to get it looking just right but figuring out the wind nodes to get the effects I want is kind of a nose bleed! lol
EDITED to fix some sentence structuring and info!
Poser Content in Daz Studio"data" is a technical folder for content in DS format, that's where the geometries, morph data and UV data are stored.
You should put the Runtime directly inside "My Library" folder, next to "data".
Change and save a morph default. Plus dForce and heels.In regards to dForce, it doesn't matter if the shoes are on before or after simulation. They most likely will not effect anything. If you are dealing with a floor length draping dress, then I would recommend applying the shoes before simulating.
Okay. Thank you

After resetting the default value did you resave it as an asset - File>Save As>Support Assets>Morph Asset, select the morph, leave the options as they are?
No. I just thought the Default would be saved automatically before I exited Daz.
I've tried saving it as as Moph asset, and a modified morph asset, but it's still loading in at 100%. Maybe it's something I'm going to have to dial down myself, before I add anymore morphs to G8F.
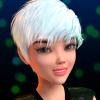
The Girl 8Did just a quick play with adding a bit of 3DU's Page 8 and a few head and face morphs from DAZ Head morph pack and got close to Girl 7 but not enough to bother posting. I have to say I like the new style as I feel I'll be able to push in to other looks and style with enough morph tweaks.
The Girl 8On the left Girl 7 that I converted to G8F and on the right The Girl 8.
Now there is a huge difference and I am not to keen on those arms when posed, but, saying that, I think she is cute as can be and I am happy that I bought the pro bundle.
I do not want to offend anyone with this Image, it is just a fun Image to show how much The Girl 8 has changed from The Girl as we know her.:)
Wow, that is a big difference and I can see what you mean. What do you get if you mix the new girl in with the G7 morph out of curiosity. I would think the combo would be nice looking
The Girl 8Or transfer the morph. I figure it's nice to have range of options; I'm partial to Girl 4 so I tend to copy her morph forward.
Protect certain parts from a morph?You could use a weight map, either with X Morphs https://www.daz3d.com/x-morphs or just via attentuation in Morph Loader Pro, as long as it's a standard definition morph.
Post Your Renders like it's the year 2020!!!Misty - mesh eyebrows mean Carrara dynamic, zbrush fiber mesh, or converted with Philemon plugin.
dunno what the vendor used to make the eyebrows
they aren't adding support morphs to eyebrows and eyelashes. is all autofit.
making support morphs is tricky when they combine scaling in the character's morph dial. >.<
Protect certain parts from a morph?When I have a G8F for example and apply a head morph like the one of V8 and I'd like to keep the mouth so it stays the same as the base G8F. How can I do that?
Carrara Challenge #40 NOIR WIP - A warm welcome to our PA sponsor, FenricSome minor changes (making sure some props are on the ground, a morph to correct a joint or two, that sort of thing.)
i think the tree and the rock poking him?
Selection and parameters tabIn DazStudio there is this concept of having a current value and a default value. Have a look at the Parameters Settings of some morph or in common any Property - click the gear icon at the top right of the slider.
Regardless of the color theme you are using you can see the current values have lighther and the default values are of darker color in the Parameters pane.
You have options to manipulate the values of what is selected in the scene by the set of actions called Zero, Memorize, Restore and Clear for Figures and Items. These actions can be found in the Options Menu of the Paramerts pane its the icon with the triangle in front of 4 lines somewhere at the top.
- Zero: sets every value to 0 except scale
- Memorize: sets the default value to become the same as the current value
- Restore: sets the current value back to default value
- Clear: will erase all keyframes from the Timeline and Restore all values to the default ones (could be something you have memorized before)
- Alt+click on a current value and it will Restore to default and Clear all keyframes
Another method would be right-click the Parameters pane and choose Edit Mode from the menu. Now you can select more than one property at a time with holding Shift or Ctrl. Next you can right-click again and the menu offers a lot more actions what to do with the selected Properties - one is Set > Value to have a dialouge for chaning the Default and Current Values all at once.
[Edit]: Correction & rephrase for better understanding
Problem with Cain for G3M & G8MIt's a full character with mats:
- Cain for Genesis 3 and 8 Male: (.DUF)
- Cain FULL Character Preset
- Cain Head Apply/Remove
- Cain Body Apply/Remove
- Cain MAT (Iray)
- Cain Eyes 01
- Cain Eyes 02
- Cain Eyes 03
- Cain Eyes 04
- Cain Eyes 05
- Textures Include:
- 31 Texture, Base, Specular, Bump, and Scatter Maps (2048 x 2048 to 4096 x 4096)
- Daz Studio Iray Material Presets (.DUF)
BUT according to the file list it doesn't have any gen mats, and it doesn't say anythin about a head morph: http://docs.daz3d.com/doku.php/public/read_me/index/53169/file_list
(If you have X-Morph, you could of course simply split up the morph.)
The Girl 8Can someone show me Hailey on a non-girl 8 base? Say like on Monique or something... the skin looks gorgeous.
I don't have Hailey (though I'm seriously considering getting her - she looks really good in the promos!). I did try Destini without The Girl and I think she's pretty! :)
Here's Destini without the Girl 8 morph:
 Selection and parameters tab
Hmmm... Probably I missed something. Ok, I think I understand now, thanks. It seems when in the scene I select and highlight on the the very top the Gen 3 female, it actually selects all the parts of the Gen3 gemale itself + all the parented objects, right?
I would like to as only about the morph reset option - do they reset to the value from the last save? And is there an option to reset the whole group of morphs at once?
Carrara Challenge #40 NOIR WIP - A warm welcome to our PA sponsor, FenricSome minor changes (making sure some props are on the ground, a morph to correct a joint or two, that sort of thing.)
Daz 3D is part of

Connect
DAZ Productions, Inc.
7533 S Center View Ct #4664
West Jordan, UT 84084Licensing Agreement | Terms of Service | Privacy Policy | EULA
© 2026 Daz Productions Inc. All Rights Reserved.