-
How to create eyelashes correctly?
felis said:
I can't make out what the images show.
But have you done transfer riiging to your eyelashes?
I used transfer utility standard settings.
Now I'm thinking of making a Geograft out of eyelashes. so that the edges always match.
Tell me, is this a good idea?
Will there be problems when I subdivide the model?
[Released] Character Converter from Genesis 3 Female to Genesis 8 Female(Now Conv JCMs) [Commercial]jdavison67 said:
I see what is happening now....
It's seems that once the transfer happens. The slider that is created is set to 100%
But this exagerates the result.
If I dial the slider back to 50% and increase the scale... I get a better reppresentation of the original character.
See Image 1
This could be... because the generated character combines a couple attributes to a single slider...
The original character contains a Guy 7 body and a Guy 7 slider
See image 2
The generated character only has the guy 7 body slider... not the Guy 7 slider...
If the new charcter slider is set at 100% the result is extreme... 50 % seems to be good with a few tweeks to the scale ... as seen in image 1
JD
The Guy slider is just a control slider; it dials in the morphs (head and body) of Guy all at once (and scale BTW though it looks like you mostly turned it off). I think that might be what is confusing the script is the scale and the negative height are combining to give you the height of the character, and it is getting them wrong somehow.
Smooth Out BumpI tried smoothing out the bumps on her bum with Blender. When I apply the suit morph in Daz, it doesn't work properly.
Part 1: https://mega.nz/file/vMN33bCJ#AMlBQn7eNbgrJ0BN0AhLIMa4I3BLRgK--QBkG_gy-Cg
Part 2: https://mega.nz/file/fYUklKBL#ZycSPSN6v651auroH0iUu_XevtgKnbx3zE9HQXieuPk
Missing Toes With dForce Twilight OutfitNorthOf45 said:
The shoes use a geograft to hide unwanted polygons, in this case the toes, so that the user does not have to squeeze them inside the shoes everytime. It's easier than making a morph to make them fit. The thing is, it seems once the targeted faces are included in the autohide for the graft with the shoes, they can't just be removed. Some polygon somewhere on G8F must be sacrificed in their place. So, let's start with loading the shoes onto G8F.
Find a polygon somewhere on G8F that will not be missed, like maybe the back of the tongue or throat, or some area that will always be covered. With the Geometry Editor Tool, select that polygon. Right-click, navigate to "Geometry Assignment" and select "Set Graft Faces for Attachment..." and then repeat for "Set Auto-Hide Faces for Attachment..."
This will set the new polygon as the one to be auto-hidden when the shoes are worn. (The hidden polygons are stored in the shoes, not G8F, so unless you save the shoe geometry, the hidden faces will revert to the original, i.e., the toes, if you remove them and add them in again). Normally the workflow is to save the modifications and reload it (Save As... -> Support Asset -> Save Modified Assets... *WARNING* this will overwrite the original geometry file and cannot be undone, but you can always re-install). If you want to see the results immediately (if only to check if it works), right-click again, navigate to "Geometry Visibility" and select "Show All Polygons". This should toggle the original hidden toe polygons ON, and hide the new selected "graft faces for attachment". You can proceed to try to squeeze the now-visible toes inside the shoes...
(I hope I got that right. I had to go through it a couple of times to get it all)
Another option is to actually edit the geometry file to remove the graft section, but that is unknown territory for me. Could be tricky, or it could be as simple as deleting one section of data.
Thank you! This did the trick.
Missing Toes With dForce Twilight OutfitThe shoes use a geograft to hide unwanted polygons, in this case the toes, so that the user does not have to squeeze them inside the shoes everytime. It's easier than making a morph to make them fit. The thing is, it seems once the targeted faces are included in the autohide for the graft with the shoes, they can't just be removed. Some polygon somewhere on G8F must be sacrificed in their place. So, let's start with loading the shoes onto G8F.
Find a polygon somewhere on G8F that will not be missed, like maybe the back of the tongue or throat, or some area that will always be covered. With the Geometry Editor Tool, select that polygon. Right-click, navigate to "Geometry Assignment" and select "Set Graft Faces for Attachment..." and then repeat for "Set Auto-Hide Faces for Attachment..."
This will set the new polygon as the one to be auto-hidden when the shoes are worn. (The hidden polygons are stored in the shoes, not G8F, so unless you save the shoe geometry, the hidden faces will revert to the original, i.e., the toes, if you remove them and add them in again). Normally the workflow is to save the modifications and reload it (Save As... -> Support Asset -> Save Modified Assets... *WARNING* this will overwrite the original geometry file and cannot be undone, but you can always re-install). If you want to see the results immediately (if only to check if it works), right-click again, navigate to "Geometry Visibility" and select "Show All Polygons". This should toggle the original hidden toe polygons ON, and hide the new selected "graft faces for attachment". You can proceed to try to squeeze the now-visible toes inside the shoes...
(I hope I got that right. I had to go through it a couple of times to get it all)
Another option is to actually edit the geometry file to remove the graft section, but that is unknown territory for me. Could be tricky, or it could be as simple as deleting one section of data.
Help with fixing a geometry issueTo fix any ill-behaving (non-zero default value) morphs, do as follows;
1. Open DS and load "Genesis 8 Basic Female" (to an empty scene)
2. Right Click at Parameters Tab->Preferences->Choose "Show Hidden Properties" (part 3 zeroes only 'visible' dials)
3. Right Click at Parameters Tab->Zero->Zero Figure (Zeroes the value of all the 'visible' dials)
4. Right Click at Parameters Tab->Memorize->Memorize Figure (Sets the current value of all the dials as their default value)
5. File->Save As->Support Asset->Save Modified Assets (Writes the changed default value to the morph files that were changed)When saving "Modified Assets" DS shows a dialog and asks for confirmation;
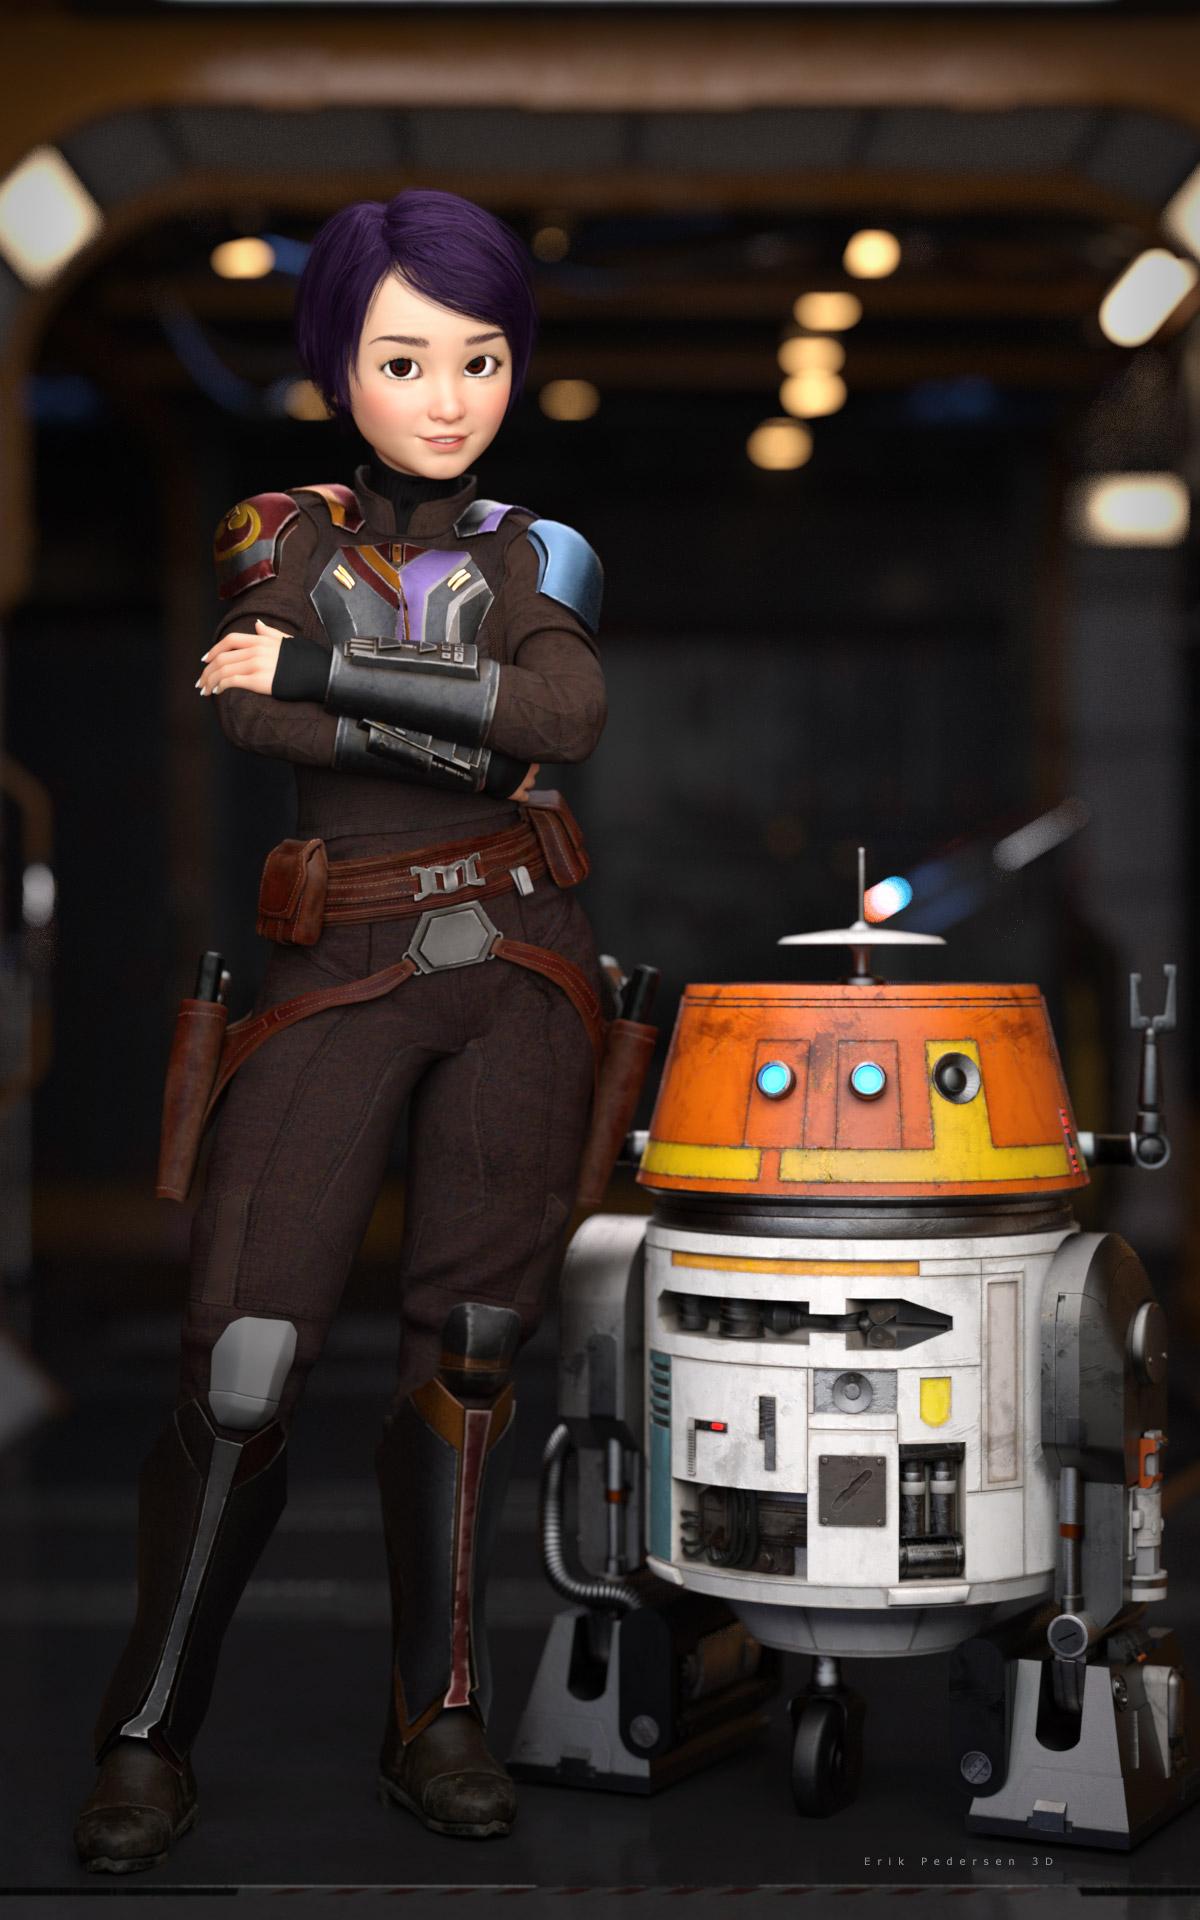
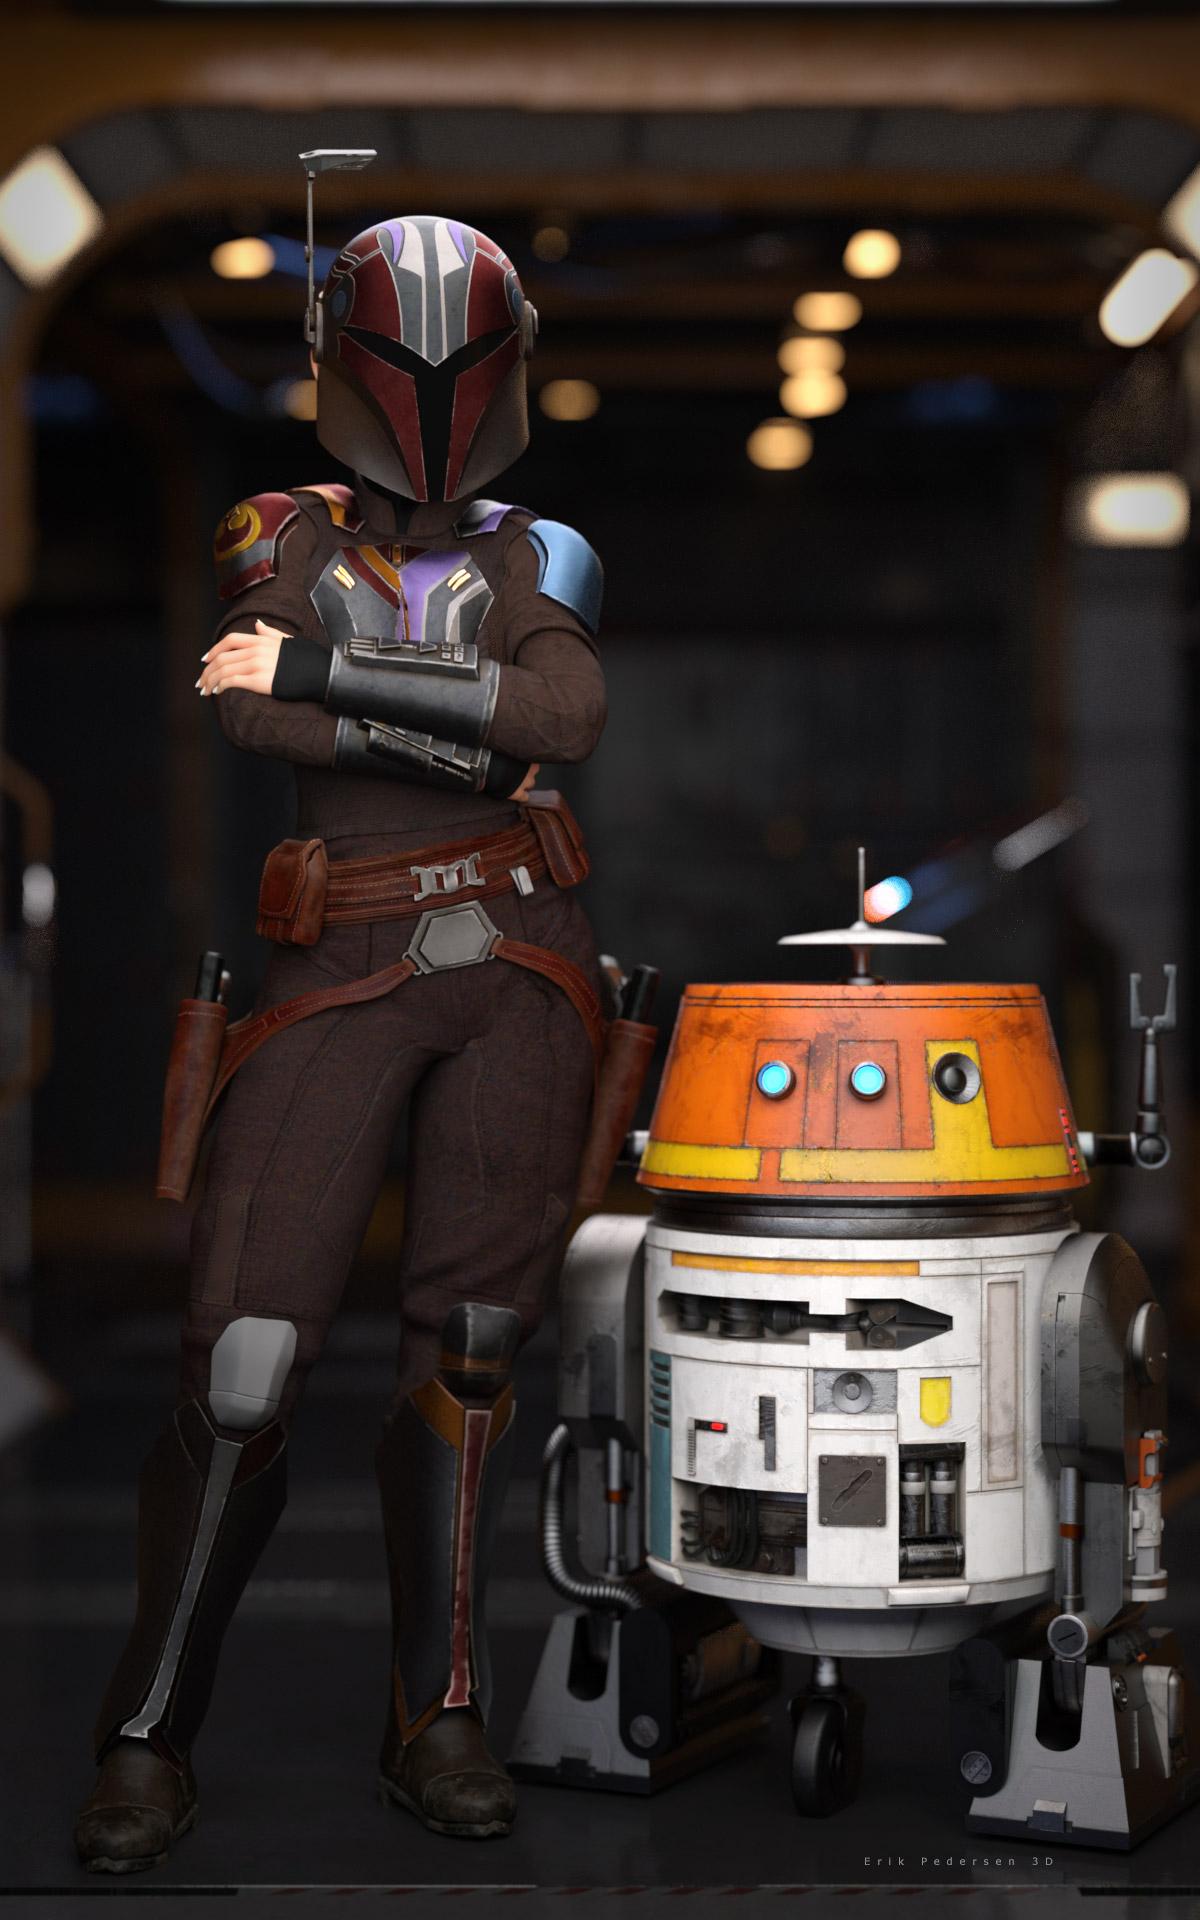
"The following file(s) will be permanently modified:" - "Accept/Cancel" - Choose "Accept"Star Wars Renders 2013 +Sabine Wren with a cartoon morph added. Chopper approved.
 Help with fixing a geometry issue
mechw8 said:
PerttiA said:
mechw8 said:
felis said:
It looks like you have an Big Girl unupdated morph installed.
Go to paramaters, and in setting enable 'show hidden', and then with the character selected in the scene tab, in Parameters click 'Currently used'.
One of the shown morphs is the culprit.
The image I uploaded was a base G8 female with no morphs applied to it; It has this problem out of the box. If you load a base female or male into the scene, spread the leges and bend them at the thights, you will see the same result.
It does not matter that you load a base figure, you can still have some rogue morphs applied - Just follow the advice given
Okay guys I followed the instructions above and this is what I got, see pic. I'm not sure what I'm looking for here; do you guys see anything that's out of place?
Since you've posed the figure, there must be hidden corrective morph properties shown... You need to tick "Show Hidden Properties..." in the hamburger menu (upper left corner - Preferences).
Help with fixing a geometry issuePerttiA said:
mechw8 said:
felis said:
It looks like you have an Big Girl unupdated morph installed.
Go to paramaters, and in setting enable 'show hidden', and then with the character selected in the scene tab, in Parameters click 'Currently used'.
One of the shown morphs is the culprit.
The image I uploaded was a base G8 female with no morphs applied to it; It has this problem out of the box. If you load a base female or male into the scene, spread the leges and bend them at the thights, you will see the same result.
It does not matter that you load a base figure, you can still have some rogue morphs applied - Just follow the advice given
Okay guys I followed the instructions above and this is what I got, see pic. I'm not sure what I'm looking for here; do you guys see anything that's out of place?
[Released] Character Converter from Genesis 3 Female to Genesis 8 Female(Now Conv JCMs) [Commercial]I see what is happening now....
It's seems that once the transfer happens. The slider that is created is set to 100%
But this exagerates the result.
If I dial the slider back to 50% and increase the scale... I get a better reppresentation of the original character.
See Image 1
This could be... because the generated character combines a couple attributes to a single slider...
The original character contains a Guy 7 body and a Guy 7 slider
See image 2
The generated character only has the guy 7 body slider... not the Guy 7 slider...
If the new charcter slider is set at 100% the result is extreme... 50 % seems to be good with a few tweeks to the scale ... as seen in image 1
JD
Help with fixing a geometry issuemechw8 said:
felis said:
It looks like you have an Big Girl unupdated morph installed.
Go to paramaters, and in setting enable 'show hidden', and then with the character selected in the scene tab, in Parameters click 'Currently used'.
One of the shown morphs is the culprit.
The image I uploaded was a base G8 female with no morphs applied to it; It has this problem out of the box. If you load a base female or male into the scene, spread the leges and bend them at the thights, you will see the same result.
It does not matter that you load a base figure, you can still have some rogue morphs applied - Just follow the advice given
Help with fixing a geometry issuefelis said:
It looks like you have an Big Girl unupdated morph installed.
Go to paramaters, and in setting enable 'show hidden', and then with the character selected in the scene tab, in Parameters click 'Currently used'.
One of the shown morphs is the culprit.
The image I uploaded was a base G8 female with no morphs applied to it; It has this problem out of the box. If you load a base female or male into the scene, spread the leges and bend them at the thights, you will see the same result.
How Do I Make Character Models?Diomede said:
3) Simplest - Using Existing Morphs (and purchases) to Shape Character
Just in case you are looking for something simpler, the following video shows how to change a Daz figure shape with Daz's premade morphs. You don't have to make your own.
Good luck, and hope to see you around the forums.
..this is the process I use. It also helps to have various other content besides just characters, like merchant and morph resource kits as well as transfer and conversion utilities.
[Released] ManFriday’s Figure Converter for Genesis 9 [Commercial]Ok looks like it works now.
It creates the error message on my system when trying to convert the default G8 figure with the body in a clean state (only default morphs). The G8 figure requires a morph applied to the body/face for it to work. A morph on the eyes alone doesn't work.How to use hair on another character?This hair is from Poser and for M4. It's a sort of Parametric Prop which has no Prop Asset in data folder. If you want to save any morph asset on it in DS, you have to 1st of all save it as a Figure / Prop asset.
[Released] ManFriday’s Figure Converter for Genesis 9 [Commercial]No, I just add the default G8 female without any adjuments. G3 has the same issue for me. Only G8.1 works.
The conversion stops with a generated node in the scene having the name from the error message (tempg8...). My guess is it's supposed to contain at that point the temporary high-res morph for the conversion but doesn't. (it's not listed when searching for it)
Looks like someone else had the same issue on page 3 in this thread:the_untold said:
hi, this is what i get....even with a basic female 8 item.
Critical error...Could not convert figure: failed to find new morph “Temporary high-res morph” in node “tempg8-tgt-yguZacdG” figure after conversion; Morph Loader Pro returned
But the recommendations of renaming the figures or removing the default figure addons doesn't change it.
How to use hair on another character?Thank you very much! I don't see any Hair folder in My Library; do you thonk I should create one? Should I create it in the Figure folder or directly in My Library?
Sorry, I had never create asset before ressently, and never hair asset at all, I don't know how much the folder is important and what is the best one...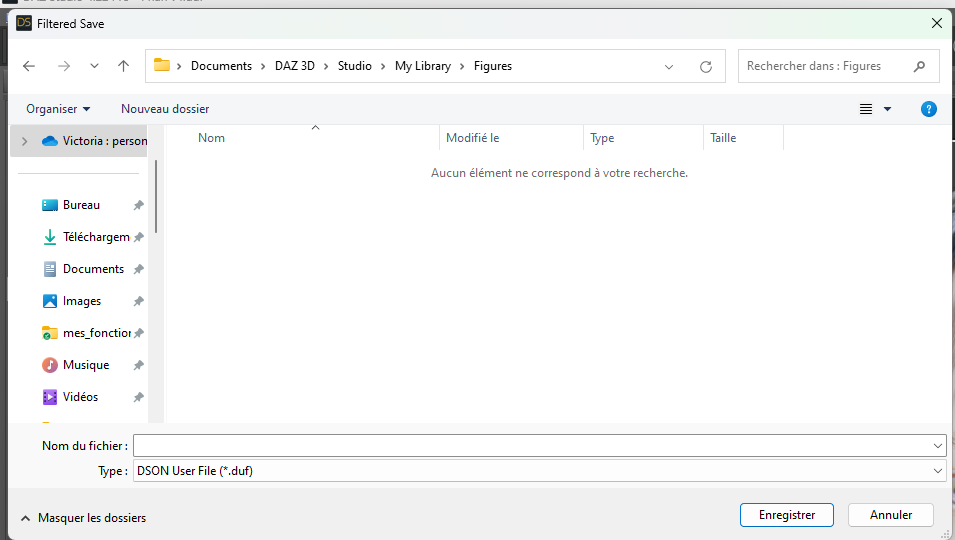
Furthermore, it's strange, I just reimported a new beach hair in the file, to be sure to use the original beach hair and not a conversion, and I tried again to do SaveAs -> Support Asset -> Morph Asset, just to see what would hapen, and I still get the same error message. Is it possible that the original beach hair was not a prop asset?

Thank you in advance for your answer!
[Released] ManFriday’s Figure Converter for Genesis 9 [Commercial]Is that morph name something you added to the base G8? It doesn't look like anything in the standard product. The words "Temporary" and "hi-res" look pretty suspicious.How to use hair on another character?Hi! Before to parent the hair to the head and save it as a wearable presset, I would like to create a slider to control the morphs I used: I dialed sevral morphs and would like to save the slider that I created, so I did Save As -> Support Asset -> Morph Aset with the hair selcted. But I get the following message:
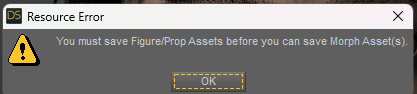
I don't understand because the Beach Hair already exists, it's already an asset, isn't it?
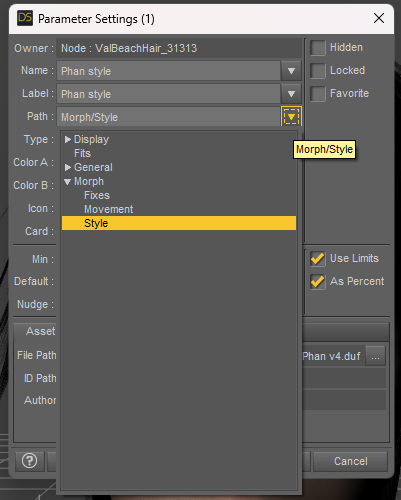
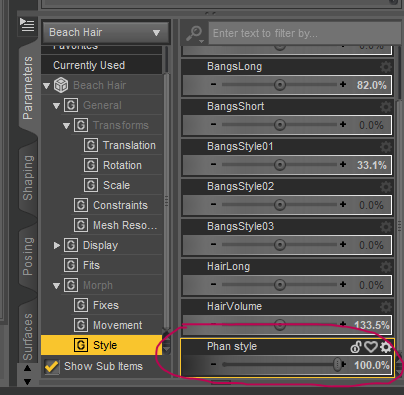
I just created the slider in the morph section of the parameter pane of the beach hair:
What am I supposed to do? I would like to save this morph before to parent the hair to the head, is it a mistake?
Thank you in advance for your help!
Let's appreciate/discuss today's new releases - more ongoinger threadrichardandtracy said:
Not a new product, I think, but one I've never seen before: The ruins here: https://www.daz3d.com/castle-in-ruins-for-daz-studio. Definitely an instant buy.
May be a transfer from another shop given the high SKU number (>100,000) and the sales text reference to DS4.9.
Regards,
Richard.
Great catch. I am a big fan of Vanishing Point assets for years and having iray version for Daz Studio is even better.
Daz 3D is part of

Connect
DAZ Productions, Inc.
7533 S Center View Ct #4664
West Jordan, UT 84084Licensing Agreement | Terms of Service | Privacy Policy | EULA
© 2026 Daz Productions Inc. All Rights Reserved.