-
July, 2019 - Daz 3D New User Challenge - Portrait Rendering
My file for the first portrait became corrupt somehow, so I can't make any further revisions to it. The previous upload will have to be my final for that version. Also, been having a lot of trouble uploading pictures to this thread for some reason but after several days it's working.
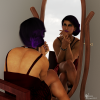
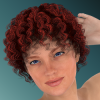
Here is the final for my second image of the custom-designed character I made, Alexa. (The first image looked too big, so I added a 2nd here).
@punky thanks again for everything... took everything you said into consideration and this is the best version of my second image.
Just out of curiousity to the experts here, are we allowed to do some of our character customization sculpting/morphing in Zbrush or should we stick to morphing wiithin Daz. Because it seems most of these stock characters from the vendors now are being sculpted in Zbrush anyways, was wondering if it's within the rules to further custom sculpt/morph them with that program and refine textures with photoshop. I see everyone using photoshop for post-work, was just checking if it's also ok for "pre-work" like skin texturing. PS and ZBrush are still very new to me, and i'm still new with Daz but I was still just curious. Of course would still be using daz for any posing/hair/clothing/scene building/lighting/shaders and rendering.
You are free to use whatever 3D program you like. The majority use DAZ Studio but if you wish to use a different program that is allowed and encouraged.
I do not see any reason you cannot use zbrush to customize your character(s).
Even though the rules state a 2 image limit we do have some flexibility there within reason.
dForce, dWeight and dWardrobe. Chronicles of...It's an infinite loop!!
LOL
How do I tell an upper-garment to react to an under-garment? Like a vest & jacket over a shirt & tie? And how do I freeze something once I get it in place?
The easy answer first: Once you're happy with a simulation, select the object and open the Parameters tab. In the left column, select Simulation and the options for Simulations will be isolated. You'll see the option to Freeze Simulation in the right column. Just click on the toggle to turn that option On.
Be aware, that clicking the "Clear" button will remove the simulation from item(s) with Freeze Simulation On, but because the option is enabled, the item(s) won't drape again. You'll have to set that option to Off to drape again. there is a Clear dForce Simulation from Selected Item(s) option. You'll find it with the other dForce menu items. Those can be found in several places, but I usually click on the Scene menu, and select Edit > Geometry > Clear dForce Simulation from Selected Item(s).
The not so easy answer:
- With simple things, you can sometimes get away with setting Collision Offset at different values for the items; An offset of .20 for the shirt and .30 for the vest, for example.
- Sometimes it works best if you've applied the Smoothing modifier and set the Collision item for the upper item to the lower item, instead of the figure.
- Sometimes it works best to drape each item separately, starting with the lowest item first, freezing the items as you go.
- Sometimes it only works if you create a morph of the drape underneath, use the Timeline, and dial the morph from 0 to 100% during the morph.
- And sometimes, the best thing you can do is find a different outfit.
I am referring to using dForce on clothing that was created before we had dForce,
HD Dark Knight Horse Txt. Exp. QuestionThank you for one half of my puzzle! I suspect it's the more important half, since I can usually beat even recalcitrant textures into shape, if motivated. :-)
The zombie textures apply fine to the base horse 2, but it won't look as good without the morph. As for the 3delight question, no idea since i never use 3delight
HD Dark Knight Horse Txt. Exp. QuestionThe zombie textures apply fine to the base horse 2, but it won't look as good without the morph. As for the 3delight question, no idea since i never use 3delight
NAS and Daz1) HDD's are unlikely to ever match an SSD. However mass solid state storage gets very expensive when you're talking 3D assets and video files. 6TB SSD's presently cost at least $1200 US. However you have to consider the speed of your ethernet. 1Gb ethernet is not terribly hard to saturate with either HDD's or SSD's (SATA has a rated transfer speed of 6 Gb/s a second).
2) UnRaid will let you designate the drive setup, which will allow you to mimic any RAID you want but it isn't actually precisely that RAID but their own implementation. I've been using it for several years and haven't had an issue but YMMV. Also there is no need to go with Ironwolf Pro's over regular Ironwolf's unless you just have the spare budget (at 6TB the Pro's are $50 more each) or want the extra 2 years of warranty coverage.
A quick explanation of RAID just to be sure you understand it.
RAID 0 has no redundancy and any failure destroys all you data. However throughput is increased by the number of drives involved.
RAID 5 shares parity information across all the drives, therefore if one disk fails all the data can be rebuilt. Rebuild operations involving lots of data can take a very long time and if there are other drives in poor health they can fail duringthe rebuildand cost you the whole array.
RAID 50 combines the features of RAID 5 and RAID 0. You get increased total storage of the volume and better resistance to failures but it requires at least 6 physical drives to implement and it is actually pretty hard to find a RASID controller that supports it.
I use UnRaid to effectively create a RAID 50 in my NAS but it is software and not hardware so there are some performance costs, particularly in writes.
July, 2019 - Daz 3D New User Challenge - Portrait RenderingMy file for the first portrait became corrupt somehow, so I can't make any further revisions to it. The previous upload will have to be my final for that version. Also, been having a lot of trouble uploading pictures to this thread for some reason but after several days it's working.
Here is the final for my second image of the custom-designed character I made, Alexa. (The first image looked too big, so I added a 2nd here).
@punky thanks again for everything... took everything you said into consideration and this is the best version of my second image.
Just out of curiousity to the experts here, are we allowed to do some of our character customization sculpting/morphing in Zbrush or should we stick to morphing wiithin Daz. Because it seems most of these stock characters from the vendors now are being sculpted in Zbrush anyways, was wondering if it's within the rules to further custom sculpt/morph them with that program and refine textures with photoshop. I see everyone using photoshop for post-work, was just checking if it's also ok for "pre-work" like skin texturing. PS and ZBrush are still very new to me, and i'm still new with Daz but I was still just curious. Of course would still be using daz for any posing/hair/clothing/scene building/lighting/shaders and rendering.
How do convert Genesis 8 female hairs to Genesis male ?For many G3 or G8 hairs, all that's really necessary is to load the hair without fitting it to anything, then go to the "Edit-> Scene Identification" option in the Scene tab menu, set the "preferred base" to the desired base figure, then fit it to the character. You can then resave the hair as a follower for its new figure if you wish - it saves you having to go through the process every time.
(This is mostly what Hair Convertor does, but doing it via script is just a lot less tedious than having to do a huge collection individually).
If you find that this is causing mesh clipping on a cross-gender transfer (it might well do around the shoulders for longer hair), then it is possible to carry out a more thorough transfer that also creates a morph that bakes in the new figure shape without interfering with the rigging, but that's a rather more complex process which I'd probably have to check before I tried to explain it.
Export a customized head and read it back in as a single morph?Bear in mind that if you turn a compound morph into a single imported morph you willlose any corrections (e.g. adjustments to things like Eyes Closed or Smile that apply when one or more of the component morphs is applied). You also can't share a morph made this way, unless all the components are merchant resources and your method of distribution matches the license terms. A better way to achieve a single slider that can vary the intensity is to create a control property that will set the component morphs.
- make sure your figure is zeroed apart from the face morph
- right-click in the Parameters pane and set Edit Mode on, if it isn't
- right-click in the group you want your morph in - e.g. Actor>Head>Face>Character (Characters - I can't recall) and Create New Parameter
- enter the name for your face control, you may want to set the Minimum value to 0, the other settings should be fine at default, click Accept
- set your new parameter to 1 (don't do this in the creation dialogue - you want to be careful to keep the default to 0 or all of your figuers will load with the shape on)
- right-click on the new parameter slide>ERC Freeze
- make sure that only the face shaping controls you want are listed as sub-components, uncheck any others that have crept in, then click Accept
- test
- if good, File>Save As>Support Assets>Morph Asset and save your new slider
Export a customized head and read it back in as a single morph?Hello,
I made a custmized head from many individual morphs and would like to have that head saved for future use. I know I can save it as a shape but I'd rather save it as an obj so I can tweak it's strength on new figures (maybe take 30% of it and 40% of another). I followed the process outlined in an old version of the help manual but it didn't work (turn the figure off, turn the head back on, export it as an obj, read it back in thru morph loader, etc.). Can anyone outline how to do it in Daz Sudio 4.10 and later?
Seems like I did this before but can't find any info on it. Search for Morph and you get a thousand hits, so I thought to ask.
Thanks
There are probably other ways of doing it, but exporting as .obj would certainly work. You wouldn't make the figure invisible, just make sure every morph not affecting the head is dialed out/zeroed, set resolution to base and zero figure pose.
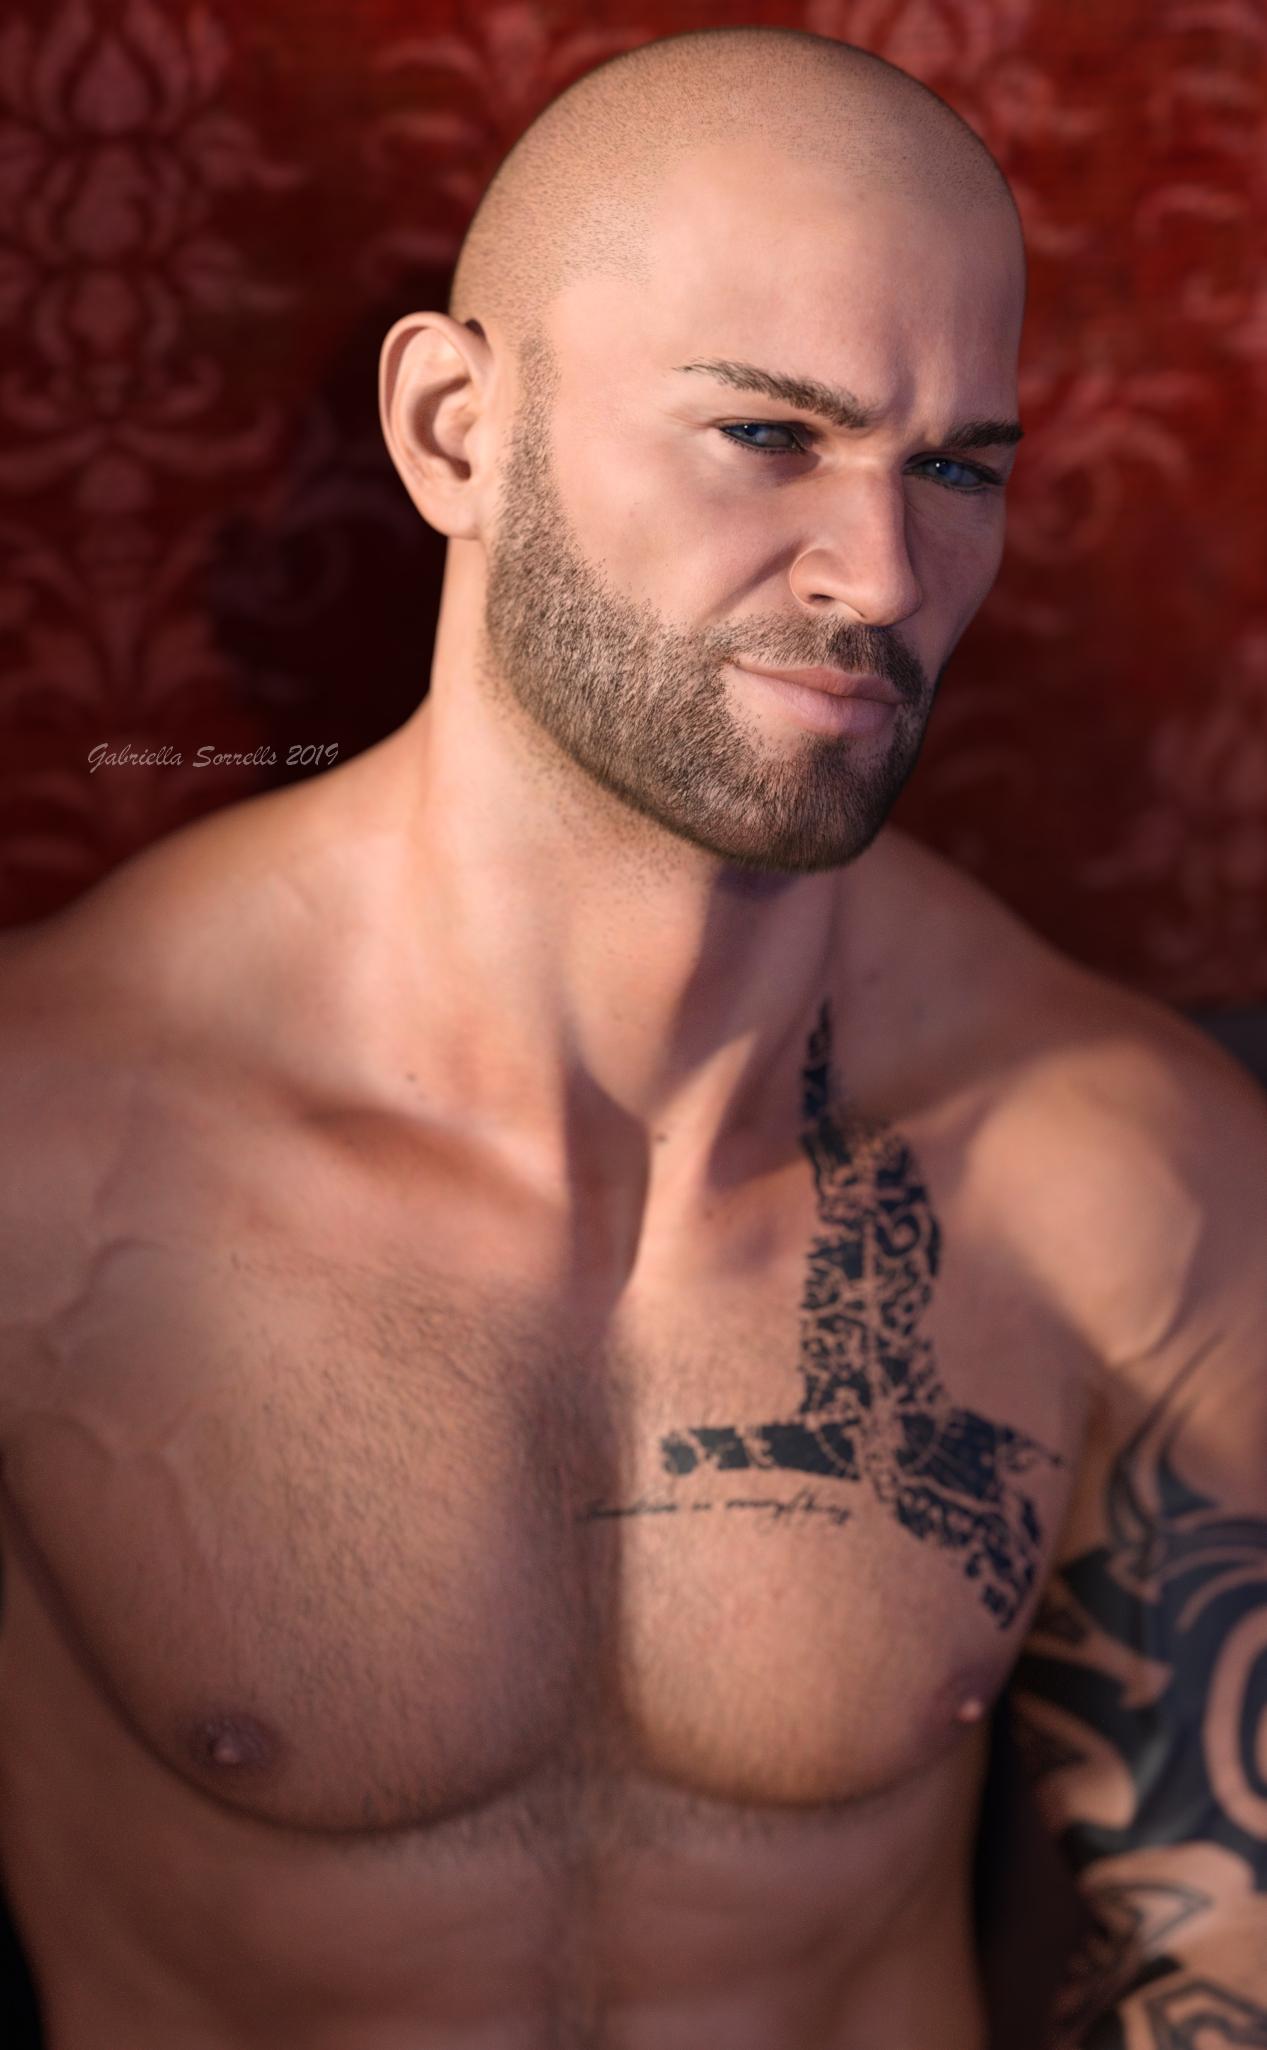
For the love of LeoSo, I was futsing about with Orrin's skin settings, because I'm vaugely uninspired and his settings are weird anyways. And the detail on his skin is impressive. Maybe it's the lighting, maybe it's the shadows, I don't know. I just think it's neat. And even just a little of Dark Guard's HD morph dialed in gives a nice vascularity. Anyways. The tattoos don't come with him they're from LIE Tattoo presets G3.
 ISO quality .BVH files that work on genesis figures
Hey @FSMCDesigns,
If you're mostly experimenting, There was a full set of the Mixamo (2400) BVH/FBX motions that was legitimately downloadable (Mixamo gave their library away for a while, but you had to download them all manually :). Someone did, and they're allowed to be used for anything commercial. I think these were BVH and FBX, so I think you could convert/transfer them with some tweaking, or perhaps the BVH's are already DAZ targeted, etc. I think you can search 'em out, but if not, hollar, and I'll see if I can find/post my source. The carnegie-mellon set are decent enough - probably worth pulling the DAZ set. TruBones just did an update that includes the hands, but not for any of the DAZ figures - not free.
To make your own, take a look for 'Brekel' and with a Kinect 'camera', you can make your own - depending on your HW and budget. He targets a couple of the DAZ figures in his product line. You can also use the payfor (zev0 and/or draagonstorm?) or freebie scripts (see the DAZ freebies forum) to convert various DAZ figure animations and poses to other figures.
The DAZ Studio BVH import/export is currently brain-dead - since 4.5+, even with Mil4 and Genesis1. I would bet their ad blurb claiming that it's a working function borders on false-advert, but so it goes. Trouble tickets by many ignored for years. Maybe in 4.12.0.33+ - we can hope. The new animation additions are promising, but the BVH export is still broke... Many have mixed luck with fbx/collada, but it depends a lot on your workflow. YMMV.
FWIW, I've seen folks burn/export DS animations (duf/aniblocks) for these figures to PZ2s for Poser then export to BVH in Poser, and go from there. I wonder if this path would work for you in your Unity world. Blender has some tools too - never used them.
GoFigure's packages are generally pretty good, as are the PoserMocap series (I think you just missed a really good sale...). Burn them to the timeline and export to PZ2, and ...
If you pick a path/workflow and have questions or get stuck, let us know, and perhaps we can lend a tip or two.
Hope this helps!, Curious how your explorations will go!
cheers,
--ms
Export a customized head and read it back in as a single morph?Hello,
I made a custmized head from many individual morphs and would like to have that head saved for future use. I know I can save it as a shape but I'd rather save it as an obj so I can tweak it's strength on new figures (maybe take 30% of it and 40% of another). I followed the process outlined in an old version of the help manual but it didn't work (turn the figure off, turn the head back on, export it as an obj, read it back in thru morph loader, etc.). Can anyone outline how to do it in Daz Sudio 4.10 and later?
Seems like I did this before but can't find any info on it. Search for Morph and you get a thousand hits, so I thought to ask.
Thanks
SereneNight's Sci-Fi Fun Thread 2This is about the first time we've seen another Aesir, so there he is. A clone like Boyd. Only much older. Probably from the 60's or 70's.
 What century's 60s or 70s?
Earth has been aware of aliens since the 40's. Not all aliens are hostile, although most don't like homo sapiens. I'm afraid we are an invasive species in the rest of the galaxy. Fortunately for them, Earth is rather remote, so they haven't bothered with us much, until now. There are however, other worlds with humans on them. Aliens have been taking human slaves and such from earth for hundreds of thousands of years and those humans have escpaed, and well, look what happened to the Earthworm in america. They are everywhere, and people think they are indigenous.
During the 1940's Americans discovered the existence of aliens after a crash landing. Since then we've taken and adapted the alien tech to form the basis for cloning, body replication, and space flight.
Cloning, and brain transfer, is entirely an alien technique which we have stolen and adapted, since thats what humans do.
Creating dependencies between settings on the Surfaces tab and Parameters tabThanks - I think I'm almost there now.
I do remember that "Insert Code Snippet"... obvious when it's pointed out.
 (Edit: Ha! Forum WYSIWYG Issues from 2016 - not my title, I'd have used 'Probems'
  )
)
And now that you've mentioned it, I also remember somebody (Richard? Rob?) posting a simple way to get an object to tell you all its methods/properties. I vaguely recall asking the question before too, so I'll go and see if I can find it. (Edit2: Jag11 posted a way to do it here, way back in 2015)From that Animation for surface tab timeline not working link, I see that MCasual has a script covering the basics of what I want to do (MatAnim for DS 1, 2, 3, 4)* - as is often the case !
Thinks: I really do have to put mCasual's DAZ Scripts alongside DAZ Script Object Index in my bookmarks !Edit3: I now need to add these identical sliders and dependencies to several props.Doing it manually is tedious and error-prone.So I've decided to write a short script to do it for me. The process of writing a script is also tedious and error-prone for me, but once it works well enough to run for one prop it's good enough for me. I'm nearly there - I just need to work out how to do the last bit, Creating a simple DzERCLink between two new parameters
Edit4: All problems now appear to be resolved, so I just need to convert my 14 Poser props to DS-native props that use all the stuff from this thread. These are just more notes to myself:
- Rename each PP2 (DS uses the PP2 filename as the node name - it took me a while to remember that!) E.g. 'Row08(2Mat).pp2' becomes 'Books (Row Of 8) Map64.pp2'
- In the PP2s change both internal/external name of the prop to be the same as the filename
- In the PP2s change all the 'ROW08-SPINE-WIDTHS' type morph names to something less computer-code-y and without the prop-specific prefix, e.g. 'Adjust Spine Widths' (regular expression ROW..- works nicely)
- In the PP2s change 'groupNode Morph' to 'groupNode Book Adjustments''
- Import the PP2 into DS4.8 and select it
- Run 'AddParameters.dsa' to create the 4 new parametersand the 2 ERC links between them. Check the ERC is working, but be sure to set values back to 0 afterwards !
- Apply the 3Delight Pulp1 material preset (which already has the post-load 'ConnectOrReconnectExistingTilingOffsetProxies.dsa'
- Check that the 2 main controls change the texture offsets correctly. Be sure to set values back to 0 afterwards !
- Hide the two intermediate/proxy values
- Edit > Object > Element Data and add the 'SelectThisNode.dsa' post-load
- Save as a Prop/Figure Asset
- Close and restart DS4.8,load the new prop, and test it. Apply 3Delight presets and Iray presets to check that everything works.*Actually I'm not sure... I've had a look and can't make head or tail of it. Too many functions for my poor brain to handle. Give me monolithic code any day - start at the top, carry on till you reach the bottom !
Trying to understand namespretty well
Genesis 8 F is base figure model for that generation of genesis female
She then has quite a few main characters,- Victoria 8
- Olympia 8
- Stephanie 8
- Monique 8
- Teen Josie 8
- Charlotte 8
- Sakura 8
- Karyssa 8
- Alexandra 8
- Aiko 8 to name just a few. these are all different purpose built shapes exploring different ethnicities, body shapes and variations etc which are released at roughhly monthly intervals. On release days you will find a base character, a starter bundle and a pro bundle, which include other products. If you want you character to be "Anatomically correct" then you need to buy the pro bundle for at least one of the adult characters (M&F) as genitalia are only released in the adult pro bundles.
there are also morph packs, these enable you to dial in differences to either the base figure or the characters, and desighn your own unique look
Then there are named extension packs such as https://www.daz3d.com/ry-tessa-for-victoria-8 ; which is optimised to be used with V8 but can actually be used on the base figure but won't look exactly the same.
Have I confused you?
Not at all! Thank you so much! :D I'm mostly insterested in working the models and not full 3D scenes so this is perfect advice.
One more quick question though... I found Victoria and Karysa but only because I had seen them before in tutorials. If I want to search for characters is here an easier way? I say this because Karyssa for example is not on the "figure" list in filters... :)
Thank you so much guys!! :D you were great help!pretty well
Genesis 8 F is base figure model for that generation of genesis female
She then has quite a few main characters,- Victoria 8
- Olympia 8
- Stephanie 8
- Monique 8
- Teen Josie 8
- Charlotte 8
- Sakura 8
- Karyssa 8
- Alexandra 8
- Aiko 8 to name just a few. these are all different purpose built shapes exploring different ethnicities, body shapes and variations etc which are released at roughhly monthly intervals. On release days you will find a base character, a starter bundle and a pro bundle, which include other products. If you want you character to be "Anatomically correct" then you need to buy the pro bundle for at least one of the adult characters (M&F) as genitalia are only released in the adult pro bundles.
there are also morph packs, these enable you to dial in differences to either the base figure or the characters, and desighn your own unique look
Then there are named extension packs such as https://www.daz3d.com/ry-tessa-for-victoria-8 ; which is optimised to be used with V8 but can actually be used on the base figure but won't look exactly the same.
Have I confused you?
Not at all! Thank you so much! :D I'm mostly insterested in working the models and not full 3D scenes so this is perfect advice.
One more quick question though... I found Victoria and Karysa but only because I had seen them before in tutorials. If I want to search for characters is here an easier way? I say this because Karyssa for example is not on the "figure" list in filters... :)
And if you want only the main characters with bundles: https://www.daz3d.com/genesis-8-core-figures
July, 2019 - Daz 3D New User Challenge - Portrait RenderingOK, since I like portraits and I love lights, I present a second submission - if organizators allows -
Little Devil
This is the same character than my previous submission, but with a different ligthing; I wanted a high contrast / low light with a bright-ish simple background.
Again, character is G8M - many many morph packs - Growing Up - Altern8 with Luca Skin . Lights is a custom setup made by me on hexagon + emissives.
Hope you enjoy, thanks for watching!
I'd say you got the expression bang on for the title. He definitely has a devilish look, especiall that slight smirk of a smile.
July, 2019 - Daz 3D New User Challenge - Portrait RenderingOK, since I like portraits and I love lights, I present a second submission - if organizators allows -
Little Devil
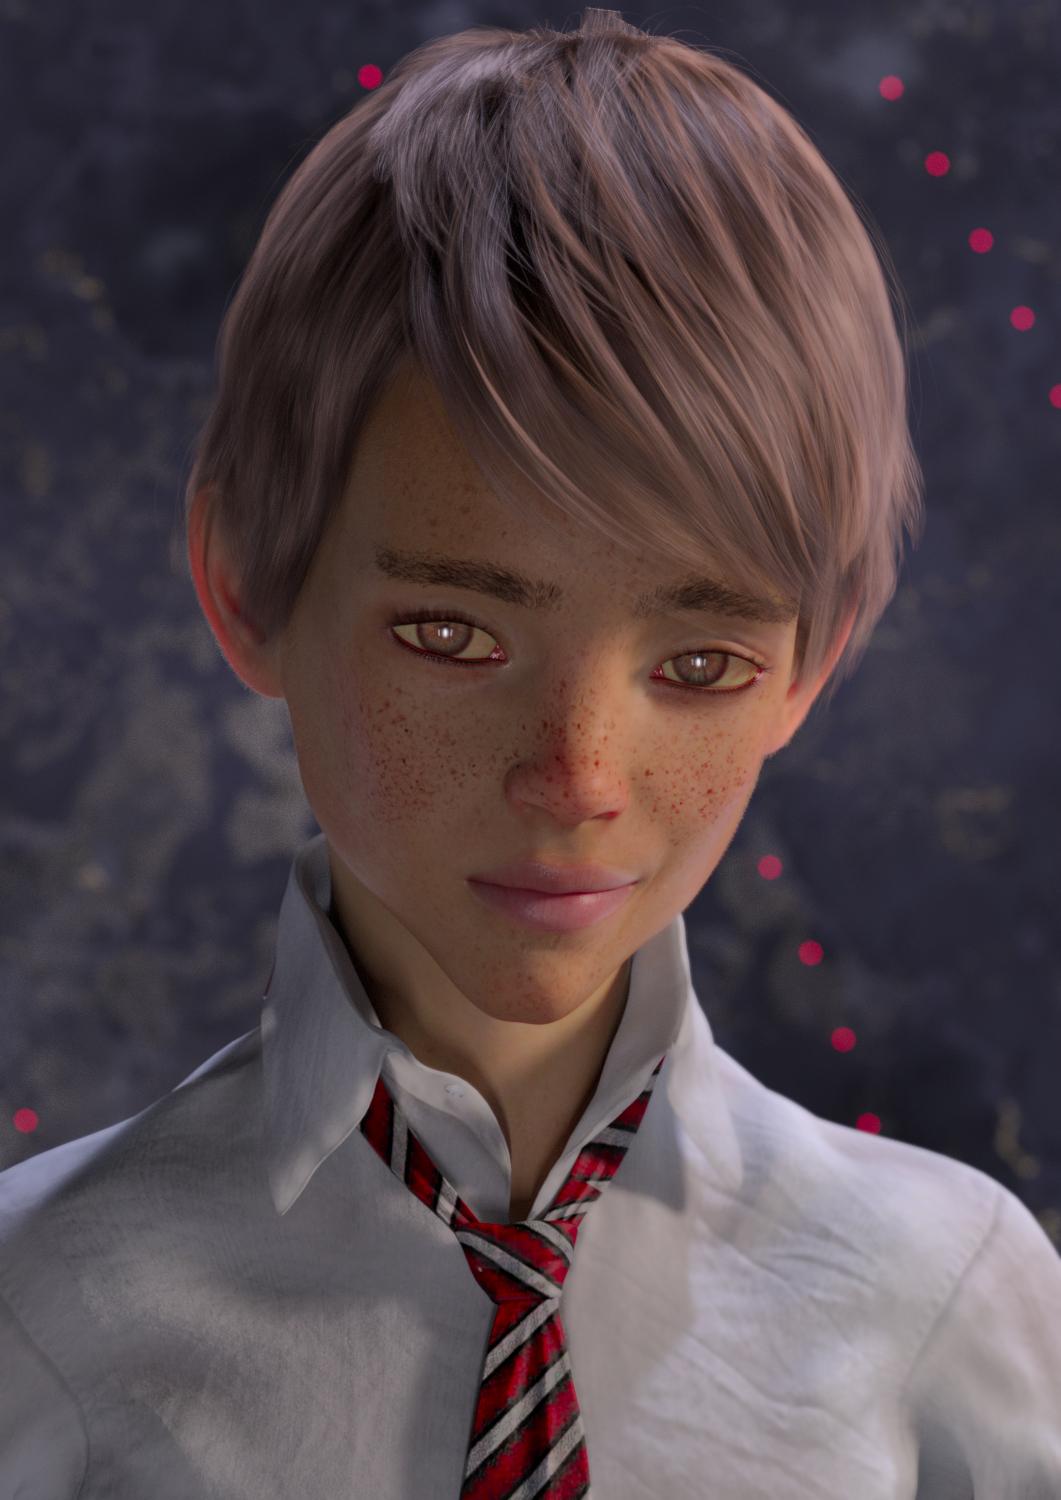
This is the same character than my previous submission, but with a different ligthing; I wanted a high contrast / low light with a bright-ish simple background. And a subtle mischivious / devilish / "Daz meets Demian Thorn" attitude.
Again, character is G8M - many many morph packs - Growing Up - Altern8 with Luca Skin . Lights is a custom setup made by me on hexagon + emissives.
Hope you enjoy, thanks for watching!
July, 2019 - Daz 3D New User Challenge - Portrait RenderingOK, since I like portraits and I love lights, I present a second submission - if organizators allows -
Little Devil
This is the same character than my previous submission, but with a different ligthing; I wanted a high contrast / low light with a bright-ish simple background.
Again, character is G8M - many many morph packs - Growing Up - Altern8 with Luca Skin . Lights is a custom setup made by me on hexagon + emissives.
Hope you enjoy, thanks for watching!
can i convert genesis 2 model to genesis 8 modelI'm working on a morph using Lord of the Bears Transformed HD for Genesis 2 Male byGhostofMacbeth
is there a way to convert genesis 2 model to genesis 8 model
How to remove a piece of geometry from a prop?There's something I use when I need to edit complex props or elements that are inside figures and I can't delete the mesh because it has a bone or morph linked to it:
On gemometry editor, select the part of the mesh you don't want, right click, Geometry assignment, create surface from selected, name the new texture as transparent, go to the surfaces tab and just let it transparent.I use this rendering on 3Delight, I'm not sure if it works the same on iRay.
Daz 3D is part of

Connect
DAZ Productions, Inc.
7533 S Center View Ct #4664
West Jordan, UT 84084Licensing Agreement | Terms of Service | Privacy Policy | EULA
© 2026 Daz Productions Inc. All Rights Reserved.