-
Darwins' Schtuff Pt Deux
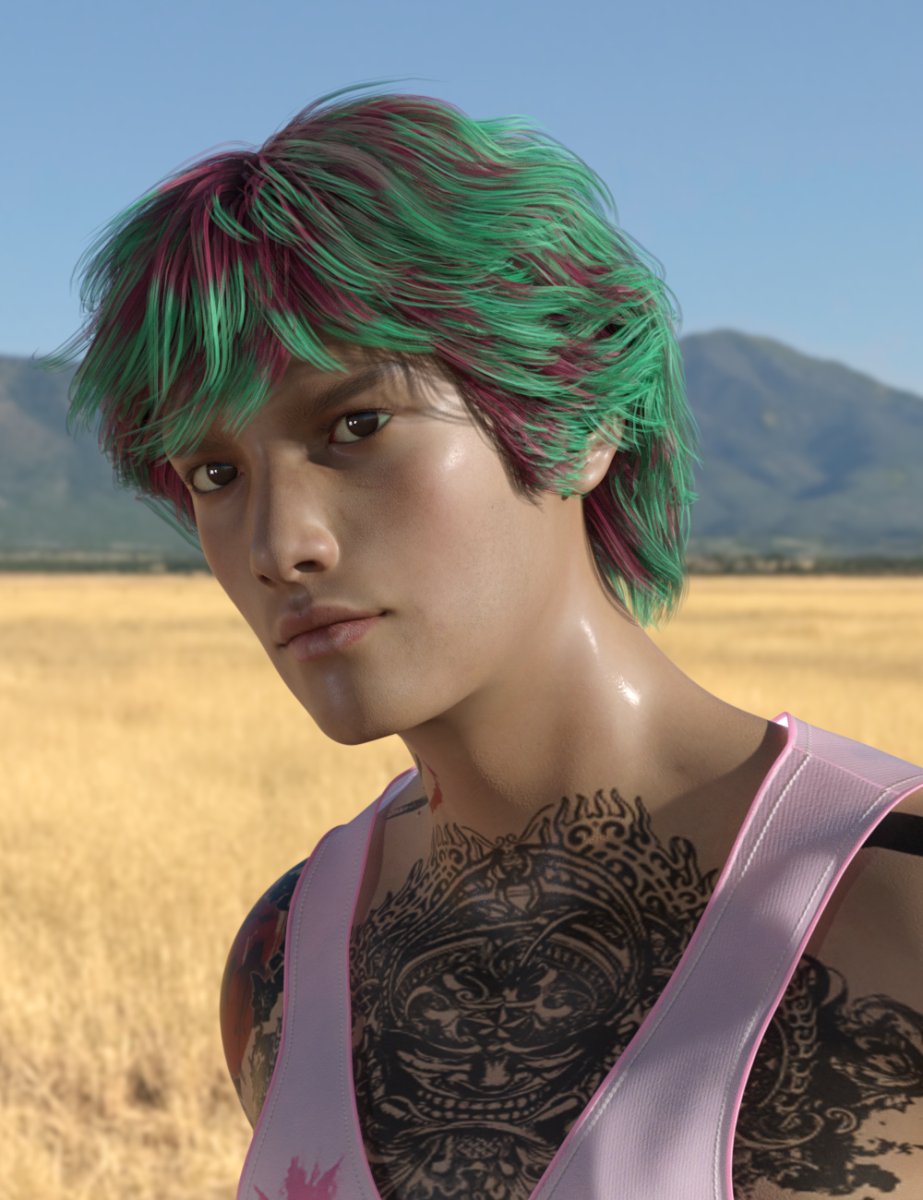
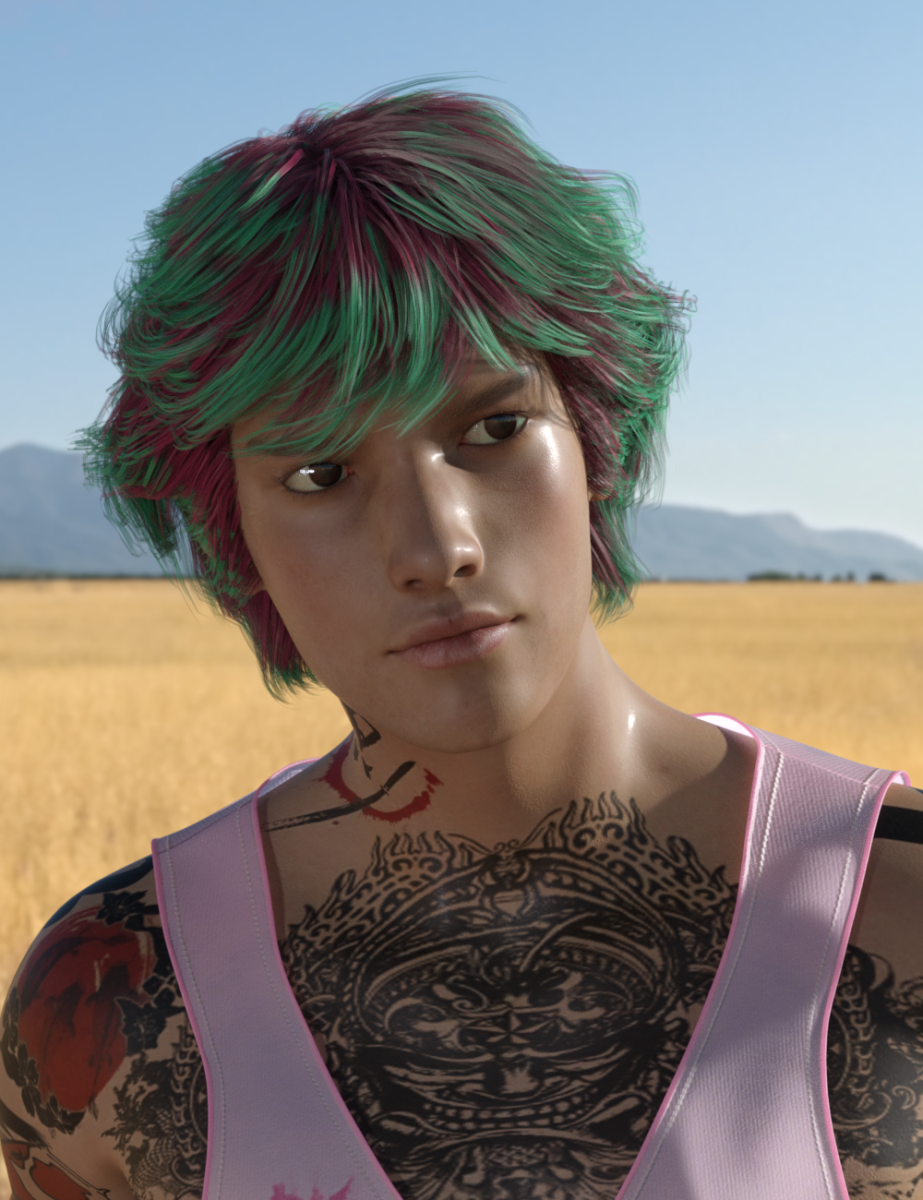
Next morph: Named Jo Yun. Base reference is Park Hyung-sik. Skin is my Yukio for Lee 8.
I have two more rendering which I'll post when they are finished. I still have to go through each morph set to check the eyes (if they close correctly) and make corrective morphs, as well as a couple of JCM's for certain areas. But, I have one more base head/body/full morph set to finish before starting the fine tuning process. :D
A full front face shot: I do believe I am in need of much more practice working on facial structures for Asian features. While I like this morph, it is not where I want it to be. However, I at least managed to get the lips/nose area to look how I wanted it to.
 Animated / Rigged SubD export
Pardon my cheek for necro'ing a year old thread, but I stumbled onto this via google while looking for a potential solution to this problem. This thread was a top result. I have a quick and easy solution, though it may require 3ds Max or Maya, as I use a functionality that may be peculiar to autodesk products.
TLDR: This is how I got a SubD Smoothed Genesis 3 figure into Unreal Engine with working hd morphs and weightmaps.
Problem: I want to animate a SubD Smoothed Genesis figure outside of Daz Studio without losing morph resolution.
Solution (Summarized): Use Transfer Utility to create a rigged high resolution duplicate of Genesis (or any figure with subd levels). Export that to FBX and import into 3ds Max. Save its weight maps to file. Then, dial up your character in Daz Studio, and lock the SubDivision Level Parameter, setting the minimum resolution to the level you want to export at. Export that figure to FBX, then load it into 3ds Max. Load the previously saved weight maps from file to apply on your finalized figure. This process is a one-off. Once you generate that weightmap file, you can skip the first two stages in the procedure below.
Solution (Details):
Stage 1: Daz Studio, Create a conforming High Resolution copy of your Figure.
- Load a default Genesis figure and export it to .obj at the SubD level you want to export your final figure at, leave the figure in the scene.
- Import that obj back into Daz Studio and use the Transfer Utility to conform it to the Genesis character you still have loaded. While you have the Transfer Utility window open, leave eveything at default, but check the 'UV Space' box. This will ensure that the transferred weights will be nice and accurate. You can test this on the eyes and mouth to see. We'll call this newly transferred mesh 'HD Genesis'.
- Now that HD Genesis is rigged, unfit and unparent it from the original Genesis figure you just conformed it to. Hide or delete that original Genesis, and select HD Genesis.
- Export HD Genesis to FBX. The settings aren't important here, As long 'Figures' is checked, the FBX will contain the weightmaps we need. Now, we move over to 3ds Max.
Stage 2: 3ds Max, Create a file containing High Resolution weight maps for your Figure.
- Import the HD Genesis FBX.
- Select the Skin Modifier in the Modifiers List and expand the Advanced Parameters Tab.
- Click the Save button to create an env file. This file contains the weightmaps for this skin modifier. It can be loaded onto another skin modifier, which is what you'll do in a minute.
- Reset your 3ds Max Scene, you won't need the HD Genesis figure again after this, so you can delete the FBX, as well. Hold on to that Env file, though.
Stage 3: Daz Studio, Export a High Resolution FBX of your Figure using the Parameter Lock trick.
- Load or dial up your Genesis character.
- With your Genesis figure selected, Lock the 'SubDivision Level' Parameter and set its minimum level to whatever SubD level you exported your HD Genesis to. Lock the 'Resolution Level' parameter for good measure, as well.
- Now export your figure to FBX. Make sure that 'SubD Information' is checked, as well any other settings you may need (morphs, merge clothing, animation and so on).
Stage 4: 3ds Max, Load the High Resolution weight maps onto your Figure.
- Import your new character FBX into Studio Max. You'll see that your Genesis figure is at its appropriate SubD, but the weightmaps aren't applying properly. There's no weight data for the SubD vertices, just the vertices from the Base Resolution Mesh.
- Select the Skin Modifier in the Modifier List, and expand the Advanced Parameters tab.
- Click the Load button, then navigate to where you stored that env file. Load it.
- When you're prompted with the envelope window, click the 'match by name' button to make sure that the weights are applied to the proper bones. Also ensure that the 'Load Vertices By Index' box is checked, this will ensure that the imported weights are accurate.
And that's it, from there I was able to export to Unreal Engine. Again, I apologize for bumping this old thread, but since this was a top result in my web search, I figured this was a good place to throw a bone to anyone else who was stuck on this conundrum.
Now they have the hair ....Carrara Puppeteer always confuses me as it creates no real keyframes or anything I can save as an NLA clip and won't work with Mimic
I use it for animation groups of objects, hair and clothing morph movements but never characters as it basically locks me out of adding anything else like lipsync, expressions etc afterwards
CAT girl G8There seems no morphs for the nose in that product.
Any ideas what nose morphs are used in the promo images?
I don't think any were used. I think it's just an "effect" of the "nose pad" color in the face texture. the "illusion" works better with a spmewhat wide and flat nose.
Yeah, I think the product missed an opportunity by not offering a simple "cat nose" and "hare lip" morph. One could have used either or both for their preferred style of ailuromorph.
Sincerely,
Bill
Agree, at the very least we need one of those 'cat got the cream' smiles that some anime girls get
copy d-formshello,
i saw a tut on copying parameters of one deform on the left side to a new d-form for the right. i morphed the left eye lid now i want to copy it to the right eye. i tried remembering to change the X axis to the right but not the same.
See image for left side parameters
It's so frustrating when questions go unanswered for so long, especially when I was also looking for the answer. In case the next person searches and finds this thread, here's some good news:
While I didn't figure out how to duplicate a dformer itself, it can be copied without duplication: Spawn a morph from it.
Open the DForm Tab (Window > Panes), select the figure/object the dformer is connected to, then click Spawn Morph. Now you create a dial with the morph (set to 0%). You can now move/adjust the dformer as needed and spawn yet another morph. Every time you spawn a morph, you create a new dial for that morph and can apply them as desired.
Hope this helps someone!
CAT girl G8There seems no morphs for the nose in that product.
Any ideas what nose morphs are used in the promo images?
I don't think any were used. I think it's just an "effect" of the "nose pad" color in the face texture. the "illusion" works better with a spmewhat wide and flat nose.
Yeah, I think the product missed an opportunity by not offering a simple "cat nose" and "hare lip" morph. One could have used either or both for their preferred style of ailuromorph.
Sincerely,
Bill
Problem with eyes in G8M and G8F.hello, you can disable the rarestone morphs by removing at your own risk the files located in the folder data\DAZ 3D\Genesis 8\Male\Morphs\RareStone (or something like that), but they are probably not the ones responsable for the issue. The morphs work together without a problem.
If the default figure looks wrong, there is probably some figure that you installed or a morph pack that by default has a dial set. So this affect the default figure even if the morph dial is not set by you. Itens in Daz Store usually are safe, but if you have things installed from elsewhere you could face this kind of issue.
You should have a separete library folder for files from Daz Store and from other sites to make track the problem more easy.
One thing you can try to track the issue is load a new figure and click in the part that is looking wrong and after that you click in the option for the propriety and in the "controller" tab you can check what is affeting that part. Another way is set "display hidden" activated and check what is set in the proprieties tab.
Breast movement...I am going to disagree with Wolf on this .But when it comes to animating with in daz studio don't knock hand keyframing until you give it a try
Hi Ivy
I dont think we actually disagree on the matter keyframing,in general, but perhaps have a different "philosphy" as to when handkeying is. ( or is not) a practical solution based on the types of animation we do.Now if you want to see a user base that is waaaay too dependent on canned motions & scripts then look no further than the Reallusion Iclone forums.
Now it does not help matters that the extremely powerful and feature rich spline curve editor for Iclone is a $99 USD add-on
( shame on you reallusion!!)
Still Most Iclone users (in the forums at least) have the curve editor and still wont use it for simple fixes that I do every single day with graphMate in Daz studio.
There is a person who is animating some "bible inspired"stories with many characters wearing long tunics/robes of that time®ion.The person complained that the hands were colliding with the robes cloth physics during walk cycles .
People were actually suggesting someone should create a script to "make the cloth avoid the hands"
I suggested using the curve editor to simply mass select all of the frames for the shoulders and raise the arms slightly to avoid the hands hitting the clothing at the hips/thighs.
The response was: "I should not have to do all of that work!!..Reallusion, needs to automate this !!"
I dont personally have the Iclone curve editor for iclone
(Never "upgraded" to version 7 required for the curve editor ,still on 6.5)I create base "first pass", major body motion in realtime and export to BVH.
Load BVH into studio/target genes figure where I hand refine the limb movements with graphMate.
Hand key ONE eye bink and copy& paste it a few random places along the timeline in graphMate.
Add My "base layer" lipsinc with mimic live.
Handkey my facial expressions/emotions with graphmate ,all of this on a naked base res Genesis 1,2or 3.and save to animated duf file.
Load, dress ,Morph,hairdo etcthe final scene actor/Characterand Apply saved duf with lipsinc & all.
Export obj/.MDD animated data file to Maxon C4D for final scene assembly & rendering.
Now IMHO, there are other scenarios where hand keying is simply not practical and those typically involve any type of rigid collisions/ soft body physics
This Matrix reloaded animation was done by one of the more advanced Iclone users named "Athos"
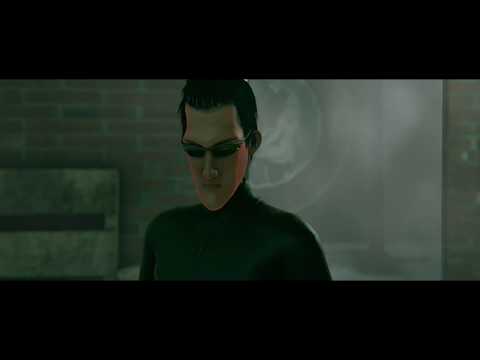
Pretty cool huh....but Iclone has no character ragdoll physics
and his hand keyed hits and falls look sort of ..fake IMHO.
( sorry athos)
This fight scene was made by my good self, years agousing mocap blended with the ragdoll physics of my beloved
,and sadly discontinued, Natural motions Endorphin that I stilluse in production to this day.
Note how my ragdoll engine simulated hits& falls look more"natural".
Now with that all said :
I would love to know how you are safely running those manyversions of Daz studio!!!!
 How to set up a follower morph for clothing?
You would need a custom morph for both the shape adn the JCM. Apply shape, JCM, and pose. Put the parameters pane in Edit mode (right-click), right-click on the bend>ERC-Freeze, select the shape as the Attenuate By proeprty, have only the JCM set as a sub-component. In the Property Hierarchy pane make sure the ERC is set to save with the shape or JCM, not with the bend. I think that's it.
How to set up a follower morph for clothing?First, I'm sorry, my old brain.
I'm sort of considering including a posing trunk with my Gino character... so I'm getting the follower morphs set up but I'm, of course, lost AGAIN. My poor brain just doesn't retain info any more if I don't use it on a regular basis. So if I move G8M's leg fully to the side I would then hook up the fix for the trunks HOW?
I think I have a video for that but I swear it's in a folder with literally 100's of video's. I'm sure if was from Josh Darling... but then again I don't know for sure.
Any help to get my brain on the right track AGAIN?
Thanks so much
Richard
CAT girl G8Just for comparison with previously released Cat Girl from https://www.daz3d.com/cat-world-for-genesis-8-female-s
Dariofish also has a couple of great catgirl/catboy morph sets,with the G3F/M and G8F/M versions being buried in his massive HFS Ultimate Shapes bundles. There's a stunning full set with textures for Genesis called Catfolks available over at Renderosity that I really love as they have by far the most realisticaly cat-like heads and tails of anything I've seen offered for DAZ or Poser, and even have the option to have multiple breasts like an actual feline does.
intrusive morphsI have created a couple of morphs that now appear on every character I load into the scene. I don't know how this happened, or how to stop it from happening. Any help?
Did you save it as a support asset/morph asset? Then it will load on the base character it was made for. Morph assets should be saved with zero strength, as to not affect the character by default. You can remove the morph from your data folder or save a zeroed version under the same name. That should overwrite the old one.
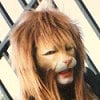
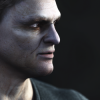
Gruesome Ghoul for G8M [commercial]Gruesome Ghoul for Genesis 8 Male
https://www.daz3d.com/gruesome-ghoul-for-genesis-8-male-
Beware the crunching noises you hear in the graveyard, the ghouls may be having a feast. These scavengers of the dead have vaguely dog like faces and diseased skin making them a most horrible abomination. Even among the creatures of the night, the ghouls are usually met with a strong aversion.
The set comes complete with custom crafted High Definition Morphs, and Highly detailed Textures for the utmost realism.
- Product Includes
- One Ghoul Character Preset
- One Ghoul Full Body HD Morph
- One Ghoul Shaping Preset
- Two Ghoul Full Body Material Preset including anatomical elements
- Five Eye Material Presets
- One Geografted Ghoul Tail
- 5 Ghoulish poses
- Includes both Iray and 3Delight Material Presets


 dForce Hair (as well as strand based hair and the strand based hair editor) in public beta
In hindsight, I wish I had done the HD morph thing with Wyrms (though at the time I'm not sure I had the tools that would have easily created HD stuff)
What's keeping you from doing an update then? Or a Wyrms HD upgrade?
CAT girl G8yeah one hurry up for the "furries here, a cat girl for G8 and it's really come with a "lot of stuffs" really awesome work, the only question again is "coff!!, coff!! she's coming with "anatomic elements mats???, lol, now we need a "male counterpart for her before we get others "type of furriers.
For that, just use a Renderotica gens. Most of them work by using the base torso texture and then projecting the "goods" details as a seperate geoshell layer. It's a very effective workaround for having to keep up with the thousand and one new characters that come out every week.
As for the male, easiest route would be to see if there's a way to transfer geographs between genders and just set it to use female UVs using a UV swap product.
Biggest problem there would be compatability with male genital packages for texturing reasons.
Show Us Your Iray Renders. Part VIII had a webcomic a ways back and used Genesis 2 Male creature addons to create an anthro cat person for one of the machine intelligences in the story. Cat girl gave me a chance to revamp Cricket with newer models.
Originally the character had digitigrade feet, but I kind of like the look this captures.
(Used a Female -> Male morph based on clones, which works well enough for my purposes but has issues that would make it hard to put out as a product)
Would we ever see a more pro character designers/animators tool here?Would it not great to have such a daz alternative to above program, a paid pro Version with all included PA tools and more.
Just for clarity you want a "Paid Daz tool" that has all of the motion building,retargeting & editing tools of iclone pipeline plus the Live face facial animation motion recording system in iclone and support for the perception Neuron mocap suit that we have in iclone.and the Daz HD morph tool and Dforce strand based hair tool.
Why not just do what Drzap suggested and get a Maya License??
there is a person here , who literally told Autodesk he was "self educating" Via youtube video tutorials and was handed a student license for Maya.
The tools you ask for already exist but you must be willing to venture out of the myopic little comfort bubble
of the Daz eco-system.Breast movement...I find that very difficut to simulate by manually adjusting morphs frame by frame.
Adjusting every frame manually is nonsense and
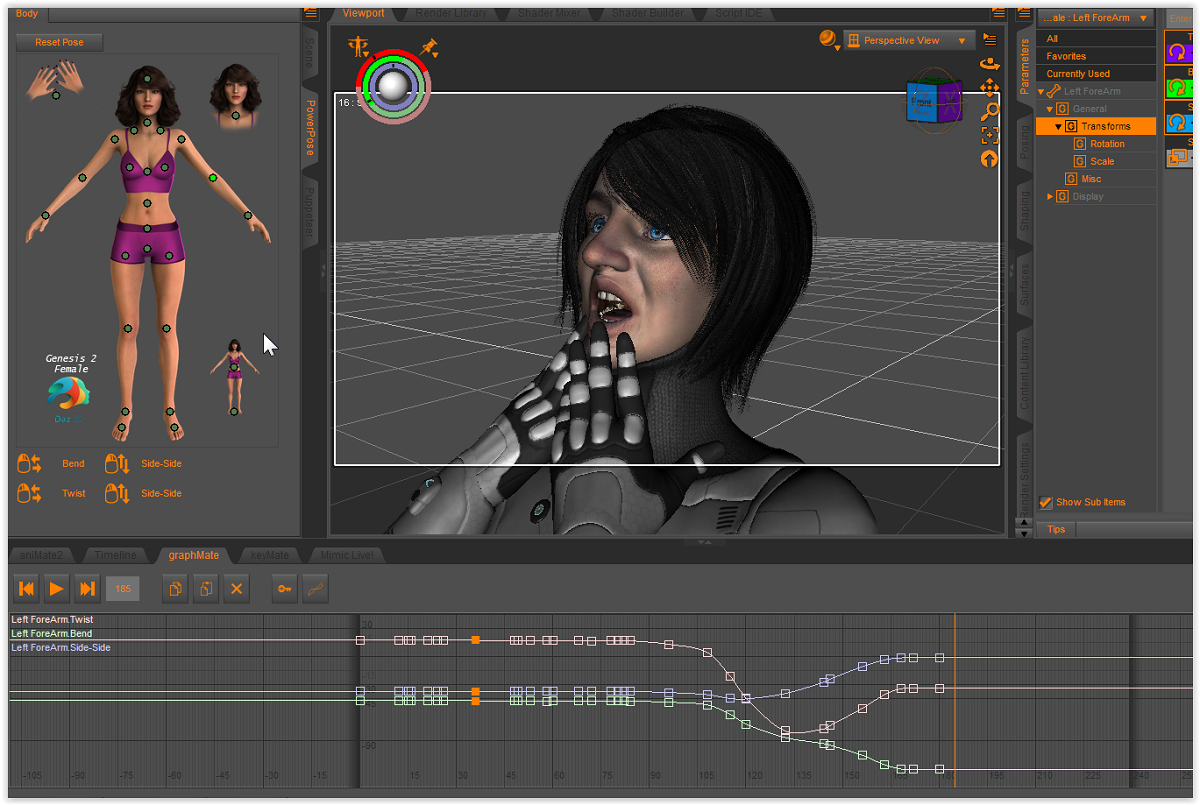
will still yield an unrealistic result IMHO.Take a closer look at the image I posted of the Cycler plugin.
It is not some "canned " global script with two settings of ON & OFFIt is based on trigonmetric math functions sine,cosine ,tangent etc
with infinate variables for randomness to a body jiggle or hair "wind blown" morphs and you can set it for range of frames to stop the "bounce"when the girl stops walking etc.
And the strength of the effect is taken directly from the range settings of your Daz studio parameter dials for every morph you have installed for the selected figure or animatable prop.
This script has many uses in animation beyond "breast bounce" for animators who understand that no trophies are being awarded for hand keying everything.Automation of repetitive or random tasks is just good& smart work practice.
Z Expecting - Pregnancy Preset and Poses for Genesis 3 and 8The Genesis 8 Female Body Morphs (https://www.daz3d.com/genesis-8-female-body-morphs) do have a pregnancy morph.
FWIW, the Female Head Morphs and Female Body morphs are pretty much a "must buy" for each generation since they are used in so many other products, in addition to the extra capability they provide.
Ya, once I purchased the additonal product I was able to find it almost instantly. Appreciate the advice everyone. Turns out I just need to read these products a little closer. Beginner mistake but quickly solved haha.
Make character shorterWhich figure, and which morph sets do you have? The Body Morphs usually have something like a Legs Length slider which can be used alone or mixed with the overall Scale slider.
Daz 3D is part of

Connect
DAZ Productions, Inc.
7533 S Center View Ct #4664
West Jordan, UT 84084Licensing Agreement | Terms of Service | Privacy Policy | EULA
© 2026 Daz Productions Inc. All Rights Reserved.