-
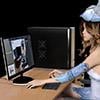
Starfire hair! :) I needs it.
Okay, no attempt to morph the character, or dress her appropriately - minimal effort to match hair textures, too. But...
Nice, what hair is that?
Two Harlow's from AprilYSH and a Julia Hair from Rendo. The Julia can go very long and has goodly morphs.
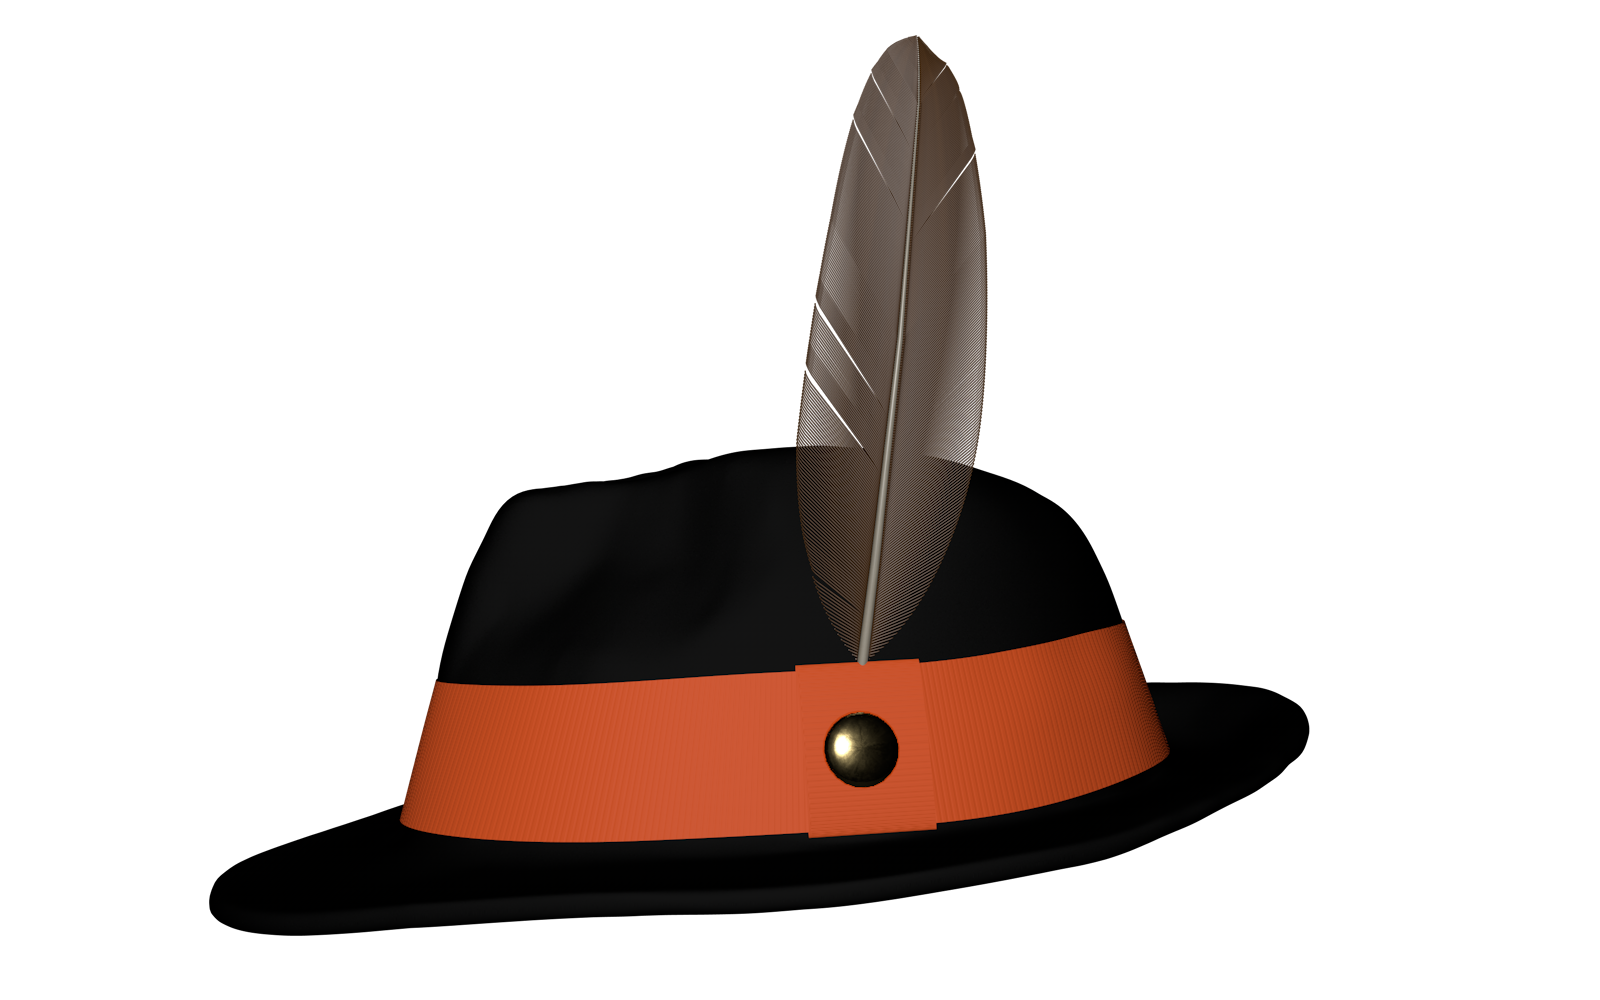
Mens Suits and a proper Fedora too please!Morphs are a little beyond my ken at this point. I'm still just at the sculpting phase, and have no idea how to rig or morph yet. I'll tell you one thing that WILL be included, however...
 Starfire hair! :) I needs it.
Okay, no attempt to morph the character, or dress her appropriately - minimal effort to match hair textures, too. But...
Nice, what hair is that?
Starfire hair! :) I needs it.Okay, no attempt to morph the character, or dress her appropriately - minimal effort to match hair textures, too. But...
Can daz studio import V4 morphs without injecting it into V4 first?Basically you used "Convert figure to WM", well I hope you are ready to learn to rerig V4, paint new WM for her, rebuild every single morph she has (both DAZ and 3rd party), rebuild every JCM, and coz it's V4 rebuild ever magnet based JCM she has.
And that's before you even think about redoing all of her conformers, and the morphs in those conformers.
Should keep you going for roughly the next 10 years, and that's without doing any renders or using other figures and programs.
Stay the **** away from that bloody "Convert to WM" feature, it doesn't do what you people think it does, all it does is leaves you with a HUGE mess that is really only fit for the trash can.
Ultimate Pose Master [Commercial]
Hi! Thanks for the feedback! For the icons I am not sure but I think they are shortcuts to morph loader and morph loader pro. I can check tomorrow if you want to !V3m I love how active you are on your new and awesome software. I'm going through the great tutorials now.
OT question, what is the "flex" icon you have?
Is There Any Difference Between Anatomical Elements from Figure to Figure?Typically, there is no morph difference. Some artists do provide morphs for the anatomical elements of some sort or another. On the female side... Male-M3dia, Kayleyss have some morphs, as I recall, but they are probably not the only ones. Zev0's shape shift, I think, also does broad morphing of the genital area. On the male side? Start with Male-M3dia.
Regarding shape, the males probably have the best options in this store through Male-M3dia.
Female shapes for the girl parts are less numerous here, which may be counterintuitive. You'd have to go to third party sites for more detailed gynecological morphs to the specific body parts involved with the vajayjay, and that's where you see the numbers reverse. You may find that third party anatomical elements provide more of what you want, but there are definitely more morphs for the anatomical area than what you can find on Daz's family friendly storefront.
Genesis to Genesis 3, or later...To transfer the morphs from G1 to G3F with GenX you'll need the base program and both the G2 and G3 add-ons
https://www.daz3d.com/genx2-addon-for-genesis-2
https://www.daz3d.com/genx2-addon-for-genesis-3
For the textures, you'll need one of the "legacy UVs" products by Cayman Studios (depending on which UVs the textures use).
Very annoying and asset killing problem with iWave asset SKU 53033Are you uding a custom morph, one that has not yet been saved as a morph asset? (A custom morph means created with dForms, or by importing a modified shape with one of the Morph Loaders).
No, nothing like this; I even don't know what dForms means:-)
Besides the same model with the same stockings was fine when I imported it as subscene, but when I just moved it a little bit horizontally, the effect appeared. I have the feeling it may be some weird effect from the HDRI light, but I spent two days already and don't want to fight it more. I have some G3 "hot secretary", will use her sockings.
Very annoying and asset killing problem with iWave asset SKU 53033Are you uding a custom morph, one that has not yet been saved as a morph asset? (A custom morph means created with dForms, or by importing a modified shape with one of the Morph Loaders).
Genesis to Genesis 3, or later...You can use GenX (available in store), with its various addons to get from Genesis to G3; a manual conversion is possible, or you can buy a new product to transfer from G3 to G8. You may or may not have issues as the new product doesn't deal with helper morphs that the original characters may have had, but there is another new product due that should deal with the helper morphs.
Genesis 8 Female Base is alteredSorry about the picture. My mistake. It is the base and "thought" it was okay. I'll delete the Bunny. Thank you for the fast reply!
I use the DIM to uninstall it correct?
Update: Not in the DIM (I guess I didn't use it) so all I could do was delete from the hard drive... See what happens next.
Nope still deformed...
Perhaps it would be a good idea to re-upload a non-nude picture of the altered character... Some other well known candidates for causing alterations/deformations of the G8F head are "Demona" and "Erevan Airy". Or perhaps this: https://www.daz3d.com/forums/discussion/212596/g8f-base-character-and-at-least-some-others-distorted ; You certainly will have good chances to detect the morph causing your problem if you search with Google in this forum (site:www.daz3d.com) for G8F/Genesis 8 female and distortion/distorted/altered/deformed...
Ultimate Pose Master [Commercial]I don't understand why this happens to you. I'm working on my 6 years old computer and have no big lags. Having a lot of things in your scene can slow down the script indeed. For the number of characters you own it should not change the script behavior. Working on a HD figure can slow things down too. I've spent the day testing and updating the script in order to have something more fluid (and to add the various features request). One thing that can really slow down the script is also the smoothing modifiers on the outfits. Because at each pose update by the script, the smoothing modifier will recalculate the outfit, and this can explode the global calculation time. I'll include in the update something to hide/show various elements in the scene which can slow down the script.I wonder, and this would be a very important information for me, are you also laggy when you use the "+" and "-" (you click on them and you hold down the click) in order to move the helpers (the + and - around the helper dials)?
Because if not, I found a solution to have something fluid and comfortable to use using only these + and - (I overloaded my scene in order to get laggy and test the new options for these, and it went fluid).
One more question, since you have lag issues, would you be interested to test my update before I release it (while I develop the solutions)?
After I initially used Bridget HD, I switched to undressed and hairless basic G8s in an empty scene - so no interference from other factors.
The + and - are more responsive than the sliders, more so in G8M than in G8F. I usually work in texture shaded.
Ok today I will have a look if it can come from the content size by modifying a few (a lot of) elements in my script. Thanks for helping me sorting this out for you, I will let you know how I progress on the subject! I really hope I will find the exact origin of the issue for you because normally there should be no or only minor lag. I don't believe it took me months to optimise this and I have to back in a new optimization process now!
When you say that the + and - are more responsive, does it mean that if you hold on the mouse clicked on them (so that the helperq keeps on moving) you can have a totally non laggy response or does it still lag anyway?
In lit wireframe the + and - are I'd say smooth, in texture shaded there's a slight pause
(and with the random poses I've been inflicted G8 now looks as if she stepped on a live wire while at a heavy metal concert (I'd do a screenshot, but I'd have to put some clothes on the poor girl first)
Lol! I'd like to see that! Well, for now, I finally managed to create a laggy scene (super high resolution dressed and hairy figures with smoothing modifiers on outfits), and in my script I moved some actions out of some loops, which allows me a smoother movement of the helpers with the handles for heavy configurations (right arm only is tested for now), but not totally smooth yet. I'm going to modify a few more things and then, I'll have to transfer this to left arm and feet which will at least take me one full day (maybe two) if I meet no issue. So I'm going on with this.
I'm working on a second alternative which is a dropdown menu allowing to swap the "+ and - steps" between 5cm and 1 or 0.5 cm, so that you can use the 5 cm to move the arms at the same speed as you would do with the handle of the dial (5 cm steps looks fair). In practice it is a dropdown menu with two options : "set up current dial and resolution to solve lag issues (set dials +/- to 5 cm and also sets the figure to normal resolution)", and "Come Back To Initial Dial Configuration For Fine Tuning Using + and -", accessible from any tab at the bottom of the interface.
Finally I am adding a second always accessible dropdown menu with key options and features asked or which can be interesting (store/restore, hide/show hair/outfits/otherfigures, delete or not before you close). Maybe it will be joined with the first menu for compacity reasons.
Sounds good (I think) - I do hope it leads to something, because even with the lag I'm really starting to like the ease of use of the script.
And here is electrified G8...
Daz Studio Beginner Tutorials (UPDATED EVERY SUNDAY)D-Formers are a great tool that you can use to morph any prop or figure in Daz Studio.
In this video you will learn how to create your own morphs and save the morph.

Free Pull Cheeks Morph and Pose (the same one used in this thumbnail):
» https://drive.google.com/open?id=1IpjTggU2D2nDXZWlctTqZgjvqZHGo3kzNeeya some help! [Solved]Shapes are based on the specific mesh geometry of the figure - you can use the transfer tool to move morphs from one figure to another but results vary. SickleYield has a very good tutorial on how to do it. https://www.deviantart.com/sickleyield/journal/Tutorial-Transferring-Character-Morphs-G1G2G3G8-409437916
Thanks Canary3d...I will check out the tutorial. Spooky though, I was finally getting down to familiarize myslef with Sculptural Genesis and was watching your quick vid on YouTube when your comment appeared on the thread.
What the heck is causing this?Hi all, sorry if this has been addressed previously, but I seem to be having an 'intermitent' problem. For this situation, I'm using the -"PW Twin Peask Moutain Cove" - Set with it's default lighting at 'Bright' - When I tried a first test render I get these strange black blotches around the figures head (Emery - with Fitness morph) and as you can see her blue eyes become black.
Now, using the same figures and pose. I do another test without the set using an HDRI sky only for lighting (which should be similar to the 'Sky' from the set and now there's none of that odd coloration...
Can anyone help explain what's going on and how some possible steps to quickly fix it?
Thanks in advance.
Facegen messAllright folks, I'm pretty furstrated after checking 1000 tutorials with regard to Facegen to Daz3d. I know where the textures are but every single tutorial says, import via "diffuse color" but there isn't a diffuse color tab (head selected - surface tab). There is only a base color tab. And when selecting this one, the texture for the face changes but how do I change the color for the rest of the body so that the face has a smoot shift? Long said, is there a valid tutorial for Genisis 8 transfer? I assume that the tutorials are only for Gen3 judiging by the fact that there isn't a diffuse color tab. Thank you.
I am doing a render now so I don't have access to the DAZ Studio surfaces tab but it goes mostly like this:
a) On the Surfaces tab you'll see a list of surfaces for Genesis 8 Female/Genesis 8 Male. The currently selected surface is orange. You can select multiple surfaces at once in which case they'll all be orange. You can change the textures and numeric values of all selected surfaces at once too so if you only want to change one surface select only that surface.
b) On those surfaces the base color = diffuse color, sometimes diffuse color is also called the ambient color as well. diffuse = ambient = what you see with diffuse light = ambient light
c) Often with Genesis 8 the transparency color will use the same map that you used for the face base color. You can or not, it's up to your personal preference.
d) Since facegen does not create normal, bump, specular or other such maps you are out of luck there. You can use the normal, bump, specular maps of other characters but be advised they will 'warp' your facegen character to be something between the character you used the normal/bump/displacement maps from and your facegen character. So it's best for facegen accuracy to not use normals, bumps or displacement maps for the face. For the rest of the body, mouth, and ears it's not as important but the closer you want the total character to look like the photo the less you want to use another character's bump, normal, or displacement maps. You'll eventually may want to make such maps yourself, in particular the normals and the bumps. There are online website that will do it for you but I'm not aware if they are any good with the results they make. The alternative is to make them yourself in Gimp or Photoshop using a tutorial you find via search on YouTube or elsewhere. If you do make normal or bump maps the results go into the normal channel (N) and bump goes into the bump (bmp) channel. Often normals are used for deep creases like labial folds and wrinkles while bump is used for finer textures on the face like skin pores.
e) If you make a facegen morph and save it with facegen textures facegen will create 5 diffuse/ambient textures for you. Example, my initials spell JAG so then if I created a Facegen morph and named it JAG it would give me the following diffuse textures:
1) JAG_arms.jpg
2) JAG_eyes.jpg
3) JAG_face.jpg
4) JAG_legs.jpg
5) JAG_torso.jpg
So the name I gave plus the generic name of the map = new map for the DAZ 3D character you are creating.
f) The names of the surfaces tab for Genesis 8 Male / Genesis 8 Female or any character based on them as best I can remember. The name of the 5 diffuse maps I named in step e is listed to the right.
1) arms = JAG_arms.jpg
2) cornea = JAG_eyes.jpg
3) ears = JAG_face.jpg
4) eye moisture = LEAVE AS IS (or maybe JAG_eyes.jpg I forget)
5) eye socket = JAG_face.jpg (or maybe JAG_eyes.jpg I forget)
6) face = JAG_face.jpg
7) fingernails = JAG_arms.jpg
8) iris = JAG_eyes.jpg
9) legs = JAG_legs.jpg
10) lips = JAG_face.jpg
11) mouth = LEAVE AS IS : Genesis 8 Male or Genesis 8 Female base characterdefault
12) pupil = JAG_eyes.jpg
13) sclera = JAG_eyes.jpg
14) teeth = LEAVE AS IS
15) toenails = JAG_legs.jpg
16) torso = JAG_torso.jpg
That's it.
The ones I wasn't sure on or are missing (although I think I listed them all) you should be able to figure out which map to use from have a default Genesis 8 Male or default Genesis 8 Female loaded in the viewport and checking the maps they are using.
Babina 8There. Cleaned her teeth.
I took out the Diffuse map with the brown teeth. I increased the Translucency Weight to add some color back to the teeth. (It uses the same brown tooth diffuse as the trans map.) I increased the Glossy weight...
Forgot to switch to Low Translucency for the skin, though. Oops.
What I usually do also is add a bit more specularity and gloss because teeth are a bit wet as are gums which are often not done right by creators as well. But the other issue is, all her teeth are the same size! I have a morph package that can fix that but I shouldn’t have to. I’ve never seen teeth like piano keys like this, all the same size.,,And her mouth seems to behave like some of the G3 characters, the sides not pulling out into a natural smile.
I might have purchased the bundle if it had come with freebies like all other past pro bundles, but I think I’m going to pass for now.
Her teeth looked real before, now they don't.
Her teeth looked real if she's a heavy smoker and drinks coffee/tea all day.
It's not my kind of look, but that's subjective.
So you didn't turn on emissive? Even the phosphors they put in eyedrops & toothpastes only last about 15 minutes before the bright white effect they show the user in the mirror while they are brushing fades away.
Babina 8There. Cleaned her teeth.
I took out the Diffuse map with the brown teeth. I increased the Translucency Weight to add some color back to the teeth. (It uses the same brown tooth diffuse as the trans map.) I increased the Glossy weight...
Forgot to switch to Low Translucency for the skin, though. Oops.
What I usually do also is add a bit more specularity and gloss because teeth are a bit wet as are gums which are often not done right by creators as well. But the other issue is, all her teeth are the same size! I have a morph package that can fix that but I shouldn’t have to. I’ve never seen teeth like piano keys like this, all the same size.,,And her mouth seems to behave like some of the G3 characters, the sides not pulling out into a natural smile.
I might have purchased the bundle if it had come with freebies like all other past pro bundles, but I think I’m going to pass for now.
Her teeth looked real before, now they don't.
Her teeth looked real if she's a heavy smoker and drinks coffee/tea all day.
It's not my kind of look, but that's subjective.
Neeya some help! [Solved]Shapes are based on the specific mesh geometry of the figure - you can use the transfer tool to move morphs from one figure to another but results vary. SickleYield has a very good tutorial on how to do it. https://www.deviantart.com/sickleyield/journal/Tutorial-Transferring-Character-Morphs-G1G2G3G8-409437916
Daz 3D is part of

Connect
DAZ Productions, Inc.
7533 S Center View Ct #4664
West Jordan, UT 84084Licensing Agreement | Terms of Service | Privacy Policy | EULA
© 2026 Daz Productions Inc. All Rights Reserved.