-
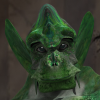
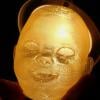
weird problem with Hair, brows, n anatomical elements
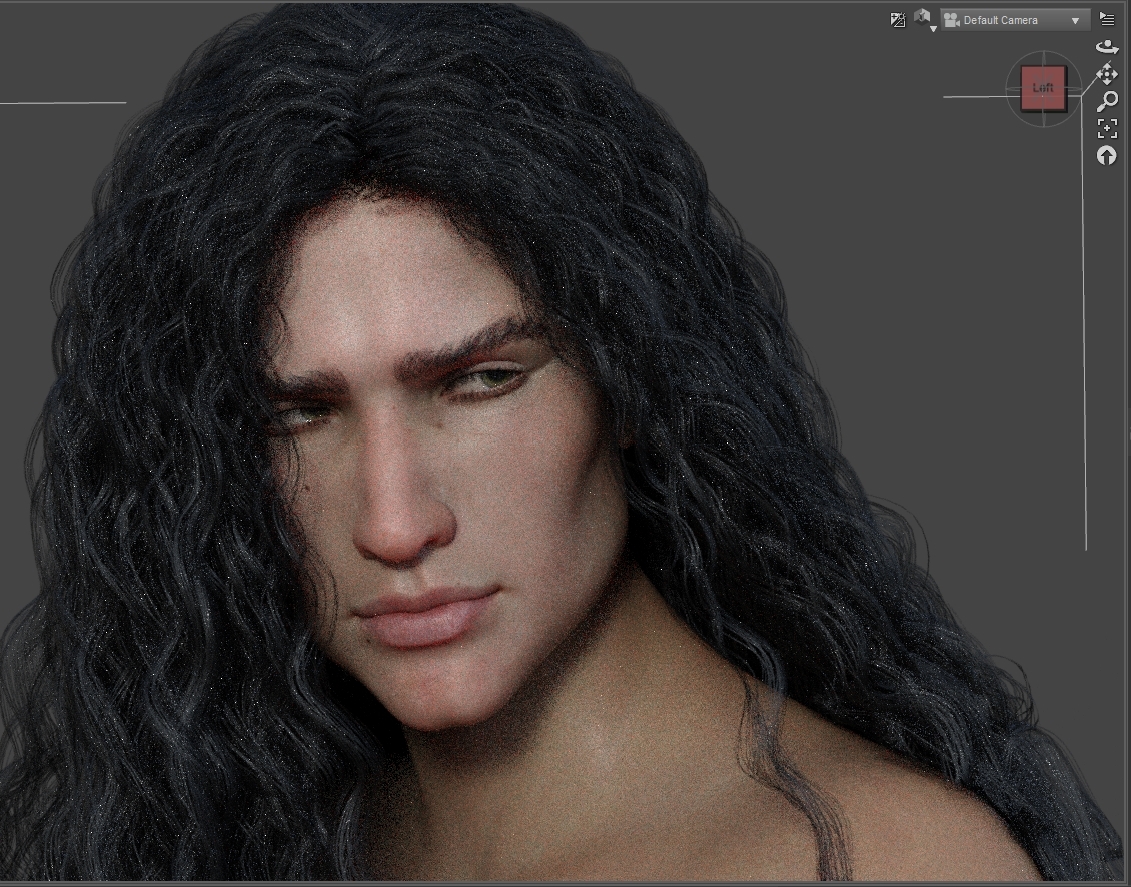
anyway, heres a SFW image that shows whats actually going on.
You can see it around Gen8 Males hairline and sideburns. this is whats happening to Gen8 Females Hair, Brow, and Anatomical Region...
That isn't see-through, but blotted out. That is the hair cap and happens anywhere the geometry for the haircap intersects the geometry of the model. It's a bug in DAZ Studio / iRay Renderer I don't care which one is at fault it is their product and doesn't work.
I have that problem all the time. You can:
a) Best option if available: Go to the morph sliders for the product that the PA that made the product specifically made for that product to enlarge / shrink the hair cap to fit the character. Example: OOT (OutOfTouch) has a Ryan Hair for G8M/G3M that such a morph adjustment supplied by OOT and it works well.
b) 2nd most viable option: Go to the CutOut Opacity slider for the hair cap on your product and slide to from 1.0 (or whatever it's at) to 0.0. However, this option can make hair look mangy but it often is still acceptable render results especiall if far enough away from the render camera.
c) 3rd option that often doesn't work: Adjust the Scale for the hair cap or hair from 100% to 99.5% or 100.5% and test render. Gone? No. Reduce/Enlarge to 99% or 101%. Render. Gone? No. Reduce/Enlarge to the next number on the percent scale until the problem is gone. The problem with this method is then outfit the hair line gets ruined or looks as if the hair floats away from the head.
d) 4th & last option that I know of that's easy: use another hair product. & repeat til you get one that solves the problem. Not very customer friendly to have paid for broken products but really unil nVidia/DAZ 3D create a solution that's all you have.
See-though happens on the private region, but i cant show that...
weird problem with Hair, brows, n anatomical elementsanyway, heres a SFW image that shows whats actually going on.
You can see it around Gen8 Males hairline and sideburns. this is whats happening to Gen8 Females Hair, Brow, and Anatomical Region...
That isn't see-through, but blotted out. That is the hair cap and happens anywhere the geometry for the haircap intersects the geometry of the model. It's a bug in DAZ Studio / iRay Renderer I don't care which one is at fault it is their product and doesn't work.
I have that problem all the time. You can:
a) Best option if available: Go to the morph sliders for the product that the PA that made the product specifically made for that product to enlarge / shrink the hair cap to fit the character. Example: OOT (OutOfTouch) has a Ryan Hair for G8M/G3M that such a morph adjustment supplied by OOT and it works well.
b) 2nd most viable option: Go to the CutOut Opacity slider for the hair cap on your product and slide to from 1.0 (or whatever it's at) to 0.0. However, this option can make hair look mangy but it often is still acceptable render results especiall if far enough away from the render camera.
c) 3rd option that often doesn't work: Adjust the Scale for the hair cap or hair from 100% to 99.5% or 100.5% and test render. Gone? No. Reduce/Enlarge to 99% or 101%. Render. Gone? No. Reduce/Enlarge to the next number on the percent scale until the problem is gone. The problem with this method is then outfit the hair line gets ruined or looks as if the hair floats away from the head.
d) 4th & last option that I know of that's easy: use another hair product. & repeat til you get one that solves the problem. Not very customer friendly to have paid for broken products but really unil nVidia/DAZ 3D create a solution that's all you have.
[Released] Character Converter from Genesis 2 Female to Genesis 8 Female [Commercial]Nvm, found how to transfer the maps
Carrara Challenge # 51 - Here There Be Dragons! Folk/Fairy Tales WIP thread - Brilliant ImagesHere's the Badger from the Wind in The Willows - a kind of fairytale
m4 morph i spent all day making gah - another 4000 pixel job if you click

Another stunner! Wind in the Willows is a great book. You have done the character justice.
Red Sonja character and hair idea's?Heather Hair for G8 looks good, wish someone would do another chainmail bikini on the line of Powerage's Barbarian one. As far as model, find oue you like and play with morph dials; muscles, tone, bodybuilder to get the look you want. Back in the day, SAV Goldy Hair or Good ol'Girl Hair was the great for Red Sonja (found at Rendo).
DS 4.12 Loading a new character does not reset all morphs. Why?That means some morphs have been saved with a non-zero default value. The fact that DS applies the default value automatically is normal, but those morphs were most probably not intended to be saved with a non-zero default value
First you'll need to identify which morphs are used, so you can correct the morph default value. Can you see them when you look in the "currently used" section of the parameter pane after loading the base figure?
Misty's G8 Fix-How do Install it?g3 and g8 are separate starter essentials. separate installs.
i have multiple ds library folders. i don't want to have to back up my entire ds library every time i add a g8 morph. i've been here 10 years, a lot of gigabytes over the years. lol
where your directory says 'My Daz Library', mine is 'G8 content', just my way of organizing.

carrara understands relative paths. as long as data is at the top of the tree where you load the character from, carrara will find it.
and i should mention *the preset does not have the toe morph fix built in.
[Released] Character Converter from Genesis 2 Female to Genesis 8 Female [Commercial].
The figures MUST be at the origin. The morph is trying to correct from the first position to the second position.
As far as the batch, it sounds like you have metadata problems. You can get around this by unchecking "Check Content Type" and using Add Files to add the characters you want to convert.
During convertion the clone is loaded by the converter - it is this clone wich is loaded "offset" - I don´t think customers have control over the position the clone is loaded.
If you import the clone manually, is it offset? Or maybe the first time you ran the converter, G8F was offset? (because the script would have created the clone where you placed G8F)
[Released] Character Converter from Genesis 2 Female to Genesis 8 Female [Commercial]I'm spending too much time on this. Either bodies aren't converting completely (bodies like Belle look like a slightly thinner G2F) or the body converts somewhat closely and the eye area messes up. What I thought were good faces the inner eye area was swollen. Beau almost didn't have any eye showing, Callie has bumpy areas (3rd pic), Belle's eye area is all messed (body is closer now, just that weirdness under the breasts)(second pic), where as earlier the face was good but her chest/torso/stomach areas were basically a thinner G2F (first pic). I was re-running Callie a few times because her irises were coming out more as rounded
I only have the G8F and G8M starter essentials installed, verifed the G2F clone is good and the exported support obj looks good. So far, each time I close Daz Studio I either get a decent body copy or a decent face copy, but not both. Just for the heck of it, I've used 2020 no Hide Eyes, 2019 Hide Eyes, 2019 no Hide Eyes, Legacy Hide Eyes, and Legacy no Hide Eyes, deleting the morph files from G8F before each try.
I know it's not a memory issue, my computer has 48GB at the moment. What is weird is that the current public beta uses more memory than the standard release... Right now both versions are producing the same output from the conversions.
BTW, the darker figure is G2F, lighter is G8F.
Callie is at the extreme range the converter can handle. The eyes will be slightly off no matter what. If you expect a perfect conversion, you won't get it.
I know it is not optimal, but if you are getting decent body or a decent face, those are 2 different morphs (FBM and FHM). Save the morphs between runs (or only leave in the good ones and turn off Overwrite Morphs option) and choose the best.
File Savings are saving way too large.I've seen this before when using Fit control clothing enhancements. I had to delete the unused morphs to reduce the file size down.
Yeah I'm not using that morph, I tried to save the figures fully naked with no hair, and it still did it. I dont know what the cause of it is. I realize some scenes I save will save much much lower in file size even if I have a lot of figures in that scene, then I have some where I have one figure saved and its literately pushing 1GB or 4GB this cant be right..Now it takes forever for scenes to open and save because of it.
Morph to remove inner thigh bulge ?this is amazing, thank you. Exactly what I was after. Seems so, I am not the only one who was unhappy with this bulge.
It is time to intensify my knowledge of morph creation. I bought so many morph packages (and they do a good job), but in the end there is always a detail that they don't cover.
Superheroes Rebooted - Renders AssembleGordig said:
I'm still experimenting with how to make the belt, joint pads, and weapons. One problem I face with the belt is that, unless it rides quite high, it bends very awkwardly in order to cling to the shell all the way around the waist. Servant and anyone else who's successfully rendered the TMNT, any tips are welcome, especially if they can be implemented as cheaply as possible!
Are you using the included projection morph?
Yes, and ironically, I think that's precisely the problem, in that it actually works too well. The shell seems to have the same problem that cleavage has (or at least used to have) on buxom female characters, namely a kind of unnatural shrink-wrap effect, especially on the flanks between the plastron and the carapace (see attached image if curious). I'm not even sure a higher-waisted belt would fare much better. I just suspect it, and I'm still looking around for a good Guinea pig to test this hypothesis..
Nicely done, Gregorius!Thanks!
Morph to remove inner thigh bulge ?Attached is a duf file with a base Gen 8 character and two morphs I created for adjusting the inner thigh. "Adjust Inner Thigh - Left" and "Adjust Inner Thigh - Right". The morphs should be under Parameters->Morphs.
The attached pictures show what the base Gen 8 character looks like before and after the morphs are applied.
If you want to save the morphs for use with other Gen 8 characters, then do File->Save As->Support Asset(s)->Morph Assets. Expand "Genesis 8 Female" then expand Morphs and select the two inner thigh morphs and click Accept. They should then be available for all your Gen 8 characters.
I have a lot of morphs on my machine, so you may get a bunch of "missing file" errors when you open the duf file, but the Inner Thigh morphs should load.
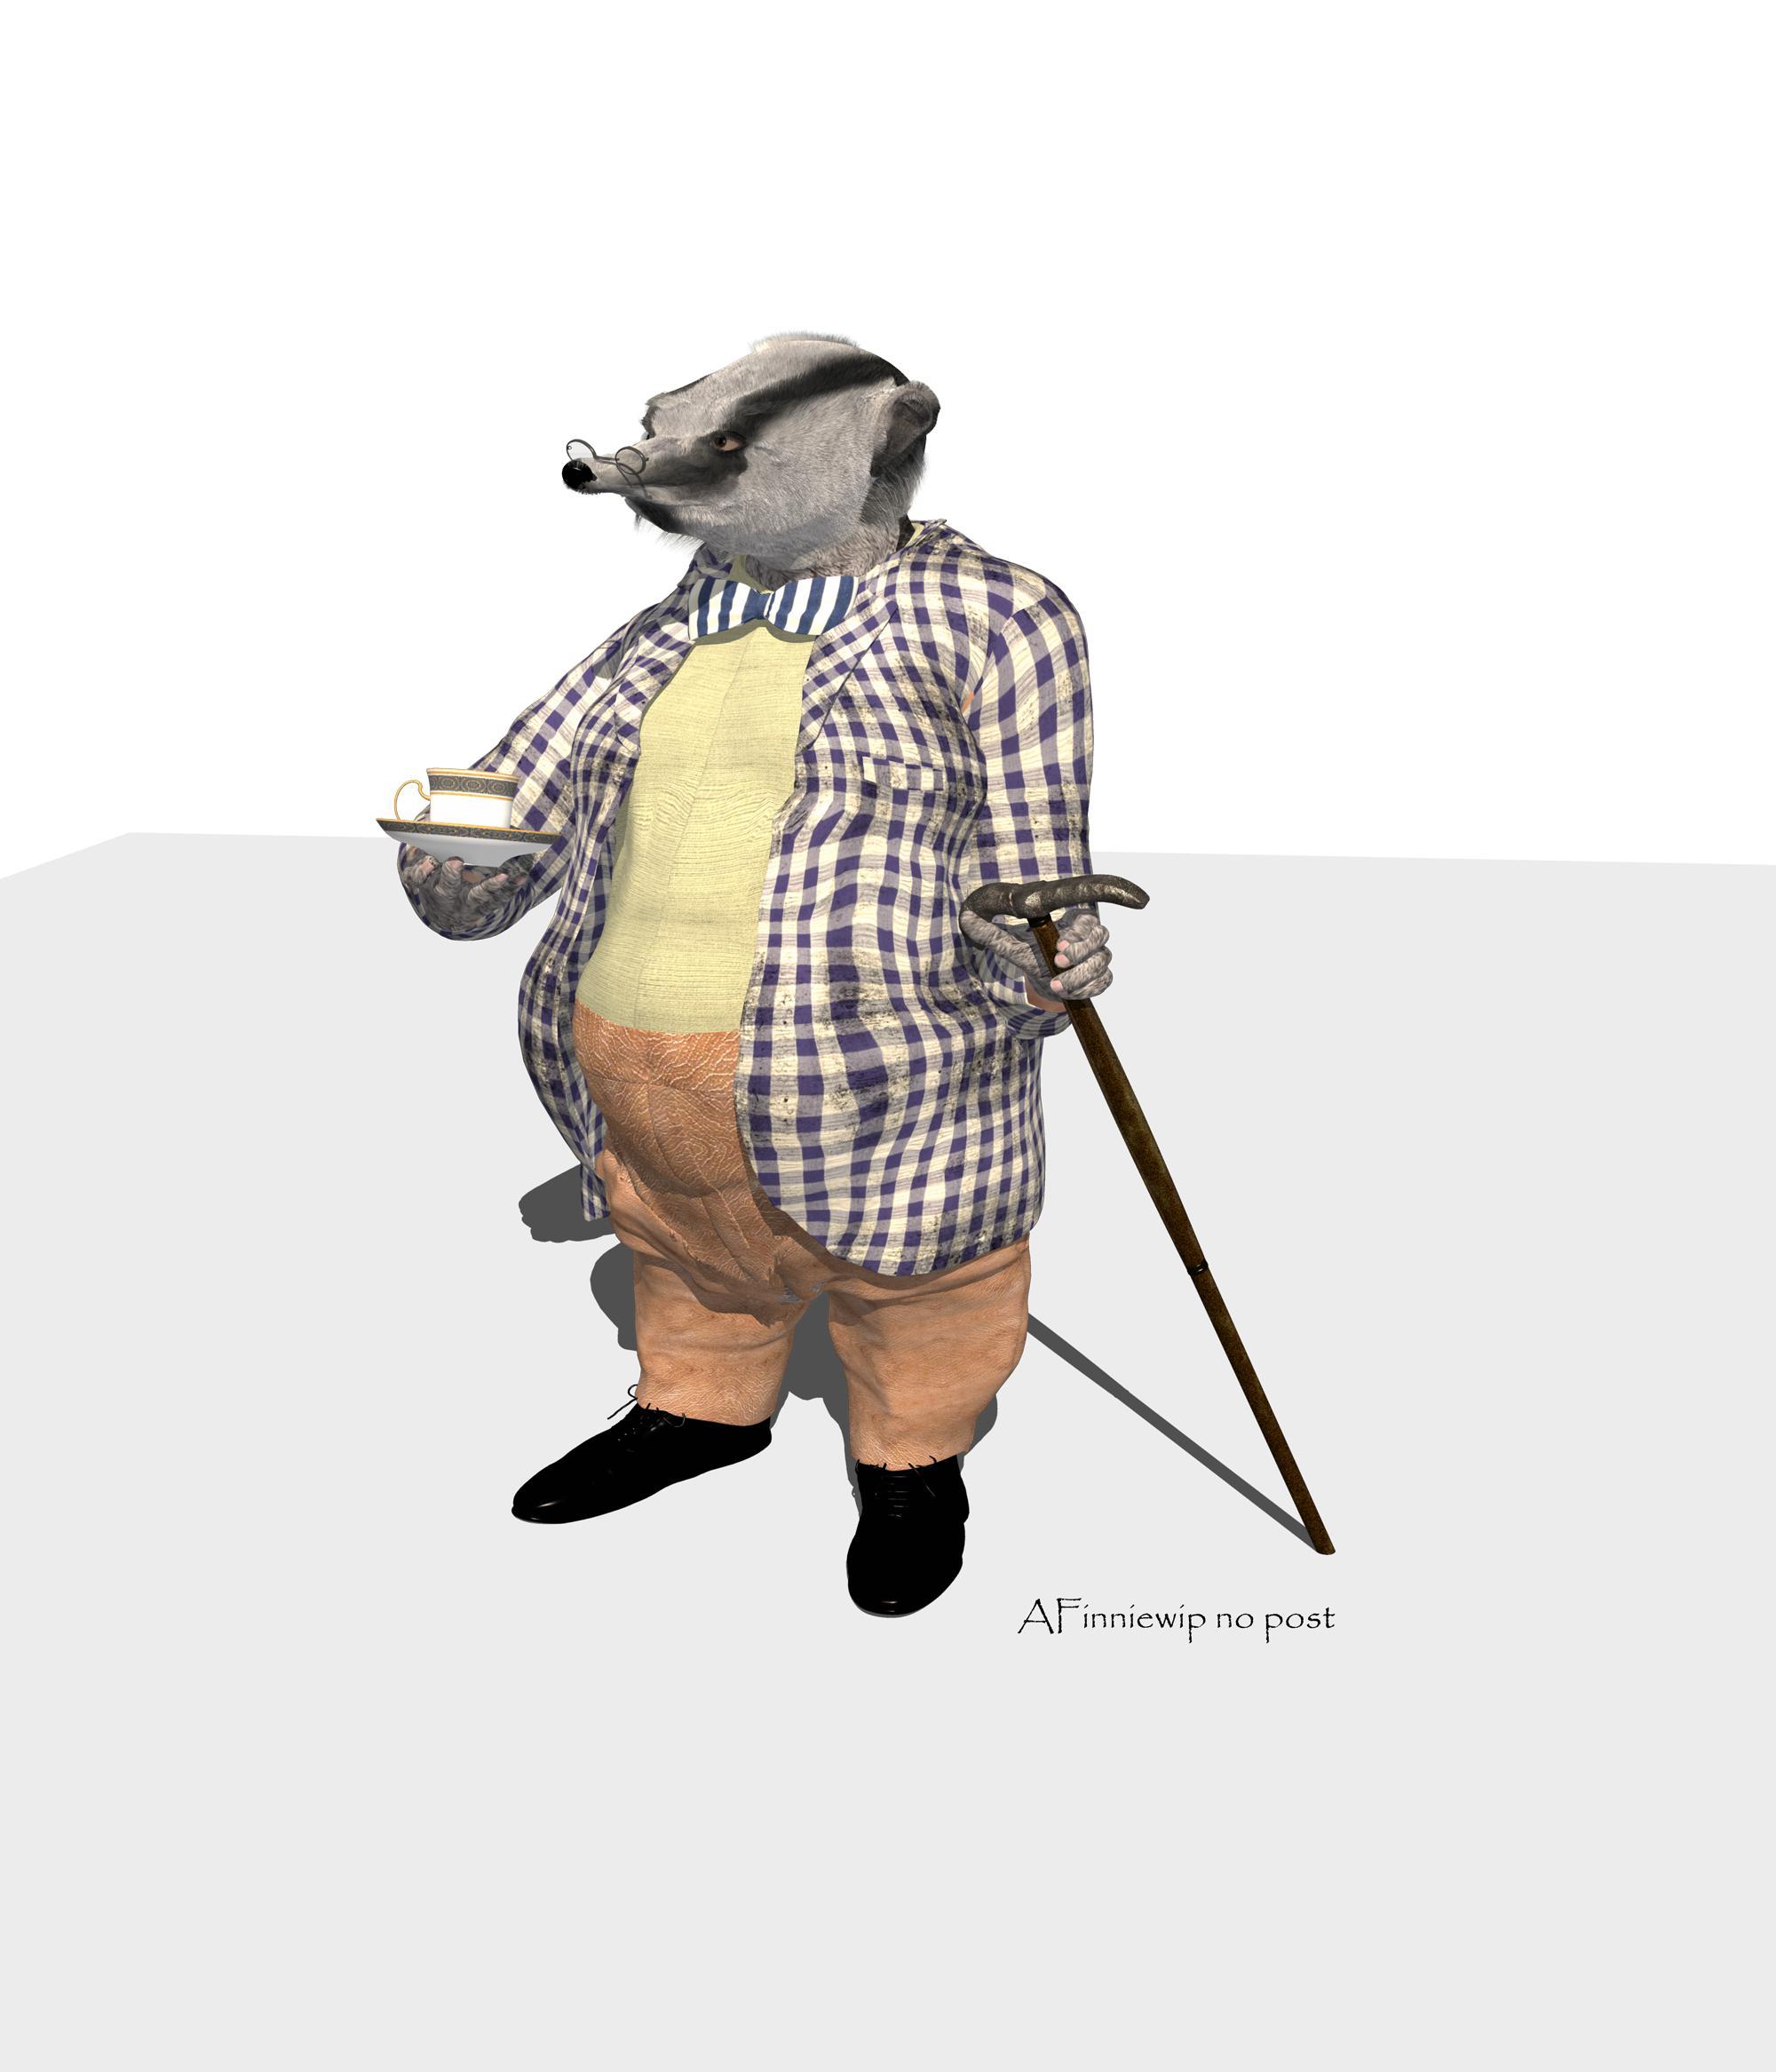
Carrara Challenge # 51 - Here There Be Dragons! Folk/Fairy Tales WIP thread - Brilliant ImagesHere's the Badger from the Wind in The Willows - a kind of fairytale
m4 morph i spent all day making gah - another 4000 pixel job if you click
version straight out of oven i rendered the chap on a shadow caster plane - had to morph inject the clothes in poser so they would bend around his gut - not sure how to do this in carrara without making custom morphs
Looking great !
Darwins' Schtuff Pt DeuxThe pack has been accepted, so now we wait!
Sneak peak; note- just the morph, not the skin. ;)
The chin area has been widened a bit after this, but not a bad start.
Carrara Challenge # 51 - Here There Be Dragons! Folk/Fairy Tales WIP thread - Brilliant ImagesHere's the Badger from the Wind in The Willows - a kind of fairytale
m4 morph i spent all day making gah - another 4000 pixel job if you click
version straight out of oven i rendered the chap on a shadow caster plane - had to morph inject the clothes in poser so they would bend around his gut - not sure how to do this in carrara without making custom morphs
[Released] Character Converter from Genesis 2 Female to Genesis 8 Female [Commercial].
The figures MUST be at the origin. The morph is trying to correct from the first position to the second position.
As far as the batch, it sounds like you have metadata problems. You can get around this by unchecking "Check Content Type" and using Add Files to add the characters you want to convert.
During convertion the clone is loaded by the converter - it is this clone wich is loaded "offset" - I don´t think customers have control over the position the clone is loaded.
(Coming Soon) Leading Male Morph Collection 2 for Genesis 8 Male(s) (Commercial)By DarwinsMishap and Llynara
Leading Male Morph Collection 2 is a set of five morph sets (Head, Body, and Full) for the Genesis 8 Male line.
Each morph can be used independently from the full set for a variety of looks. Each morph set was created with the assistance of photo references and modeled/sculpted in Zbrush and Hexagon with merchant resources, and does not require additional morph sets to use.
These are not merchant resources and cannot be used in other product creations, freebies, etc..
There are no textures/shaders included.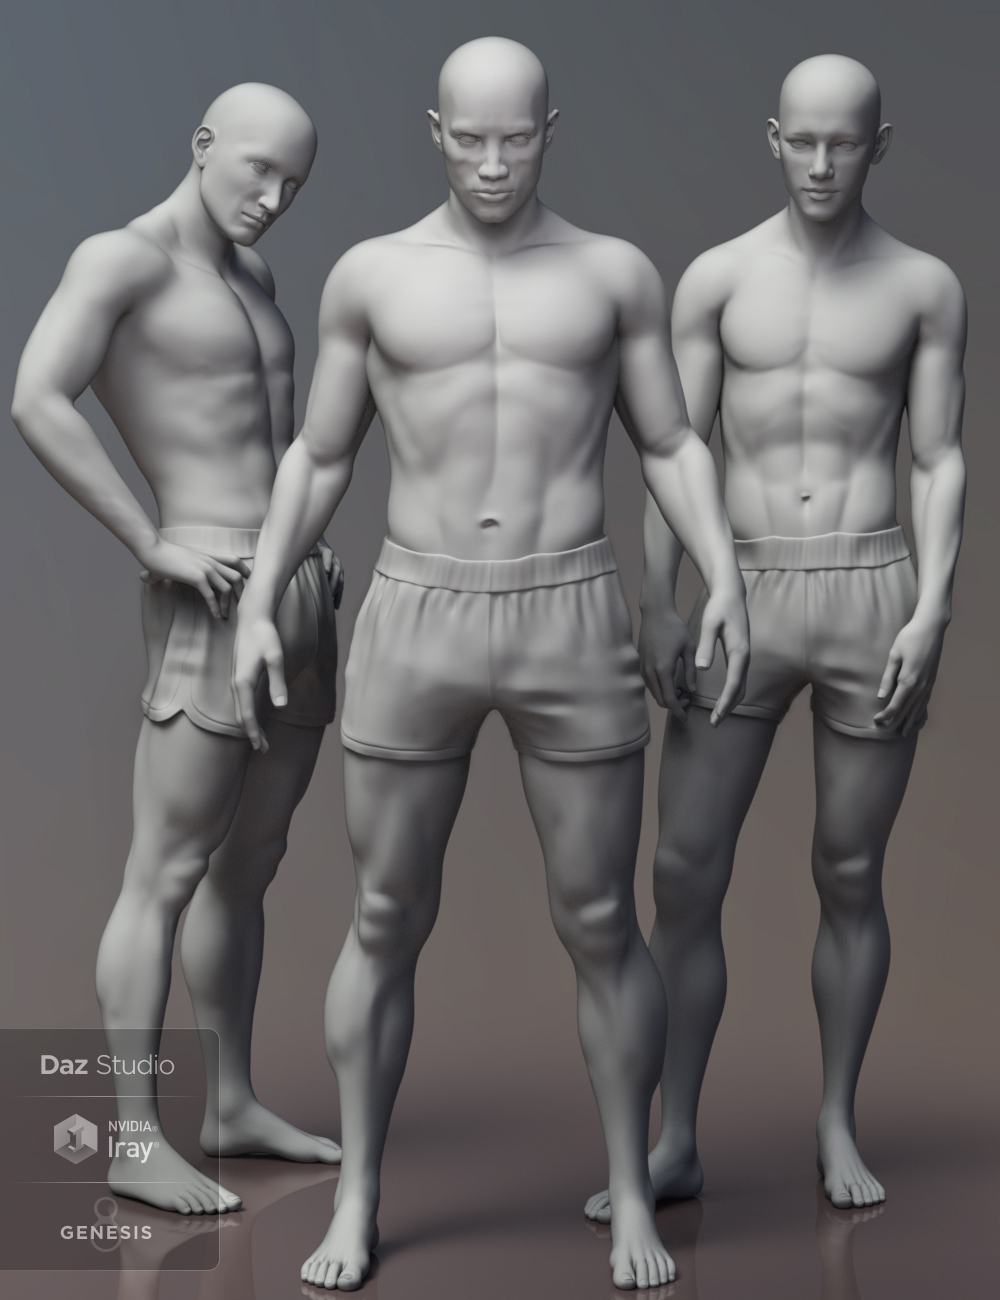 [Released] Character Converter from Genesis 2 Female to Genesis 8 Female [Commercial]
I'm spending too much time on this. Either bodies aren't converting completely (bodies like Belle look like a slightly thinner G2F) or the body converts somewhat closely and the eye area messes up. What I thought were good faces the inner eye area was swollen. Beau almost didn't have any eye showing, Callie has bumpy areas (3rd pic), Belle's eye area is all messed (body is closer now, just that weirdness under the breasts)(second pic), where as earlier the face was good but her chest/torso/stomach areas were basically a thinner G2F (first pic). I was re-running Callie a few times because her irises were coming out more as rounded
I only have the G8F and G8M starter essentials installed, verifed the G2F clone is good and the exported support obj looks good. So far, each time I close Daz Studio I either get a decent body copy or a decent face copy, but not both. Just for the heck of it, I've used 2020 no Hide Eyes, 2019 Hide Eyes, 2019 no Hide Eyes, Legacy Hide Eyes, and Legacy no Hide Eyes, deleting the morph files from G8F before each try.
I know it's not a memory issue, my computer has 48GB at the moment. What is weird is that the current public beta uses more memory than the standard release... Right now both versions are producing the same output from the conversions.
BTW, the darker figure is G2F, lighter is G8F.
[Released] Character Converter from Genesis 2 Female to Genesis 8 Female [Commercial]I purchased this a few days ago, and so far I've been disappointed with the results. I believe I am following the manual directions well, and I have tried several chatacter conversions, all with similar failures as depicted below. I have been using the custom character conversion routine since the batch approach rarely seems to recognize the existence of the character, regardless of whether I load directories or files. Talk about "rubber necking"? Not sure what is going on here, but it's 100% consistent.
(I'm trying to attach a screenshot, but since I am a comparative newbie, I'm not sure how to go about that.)
I have the same problem
something strange happening here
Image 01 is during convertion, Image 02 is after "successfully" creating the character.
And Yes, if I close DAZ and restart it, dial in the created morph the head moves as shown in Image 02
Please remember to put the Viewport in Smooth Sahded mode before taking a screen shot of nude figures.
Daz 3D is part of

Connect
DAZ Productions, Inc.
7533 S Center View Ct #4664
West Jordan, UT 84084Licensing Agreement | Terms of Service | Privacy Policy | EULA
© 2026 Daz Productions Inc. All Rights Reserved.