-
XTransfer Module 1- Genesis 3 to Genesis 8 Morph Converter (Commercial)
So, Xtransfer crashed a couple of times in porting over some morphs (I have nothing reflected of such in the error file)
And now I get this, which started during my last attempt with XTransfer (which otherwise went smoothly? Attempt before crashed, but the morphs were created successfully). I got all of the morphs to correctly transfer, but this now pops up whenever I load G8F, whether it's from the Basic file, the Dev file, or from a character actor file load. Only on G8F. Not on male, not on G3F.
Again, I have nothing in my log reflecting any errors, and crashes are down to desktop with no error codes.
I have reinstalled G8F. I have removed the XTransfer morph folder from my data. I have reinstalled XTransfer. I have restarted my computer.
I have looked through the text file of all the files that were transferred and my basic G8F duf file, and have no reference to this file it seems to be calling for. I don't know where this is coming from.
Ultimately, this seems like just a minor annoyance, but I load G8F a lot and I would love to not have the annoyance, if you know how to fix it.
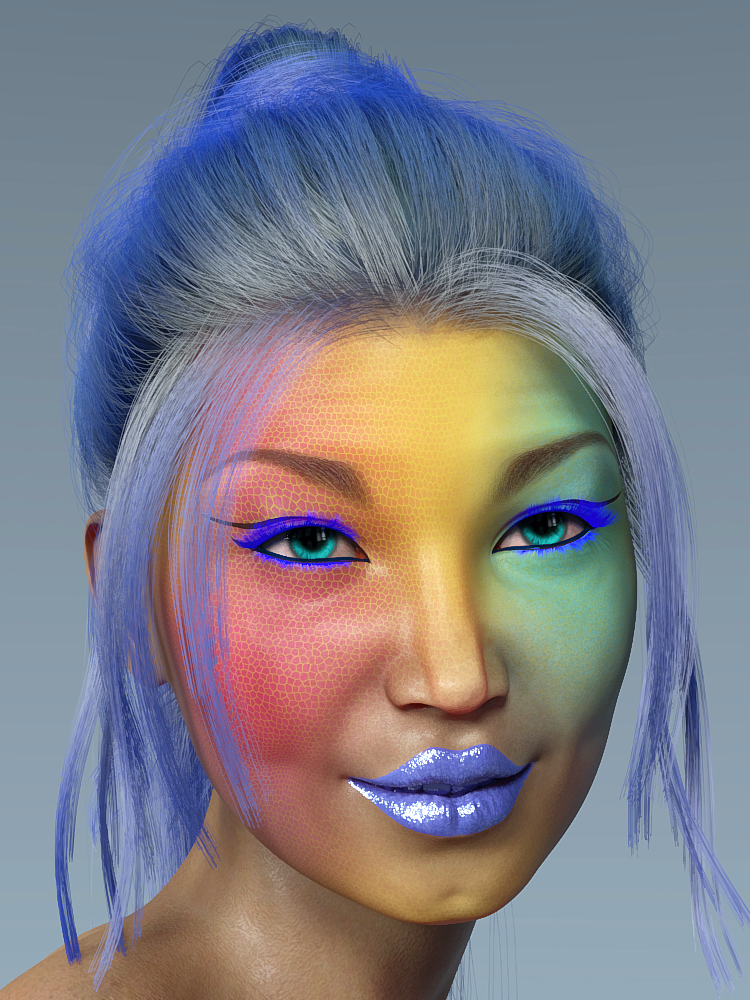
G8F tongue will not zero no matter what!My investigation of this matter suggests that the problem initiates when the custom (commercial) character's head morph is loaded. So far, I have not found a workaround. Even using Edit to zero the shape/pose of the tongue and/or its nodes does not help.
Load a base G8 then use the slider to apply the character's head morph. Does it still happen? If so, it sounds like an issue with the character.
G8F tongue will not zero no matter what!My investigation of this matter suggests that the problem initiates when the custom (commercial) character's head morph is loaded. So far, I have not found a workaround. Even using Edit to zero the shape/pose of the tongue and/or its nodes does not help.
[Released] Character Converter from Genesis 3 Female to Genesis 8 Female(Now Conv JCMs) [Commercial]I have submitted an update. Hopefully it will be out this week but more likely early next week:
- Added G2-G8 2020 Conversion Method (non-merchant resource method)
- Added ability to specify Material Preset option
- Added ability to detect and load "character" presets
- Replaced Legacy Conversion checkbox with Conversion Method radio group
- Added wHeadMorphPrefix option
- Fixed Ignore Previously Converted option so that it works
- Fixed Head Morphs not being updated
- Fixed conversion to not allow empty VendorName or ProductName
- Fixed conversion to not allow Character Name equal to Female or Male
- Added namespace to all morph safe names
- Fixed bug for Duplicate Formula Found errors (Adjusting Rigging To Shape would add bones to JCMs)
- Fixed bug where JCMs/MCMs were not being set as hidden properties
I guess it's related to the specific version of the plugin... Or you expanded the G3 to G8 version?
I mean I added the same process (algorithm) to G3 to G8, which may be useful to some people. Not that I added G2 compatibility.
Better GenX transfers? I can't wait!

The 2020 method produces subtly different results than the 2019 for G3-G8. I think I still prefer the 2019 method for G3-G8, but I wanted people to have the option.
Victoria 4 skin to GF8once in Gen 3, DAZ should be able to map transfer to G8 so the maps can work on G8's UVs and native mesh.No need to map transfer, G3 textures work on G8.
They certainly do, I've transferred many V4, G1 and G2 using Blacksmith Pro to G3 and then loaded onto G8.
Fitting G8F hair on a short G3F characterThis is most likely happening because the hair has an FBMHeight morph. The height morphs in G3F and G8F are not equivalent.
The fix is to delete the FBMHeight morph from the hair.
The best way to do it is to load the hair without fitting it to G3F.
In the parameters pane find the FBMHeight morph. If it's hidden you will need to turn on both show hidden and edit mode in the parameters tab.
With edit mode enabled for parameters, right click on FBMHeight and delete the morph.Now when you fit the hair to G3F either with autofit or using the above method, the height should follow correctly.
If you delete the morph after already having fitted the hair to G3F you will have to perform an extra step in the scene tab. With the hair selected, click the drop-down menu and select assets-clear generated morphs.
ps tested with this hair and this is indeed the issue.
Suggestion: All HairPlease, when ever you create hair props, please add a "less volume" morph to it. Almost every hair availeble has to much volume. Till now, I am forced to morph the cranium ridicolously small, in order to make hair look more natural.
Victoria 4 skin to GF8once in Gen 3, DAZ should be able to map transfer to G8 so the maps can work on G8's UVs and native mesh.No need to map transfer, G3 textures work on G8.
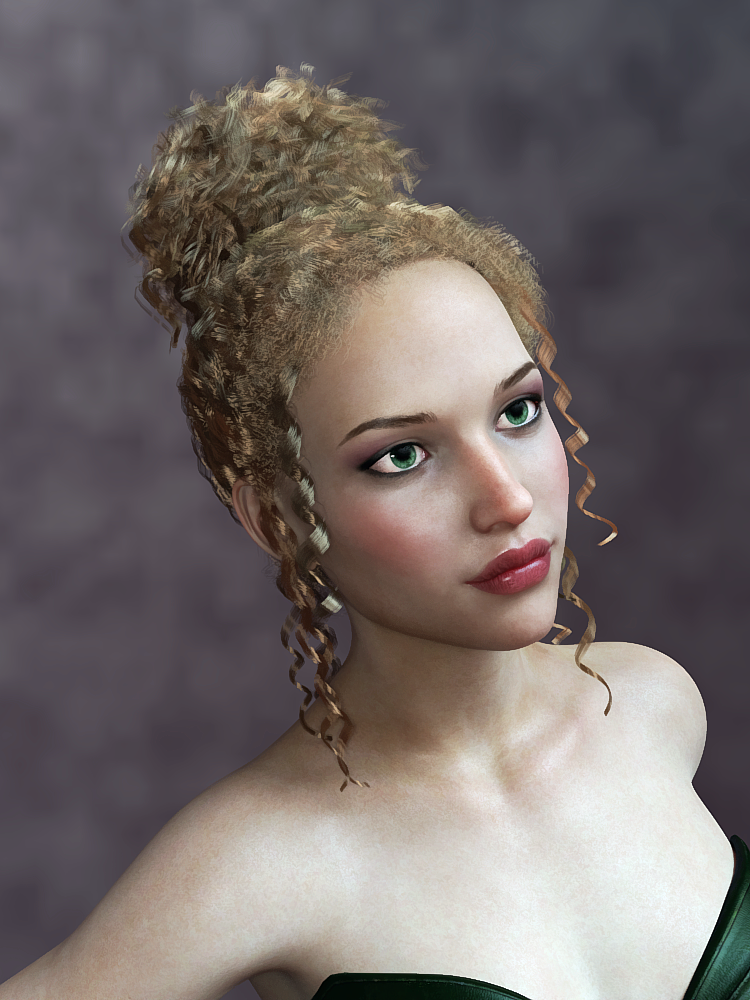
Victoria 4 skin to GF8Looks like texture transformer has been updated to support converting the textures from V4/M4 through Genesis 3, once in Gen 3, DAZ should be able to map transfer to G8 so the maps can work on G8's UVs and native mesh.TritiumCG Freebie ThreadJust fiddling around with your Kate morph. I don't know about a perfect likeness, but I like the character regardless. Just a few 3Delight test renders. Thank you for all your work and generosity!
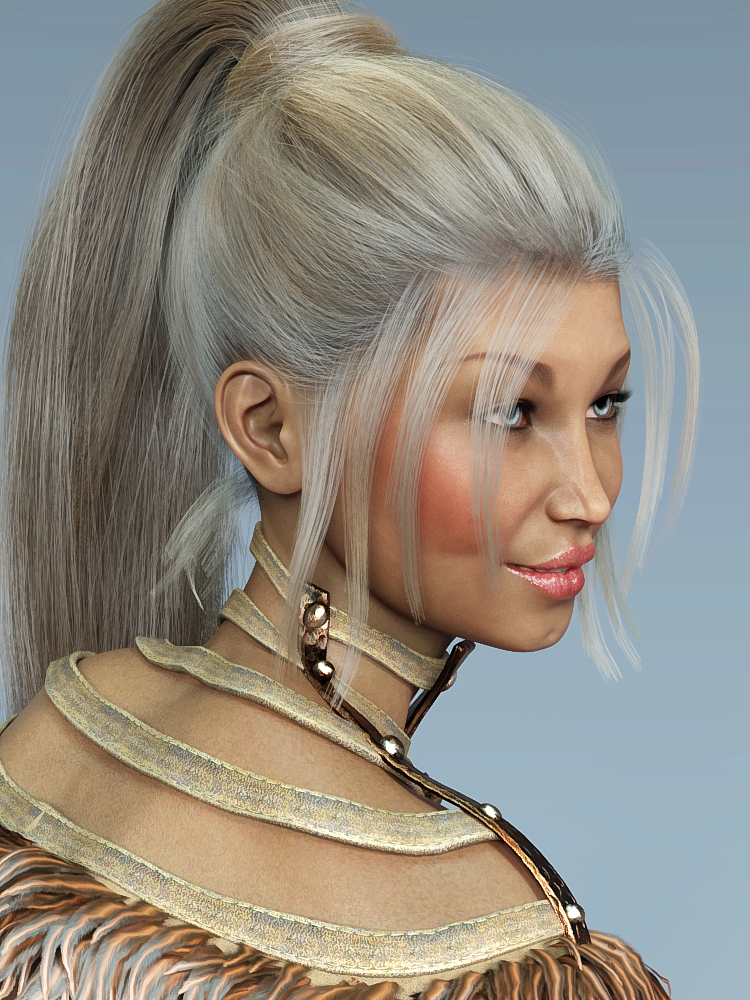
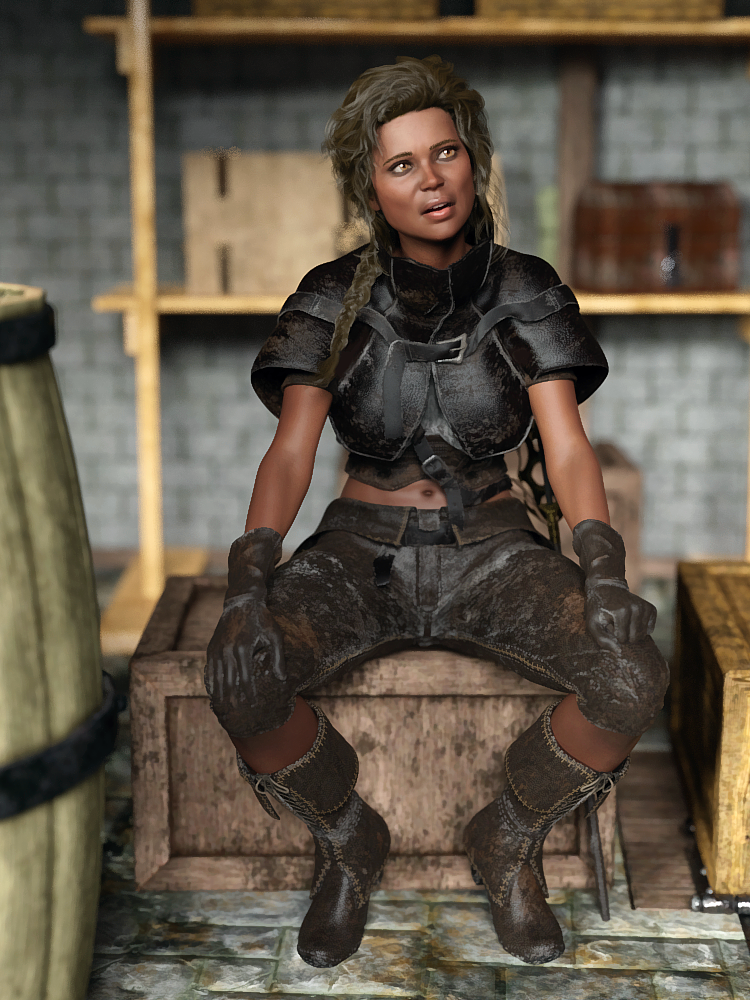
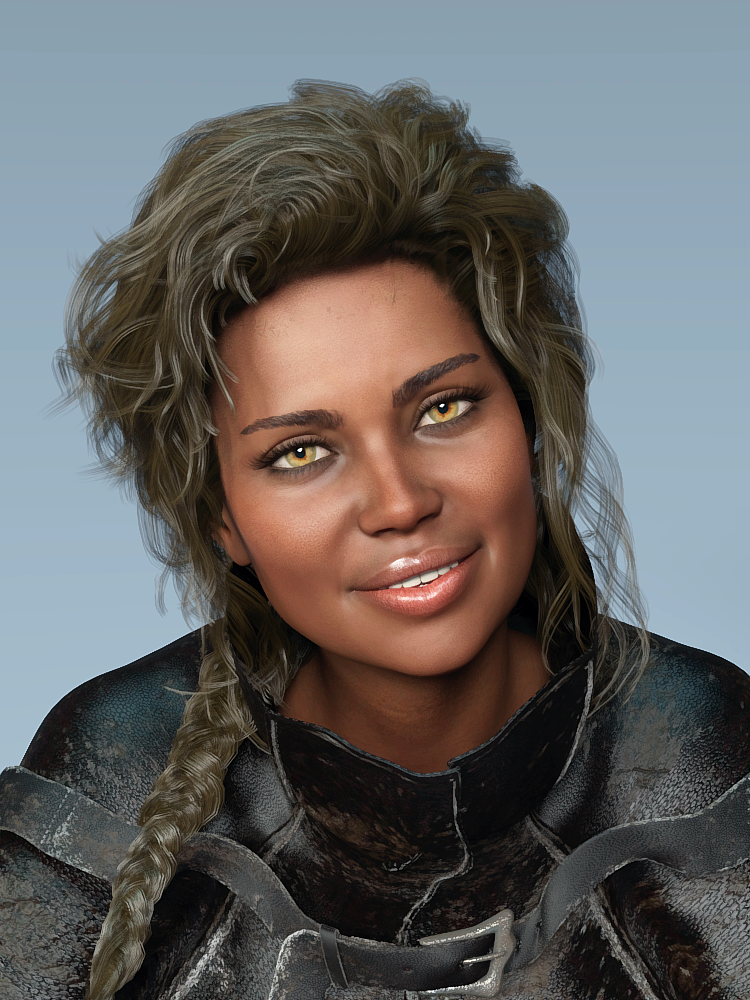
Gina Carano Character look-alike?Hi,
Matching a skin tone exactly can be really difficult as this depends so much on the light conditions (and in regard to a real person also on how much sunshine he/she has seen recently).
Maybe Rozy by Emris might be a choice ( https://www.daz3d.com/rozy-hd-for-genesis-8-female ). Once the Gina morph is available I could do some test renders for comparison.
P.S. Thanks for commissioning the morph creation. I'm definitely curious how the morph will turn out.
[EDIT] After some testing I believe Victoria 8 seems to be closer to Gina. I have attached the renders I made.
CJ 8 ( https://www.daz3d.com/cj-8 ) seems interesting in that regard, too. Unfortunately she's not part of my DAZ collection (yet).
RetiredIs Phil's product an entire or almost entire sphere? or does it only cover the Cornea/Iris/Pupil area?
Normally [i.e. for clothing] the normal steps taken for making the item 'fit to' work fine - within reason. For a few areas, such as the crotch for G8M, there are jcms that have to be dealt with, matched, or somehow addressed. Extreme morphs may require an additional morph for the clothing to fit over any peculiar areas - or to smooth them or whatever. [extreme meaning for morphs like Gorilla, Freak, child size, etc.]
Sometimes there still is value for to have/use skin clothing.
Sometimes it boils down to how much time does one want to spend making something. And how concerned one might be for messing up the rigging of valuable purchases.
Daz Studio has many features, some of which I have not yet investigated. There is one for transferring active morphs. However clothing usually 'picks up' any morphs applied to the figure and it is not necessary to be adding to the storage folders all the additional morphs.
No there are no additional steps for 'binding' one mesh to the other ... save that the closer the mesh is to the figure the more likely it is to work well. That being said, there is an issue with Iray and that eyesurface layer of the G8 figures ... away from the 0,0,0 position it tends to render black. So with my contacts for reflections I was trying to have it [hopefully] far enough away from the rest of the eye to avoid that but not so far as to be intersecting with the rest of the face.
Some ideas work better than others ;-)
In the upcoming tutorial notes, I'll be showing of the various morphs which apparently come into play with Hitomi's eyes. Trying to keep my work flow on the simplier side, decided it would be better to simply make a new lens for Hitomi.
Hello Catherine3678ab!
I'm sorry for mixing my messages/projects here.
The good news is I was able to complete "phase 1" of creating and adding a 'Genesis1' UV map for Philw's product, basd on your great hex notes in your tutorial thread. I didn't follow them exactly, but the ideas were plenty complete to guide me along with my Hex skills/gaps and it works - I have a new dsf file with a working alternate UV-map! Yay and thanks! I'm curious how the tutorials you are working on will read now that I've sloppily hacked my way through a method and now have a frame-of-reference. Maybe an 'ah-ha!' or two awaits me!
Philw's product looks like an exact blend of the Gn1 5_Sclera and 5_Cornea mesh surface sections, with an added expansion or offset morph like you mentioned was needed for the contact black-eye problem in IRAY. When parented/fit-to'd the Gn1 Eyeball, his mesh seems to 'do the right thing' with the more extreme eyeball morphs available to the Genesis1 figure.
While I will soon try to make a G2 version of the UV map - maybe I'll wait for your pending tutorial and take the smart way...) - I am equally (if not more) interested in doing the same with your contact lens mesh - which is why I was asking about the 'conform' capabilities when adding meshes to a figure like we're doing. (this is the project "mixing" I mentioned - same result, different approaches).
Bottom line, I think I can create alternate UV maps for existing products now - maybe badly, but I understand the ideas, thanks!
Moving forward, I'm now curious if we can (or even need to) tweak the contact lens mesh save/export scheme to allow it to follow the various Gn1 figure morphs automatically and correctly. It may do this already, so I suppose I should go try it on a Gn1 and add the Hitomi morph and see what it does.
The geoshell concept was mostly for discussion/feedback/... as a point of possibilities and interest. (zillion ways to skin cats, etc.)
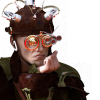
FWIW, I've attached some images of the philw product and the original/alternate UVs I was able to make:
Orig Gn1 Sclera mesh (note empty cornea in front):

Philw's mesh - ~= Gn1 Sclera + Gn1 Cornea meshes

Original EyeSurface Product UVs (don't overlap w existing Genesis reflection images):

Newly created UV maps (now overlapping the existing Gn1 UV Sclera and Cornea maps - mostly):

(I've included these images for you and anyone who is wondering what the heck we are talking about here... :)
cheers and thanks. This is very useful/interesting!
--ms
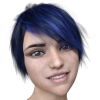
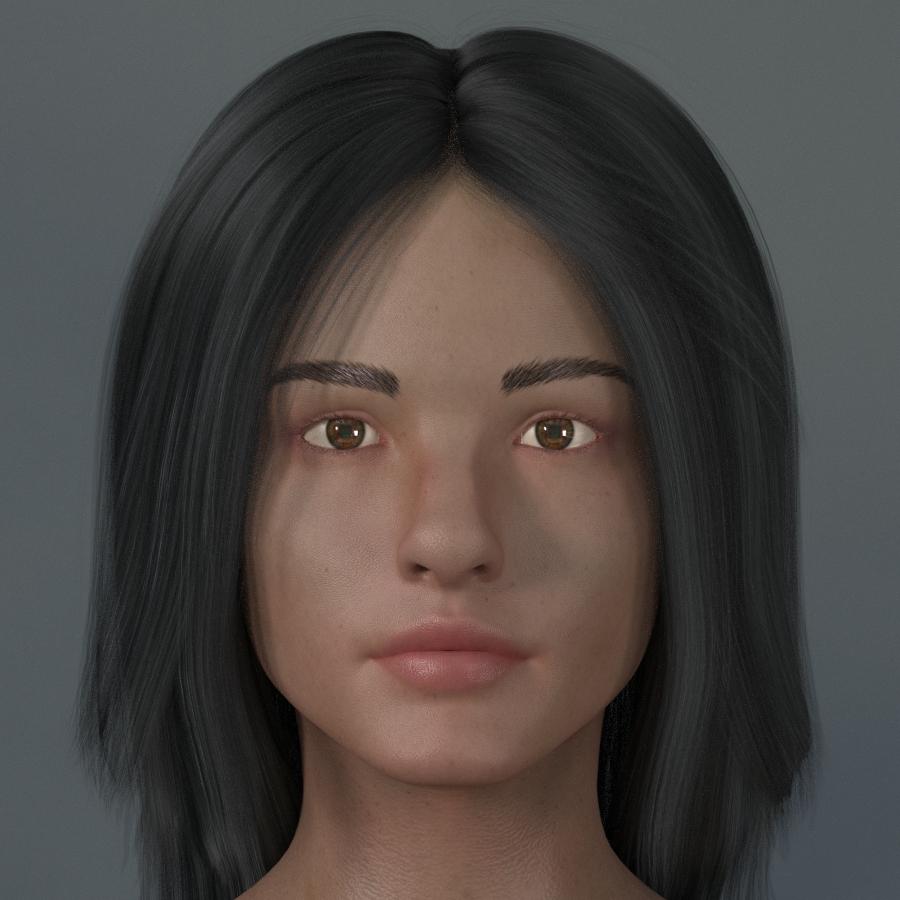
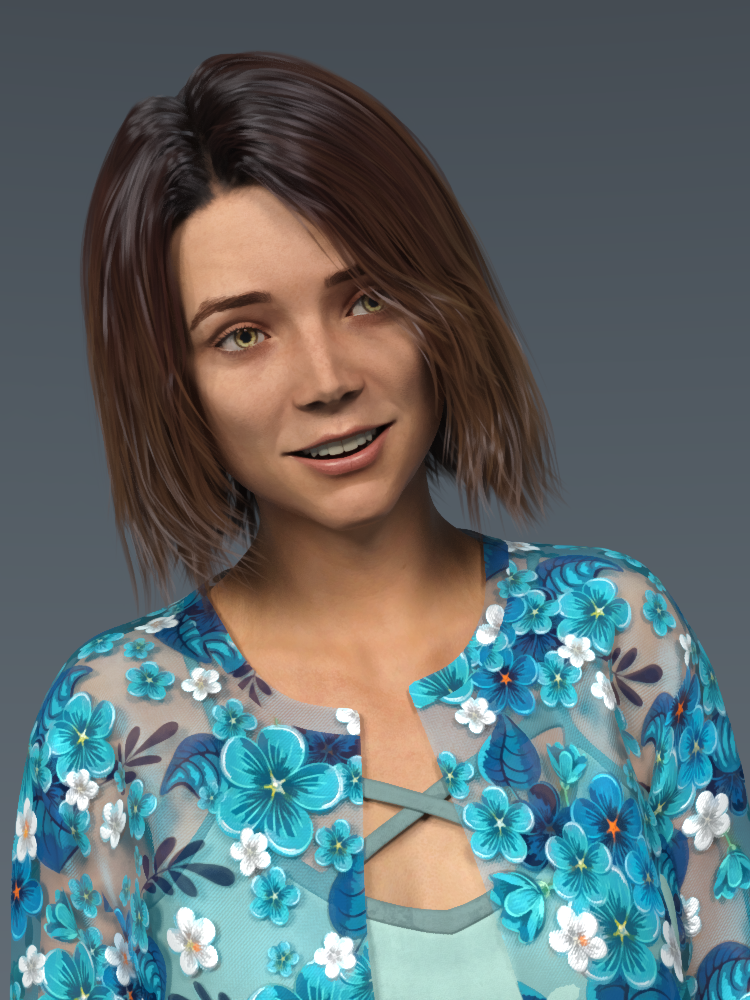
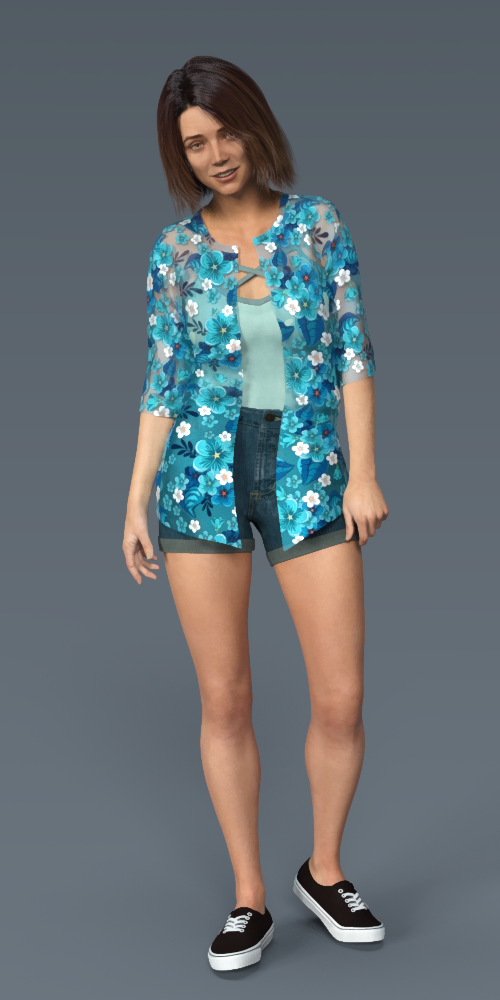
Naomi Scott for G8F WIPThis is my first stab at a Naomi Scott morph for G8F! I welcome feedback as I continue to refine it.
 Ten Years After - The Making of Dartanbeck.com
I've been putting a lot of work into the site whenever I can get time - and at times when I should be asleep. All while also pushing forward in Carrara. I hope I'm making the navigation easier as I go. I've reorganized some of the topics to flow more naturally, I think(?) and put some things into different categories where I thought it made more sense. I hope it doesn't mess with links to the individual pages. If it did, and I messed someone up because of it, I apologize.
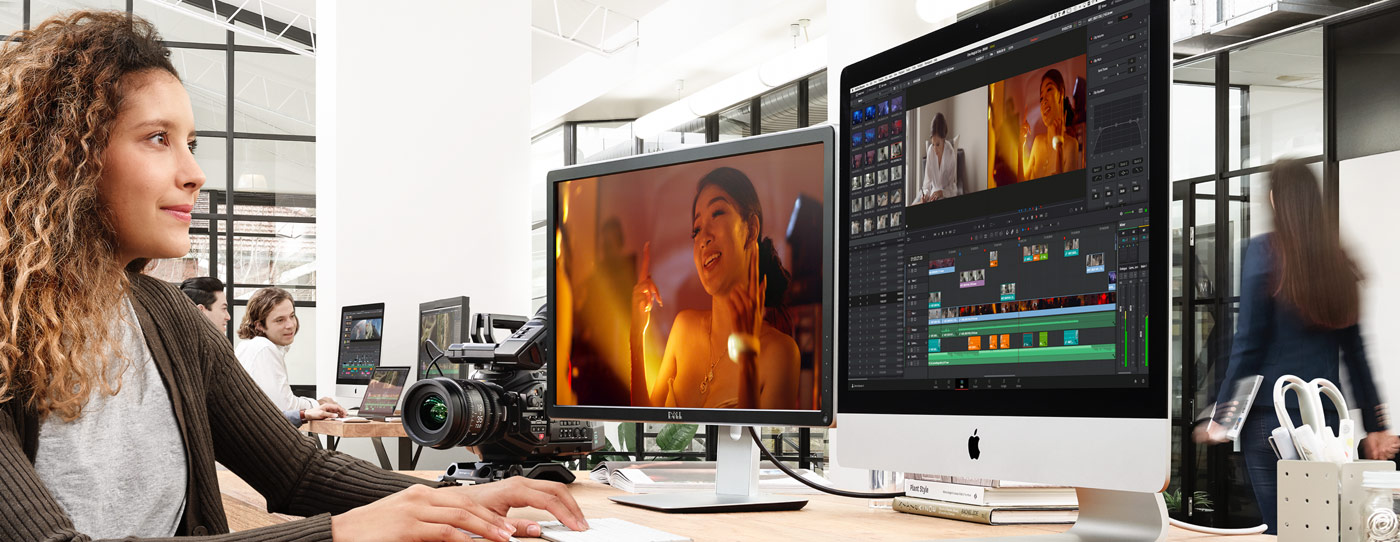
DaVinci Resolve (Do it in Post > Editing Zone) now has the official Blackmagic Design training videos along with links to download them along with the working files, and some of their other official videos. I wanted to get the ball rolling towards how excited I am to be using this incredible (free - yet Hollywood movie-class) software. I'm working on some of my Hybrid tutorials (videos with support articles) for the Edit and Fusion pages in Resolve, but since I wanted to host these official training videos anyway, and I didn't want to wait until mine are done, I think that I gave the page a good start..
Other additions:
Added Using Genesis in Carrara (with a link to Misty's awesome presets)
Added Transferring Character Morphs via NLA
Added Hybrid aniMation and updated Animating a bit
Added aniMate 2, along with the awesome GoFigure tutorials and demonstrations, as well as JonnyBravo's tutorial for the aniBlock Importer for Carrara
 Added a brief article on Carrara Cafe with a link to the Carrara 3D Expo magazines
Added a start to my new Inspiration page within the Gallery - currently featuring some video playlists I've made for my own animation/art inspiration
Created a new Home page (more brief, with collapsible text paragraphs) and changed the original to the new The Software page
...and made some other changes like making my wording a bit more clear, fixed a few typos, moved Downloads in to the Gallery... it's all meant to grow at a fairly steady pace now. I'm pretty excited about it.
Loading a new UV Set - Daz combining two separate uv's into one uv mapWhen you say in your second paragraph that you are copying all the old prop's better [UVs] to the face groups that matched up, what are you doing exactly, step by step? I assume you are using the Transfer UV Layout option under the Object->Make Links menu - I don't know of another option. This will transfer the entire (active) UV map from the active object to the selected one, and it will only do so if the geometry and vertex orders match (https://docs.blender.org/manual/en/2.80/editors/uv/layout_management.html).
So, are there separate UV maps for the individual 'face groups' and you are transferring those over? Do they overlap? Are the models both one contiguous mesh or multiple meshes? And are you sure the geometry/vertex orders of the two models match, because looking at the UV layouts you posted I have some doubts about that (it's not clear that the 'Blender Genital UV Template' has a hip area, while the 'Gen UV Template 1' clearly does, and you say there is a face group that doesn't 'match up'). If the geometry/vertex orders don't match, it's possible the transfer may not actually produce an error in Blender, but will give incorrect results.
If you could post the OBJ files for the two models (licence permitting!) I will try to take a look, and your .blend file.Appreciate it. I'm sure something is going wrong, or it's just too different to make work. Unfortunately, while I've been taking this product and redoing it from Poser to Daz and fixing it, I don't own the rights to the mesh, so I have to get sign-off from that person. Sadly, they tend to go out of pocket for weeks at a time :-/ If I hear back from them, I'll ping you in DM.
Thank you for the help.
RetiredHexagon does not like geoshells - and I was trying to make something to also show how to change uvmaps with.
Geoshells in D/S, unless I missed something, involves the entire figure. I know some products make good use of geoshells but I'm not a huge fan of them, possibly because I can't do anything with them in Hexagon.
They are also fairly limited to DS, best I can tell (cannot export them to interchange formats like FBX, etc.).
Good to accomplish certain effects in DS, and you can limit a geoshell influence to limited/certain areas of a mesh/figure (like just the pupil), but I'm liking the contact idea a lot more, given its more general appproach to this problem.
Question: Philw's product 'conforms' to fairly radical changes in figure morphs (e.g. Hitomi or the A3 legacy morph) - where the eyes and other internal mesh elements distort/warp along with the surface meshes. Does the act of 'fit-to' and/or 'conforming' and/or 'parenting' naturally imply this kind of 'shrink-wrap' adhesion of the added mesh to the existing mesh, or are there explicit steps required to 'help' with this binding?
Said another way, to get these contact lenses to 'conform' to any figure-morphed eyeball changes, is there an explicit 'conforming' step required? - e.g. morph-loader-pro, etc., such that the needed dsf and other resources are written that will ensure that this behavior is reliably bound to the contact lens mesh, etc.?
Does this make sense as a question?
cheers,
--ms
TritiumCG Freebie ThreadJust 0.02 from someone who has zero experience in 3D sculpting. The only one I've tried is Kate Mara since I don't know the othe people or game characters. The morph is very good at capturing the outline of her face but it does not say Kate Mara IMHO. I think the reason is that the morph is missing her two most prominent features: the chin dimple and the nose (the tip and philtrum?).
It's still a very pretty and unique face though and thank you for sharing them.
I tried so hard to get Kate's nose right, I really did. I literally spent hours. It's hard to admit defeat but at some point I just had to call it (I want to blame it on a lack of geometry in G8F's face, but that may just be an excuse for my lack of skill). :,( All I can hope is it'll serve as a good base to start from or at least as another pretty face for the genepool.
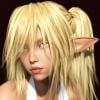
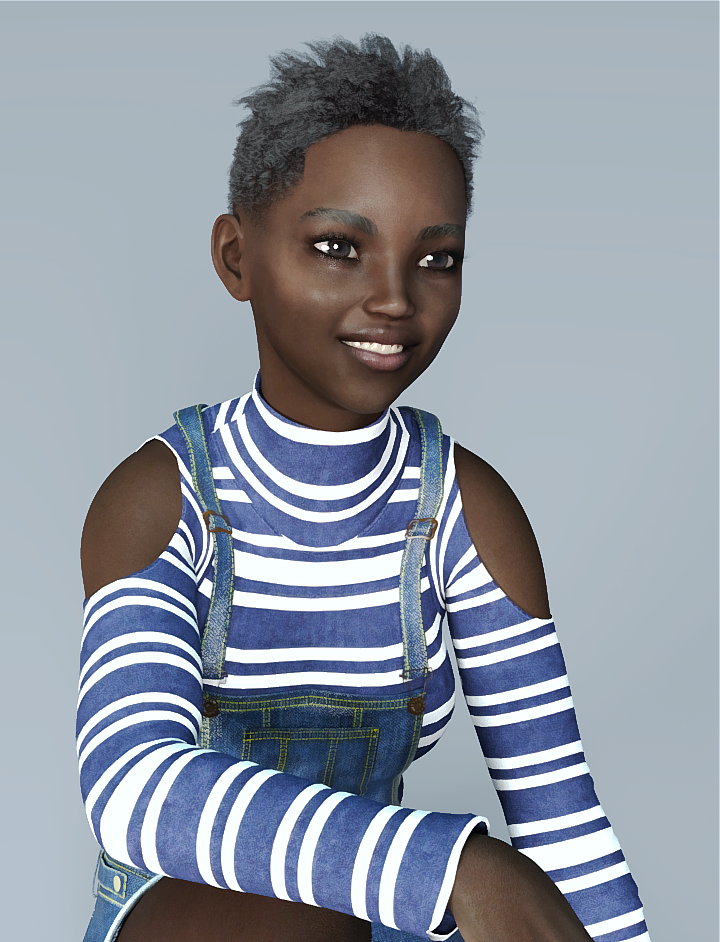
Here's the latest three, Julia Kyoka came out really nice though I think (she has such a smooth body it was a delight sculpting her features):
https://www.deviantart.com/tritiumcg/art/Lexi-Sindel-Head-Morph-for-G8F-829403352 | https://www.deviantart.com/tritiumcg/art/Julia-Kyoka-Head-and-Body-Morphs-for-G8F-829620669 | https://www.deviantart.com/tritiumcg/art/Kate-Mara-Head-Morph-for-G8F-830230704
I think without the DAZ Studio HD tools the only way you can get details like the nose nearly exactly similar is use normals and/or displacement in DAZ Studio and that means you've need to create those by creating those maps after a hi-res sculpt in another program and creating those maps there with intent to use in DAZ Studio only. A very roundabout and suboptimal way of doing things for sure.
Yeah it would be really nice to get my hands on those HD tools, I was even thinking of publishing at least one product just to get access to those. I might still down the road.
Thank you very much :-) I esp. like the Charlotte morph.
You are very welcome! :) By the way, someone named totocandy1 created a texture for her and put it up for download. You can get it here: https://www.deviantart.com/totocandy1/art/Charlotte001-844579731
The older generation: Victoria 2/3, Michael 2/3 and their children rendersYour welcome Richard and Keyra. So just to reiterate, my suggested method of using the weight mapped method is a hit or miss. It definitely depends on the product you are using it on. It works better when you don't jump like V4 to V2 verses V3 to V2. Lots of things for V3 started out as a V2 product and the weight mapped method works well on those items. So on the other extreme if you just can't get things to cooperate then I suggest Evilinnocense's CrossDresser product. The main software is free but to convert an item you may have to buy a license. They are about 10 bucks each. She does offer bundles. You will just have to check to see. I know that CrossDresser works in Windows 7 and Windows 10 because I have used it in both of those versions of Windows. Below is an example of red-viper's Gymnastic outfit for A4 on V2. The afore mentioned method did not work for this outfit so I went nuclear and used the CrossDresser. I still have to use the mesh smoother to fit the pieces to the morph I was using on V2. I think CrossDresser only works on cr2 files. So if you have a prop say a pair of shoes in pp2 format it won't convert it.
 Novica & Forum Members Tips & Product Reviews Pt 13
Here are more A's. I'm only doing the ones I think I'll like (without having to replace eyebrows, morph. I want you to see the default, as usual.) Also some unusual ones, and ones I'm just curious about LOL. I am NOT doing all the Genesis 8 gals I own, sorry, I would get bogged down.
Alana and Bodysuit (G3F/G8F) MRL dForce Curly Bun Hair (G8F) TIme-Honoured Entrance

Agrippina (Babina 8) Elan Hair (G8M / G8F)
I do not like Agrippina's eyes, the pupils are in the center of the eye and small. Therefore, they have the pupil widened and narrowed, with other fixes applied in the first image. The second has Adeline Eyes applied.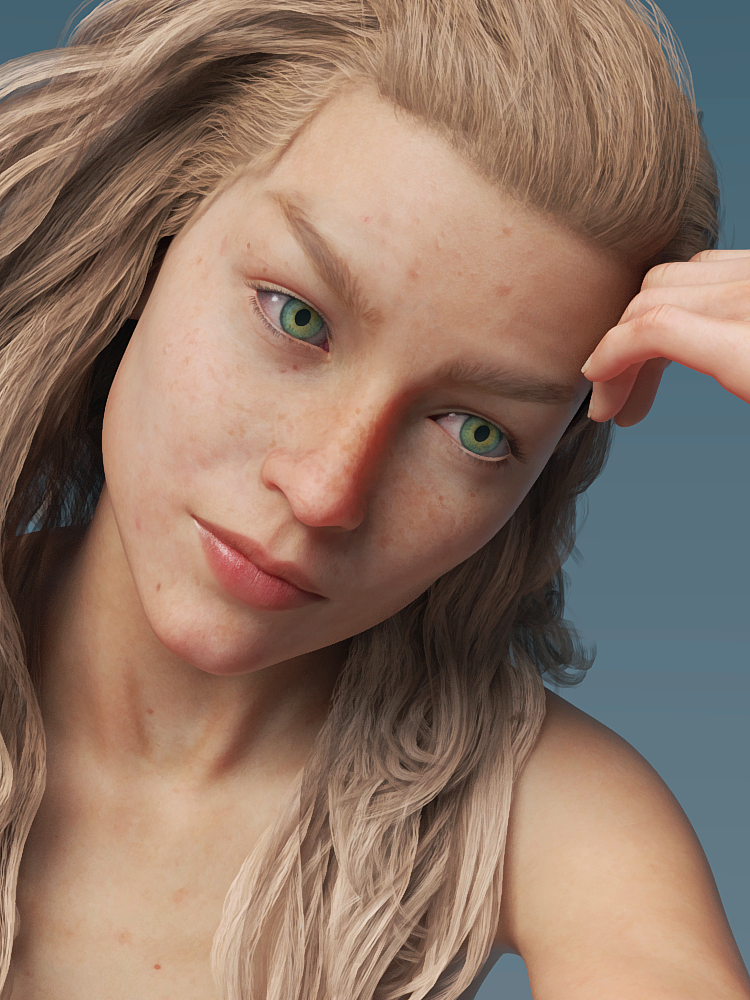

Ahura
Airess, Layla Hair, Advent Outfit

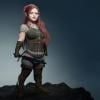
Aliet, Wild Waves Hair, Buccaneeress Pirate Outift, The Strongroom
Amanda, BBlythe Hair, Casual Springtime
Amira, Peyton Hair, Dayana and Karina Bloom (Characters come with gorgeous dress!)

Amy-Lee, Bristol Hair, Flounce Bikini
 BoneTech 3D Animation Packs and using BlenderI have Bonetechs older locomotion Pro Volumes 1-3 aniblocs for the G2 figures and they are excellent!!
As for Blender, it is now quite easy to transfer your pre animated Daz figures over to Blender since the advent of blender 2.8x
Theres is a long thread discusssing the Free Diffeomorphic plugin to transfer Daz figures to Blender (with decent material conversion )and even a BVH retargeter to apply new animation to Daz figures in Blender after import.Daz 3D is part of

Connect
DAZ Productions, Inc.
7533 S Center View Ct #4664
West Jordan, UT 84084Licensing Agreement | Terms of Service | Privacy Policy | EULA
© 2026 Daz Productions Inc. All Rights Reserved.