-
Let's appreciate/discuss today's new releases - more ongoinger thread
felis said:
Attached is a zip with 2 morphs for the belt for genesis 8. One the above image and one the below.
I tried to match the belt to the 2 more open pants, but it seemed not realistic. In one there wasn't enogh place under the beltstrap, and in the most open there wasn't really room for the belt, so I would have to have morphed the pants as well. So I ended up with shape 1, and even that was way harder than the 1st morph.
I am doing my modelling in blender. Doing simple morphs is easy.
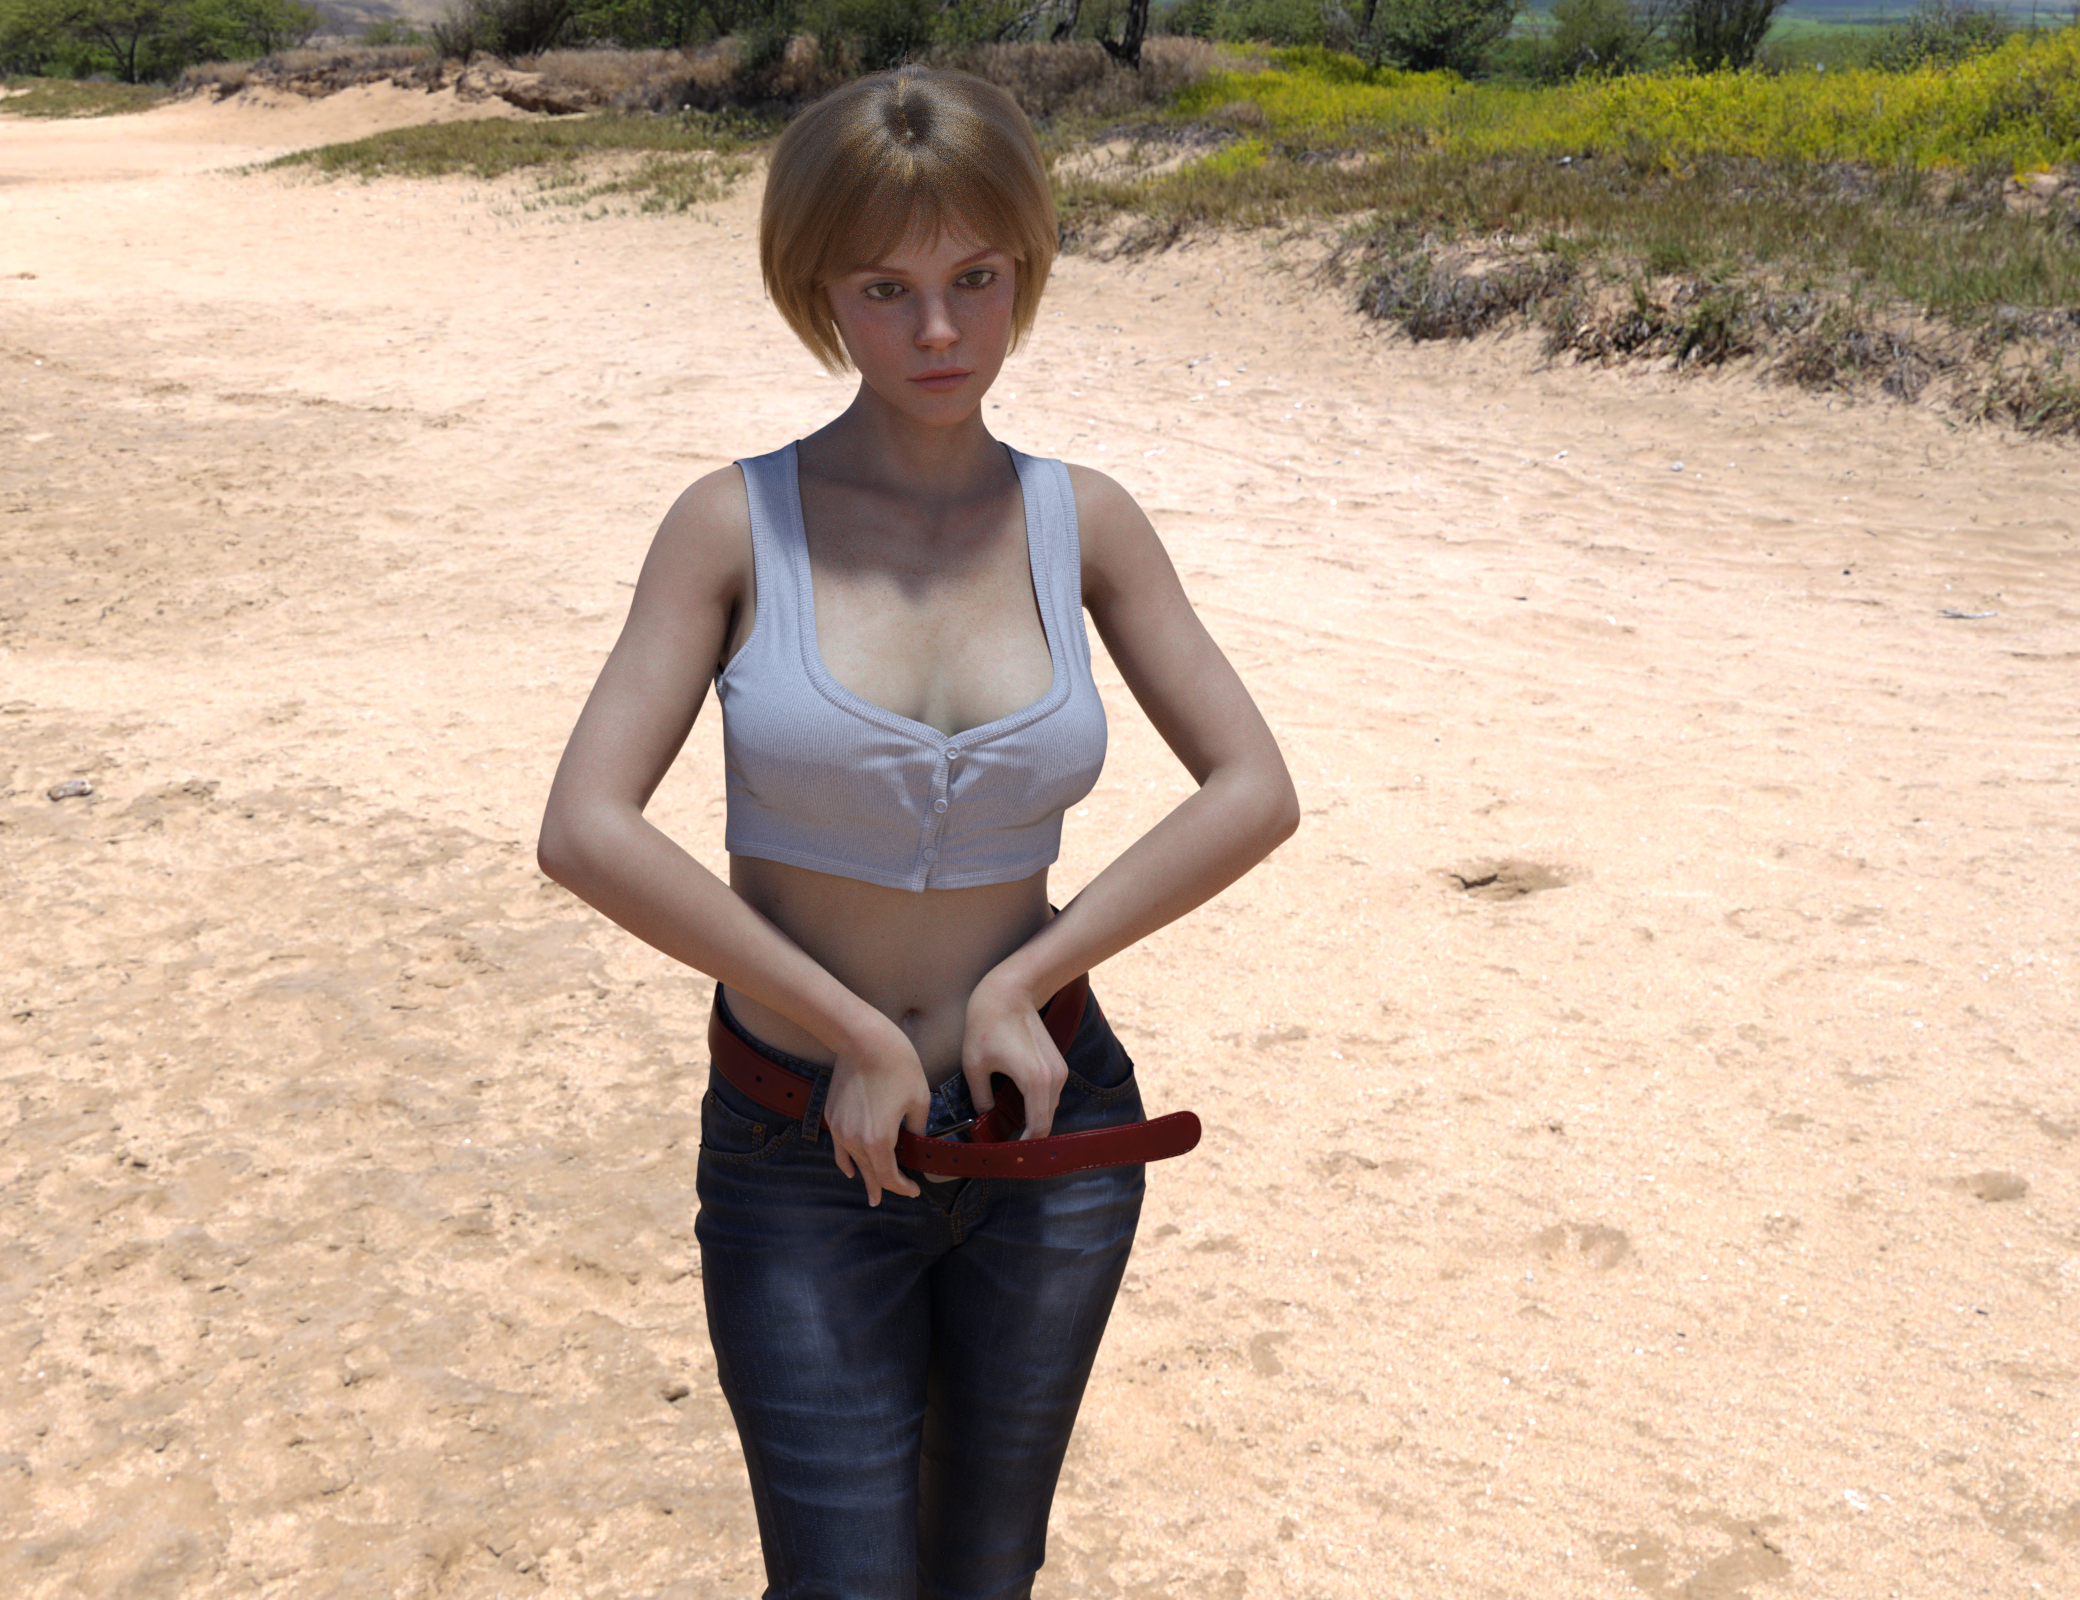
That's really kind of you, thanks! One can probably make the long loose end come down with dForce, just making it rather stiff so it won't droop like a wet noodle. - I didn't know you could use Blender this way, pulling the belt out of the buckle, this is way nice!
Import material Daz to blendercrosswind said:
chrisvn said:
crosswind said:
You bought the product from Renderosity.com ... The vendors there usually have to split the product into multiple ZIP packages, like the one in your ss4, from 01 to 06. You need to put those six ZIP files into a folder, and unzip all of them. Then you'll got the sub-folders: data, People, Runtime.
Then copy them into the root directory of your Daz Library !
I looked at the installation note and on the manual the instructions were to unzip the folders directly into the Library, so I did that, I was able to use the cropped hoodies except one where I don't see the US colors and there are edges that interact with the character's skin and also when you move it the hoodie goes through the skin (screen_V1), I think it's more a settings thing, but I'm new to this is there a tutorial for that?
You either can unzip the package file one by one or holistically unzip them into a temp folder and copy them to the library all together. I always install 3rd-party product with Content Wizard, so I always make a one package without any garbage folders / files (e.g. Documents... etc.)
Short Hoodie 10 material preset is with "US textures"... though I never use it ~~
The issue you had is because of the character's shape is Sakura 8 but the vendor didn't give a FULL HEAD MORPH for it on the hoodie. You can follow this tutorial to fix the FHM... https://youtu.be/HLt0jpxQA20?si=UeJ67vXsv0k2HCg1
The tutorial from Mada is for fixing FULL BODY MORPH (FBM) but you can follow it similarly to fix FHM for the hoodie. I fixed it by using Blender. (ss1) If you don't know Blender or ZBrush but have Mesh Grabber, you also can fix it...
I noticed that to change the hoodie material at first it didn't work, then clicking on the eye deactivated it then reactivating it by clicking on the hoodie for example I changed it and it's the same for the rest this is correct way (screen_V2) ?
The material presets work for me. I couldn't reproduce any issue with them. Maybe it was a glitch on your side....
Hello, maybe you didn't get my post? I'll resend it to you. Thanks.
Yes, in the end, so since I unzipped it, it went well, I unzipped it directly into the library the necessary files...
But I have the colors with the same hoodie selection as you, however in fit to I don't have sakura 8 but genesis 8 and yet I have the same selection as you! I don't understand because we have to put the genesis 8 female body first..(screen V1 et V2 )
Regarding the video link, it's too advanced for me, I don't even know how to go into editor mode!!! If it worked for you, it will work for me too!
And for the clothes that pass through the body when the character moves, do you think it is necessary to save the body in collisions? I have not tried in blender, I will have to try
Face Transfer Confusioncheard said:
Hello all! I am a bit confused by Face Transfer — or maybe not. Is the following correct?
- There is a free version built into Daz Studio that allows you to save up to 3 face transfers without a watermark.
- You use Face Transfer (1) for Genesis 8 and Face Transfer 2 for Genesis 9.
- The paid versions in the store are exactly the same but remove the 3-figure save cap.
Is that right?
Yes
 Let's appreciate/discuss today's new releases - more ongoinger thread
Attached is a zip with 2 morphs for the belt for genesis 8. One the above image and one the below.
I tried to match the belt to the 2 more open pants, but it seemed not realistic. In one there wasn't enogh place under the beltstrap, and in the most open there wasn't really room for the belt, so I would have to have morphed the pants as well. So I ended up with shape 1, and even that was way harder than the 1st morph.
I am doing my modelling in blender. Doing simple morphs is easy.
how to get G8F breasts back to "normal" positionTwo options, depending on what the actual problem is:
1) Use the "Breasts Natural" morph from the main Body Morphs package. In terms of fitting clothes without them getting scrunched up (or, at least, less scrunched up), it is best for body morphs to assume well-supported breasts and then morph in unsupported ones rather than vice versa. (Although, unfortunately, there's not complete consensus on that, and even amongst core characters they seem inconsistent about whether their base shape is supposed to be wearing a bra or not).
2) If it's a missaved morph that's affecting G8F's base shape (as it might be), identify and correctly resave the morph.
Generation 3 Aiko and Hiro Appreciation Threadrichardandtracy said:
Looks good. I'm occsionally a bit uncomfortable with Thorne's characters fae or not - some look a bit 'Lolita' for me, but you've done a good maturation job on Sarina there.
Regards,
Richard
Thanks!
Yeah, that was Aiko's niche back then.
I have tried to use the other generation 3 females several times but I'm always disappointed by their lack of versatility compared with Aiko (not necessarily their fault, if they had morph expansions similar to A3's I don't have them), and at this point I've use Aiko to fill most of their roles.
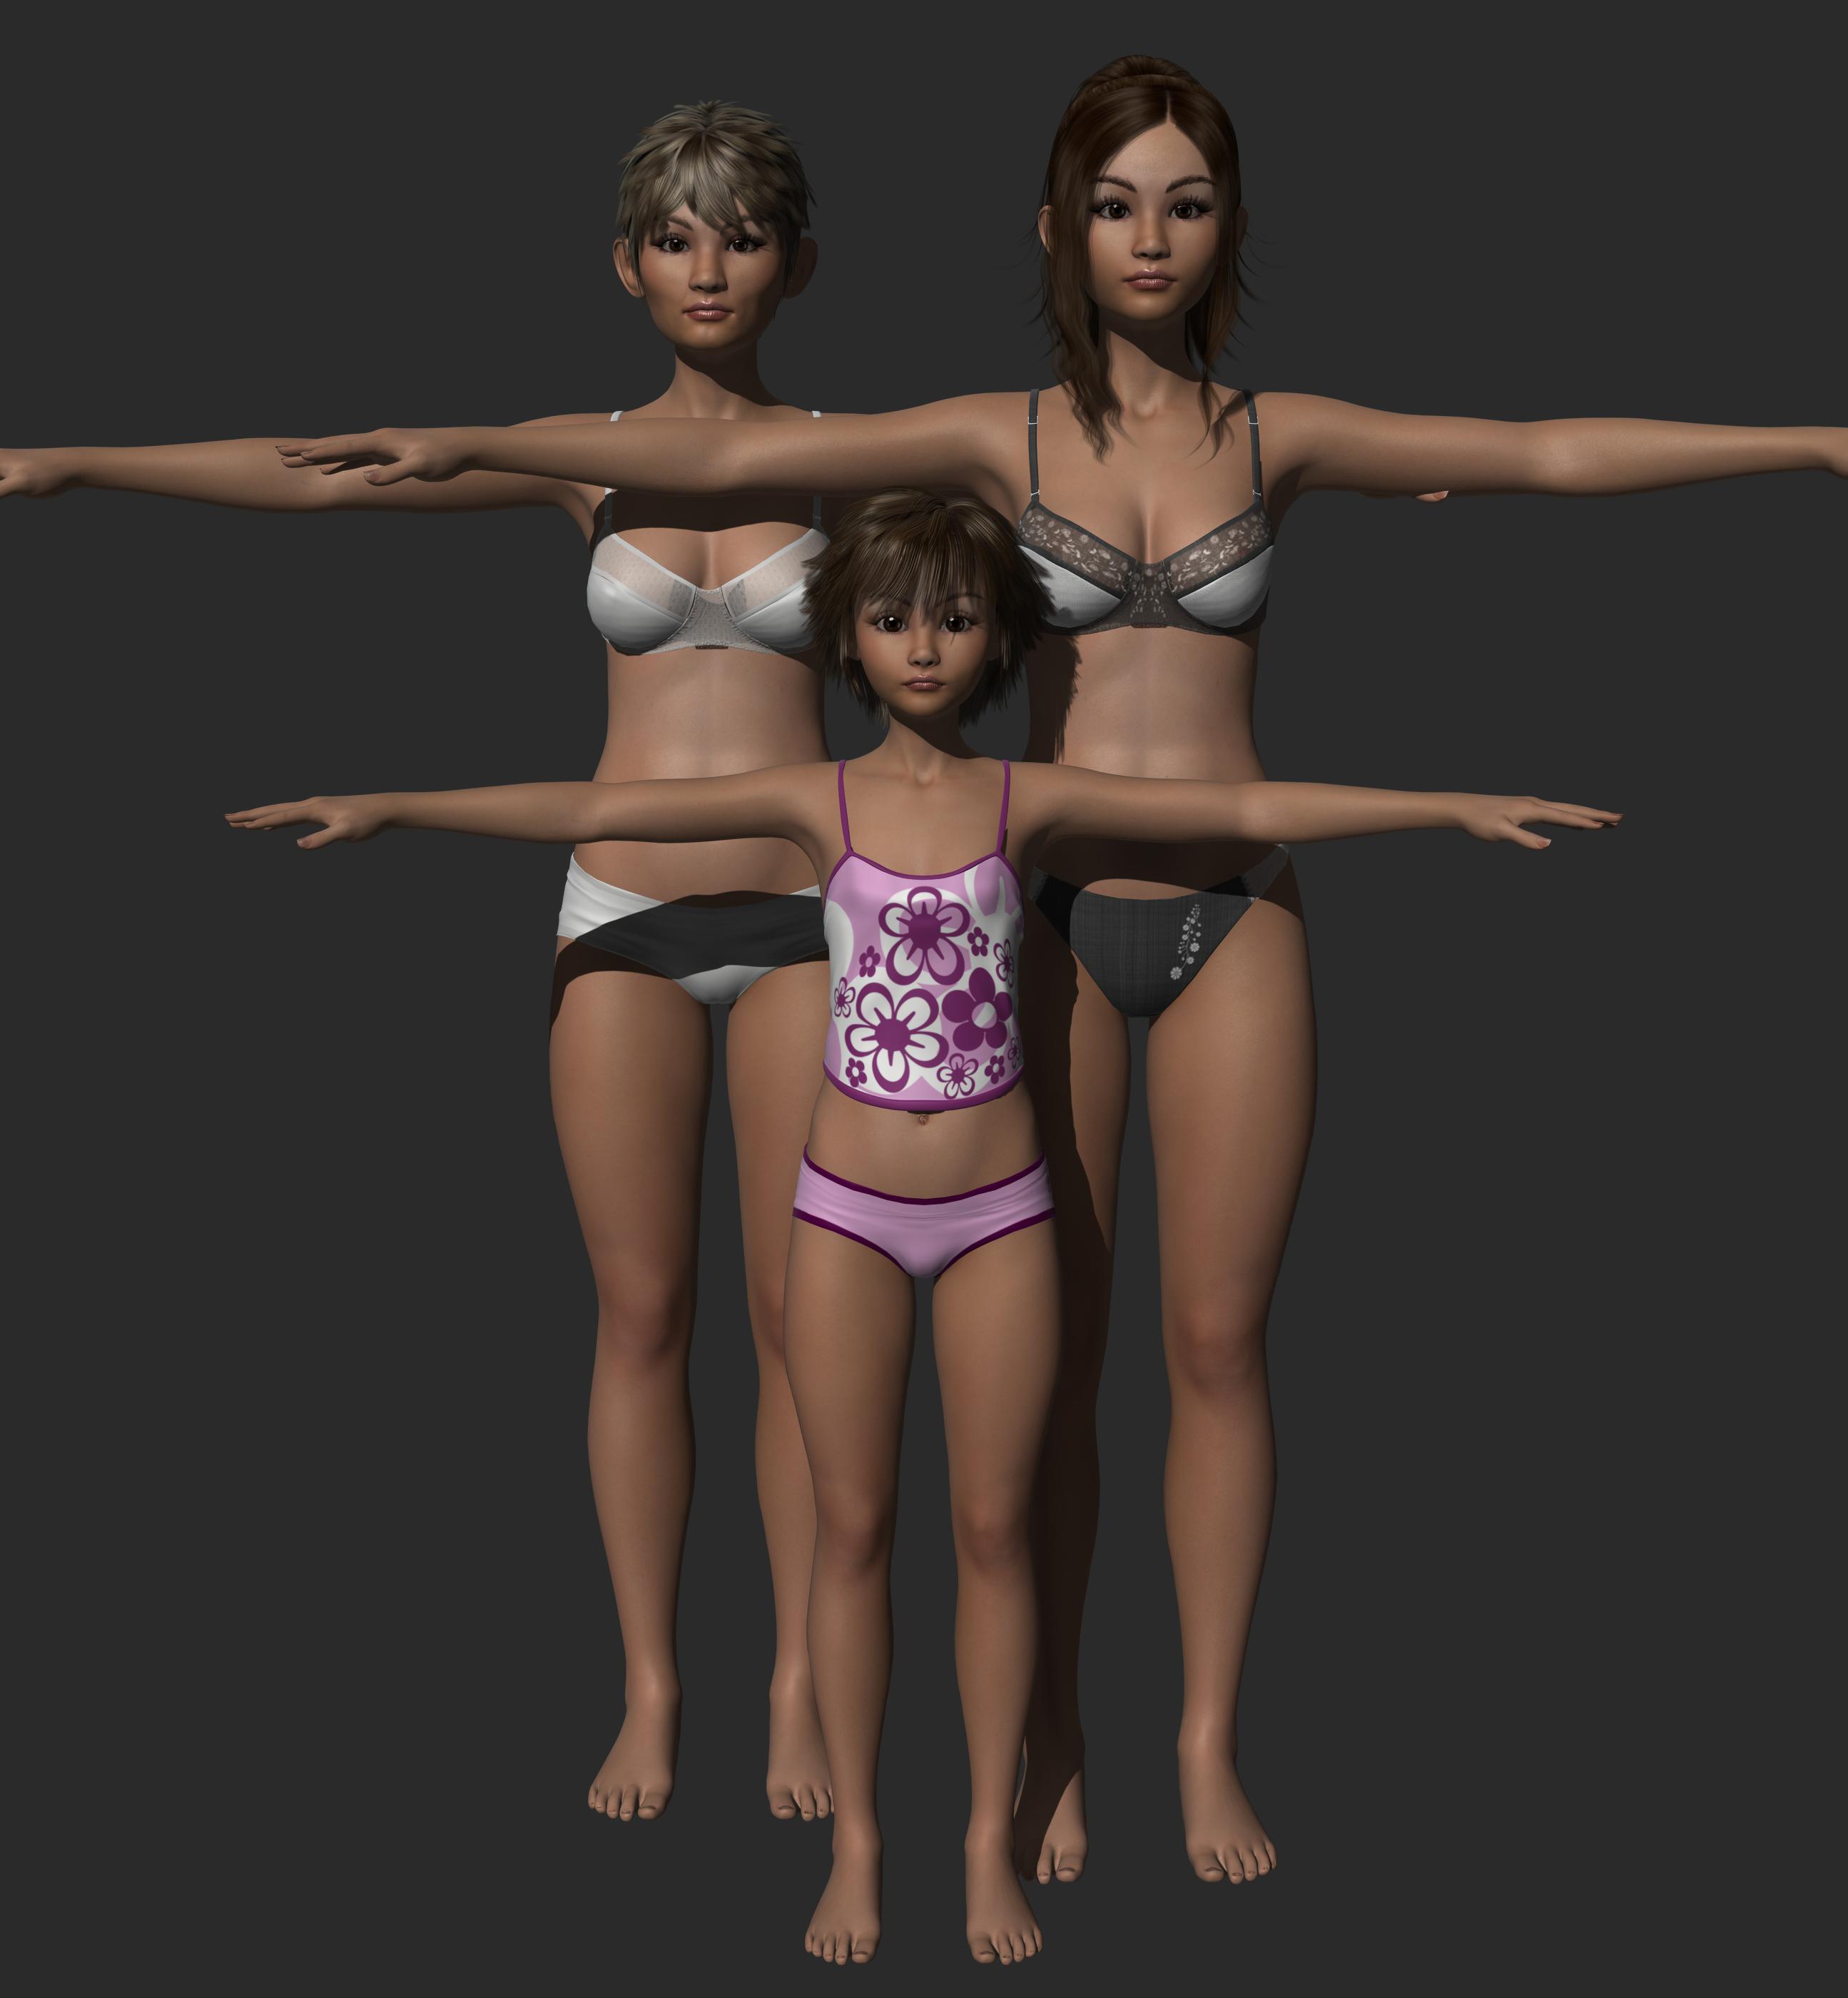
An old age progression test from 2019 I did using Mulberry.
 Face Transfer Confusion
Hello all! I am a bit confused by Face Transfer — or maybe not. Is the following correct?
- There is a free version built into Daz Studio that allows you to save up to 3 face transfers without a watermark.
- You use Face Transfer (1) for Genesis 8 and Face Transfer 2 for Genesis 9.
- The paid versions in the store are exactly the same but remove the 3-figure save cap.
Is that right?
Let's appreciate/discuss today's new releases - more ongoinger threadfelis said:
Quick morph. I didn't match it to an open shape.
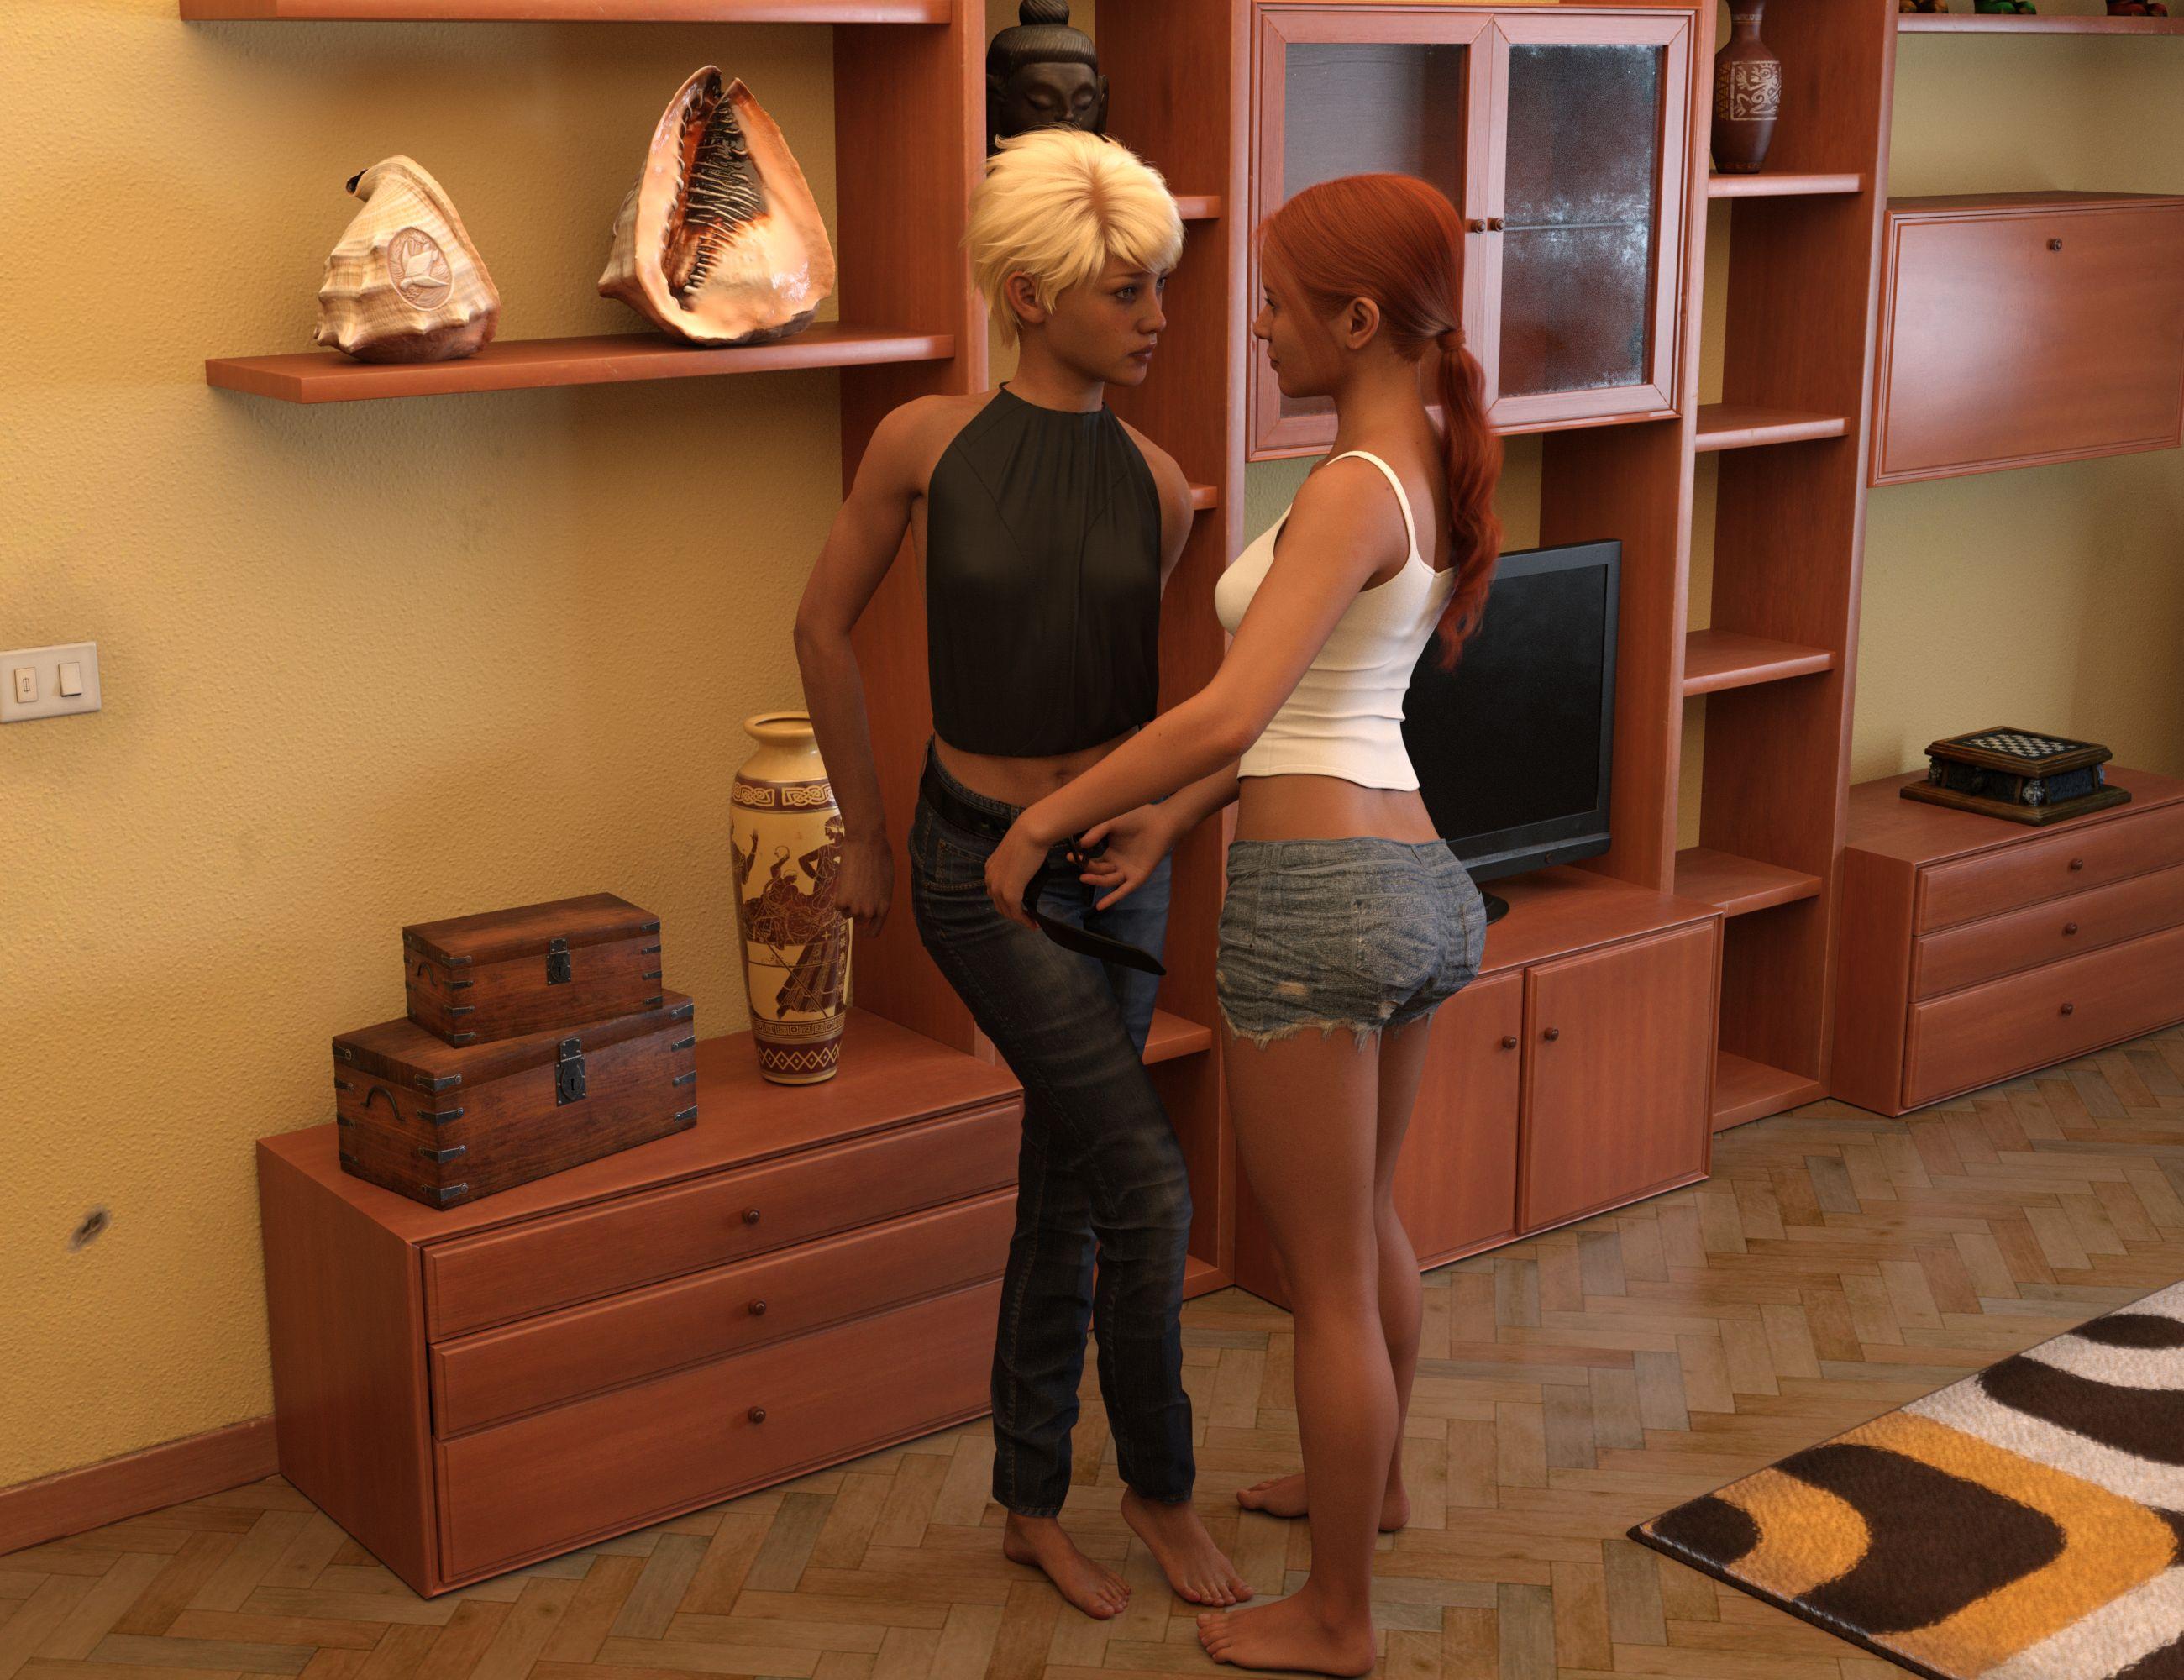
Cool! What did you do this with?
The dForce Hair ThreadSquishy said:
e: that full FBX export was taking so long and I wasn't sure if it was hung or not so I interrupted it, I managed to export a 100k vertex part of the original 1.3 million vert hair and while that took quite a long time (something like 10 minutes) it completed OK and re-imported back into D|S, so trying again with the whole model with a silly obvious morph applied and will see if it can be imported as a morph target.
I let the Cinema side export run for two hours and gave up, whether it works or not I am not interested enough to give it that much time between each attempt.
 Let's appreciate/discuss today's new releases - more ongoinger thread
Quick morph. I didn't match it to an open shape.
Exporting anatomical elements morphsrasmusazu said:
To anyone still running into the problem of being unable to export elements such as genitalia or similar accessories, I think I've found how to do it. Though its not completely what we may want.
For some reason.. If you dont choose "Geometry Editor" under tools before exporting the model, the accessory wont show up in the export window and therefore you wont be able to export the morphs connected to it.
This of course creates the problem that, if you're trying to export your model WITH genitalia you will end up with a layer under the genitalia. This can of course be fixed by hiding the area, but the genitalia simply wont adjust to the body properly if you have Geomtry Editor selected during exportation.
Its not a perfect solution, but it works. It has allowed me to export a model with morphs for both the body and the genitalia.Well, I'm still working with Gen 3 models and still have thie merge bug in Daz 4.21. I couldn't find a version before Daz 4.12 which introduced this bug. It's been like 7 years since my original post and this bug still has not been fixed, it's amazing.
Anyway, I used your solution this time and it worked without issue. The downside like you said is having the genitals in a separate mesh and duplicating lots of morphs. Daz is also not smart enough to not export unneeded morph on the genitals, like face morphs... Amazing too... So you'll have to have one morph export file to export female object first then use another morph file to export genitals. And use an invisible material on the original genitals which will now still show, not a big deal but still another mess to add on top of the complex video game creation process :/
The dForce Hair ThreadCinema R18's OBJ exporter will read splines in, but won't write them out again (reading the exported OBJ file it contains no vertex data). Also the R18 FBX exporter seems to be having a hard time writing the 1.3 million vertex hair I'm working with back out to FBX, it's sitting at 0% for some time but I'll leave it alone and see if it either fails or succeeds or what.
e: the Cinema OBJ importer has an option for "lines", but the exporter does not (although the FBX exporter has "curves" and seems to work for small splines)
e: that full FBX export was taking so long and I wasn't sure if it was hung or not so I interrupted it, I managed to export a 100k vertex part of the original 1.3 million vert hair and while that took quite a long time (something like 10 minutes) it completed OK and re-imported back into D|S, so trying again with the whole model with a silly obvious morph applied and will see if it can be imported as a morph target.
Morphs, textures, oh my. Variety neededOK, speaking of morphs, and of M3D’s latest character … are there any morph packages for either G9 or G8M that can “straighten out” a pinched (side to side) nose like M3D Frank’s? I’ve had no success with this. Obviously I can just use a different character, or apply a skin to a different underlying shape, and all that. This is more of a “theoretical” question — I’d like to better understand how to get the results I envision, rather than just spinning dials until it looks “right.”
Where is the scene?Artini said:
Please also look at the answer by ARealiti in the thread:
https://www.daz3d.com/forums/discussion/718061/sending-a-set-to-unity#latest
So things must have changed either with the new Daz or the new Unity (6). Even though i made everything but the original instance of the first prop i wanted to transfer over invisible, everything came over. they became prefabs in Unity. Right now I'm working thru placement and getting them textured with the Unity mesh (if that's the right way to put it). i really wish Daz would get involved and update us on these changes.
Mesh grabber for Daz 2025 Alpha?Squishy said:
Richard Haseltine said:
The plug-ins that were purchased by Daz and developed into the Premier plug-ins will not be getting updates other than to the Premier vesions, I'm afaid. they will of course work in DS 4, and aside from needing to bake the Mesh Grabber Modifier to a morph or shape (and render Queue, obviously) their effects should then be savable and openeable in DS 2025.
this sounds pretty explicit to me
Daz bought what was supposed to be Mesh grabber 4, as well as a bunch of other ManFriday plugins. Those plugins now belong to Daz, and Daz can decide whether they will get a DS2025 update (the older standalone plugins won't, only the Premier plugins based on them will).
However Daz didn't buy Mesh grabber 3, which is still sold in the store as a PA products. ManFriday still owns them, and can decide whether to update them for DS2025 or not.
Mesh grabber for Daz 2025 Alpha?Richard Haseltine said:
The plug-ins that were purchased by Daz and developed into the Premier plug-ins will not be getting updates other than to the Premier vesions, I'm afaid. they will of course work in DS 4, and aside from needing to bake the Mesh Grabber Modifier to a morph or shape (and render Queue, obviously) their effects should then be savable and openeable in DS 2025.
this sounds pretty explicit to me.
The dForce Hair ThreadOh, I remembered another trick. If you simulate with the Geometry Editor tool selected, the hair seems to lose its baked in stiffness and will drape a lot. That's really the best way to make upside down morphs or droopy wet looks, I think. You don't even need a modeler for this. Just simulate, export and import to morph loader pro (or use MorphMaster, which is fabulous).
Edit: And always select another tool, like the Node Selection Tool, before Iray rendering. The dForce hairs won't render all the strands with the Geometry Editor (or Mesh Grabber, etc.) tools selected.
The dForce Hair ThreadSquishy said:
No, the geometry is there, which is why you can export it back out to OBJ. They've had 8+ years to add features to the user side to make this easier to work with if they wanted to.
e: the geometry is there in the form of vertex data, the same as polygons, just with no face data.
barbult said:
With Geometry Editor tool active, you can export the "curves" hair, move the vertices in a modeler, and with the Geometry Editor still active, import your modified OBJ to DS to create a morph. You do not have to be a PA to do that. I have made several morphs for PA dForce (strand-based) hair products that way. I have posted this in the forums a couple of times at least. You can even simulate in DS and export that and reimport it as a morph. The key is to have the Geometry Editor tool active during export and import. There can be millions of vertices in some of these hairs, so the morph creation can take some time.
This is a cool trick, never would have thought to try something like this. Thanks! Is there documentation on details of this or anything? What else can be done?
e: being able to make a few morph targets really would be great, e.g. with that particualr hair I love the way it looks from the front but not so much from the back. would be nice to be able to customize!
I don't know of any documentation on this. I don't even remember how i learned it. I may have discovered it by accident or maybe someone else told me. I started doing it years ago, starting when Neroli Hair was released.
The dForce Hair ThreadNo, the geometry is there, which is why you can export it back out to OBJ. They've had 8+ years to add features to the user side to make this easier to work with if they wanted to.
e: the geometry is there in the form of vertex data, the same as polygons, just with no face data.
barbult said:
With Geometry Editor tool active, you can export the "curves" hair, move the vertices in a modeler, and with the Geometry Editor still active, import your modified OBJ to DS to create a morph. You do not have to be a PA to do that. I have made several morphs for PA dForce (strand-based) hair products that way. I have posted this in the forums a couple of times at least. You can even simulate in DS and export that and reimport it as a morph. The key is to have the Geometry Editor tool active during export and import. There can be millions of vertices in some of these hairs, so the morph creation can take some time.
This is a cool trick, never would have thought to try something like this. Thanks! Is there documentation on details of this or anything? What else can be done?
e: being able to make a few morph targets really would be great, e.g. with that particualr hair I love the way it looks from the front but not so much from the back. would be nice to be able to customize!
The dForce Hair ThreadSquishy said:
WendyLuvsCatz said:
maybe it should be called iray curves
they are just curves, the iray part comes in as the material applied to them. the geometry that make them up can be exported in OBJ format and taken into modeling apps (e.g Cinema, here) where you can see they're just splines. There is a little more going on, in that there's selection grouping that lets the artist set stuff like stiffness via point weights but it's not tied to the render engine.
unfortunately this is a one way operation, you can't get it back into D|S in this state without the proprietary import tool, you have to convert the splines to polys - roughly quadrupling the vertex count, which is already over a million verts just for this hair. if you ever wondered why this type of curve based hair feels so heavy to work with, yeah that's why (the G8 characters themselves are 16.5 thousand vertices)
With Geometry Editor tool active, you can export the "curves" hair, move the vertices in a modeler, and with the Geometry Editor still active, import your modified OBJ to DS to create a morph. You do not have to be a PA to do that. I have made several morphs for PA dForce (strand-based) hair products that way. I have posted this in the forums a couple of times at least. You can even simulate in DS and export that and reimport it as a morph. The key is to have the Geometry Editor tool active during export and import. There can be millions of vertices in some of these hairs, so the morph creation can take some time.
Daz 3D is part of

Connect
DAZ Productions, Inc.
7533 S Center View Ct #4664
West Jordan, UT 84084Licensing Agreement | Terms of Service | Privacy Policy | EULA
© 2026 Daz Productions Inc. All Rights Reserved.